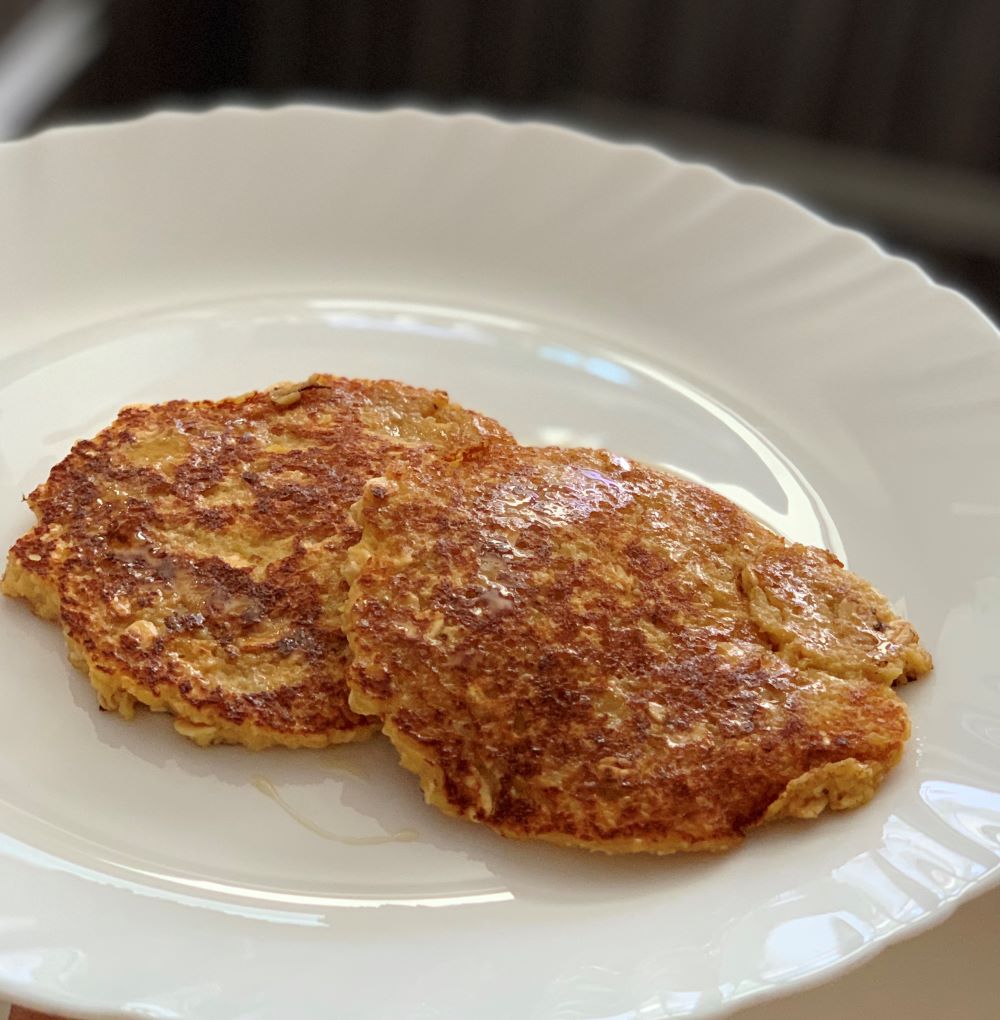
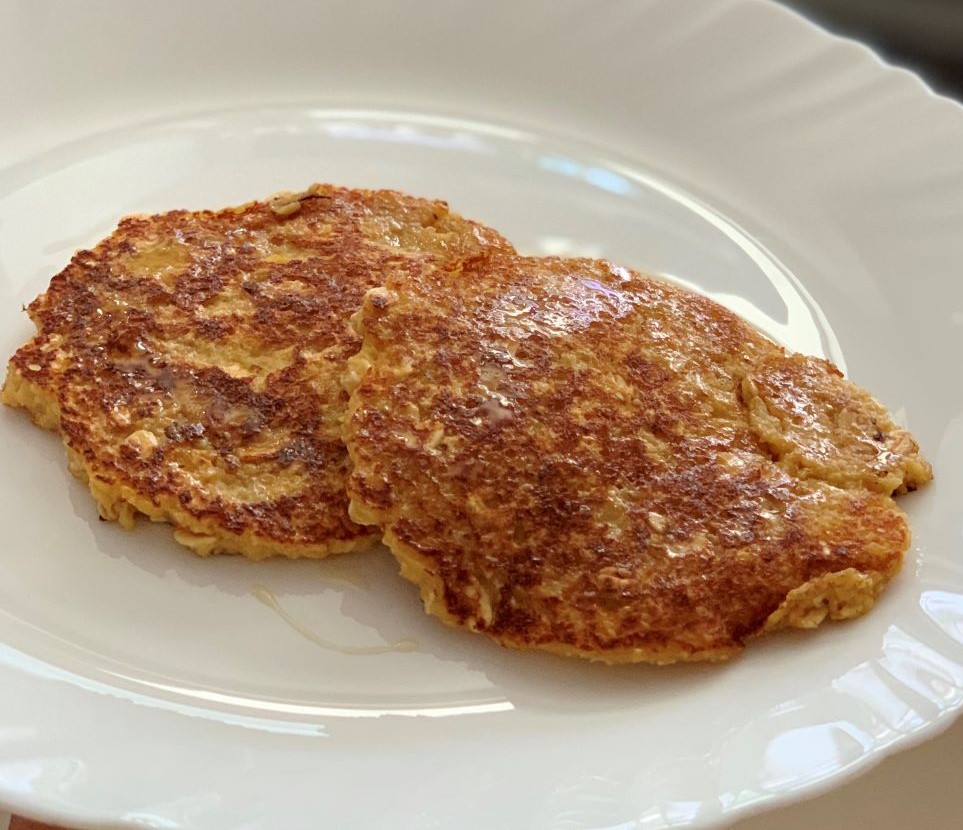
Apple pancakes are great finger foods for baby lead weaning or toddlers. Pancakes are the simple snack or breakfast option that I often whip for son. I experiment quite a lot with different wholegrain flours and fruits to make nutritious pancakes for my child.
The good part about these apple pancakes which makes it great for babies and toddlers is that, it doesn’t contain any leavening agents.
These pancakes are very simple to make. You can literally whip these in 15 minutes with minimal ingredients. All you need is rolled oats, apple and an egg. These pancakes do not require any milk. Moisture from apple and egg will be enough to get the right batter consistency.
If you don’t have rolled oats, you can use wholewheat flour too or any other flour of your choice. I can bet your toddler won’t refuse this for breakfast
Recipe: makes 4 pancakes
Ingredients
Large Apple: 1
Large Egg: 1
Rolled Oats flour: 5 tbsps (simply grind rolled oats in a grinder)
Rolled Oats: 2 tbsps
Butter/Oil for cooking
Cinnamon: 1/4th tsp
Vanilla extract: 1/4th tsp
Instructions
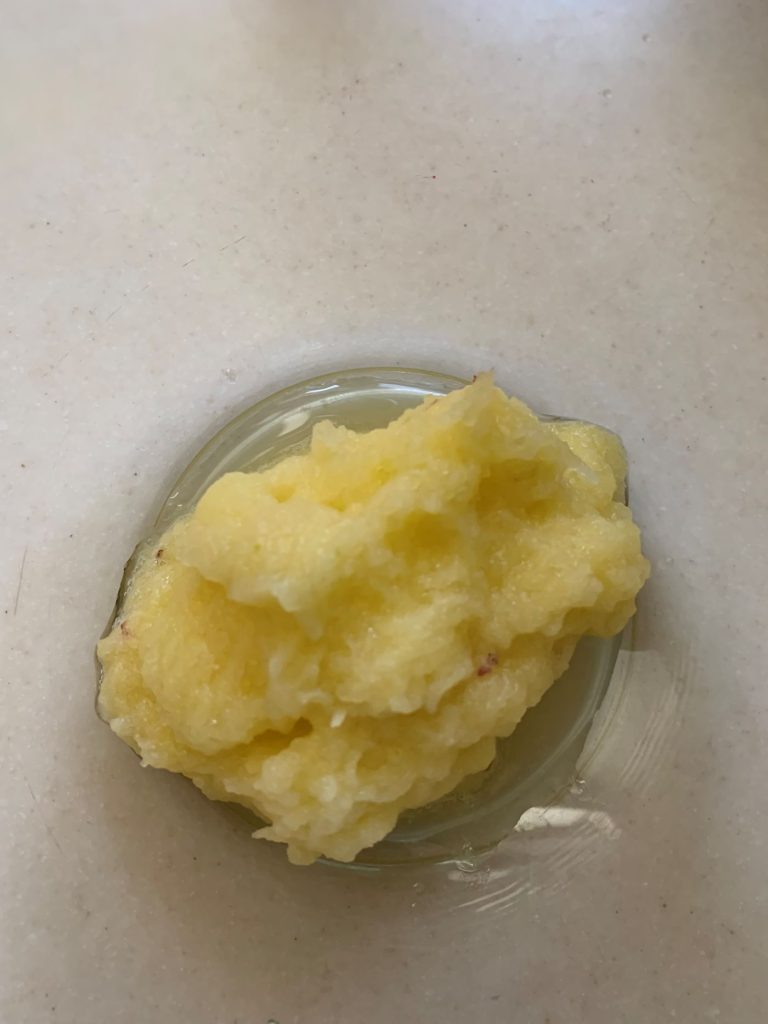
Peel the apple and grate it in a bowl.
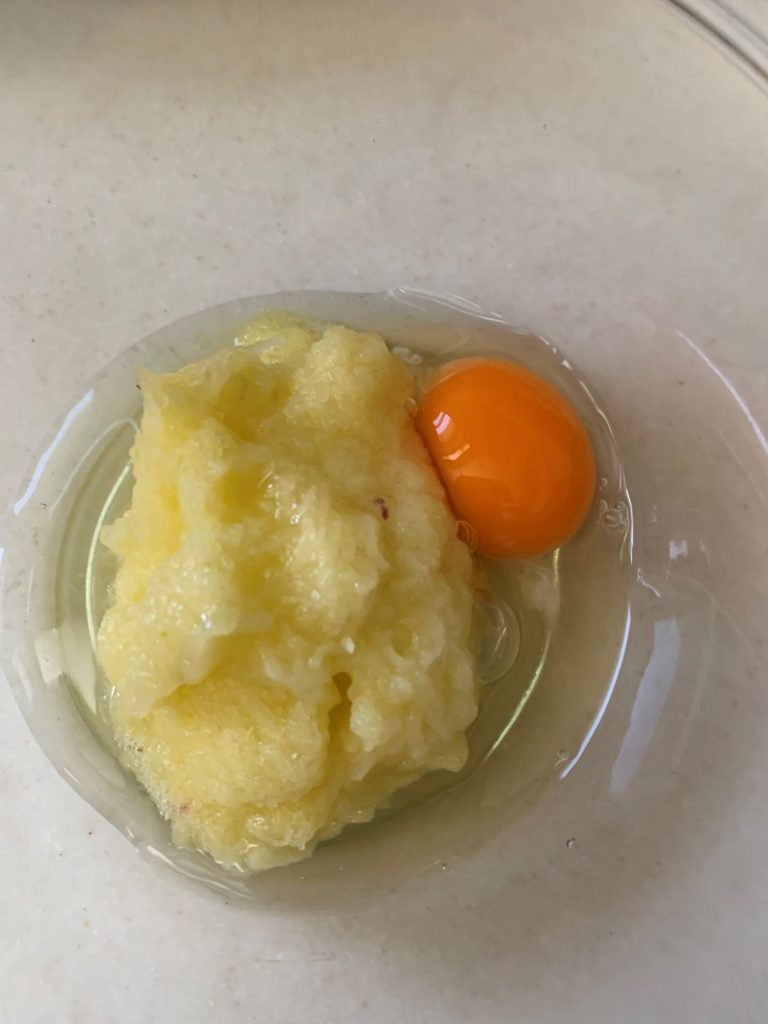
Crack an egg straight in a bowl or you can use a separate bowl and lightly whisk it first and then add to apple. Mix it well.
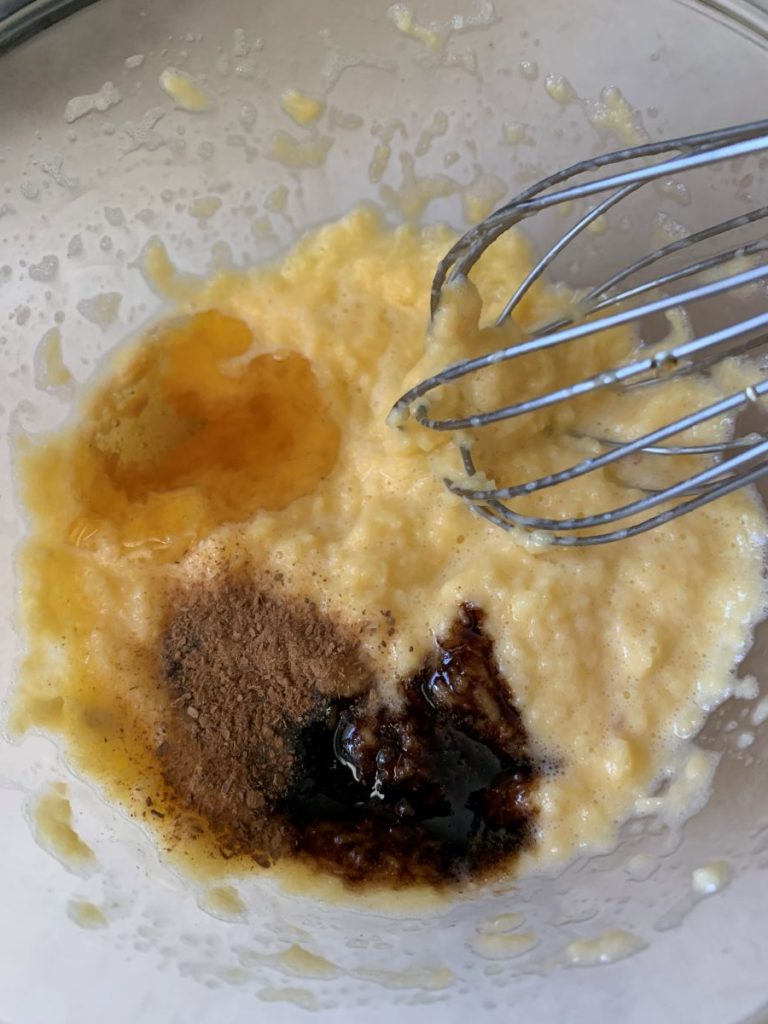
Tip in cinnamon and pure vanilla extract. Mix well.
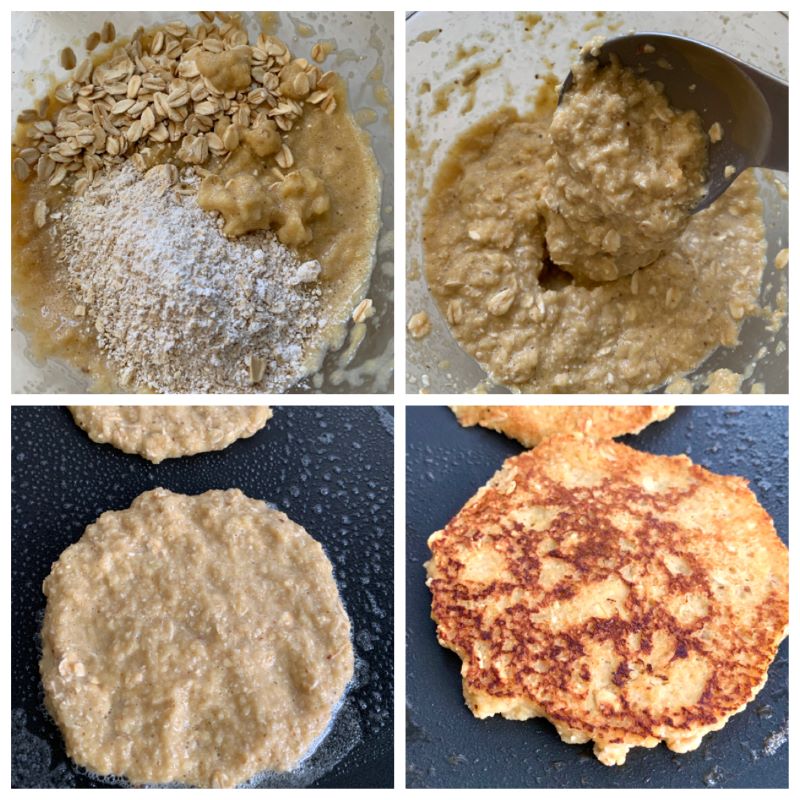
Now add rolled oats flour and 2 tbsps rolled oats. This is optional. I like to keep a bite and texture of rolled oats in pancakes. You can grind it if you want. Mix till everything incorporates. Batter consistency is thick.
Heat a nonstick or cast iron pan to a medium heat. Brush it with some butter or oil. Pour 1 scoop or roughly 1/4th cup batter.
Cook till top sets and edges start to leave the pan. Gently flip and cook the other side till golden brown. Cook the remaining batter similarly.
How to serve pancakes?
Babies 6-9 months old: cut pancakes vertically in the size of your index finger. It is easier for babies to grasp.
Babies 9months+: You can cut the pancake to small bite size pieces.
Toddlers: Serve the same way as you would serve an adult. You can also smear pancakes with some nut butter fold them and make a little pancake sandwich.
Variations
You can swap apple with any other fruit of your choice like peach, strawberry or mango.
You can also experiment with different flours- wholewheat flour or different millet flour.
You can also substitute fruit with a vegetable like carrot or zucchini.
I try to have atleast 2 gluten free meals in a day. I don’t have any gluten allergy but I think it keeps my system in check. There are exceptional days when all my meals have gluten but mostly I prefer breakfast and dinner to be gluten free.
Millet, an ancient grain has gained quite a well deserved popularity in recent times. Traditional millets have found their way back into households quickly winning hearts. It’s naturally gluten free and offers tremendous health benefits. There are countless reasons why you should have 1 meal in a day that contains millets.
There are several types of millets you can choose from like foxtail millets, sorghum millet, pearl millet or finger millet. But today we will use Barnyard Millet. In addition to millets, these pancakes also include foxtnuts (makhana), flattened rice (poha) and buttermilk which is a great source of protein.
Benefits of Barnyard Millets
Barnyard millet or Sanwa rice as it is popularly known has high levels of protein, calcium, iron, minerals, and vitamin B complex.
It is also low in carbohydrates making it a boon for those with type II diabetes and cardiovascular diseases.
It contains high amounts of iron- richest amongst all millets and cereal grains.
It is low in calories and a good source of highly digestible protein
Benefits of Foxnuts/Makhanas
Makhanas were previously so under-appreciated. They have become more popular in recent years as people have become more health conscious.
Foxnuts are a fabulous source of protein, magnesium and potassium. Just 100 grams of foxnuts can give your 9 grams of quality, easy to digest natural protein.
They have high calcium content.
Studies have shown that foxnuts aid in management of blood sugar levels.
Fox nuts are high in astringent properties and can help prevent kidney problems.
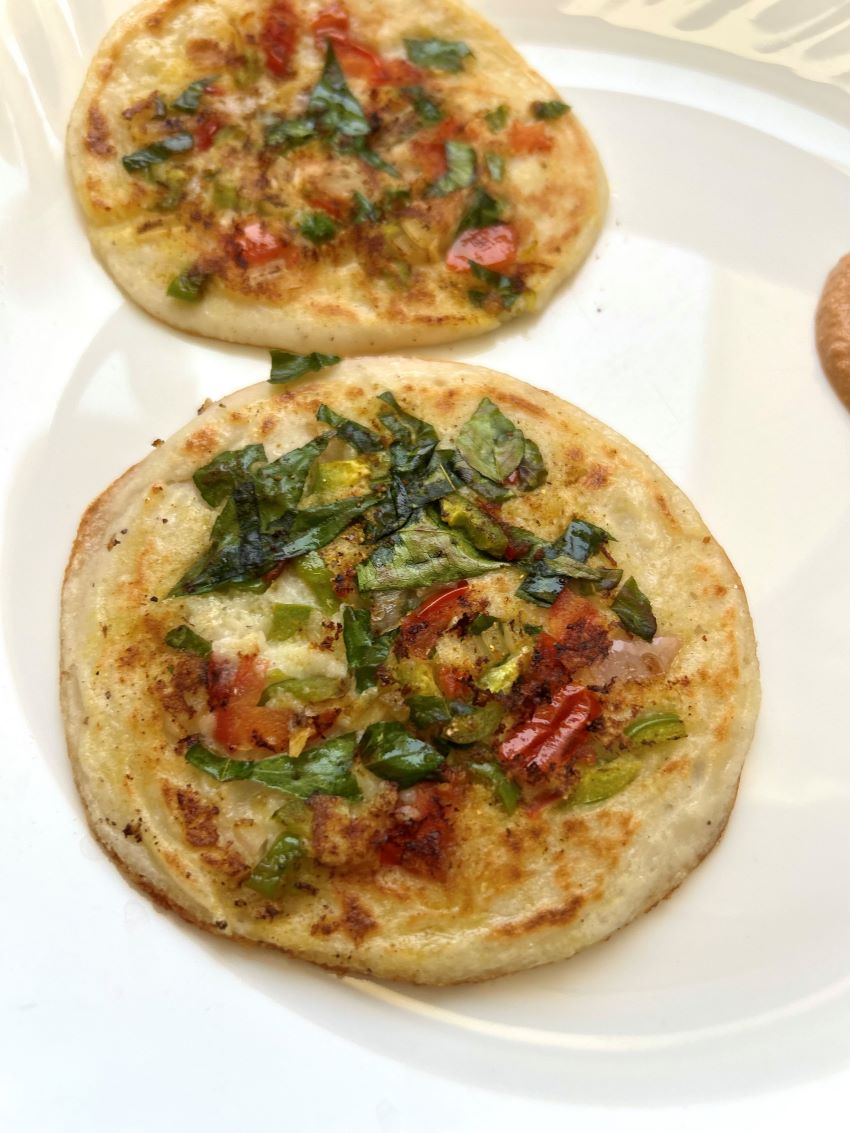
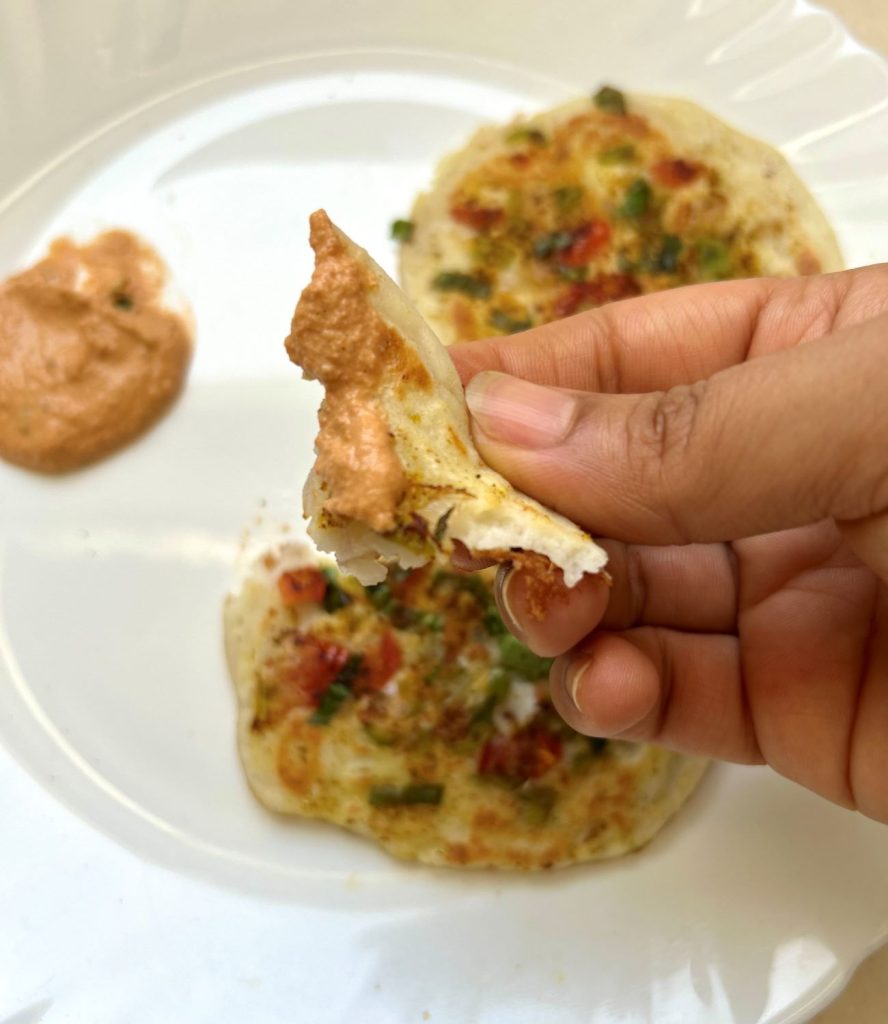
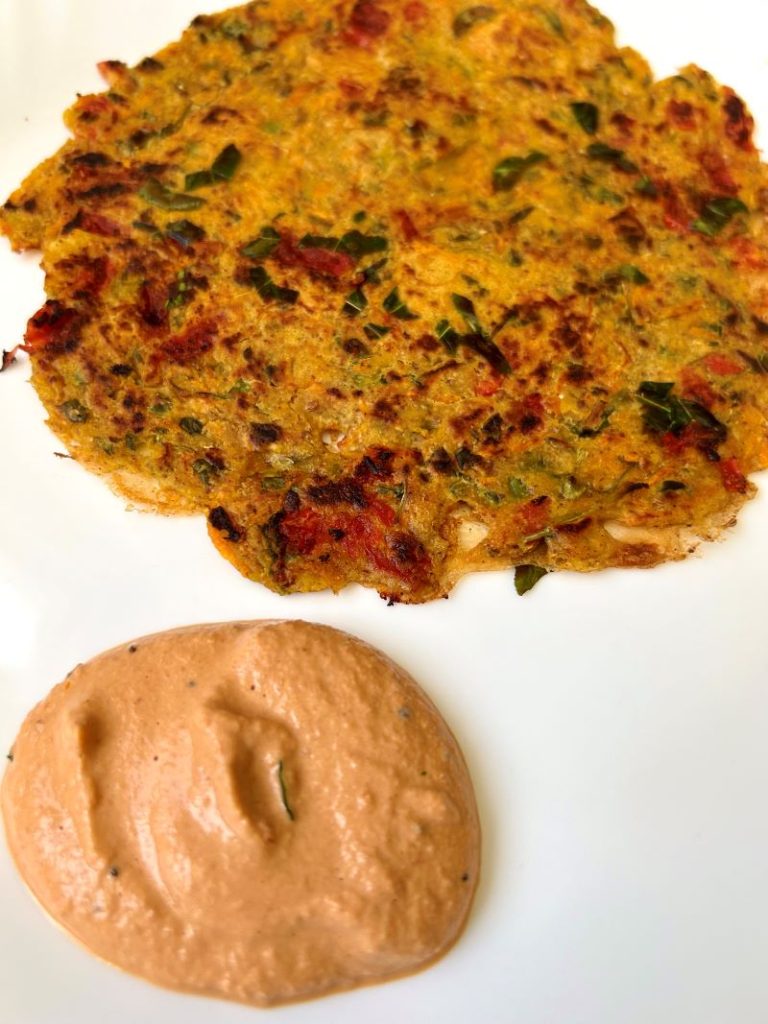
I tried these pancakes for the first time today and surprisingly they came out so nice and flavourful. Even my 10 year old son loved it and ate 4 of these for breakfast. They are crisp on the outside and soft on the inside. I paired it with my Tangy Spicy Peanut Chutney for more flavour and to add more protein in my diet.
Barnyard millet: It tastes like broken rice and is also a fabulous substitute for rice. They are also ideal for summers as this millet has cooling properties. In case you can’t find barnyard millet flour, you can substitute it with other millets like pearl millet or sorghum flour.
Flattened Rice/Poha: It is a delightful and nutritious breakfast option with numerous health benefits. It is also an exceptional vegetarian source of Iron. If you can’t find poha, you can use rice flour.
Foxtail Nuts/Makhana: Makhanas add a great nuttiness and chewy texture to these pancakes.
Buttermilk: It is a great source of protein. In addition to that, it easy to digest and also adds a natural tangy flavour which tastes delicious. I used homemade buttermilk which was freshly made while making cultured ghee at home. You can check out the recipe here- Homemade Ayurvedic Cultured Ghee.If you can’t find buttermilk, use yogurt or homemade curd.
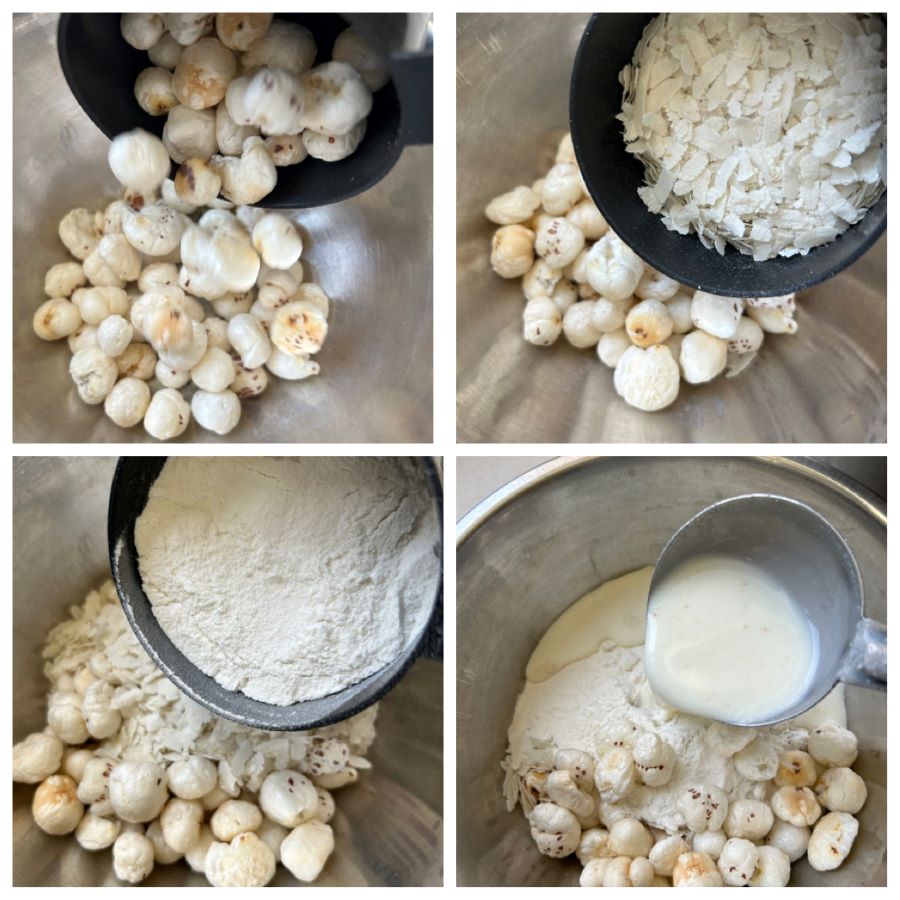
In a large bowl, add foxnuts, barnyard millet flour and poha. Now add buttermilk and mix well.
Cover and let it rest for 20 minutes. The foxnuts and poha will soften and absorb the buttermilk. At this point it will have a thick consistency.
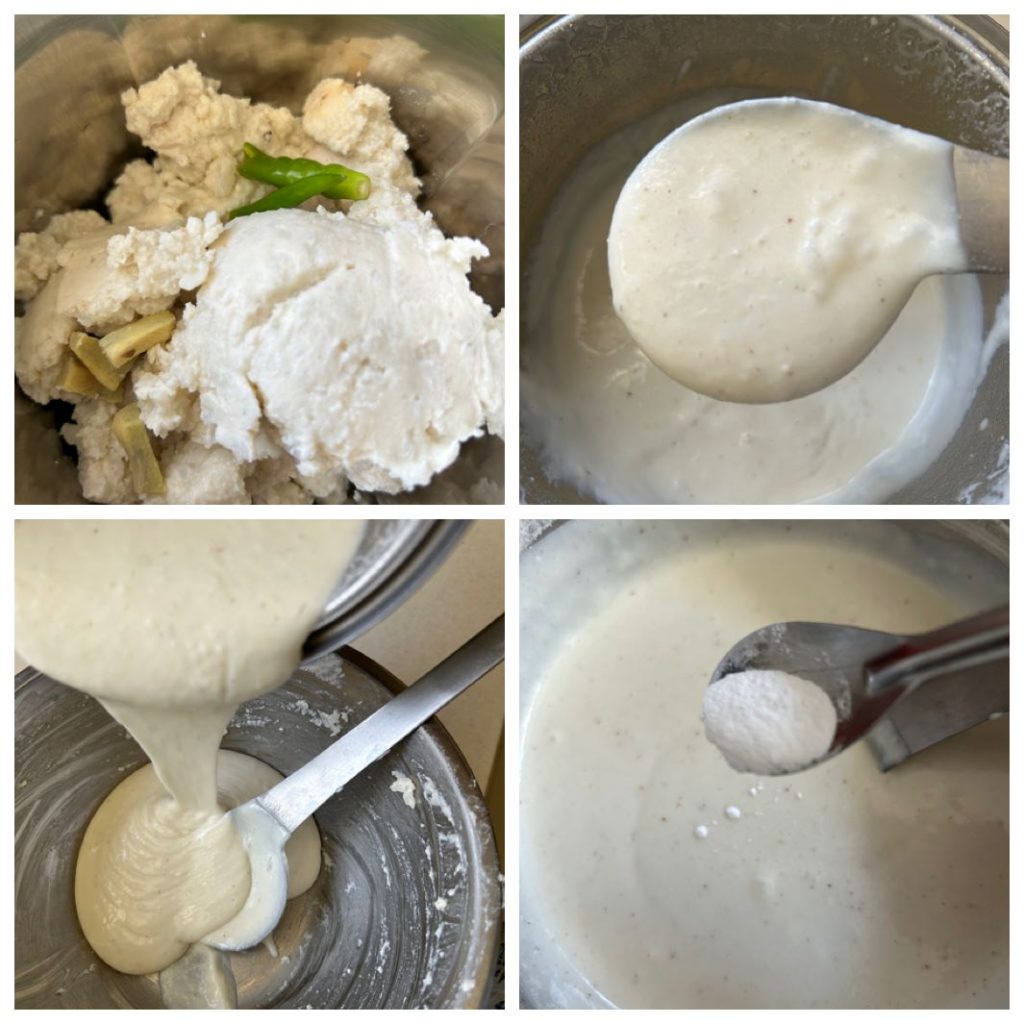
Now add everything to the blender. Add salt, ginger and green chilli. Then add water and blend to a smooth consistency batter. Add more water if required but add little at a time. Do not make a runny thin batter.
Empty the batter in a bowl and add baking soda. Mix gently.
Add chopped vegetables and curry leaves in about bowl. Sprinkle some salt and chat masala if you like and mix well. Keep aside.
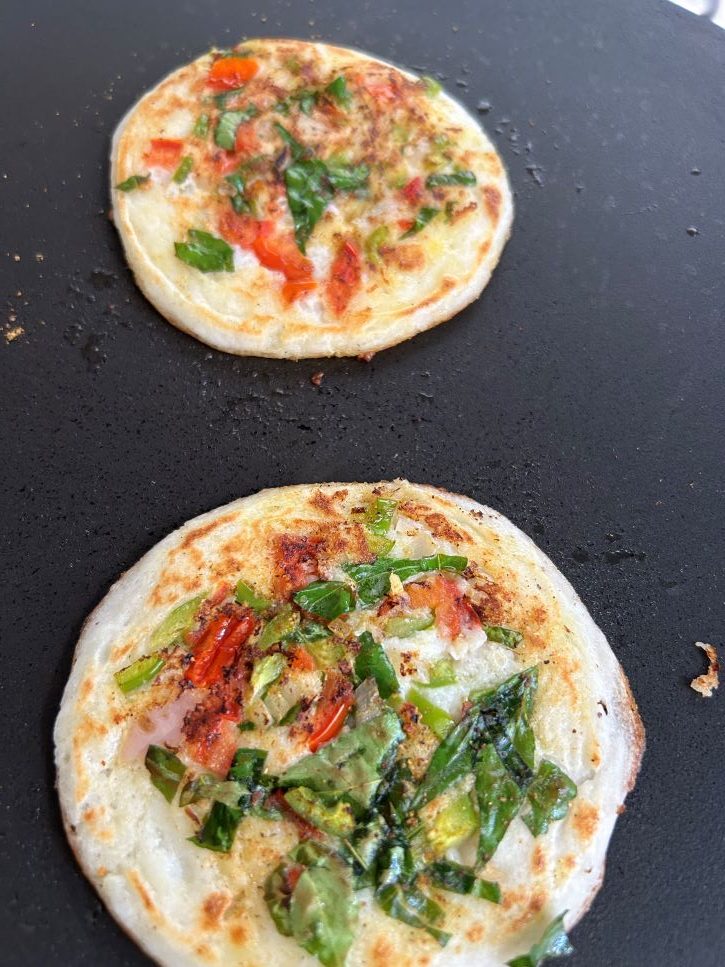
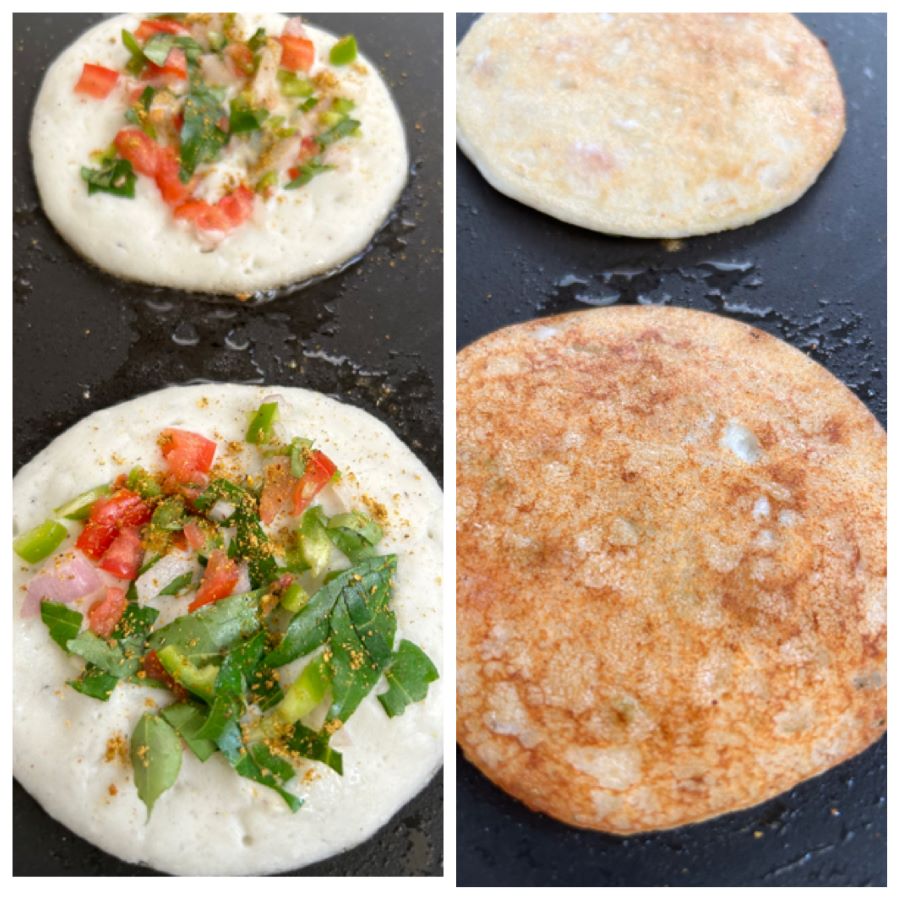
Heat a non-stick pan or cast iron pan. Bring it to medium heat. Spread one ladle full of pancake batter on the pan. Add oil/ghee around the edges.
Now add some vegetables on top and press the vegetables gently. Cook on medium flame for 3 minutes or till the edges brown. Carefully flip and cook the other side for another 2-3 minutes or till it becomes nice and golden brown.
Cook the remaining pancakes in the similar way. Serve hot with chutney of your choice.
Notes:
Always remember not to add Eno as a leavening agent. It’s an antacid and it’s bad for health. Baking soda will do the similar job and is not harmful when taken in moderation.
Cook these pancakes on medium heat patiently. Do not increase the flame or the pancakes will not cook evenly and might remain raw from the middle.
You can store the remaining batter in the refrigerator and consume within 2 days.
You can use vegetables of your choice like grated carrots, baby spinach, beetroot etc.
We all know what butter is. It is a dairy product that is made from the fat and protein components of churned cream. In this world of modern dietary greed that teaches deprivation is the way to health and beauty, butter is the most feared food- often frowned upon. Butter remains amongst the most misunderstood food.
Butter is called Makkhan in Hindi, that has always been a quintessential part of the Indian culinary culture. As a Punjabi household, our childhood had been surrounded by makkhan (white butter) and ghee, whether on paranthas, rotis or in vegetables. We always had homemade butter in the fridge. It was prepared in a ‘matki’ or a large vessel/ pot in the olden days. The cream was collected over a few days and transferred to a matki specially meant for this purpose. It was then churned with a ‘madhani’ following a long process that consumed a lot of muscle power. But nowadays, matki is replaced by a regular kitchen bowl and madhani is replacedby a food processor or a hand blender or an electric beater. Although the process remains the same, much energy and time is saved using modern equipment. The end product collected after the churning is called white butter.
In Hindu tradition, white butter or makkhan is offered to Lord Krishna during Janmashtami. As a food for gods, I wonder how such ancient wisdom and food traditions are lost in this new fast pace world where everyone is chasing newly found super-foods and conveniently forgetting their roots- the very foundation of our health.
According to celebrity nutritionist Rujuta Diwekar, “The churning of butter itself makes the makkhan special in terms of molecular gastronomy, not just in terms of its unique, ‘melt in an instant’ texture, but it also nutritionally equips it with many special properties.For starters, it retains the potency of the fat-soluble vitamins A, D, K and E, therefore making it a powerful anti-oxidant. Then there is the Wulzen factor, a hormone-like substance only found in freshly churned butter that has the capacity to prevent joint stiffness and ensures that your bones store more calcium.”
Difference between White Butter and Yellow Butter
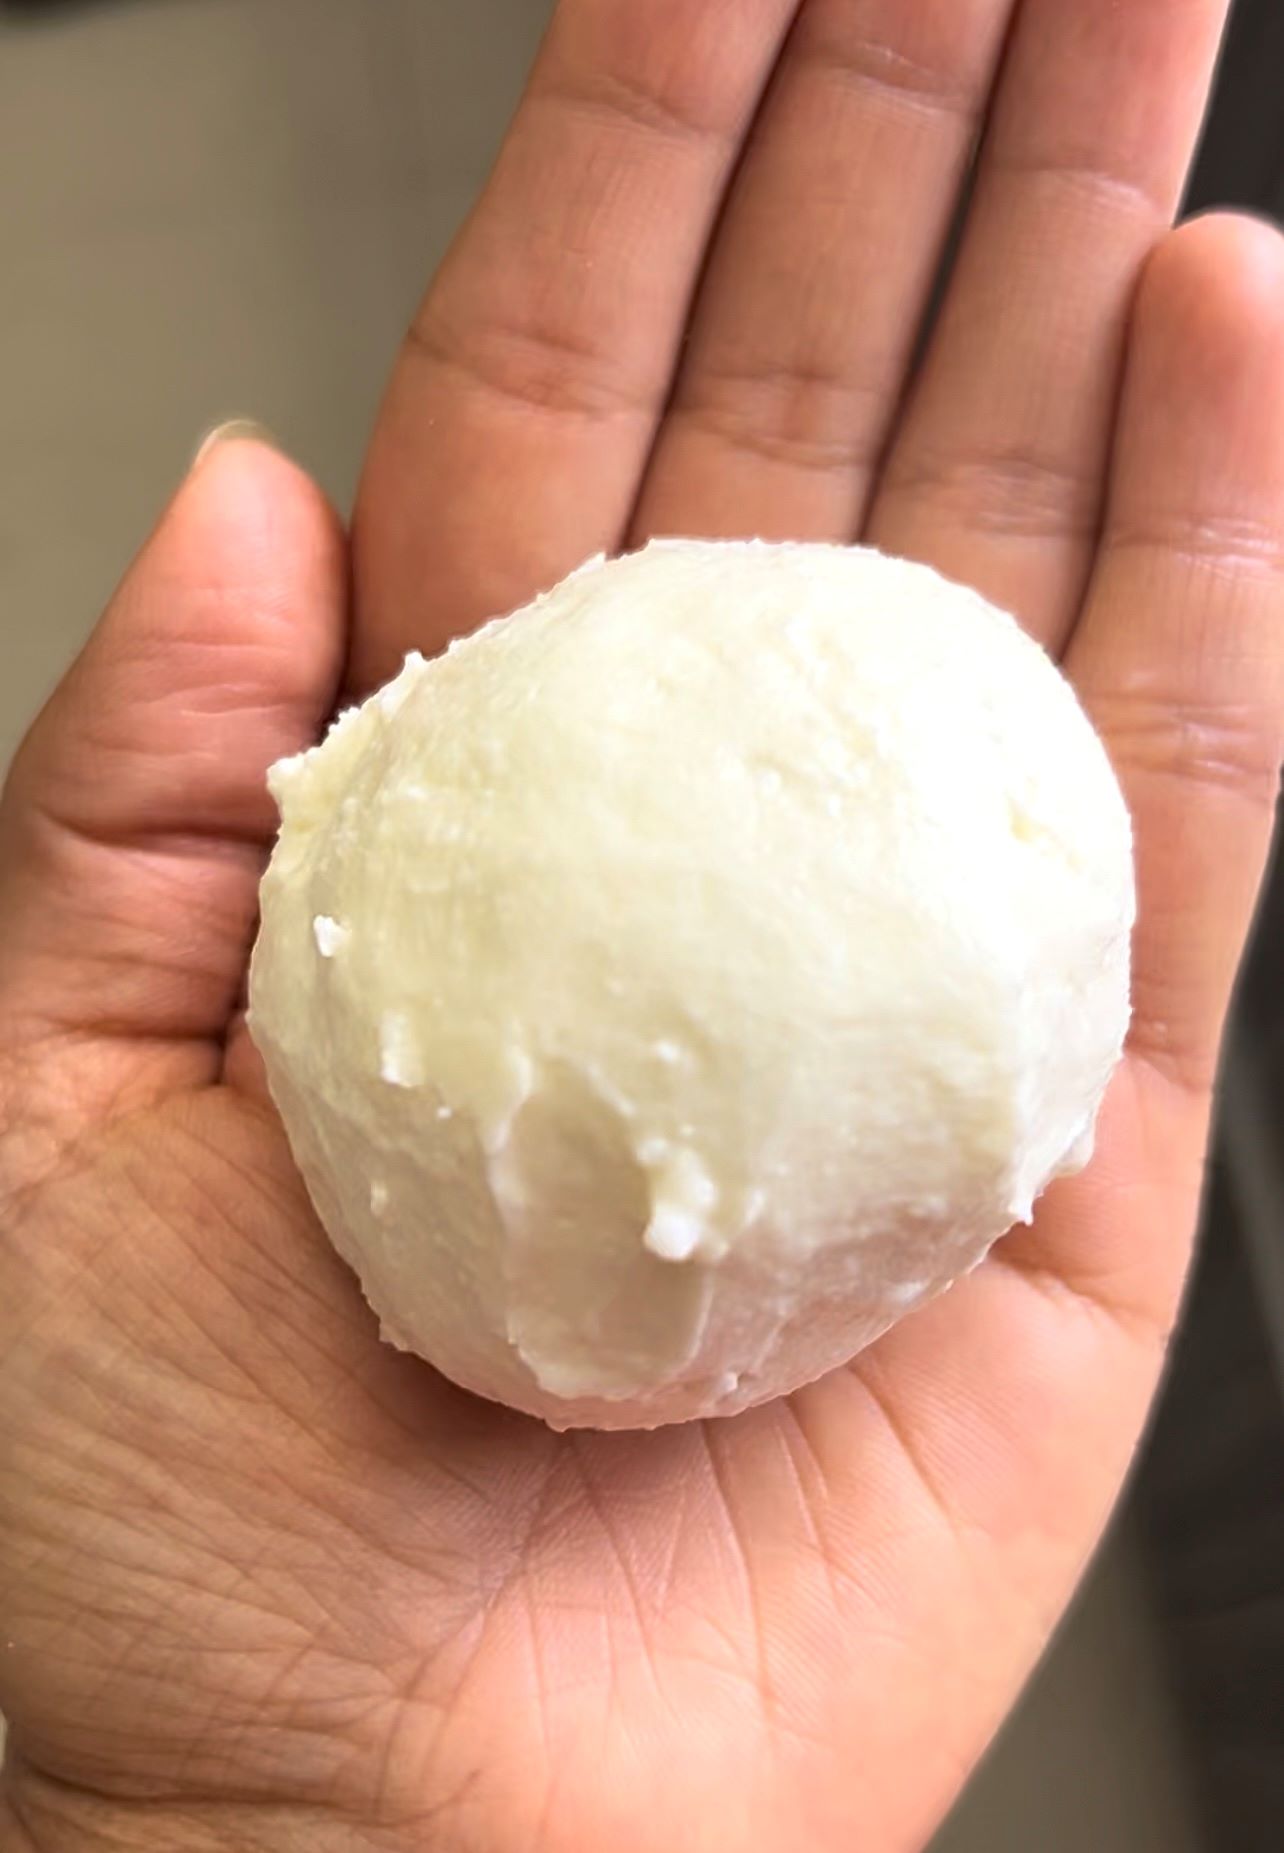
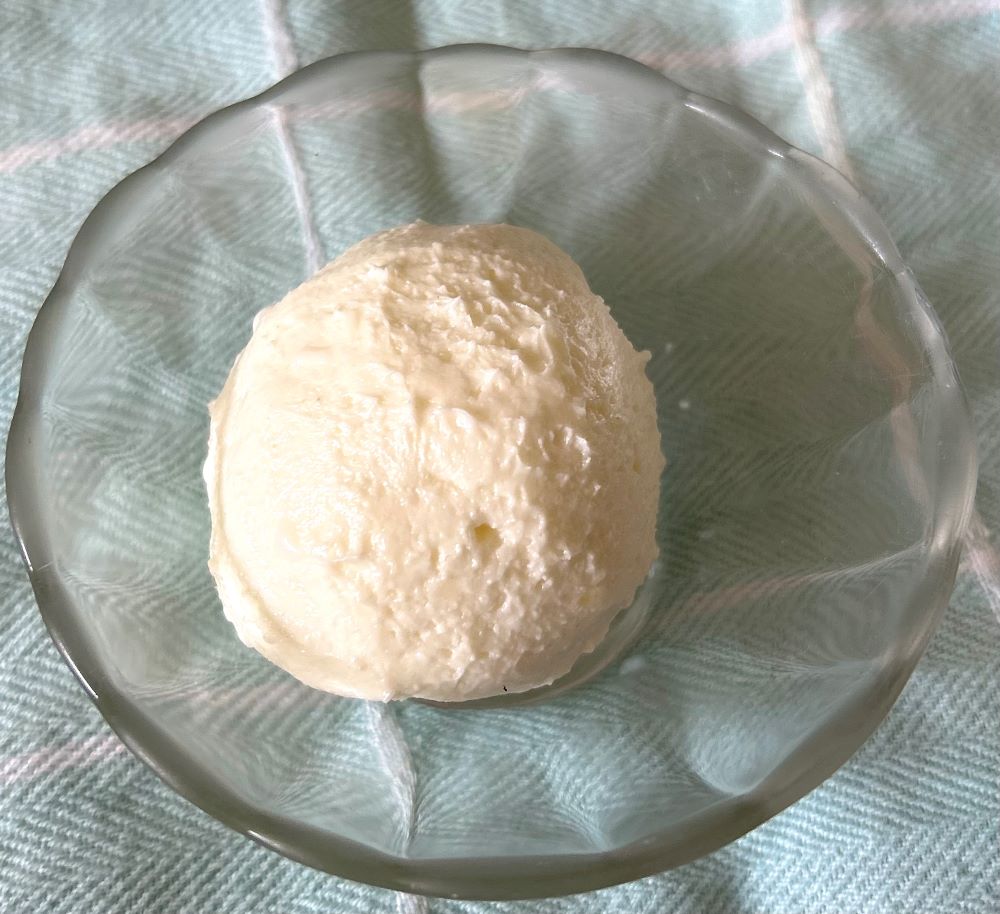
White butter is one of the original forms of butter, which was made in almost every Indian household earlier while yellow butter is commercially produced in a factory. White butter typically contains fewer milk solids which makes it a healthier option for individuals who have lactose intolerance or sensitivity. As white butter contains less lactose, it is may be easier to digest.
Yellow Butter is processed and contains high amounts of saturated and trans-fat which makes it high in calories as well. White Butter, also known as Makkhan, is a natural, un-processed version of butter and contains healthy fats. Thanks to the presence of lecithin in white butter which aids in dismantling unhealthy fats and kick-starts a more agile metabolism.
The molecular makeup of white butter allows it to effectively assimilate fats. This property extends a soothing touch to joints, offering respite to individuals grappling with joint discomfort. It’s a natural elixir for bolstering joint health and mobility.
White butter houses arachidonic acid, a fatty acid pivotal in brain development. In addition, it also contains omega 3 and omega 6. It is exceptionally good for children as it supports their overall brain growth.
Want that glowing skin? Include Makkhan in your diet. It is an amazing source of Vitamin E, that safeguards skin health, potentially leading to a reduction in skin-related issues.
Yellow butter is yellow because of the high fat content, and it’s processed, therefore it’s heavy in calories. Salt and preservatives are added to make it last longer and have a prolonged shelf life. Yellow butter also contains colouring agents.
How to make White Butter at home?
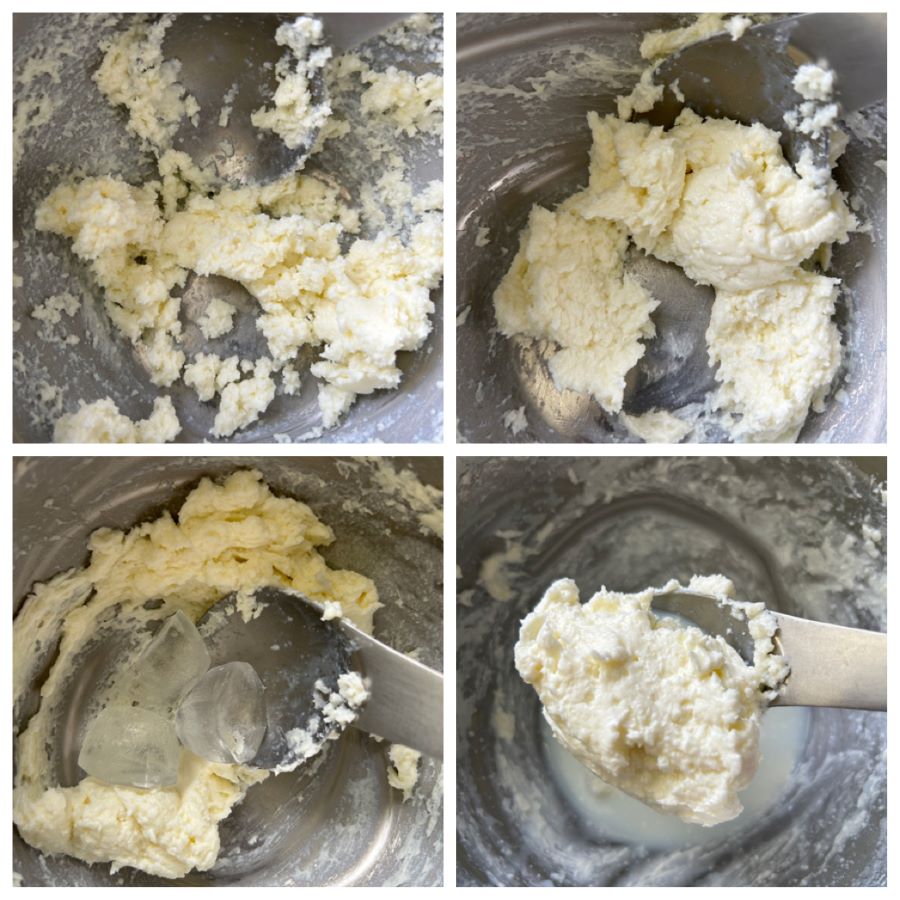
Take some of top creamy layer of milk or malai in a bowl.
Churn it with a whisker or sturdy spoon for a minute or two.
Now add ice cubes and a little bit of cold water and churn again till butter has separated from water and comes together.
Separate the butter from the liquid. Gently squeeze the makkhan between your hands.
Rinse butter with fresh water to get rid of any milk residue.
Let the butter set in refrigerator for 10-15 minutes and it is ready to be used.
Notes:
I normally make small quantity of butter so I prefer manual churning. However, if you plan to make a big batch you can totally use food processor or an electric beater. Just add some cold water to the blender and blend it on pulse mode.
It is important to wash away all the milk remains from the butter. If a substantial amount of buttermilk remains, it will sour within a week, otherwise homemade butter can keep for upto 2 weeks in the fridge.
You can also make Cultured Probiotic Butter at home which has added benefits of probiotics and is much easier to digest. You can check out the full procedure here- Ayurvedic Cultured Ghee.
Takeway
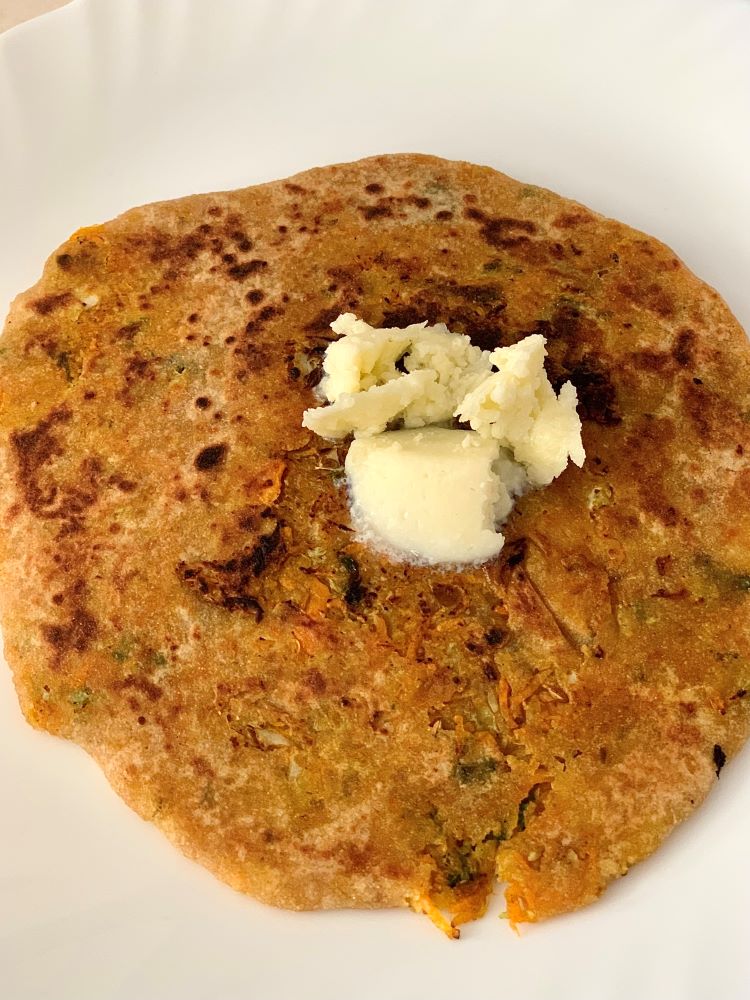
In a nutshell, white butter is way better than yellow commercial butter. Is it worth the effort? Absolutely Yeah!! I always feed my child white butter and he barely eats yellow butter. It’s just so easy to whip in small batches. Literally takes you 5 minutes. Although, always remember to have it in moderation. Too much of everything is bad. Any excess of oil or fats will lead to heart or cholesterol problems. And never be scared or feel guilty about food. Do not indulge in fearful eating. Enjoy your luscious aloo ka paratha with a dollop of freshly made white butter, but moderately. Eat smart and exercise and aim at a healthy lifestyle.
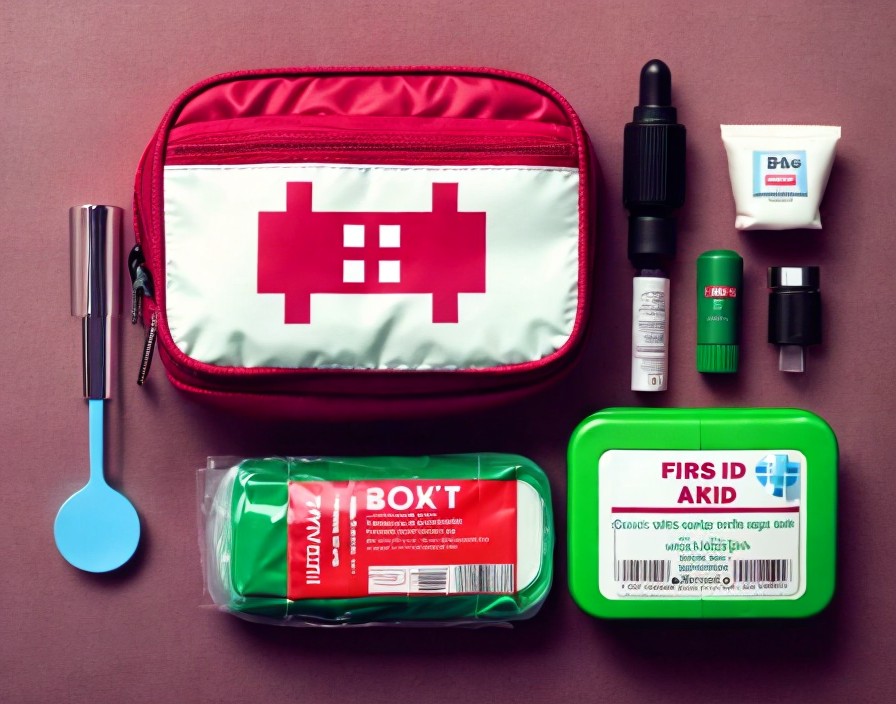
As summer vacation starts, many of us make travel plans with our kids, eagerly anticipating family adventures. Traveling with kids can be a delightful adventure, but it also comes with its fair share of challenges. As a parent, you have to be ready for all scenarios – scrapes, injuries, and stomach troubles can happen at any time. Here are some tips to ensure a smooth and safe journey with your little ones.
1. Pack a Comprehensive First Aid Kit
Essentials: Include band-aids, antiseptic wipes, gauze, and adhesive tape for minor cuts and scrapes.
Medications: Carry over-the-counter medications like pain relievers, antihistamines, and any prescription medicines your children need.
Extras: Don’t forget to pack tweezers, a thermometer, and a pair of scissors.
2. Plan for Stomach Troubles
Hydration: Keep oral rehydration solutions or electrolyte drinks on hand to prevent dehydration.
Probiotics: Carry probiotics to help maintain your children’s gut health, especially when trying new foods.
Medications: Bring medications for nausea, diarrhea, and constipation.
3. Comfort Items
Blankets and Toys: Familiar items can help soothe your kids in unfamiliar environments.
Snacks: Healthy snacks can prevent hunger-induced meltdowns. I usually pack homemade namkeens, roasted foxnuts, roasted dry fruits and homemade cereal.
4. Keep Them Entertained
Books and Games: Pack a few books, puzzles, or travel-sized games to keep your children entertained during long journeys.
Electronic Devices: Download their favorite shows, movies, or educational apps to keep them occupied.
5. Stay Calm and Positive
Patience: Traveling can be stressful, but maintaining a calm demeanor can help your children feel more secure.
Flexibility: Be prepared to adapt your plans. Sometimes, the best travel memories come from unexpected changes.
Traveling with kids requires careful preparation, but it’s worth it for the unforgettable experiences and bonding time. By packing thoughtfully and being ready for all scenarios, you can ensure a safe and enjoyable trip for the whole family.
We hope you found these tips helpful for your upcoming travels. What else would you like to read about in our next blog? Share your thoughts and suggestions with us in the comments below! Happy travels!
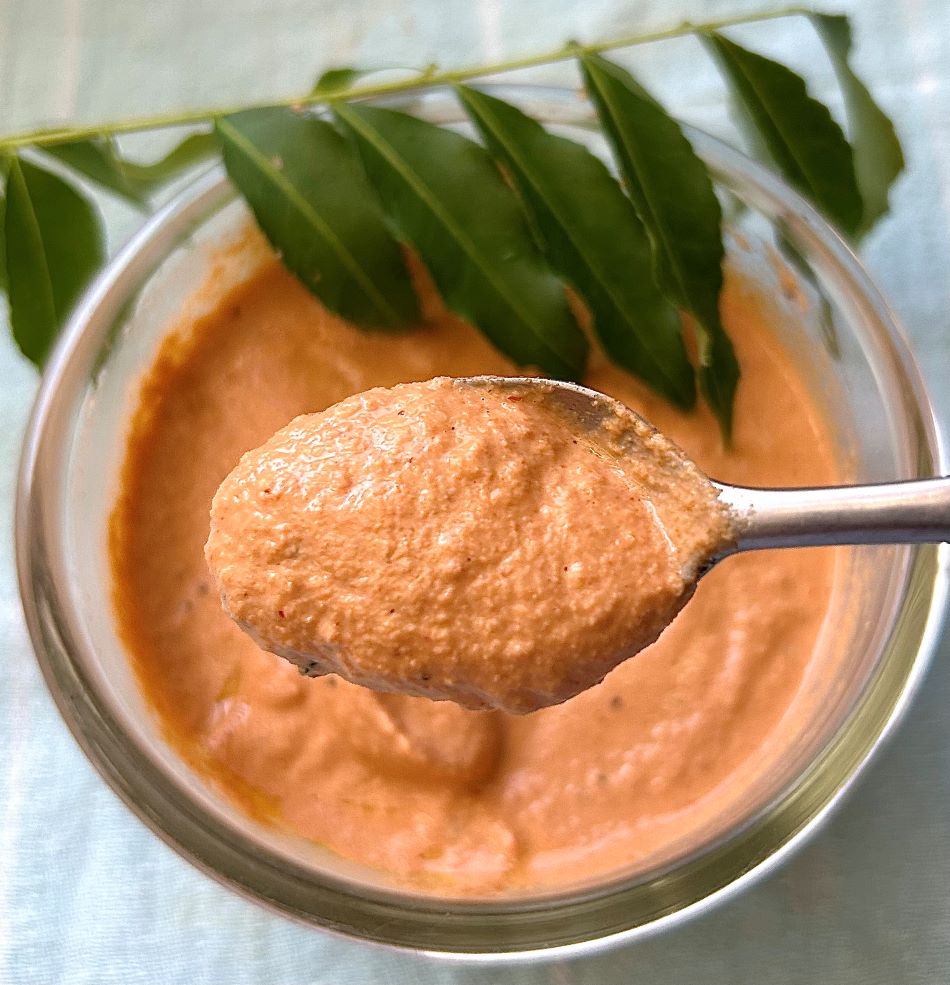
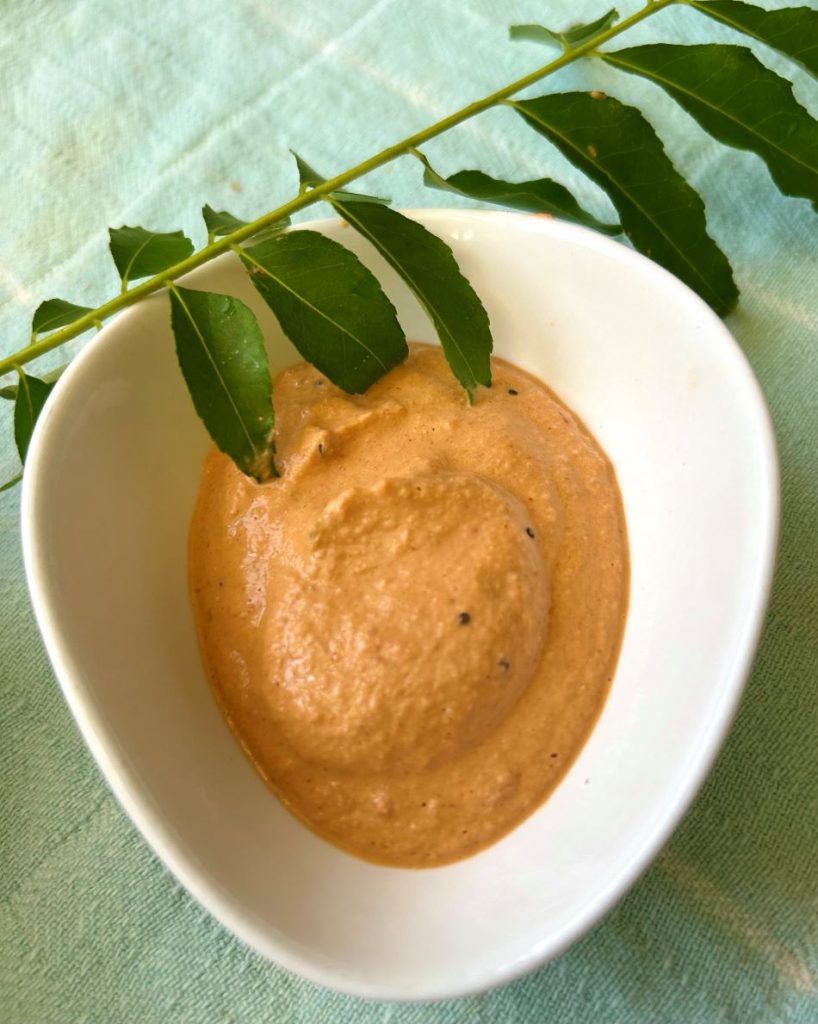
Peanut Chutney also known as Groundnut Chutney is a flavourful, delicious Indian chutney. It is an easy and a tasty chutney made with peanuts and is served popularly along with South Indian breakfast dishes. The texture of this chutney is thick and creamy with of course great blend of flavours. Among all the other Indian chutneys, this groundnut chutney is quite unique, given that there is no addition of coconut, onion or garlic.
It is made with just few everyday ingredients and is flavour bomb. You can serve this chutney with idlis, dosas, Indian savoury pancakes, pakoras, flatbreads or wraps. It is excellent to brighten up your meal and add a lot flavour to your dish.
This Indian peanut chutney is protein-packed and boost the nutrition profile of your everyday breakfast meal and it is naturally vegan too. I made this Iron Rich Pancake for breakfast. It is made with chickpea flour and sattu, both of which are great sources of protein as well. But I wanted to add more protein to my vegetarian meal, so I decided to make this Peanut Chutney. One bite of this and the flavours just blew my mind. You guys have to try this to believe it. You can also try pairing this chutney with this Semolina pancakes or this Karnataka style Coconut dosa.
I kept this recipe in some way traditional by using raw peanuts which are roasted and then ground with other ingredients. I have also kept the skin of the peanuts. Peanut skins have the highest antioxidant levels compared to other parts of the peanut, and roasted peanut with skins have a high antioxidant capacity.
The traditional version is usually made with only 6 ingredients such as roasted peanuts, garlic, green chilies, cumin seeds, salt and tamarind. All of these are ground with water to a smooth chutney & most often it is not tempered.
The traditional version is great too but I’ll share with you a way to add maximum punch with minimal ingredients that you will actually always make this peanut chutney without onion and garlic. This flavourful chutney can also be taken in any vrat. So save this recipe for your next Navratri fast.
How to make Peanut Chutney?
Ingredients
Raw Peanuts: 1/2 cup
Roma Tomato: 1 medium size
Dry Red Chillies: 3 (you can increase or decrease chilli as per your liking)
Salt to taste
Groundnut oil: 1 tbsp
Lemon juice: 2 tbsps or to taste
Water: 1/4th cup or as required
For Tempering
Groundnut oil: 1 tbsp
Mustard seeds: 1/2 tsp
Curry leaves: 5-6
Instructions
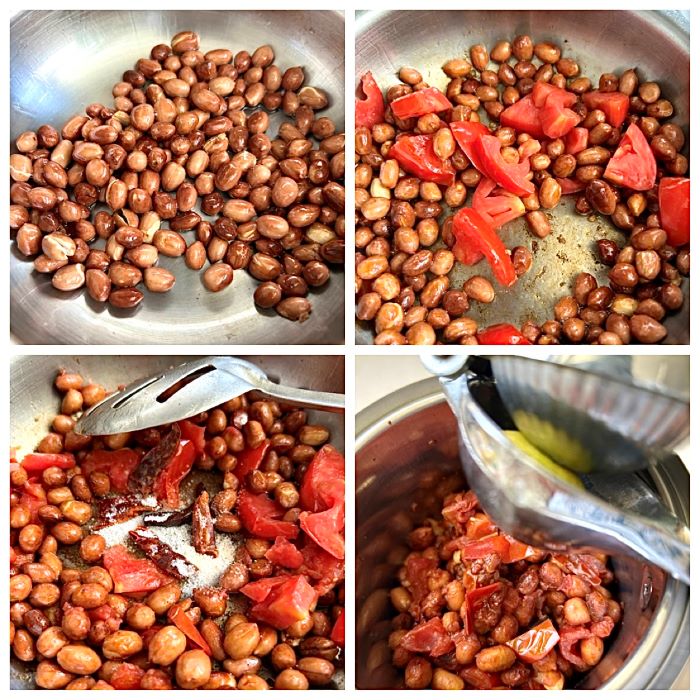
In a flat bottom pan, heat 1 tbsp oil to a medium heat. Add raw peanuts and roast till they change colour and become fragrant.
Once peanuts are roasted, in the same pan add roughly chopped tomato, salt and dried chilli. Cook on a medium to low flame till tomato becomes mushy. If the need be, you can sprinkle some water to cook tomato.
Remove from heat and allow it to cool a little. Then add everything to a mixer grinder. Add lemon juice and 1/8th cup of water.
Give it a blitz. Now add remaining water and blend till it becomes smooth and creamy. You can add more water if required but don’t add too much. Add little at a time.
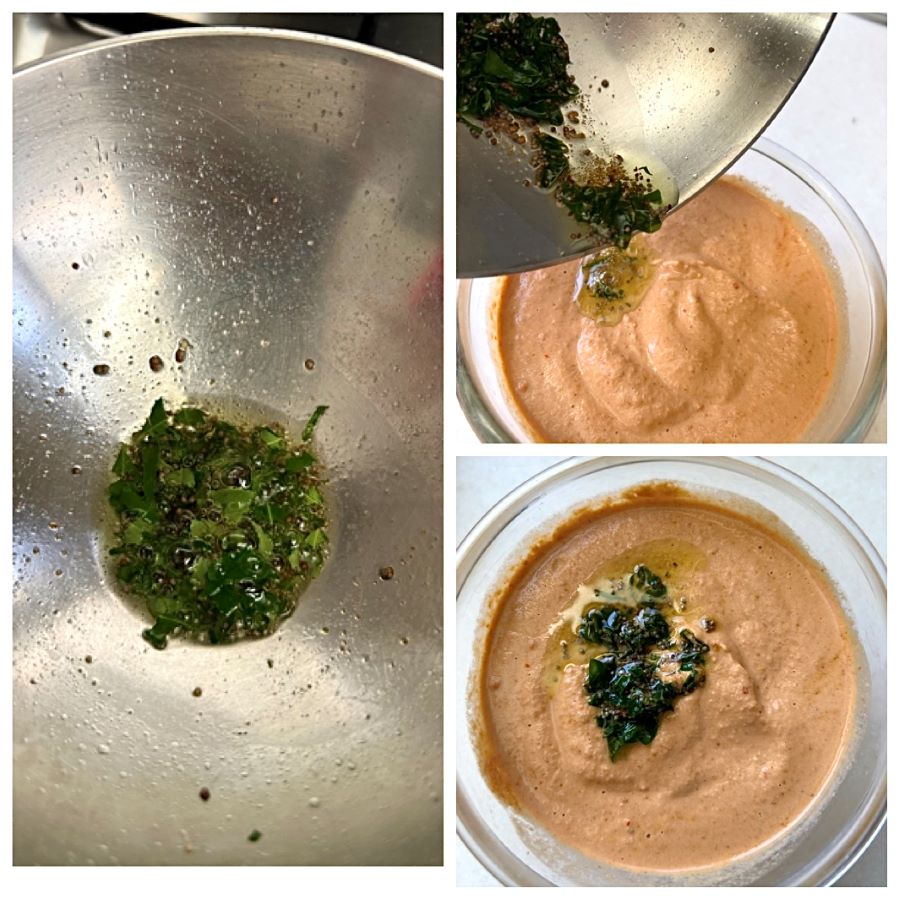
Empty the chutney into a bowl. For tempering, heat a tbsp of oil. Add mustard seeds and asafoetida/hing. Let mustard seeds splutter. Turn off the flame.
Now add curry leaves and swirl it around. Let curry leaves rest in oil for 15-20 seconds then add this tempering to the chutney and mix well.
Check for salt and lemon juice. Adjust as per your liking. Your chutney is ready to serve.
Notes:
You can adjust the consistency by adding less or more water, but do not make the consistency runny or thin.
Store your peanut chutney in an air-tight container. Refrigerate and use within a week.
To make groundnut chutney, always use fresh dry peanuts. Do not use peanuts that have gone rancid.
In case raw peanuts are not available, you can make this chutney with roasted salted peanuts. In that case, please be mindful of additional salt.
You can replace lemon juice with tamarind. Rinse or soak the tamarind in some water before you blend it with the remaining ingredients.
I genuinely encourage you to try this recipe because it is absolutely delicious. Do let me know in the comments section if try this recipe. Happy eating! 🙂