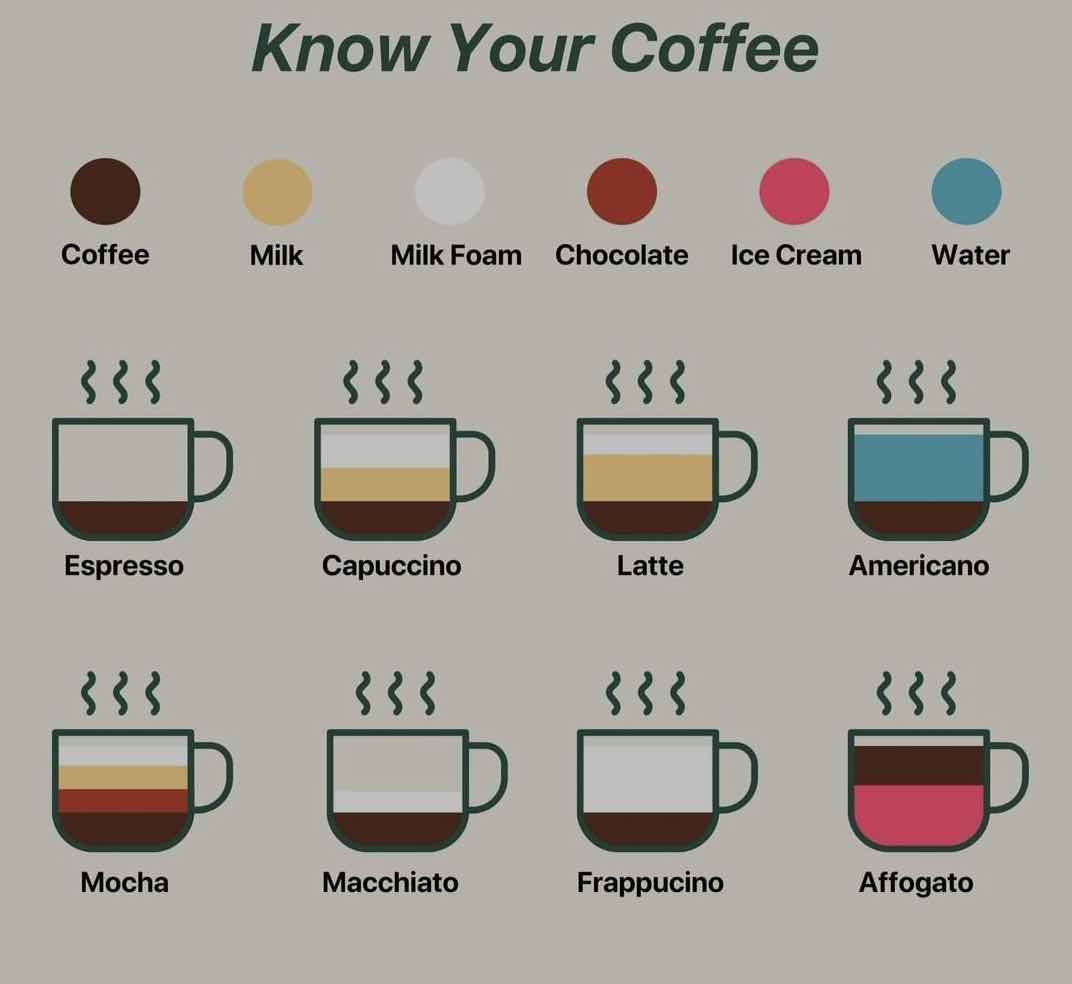
Ever felt confused with barrage of options presented to you at the coffee shop? And then for those who are ‘noobs’ to the scene the entire thing can be overwhelming if not embarrassing. Well here is a quick guide you can save, which would help you bail out from such situations
What makes your favorite coffee drink unique? Whether you’re a seasoned coffee enthusiast or just starting your journey into the world of coffee, understanding the different types of coffee drinks can enhance your appreciation and enjoyment. From the bold and strong espresso to the creamy and sweet Frappuccino, each coffee drink has its own story and character. Let’s dive into the delightful world of coffee, and don’t forget to share your favorites and experiences in the comments below!

Also read Moka Pot Mastery: Elevate Your Coffee Game
Espresso
Espresso is the heart and soul of many coffee drinks. It’s a strong, bold shot of coffee that packs a punch of pure coffee essence. Often the base for many other drinks, espresso is enjoyed by coffee purists and adventurous drinkers alike. There’s nothing quite like the intense flavor of a well-pulled espresso shot to kickstart your day.
Personal Tip: Enjoy your espresso with a splash of cold water to cleanse your palate before each sip.
What’s your first espresso experience like? Share in the comments!
Cappuccino
Cappuccino is a perfect blend of equal parts espresso, steamed milk, and milk foam, creating a creamy and balanced cup. It’s a favorite morning pick-me-up for many, offering a harmonious combination of coffee and milk. The foam on top adds a delightful texture, making each sip a pleasure.
Fun Fact: Did you know that cappuccino gets its name from the Capuchin friars, whose robes are the same color as the drink?
What’s your favorite cappuccino variation? Tell us below!
Latte
Lattes are smooth and milky, consisting of espresso with more steamed milk and a light layer of foam. They are highly customizable with syrups and flavors, making them a popular choice for those who enjoy experimenting with their coffee.
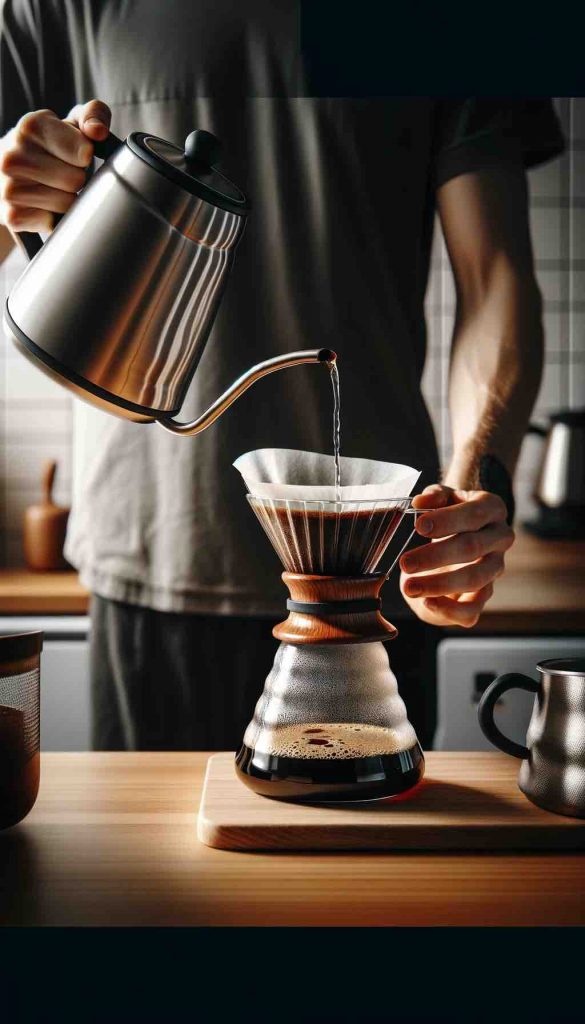
Pro Tip: Making a perfect latte at home is easier than you think! Start with a strong espresso and gradually add steamed milk, finishing with a light froth.
What’s your favorite latte art design? Share your creations!
Americano
An Americano is simply espresso diluted with hot water, creating a coffee that is milder than a straight espresso but still full of flavor. It’s similar to drip coffee but with the distinct taste of espresso.
History: The Americano is said to have originated during World War II when American soldiers in Europe would dilute their espresso to make it last longer.
Do you prefer Americanos or regular coffee? Let’s discuss!
Mocha
Mocha combines espresso, steamed milk, and chocolate, resulting in a rich and indulgent coffee drink. It’s perfect for those who love the combination of coffee and chocolate.
Recipe: For a homemade mocha, mix a shot of espresso with steamed milk and a generous spoonful of chocolate syrup. Top with whipped cream for extra decadence.
What’s your go-to mocha recipe? Share it with us!
Macchiato
A macchiato is a shot of espresso “marked” with a small amount of milk foam. It offers a strong coffee flavor with a touch of creaminess, making it a favorite for those who enjoy their coffee bold but not too intense.
Variations: Traditional macchiato is simple, but the popular caramel macchiato includes vanilla syrup and caramel drizzle.
Which macchiato style do you prefer? Traditional or caramel?
Frappuccino
Frappuccino is a blended iced coffee drink, often flavored and topped with whipped cream. It’s cold, refreshing, and perfect for hot days or as a sweet treat.
Fun Fact: The Frappuccino was created by Starbucks in the 1990s and has since become a global sensation with countless flavor variations.
What’s your favorite Frappuccino order? Let’s hear it!
Affogato
Affogato is a delightful dessert-coffee hybrid, consisting of a shot of espresso poured over a scoop of ice cream. It’s a perfect blend of hot and cold, sweet and strong.
Tips: Vanilla ice cream is a classic choice, but try experimenting with different flavors like caramel or chocolate for a unique twist.
Share your unique affogato creations with us!
Conclusion
Exploring the variety of coffee drinks can be a fun and rewarding experience. Whether you’re making them at home or ordering at your favorite café, each drink offers a unique taste and experience. We’d love to hear your coffee stories, recipes, and photos, so join the conversation and share your coffee love in the comments below!
Suggested Reads:
How Roasting Defines Your Coffee!
Decoding the Buzz: Is Your Coffee High in Oxalates?
Discover the 5 Most Expensive Coffees in the World
Vegan and Sugar Free Creamy Cold Coffee