Posted on Leave a comment

The Art of Espresso: Mastering the Perfect Grind

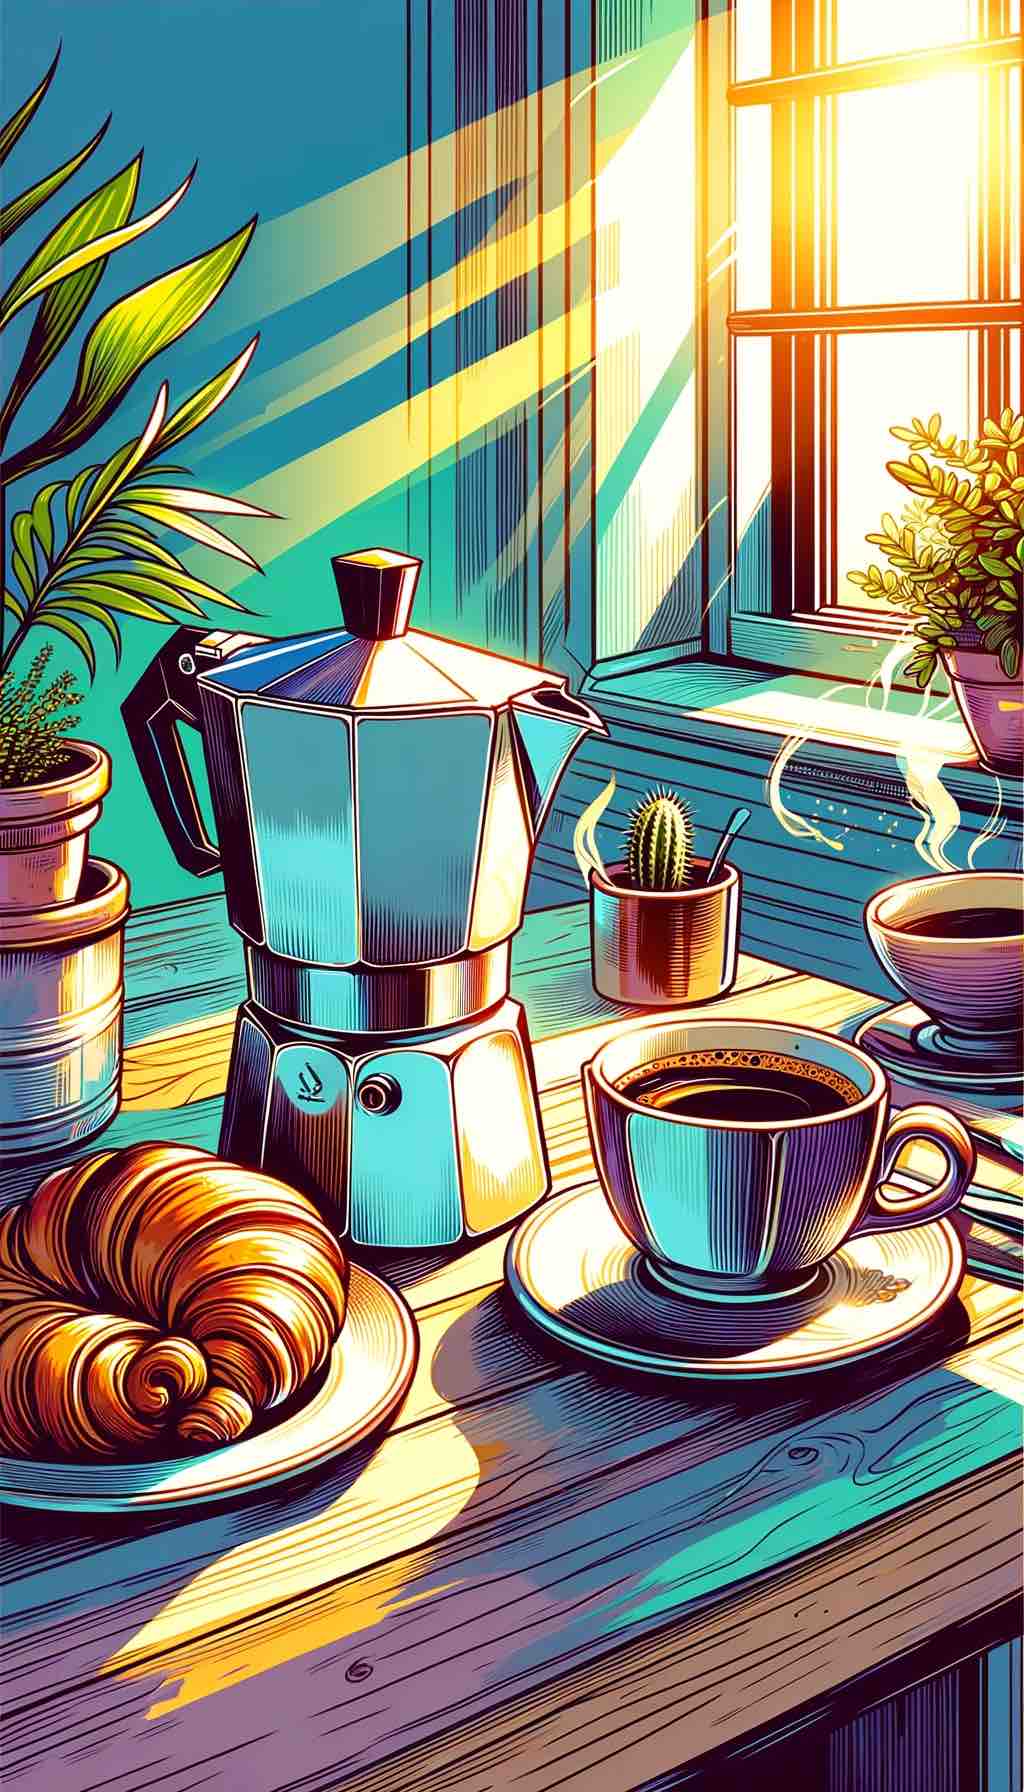
In the world of coffee, espresso reigns supreme. Its rich aroma, intense flavor, and velvety texture make it a favourite among coffee aficionados. But what’s the secret behind a perfect shot of espresso? The answer lies not just in the quality of the beans but in the art of grinding them. Let’s dive deep into the world of espresso grinding, uncovering the nuances that transform good coffee into an exquisite espresso experience.

Understanding Espresso Grind Size

The foundation of a stellar espresso begins with the grind size. Too fine, and you risk over-extraction, leading to a bitter taste; too coarse, and under-extraction makes your espresso weak and sour. Achieving the ideal grind size, resembling fine sand, is crucial. It allows the hot water to extract the coffee flavors efficiently, delivering a shot with the perfect balance of sweetness, acidity, and bitterness.

Choosing Your Weapon: Burr Grinders

When it comes to grinding for espresso, all grinders are not created equal. Burr grinders are the champions of consistency, offering uniform grind sizes essential for espresso. Unlike blade grinders, which chop beans unevenly, burr grinders crush them to a uniform size, ensuring even extraction. Whether you opt for a flat or conical burr grinder, the key is to choose a model that allows fine adjustments tailored to your espresso machine.

The Dial-In Dance

Mastering espresso requires patience and precision, especially during the dial-in process. This involves adjusting your grinder to find the sweet spot where the espresso flows like warm honey and tastes like heaven. Start with a recommended setting and adjust based on the shot time: aim for a 25-30 second extraction for a standard double shot. If it’s too fast, grind finer; if too slow, grind coarser. Remember, even a slight adjustment can significantly impact the flavor.

Freshness is Non-Negotiable

Coffee begins to lose its flavor moments after grinding, so for the freshest, most flavorful espresso, grind your beans just before brewing. This preserves the oils and aromas that give espresso its character, ensuring each cup is vibrant and full-bodied. Investing in a good quality grinder makes this step seamless, integrating freshness into your daily routine.

Beyond the Grind: Water, Pressure, and Temperature

While grind size is paramount, other factors play critical roles in espresso perfection. Water quality, extraction pressure, and temperature must harmonize with your grind. Soft water, a pressure of 9 bars, and a temperature around 200°F (93°C) are ideal starting points, but experimentation is key. The magic of espresso lies in its complexity; each variable opens new doors to flavor profiles and experiences.

Troubleshooting Tips

Espresso too bitter? Your grind may be too fine, or you’re over-extracting. Try a slightly coarser grind or shorten the extraction time.

Espresso too sour? This usually means under-extraction. Go for a finer grind or extend your extraction time to fully capture the beans’ flavors.

Inconsistent shots? Check your grinder for wear and tear. Even the best grinders need maintenance and occasional burr replacement.

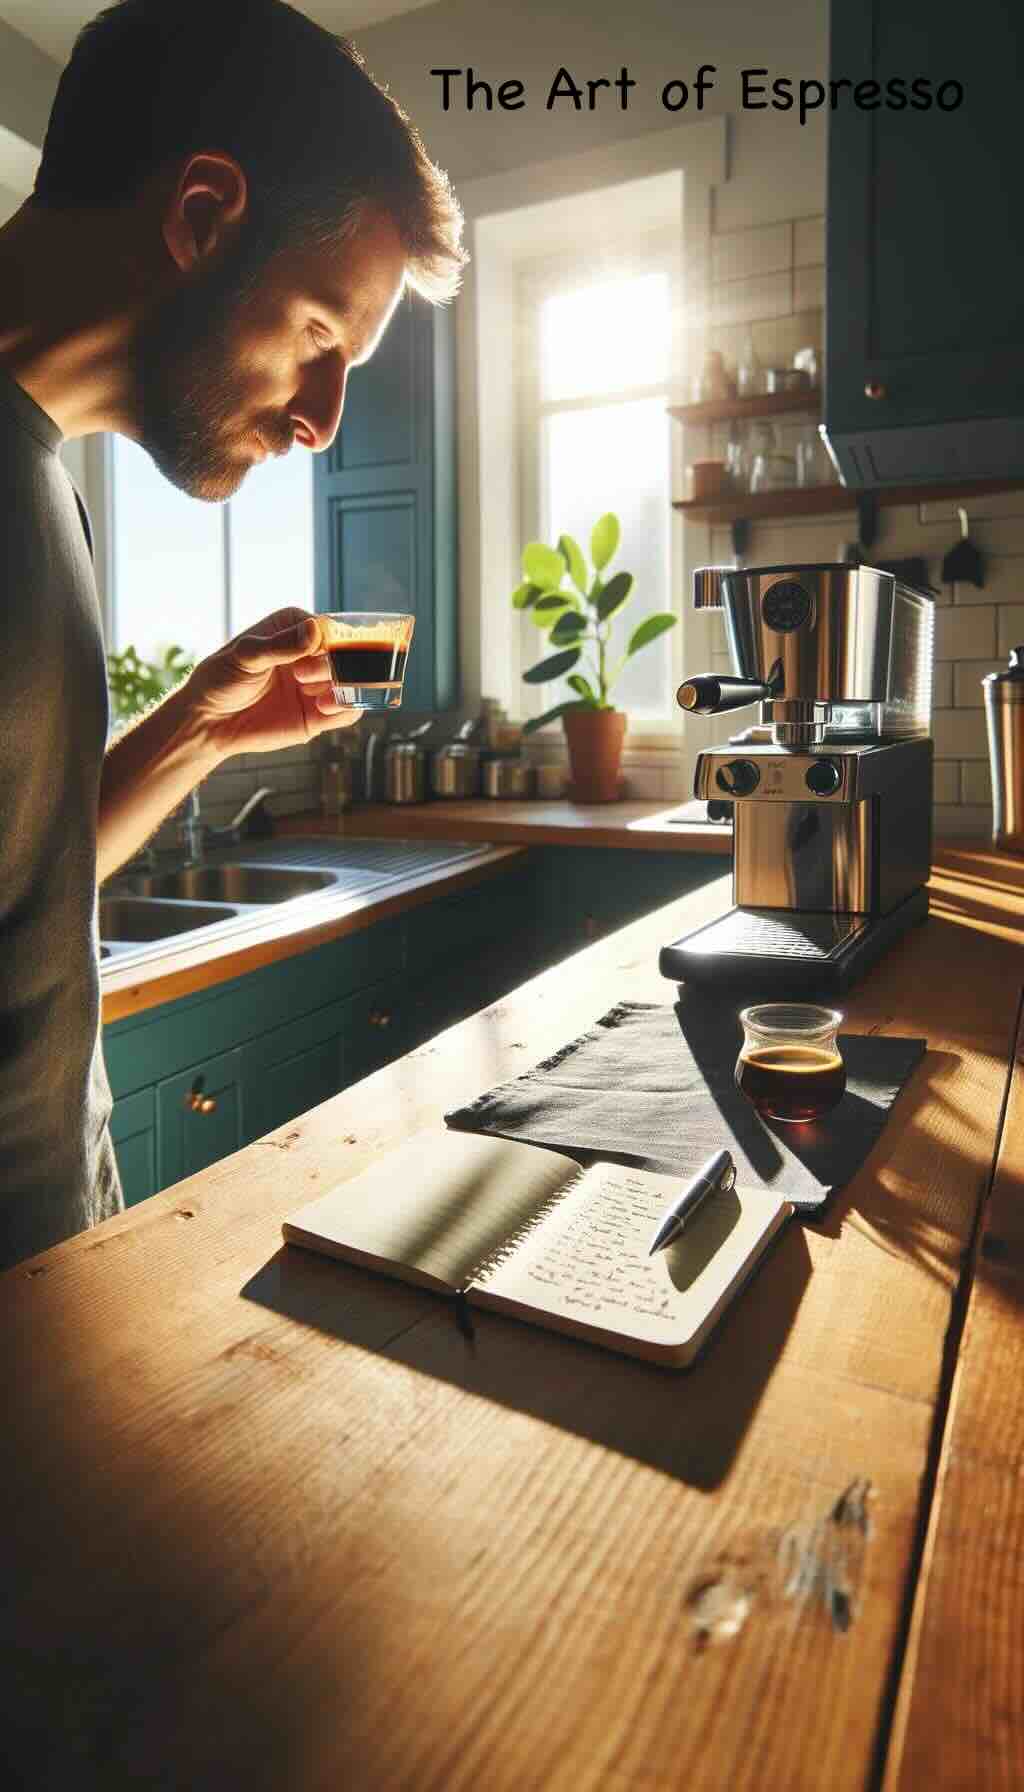
Embracing the Journey

Mastering the grind for the perfect espresso is both an art and a science. It requires understanding, patience, and a willingness to experiment. But the reward—a sublime cup of espresso that awakens the senses and delights the soul—is worth every effort.

As you embark on this journey, remember that each adjustment, each tasting, brings you closer to espresso nirvana. So, embrace the process, trust your palate, and let the adventure begin. After all, in the world of espresso, perfection is a moving target, and the pursuit is as enriching as the destination.

10 FAQs for “The Art of Espresso: Mastering the Perfect Grind”

What is the ideal grind size for espresso?

The ideal grind size for espresso is very fine, similar to table salt or sand, to ensure optimal extraction and a rich, full-bodied shot.

Why is a burr grinder recommended over a blade grinder for espresso?

Burr grinders provide consistent, uniform grind sizes essential for espresso, whereas blade grinders often produce uneven grinds leading to poor extraction.

How do I dial in my espresso grinder?

Start with the grinder’s recommended espresso setting, then adjust finer or coarser based on extraction time: aim for 25-30 seconds for a double shot. Tweak until the espresso tastes balanced.

How fresh should my coffee beans be for making espresso?

Use coffee beans within two weeks of roasting for the best flavor and aroma. Grind beans just before brewing to maintain freshness.

Can the water quality affect my espresso?

Yes, water quality significantly impacts espresso taste. Use filtered or bottled water with a balanced mineral content for the best results.

What temperature should water be for brewing espresso?

The ideal water temperature for brewing espresso is around 200°F (93°C), crucial for proper extraction without burning the coffee.

What should I do if my espresso tastes bitter?

Bitterness often indicates over-extraction. Try a slightly coarser grind or reduce the brewing time.

Why does my espresso taste sour?

Sourness typically signifies under-extraction. Use a finer grind or increase the brewing time to extract more flavors.

How often should I clean my espresso grinder?

Clean your grinder at least once a month to remove coffee residue and oil buildup, which can affect taste and grinder performance.

Can I use regular coffee beans for espresso?

Yes, but beans labelled as “espresso” are typically roasted to optimise the rich and complex flavors desired in an espresso shot.

Blog Tags

espresso grinding, burr grinders, coffee freshness, water quality, extraction techniques, taste adjustments, grinder maintenance, bean selection, brewing temperature

Posted on Leave a comment

Moka Pot Mastery: Elevate Your Coffee Game

Welcome to the quick guide to mastering the Moka pot, your gateway to brewing espresso-like coffee that packs a punch without the need for an expensive machine. The Moka pot, often underrated, is your ticket to a rich, flavorful coffee experience. Let’s dive into the world of Moka pot brewing, where every step is an opportunity to perfect your cup.

Understanding the Moka Pot

The Moka pot, invented in 1933 by Luigi De Ponti for Alfonso Bialetti, revolutionized home coffee brewing. Its simple yet effective design uses steam pressure to pass boiling water through coffee grounds, producing a robust and richly flavored coffee. Available in various sizes, the Moka pot is versatile, durable, and a staple in Italian culture.

Selecting Your Coffee

The journey to a perfect Moka pot coffee begins with the right coffee beans. Opt for fresh, high-quality beans, preferably with a roast date within the past month. While espresso roasts are traditional, don’t be afraid to experiment with lighter roasts for a more nuanced flavor profile. The grind size should be fine but not as powdery as for an espresso machine, aiming for a texture somewhat coarser than table salt.

The Perfect Grind

A consistent grind is crucial. A burr grinder is preferred over a blade grinder for its ability to produce uniform coffee particles, ensuring even extraction and a balanced cup. If you find your coffee too bitter, coarsen the grind; if it’s weak or sour, go finer.

Water: The Source of Life

Water quality can make or break your coffee. Soft, filtered water is ideal, as hard water can lead to mineral buildup in your pot and affect the taste. Start with pre-boiled water to fill the bottom chamber just below the safety valve. This technique reduces the Moka pot’s exposure to heat, preserving the coffee oils and preventing a burnt taste.

Mastery in Measurement

Precision is key. For every 100ml of water, use about 7-8 grams of coffee. This ratio ensures a strong but not overpowering brew. Adjust according to taste, but always start with this golden ratio for a balanced foundation.

The Brewing Ritual

  1. Fill and Assemble: Fill the bottom chamber with hot water up to the safety valve, then fill the basket evenly with ground coffee. Do not tamp down; a gentle tap is enough to level the surface.
  2. Heat Control: Place the Moka pot on a low to medium flame. High heat can scorch the coffee, while too low won’t extract properly.
  3. Listen and Look: Keep the lid open. When the coffee starts to emerge, you should hear a hissing sound, and a rich, brown stream will flow. Once the stream turns honey-golden, remove from heat.
  4. Cool Down: Run the bottom chamber under cold water to stop extraction immediately. This prevents bitterness and seals in the flavor.

Cleaning and Maintenance

Never underestimate the importance of cleaning. Rinse each component with hot water after use and let them dry separately to prevent mold and residue buildup. Avoid soap and detergents, as they can leave flavors behind.

Common Missteps to Avoid

  • Overfilling the Basket: Leads to over-extraction and bitterness.
  • Tamping the Coffee: Can cause water to channel improperly, affecting taste.
  • Ignoring Maintenance: Affects longevity and flavor purity.

Elevate Your Experience

Experiment with your Moka pot. Try different beans, adjust grind sizes, and play with water ratios. Each variation can lead to a new flavor profile, making every morning an exciting quest for the perfect cup.

Conclusion: The Art of Moka

Mastering the Moka pot is about embracing tradition while daring to innovate. It’s a testament to the beauty of simplicity and the rich complexity of coffee. With this guide, you’re not just making coffee; you’re crafting an experience, a moment to savor, and a ritual that brightens your day.

Embrace the journey of Moka pot mastery, and let every cup be a reflection of your passion for coffee. Happy brewing!

FAQs for Mastering the Moka Pot

  1. What is the best grind size for Moka pot coffee?
    • A fine grind, slightly coarser than espresso but finer than drip coffee, is ideal. This ensures proper extraction without clogging the filter.
  2. How do I know if my coffee is over-extracted or under-extracted?
    • Over-extraction results in bitter, harsh flavors, while under-extraction leads to a weak, sour cup. Adjust your grind size and brewing time accordingly.
  3. Can I use tap water in my Moka pot?
    • It’s best to use filtered or bottled water, as the quality of tap water can vary and may affect the taste of your coffee.
  4. How much coffee should I use in my Moka pot?
    • A general rule is to use 7-8 grams of coffee per 100ml of water. Adjust to taste, but this ratio offers a good starting point.
  5. Why is my Moka pot coffee bitter?
    • Bitterness can result from over-extraction, using water that’s too hot, or grinding the coffee too finely. Try adjusting these variables.
  6. Is it necessary to preheat the water?
    • Yes, preheating the water reduces the Moka pot’s exposure to heat, preventing the coffee from burning and ensuring a more even extraction.
  7. How often should I clean my Moka pot?
    • Clean your Moka pot after each use by rinsing it with hot water. Avoid soap, and occasionally dismantle it for a thorough cleaning.
  8. Can I make espresso with a Moka pot?
    • While the Moka pot doesn’t produce true espresso, it makes a similarly strong, rich coffee that’s close in taste and texture.
  9. How do I prevent my Moka pot from leaking?
    • Ensure the filter basket and rubber gasket are properly seated, and don’t overfill the water chamber. Regularly check the gasket for wear.
  10. Can I use my Moka pot on an induction stove?
    • Traditional Moka pots are not compatible with induction stoves. However, you can find Moka pots made specifically for induction cooking.

Blog Tags

moka pot brewing, coffee guide, home espresso, coffee tips, brewing techniques, coffee grinding, water quality, coffee maintenance