Paprika, a spice known for its vibrant color and smoky flavor, is not just a culinary delight but also a potential ally in weight loss efforts. The original Masala Monk article highlights paprika’s benefits, such as its high antioxidant content and ability to add depth to meals without significant calories. This exploration seeks to enrich the content with additional insights and practical tips for integrating paprika into a diet focused on weight loss and overall health.
Paprika: A Spice with Hidden Weight Loss Benefits
Paprika, made from ground bell and chili peppers, offers more than just a burst of color and flavor. Its low-calorie profile and rich nutrient content make it an excellent addition to a weight-loss-friendly diet.
Unlocking Paprika’s Weight Loss Secrets
- Antioxidant Powerhouse: Paprika’s antioxidants, such as carotenoids and capsaicinoids, reduce inflammation, a key factor linked to obesity and metabolic syndrome. By mitigating inflammation, paprika supports healthier body weight management.
- Boosting Metabolism: The thermogenic properties of the capsaicinoids in paprika can slightly increase metabolism, leading to higher calorie burn. While the effect is modest, every bit helps in a comprehensive weight loss plan.
- Enhancing Meal Satisfaction: By adding flavor complexity to dishes without extra calories, paprika helps make satisfying meals that can curb overeating, an essential factor in weight loss.
- Improving Fat Oxidation: Some studies suggest spices like paprika might enhance fat oxidation, meaning the body burns more fat as energy, which is beneficial for weight loss.
- Supporting Digestive Health: Paprika has been found to stimulate digestive enzymes, improving gut health. A healthy digestive system is vital for optimal metabolism and weight loss.
Innovative Ways to Incorporate Paprika into Your Diet
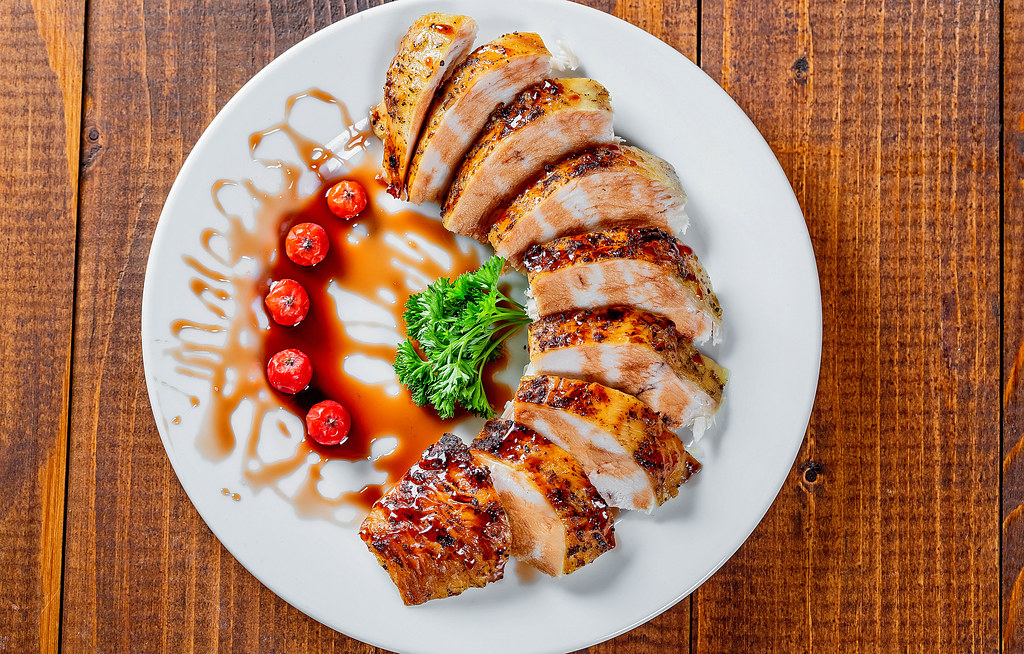
- Seasoning for Proteins: Use paprika as a rub for chicken, fish, or tofu to enhance flavor without adding extra fat or calories.
- Vegetable Roast Booster: Sprinkle paprika on vegetables before roasting to add a smoky sweetness that elevates the dish.
- Soups and Stews: A dash of paprika can deepen the flavor profile of soups and stews, making these low-calorie meals more satisfying.
- Homemade Hummus: Add paprika to your homemade hummus recipe for a smoky twist that pairs perfectly with raw vegetables.
- Spice Blends: Create your own spice blend with paprika, garlic powder, onion powder, and cumin for a versatile seasoning that adds zest to any meal.
Paprika Beyond Weight Loss: Additional Health Benefits
- Anti-inflammatory Effects: The anti-inflammatory properties of paprika support overall health, reducing the risk of chronic diseases.
- Antioxidant Activity: Its high antioxidant content helps protect against cellular damage and supports skin health.
- Cardiovascular Health: Paprika may contribute to improved blood lipid levels, promoting heart health.
- Cancer Risk Reduction: Compounds in paprika have been studied for their potential to lower the risk of certain types of cancer.
Precautions and Recommendations
While incorporating paprika into your diet offers numerous benefits, it’s essential to use it in moderation to avoid digestive discomfort. Always opt for high-quality, organic paprika to ensure it’s free from contaminants and additives.
Conclusion: Paprika – A Versatile Ally in Weight Loss
Paprika’s unique blend of flavor, antioxidants, and metabolism-boosting properties make it a valuable addition to any weight loss or health-conscious diet. Beyond its culinary uses, paprika supports overall wellness, making it a spice worth exploring further in your dietary journey.
Blog Tags
paprika, weight loss, antioxidants, metabolism booster, healthy eating, anti-inflammatory, digestive health, cardiovascular health, cancer prevention, culinary tips