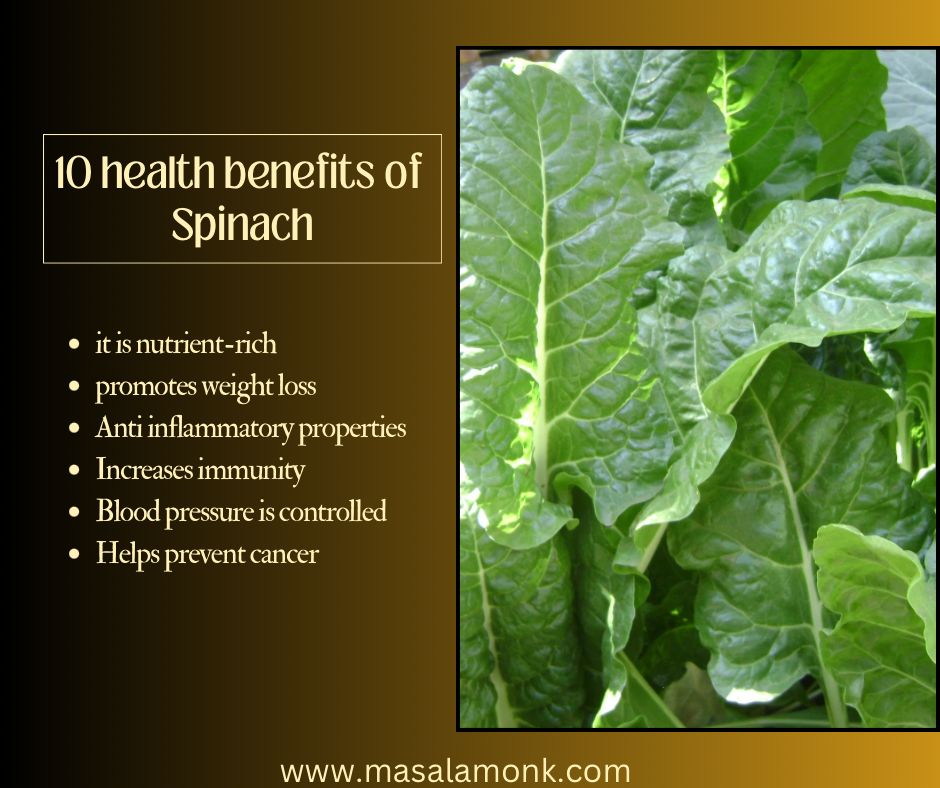
Spinach is an excellent source iron, vitamin C and E, potassium, and magnesium. You can enjoy spinach in so many different ways cooked, raw or frozen. Either eat in chilled salad or sauté with your favorite veggies or make a smoothie but if you are bored using all these way spinach dry this Spinach/Palak raita. This is the best way to use those extra palak and when you are bored with the regular palak saag or palak roti or smoothie. This Spinach Raita is a refreshing and healthy side dish that pairs perfectly with dal rice, parathas, or can be enjoyed on its own. It’s simple to make and adds a delightful twist to your meal.
Ingredients:
- Oil
- 1 tsp Cumin seeds
- 2 cups Palak (spinach), chopped
- Salt, to taste
- 1 cup Curd (yogurt)
- 1 tsp Roasted Cumin powder
- 1/2 tsp Black salt
- 1/2 tsp Red chilli powder
- Additional Salt, to taste
Method:
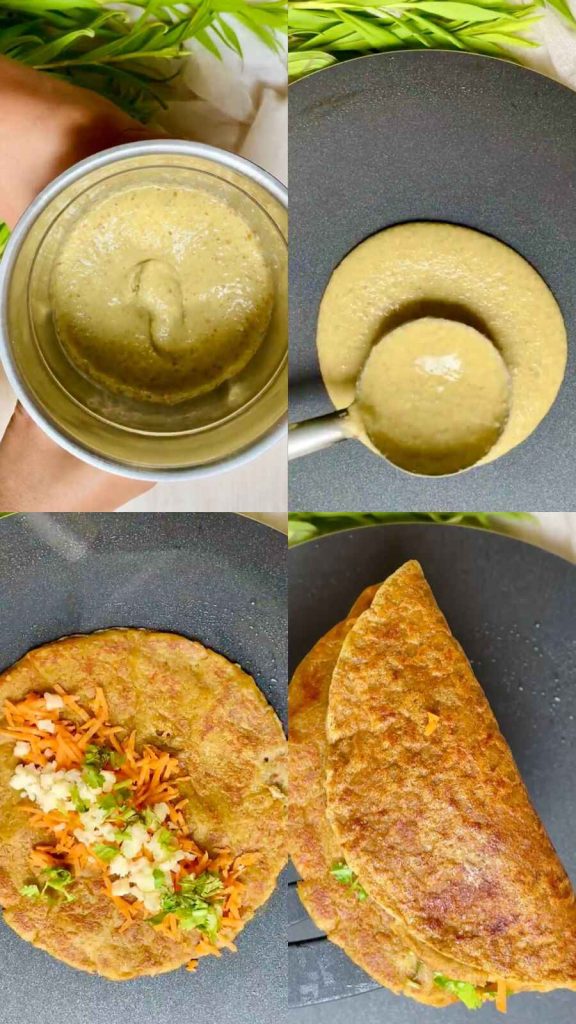
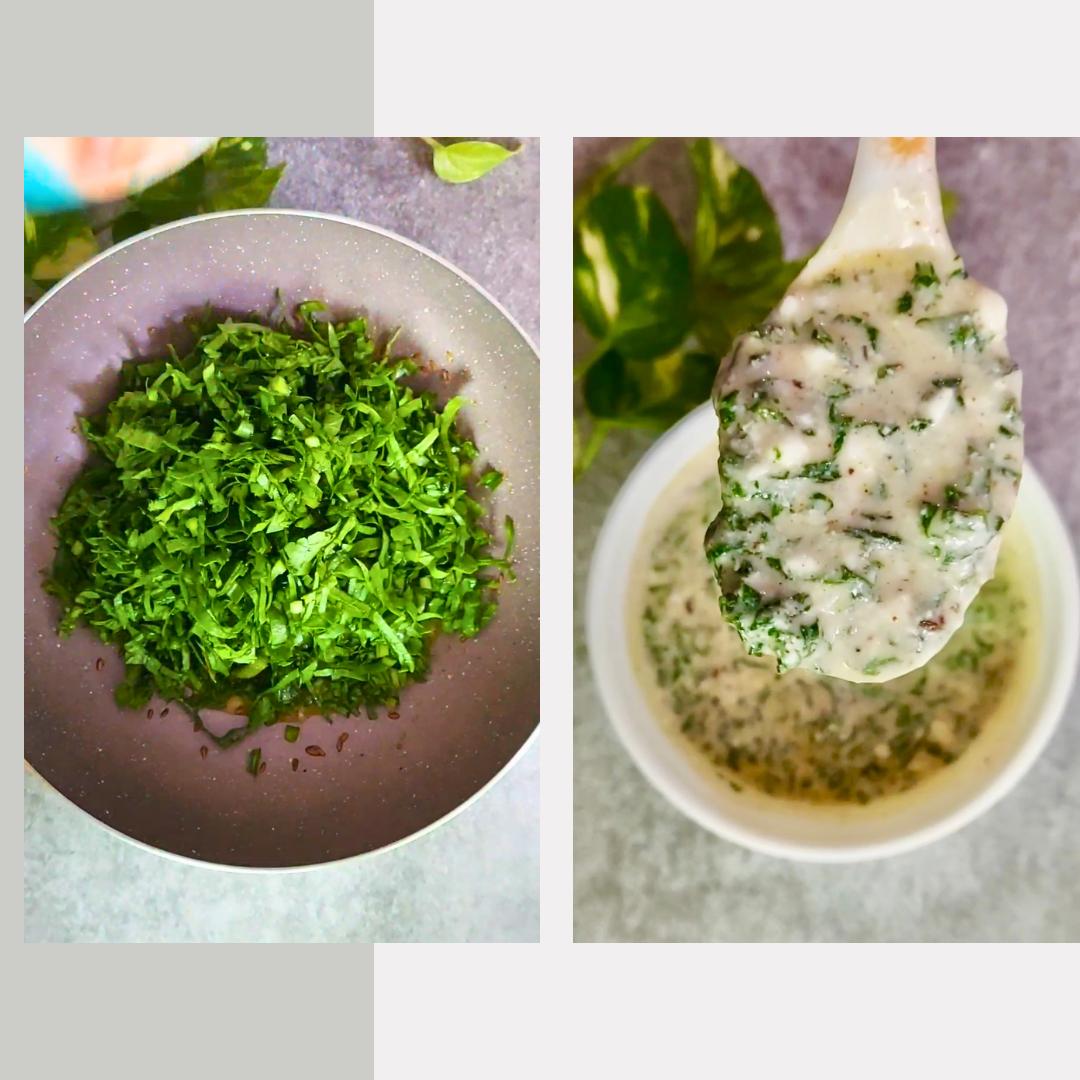
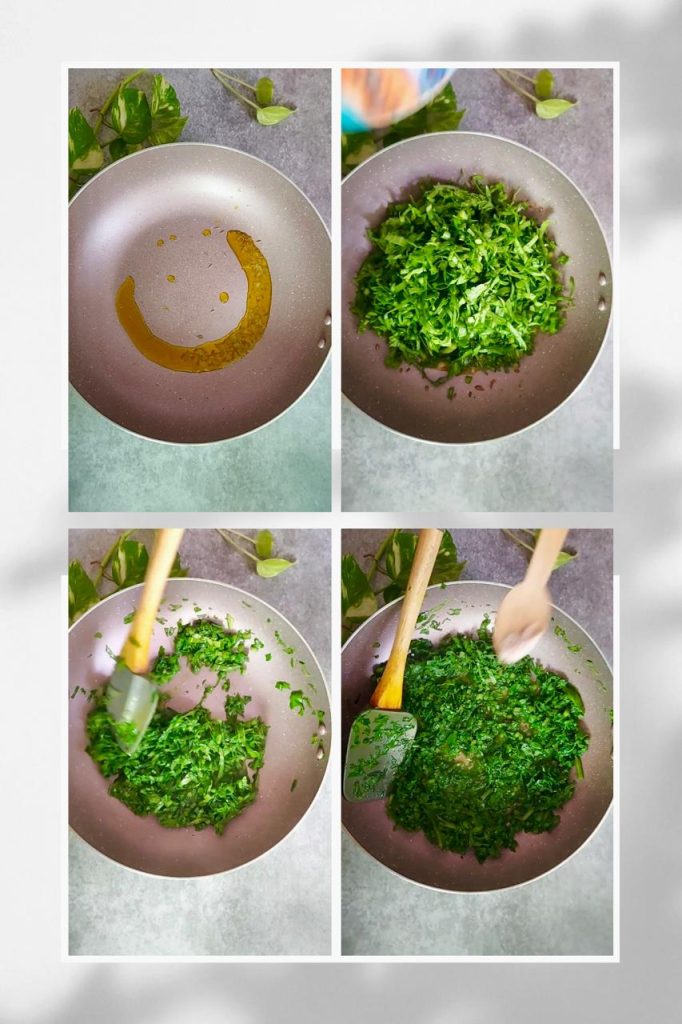
Heat oil in a pan over medium heat. Add cumin seeds and let them sizzle. Add the chopped palak (spinach) and sauté until the water evaporates and the spinach is cooked through. Add salt to taste while sautéing.
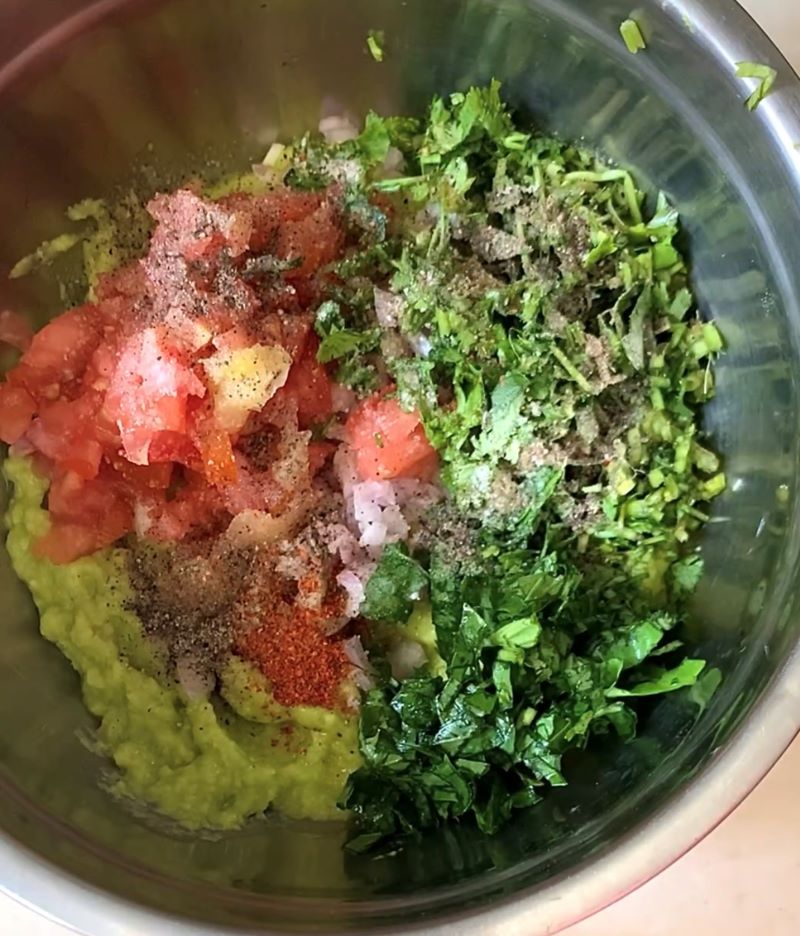
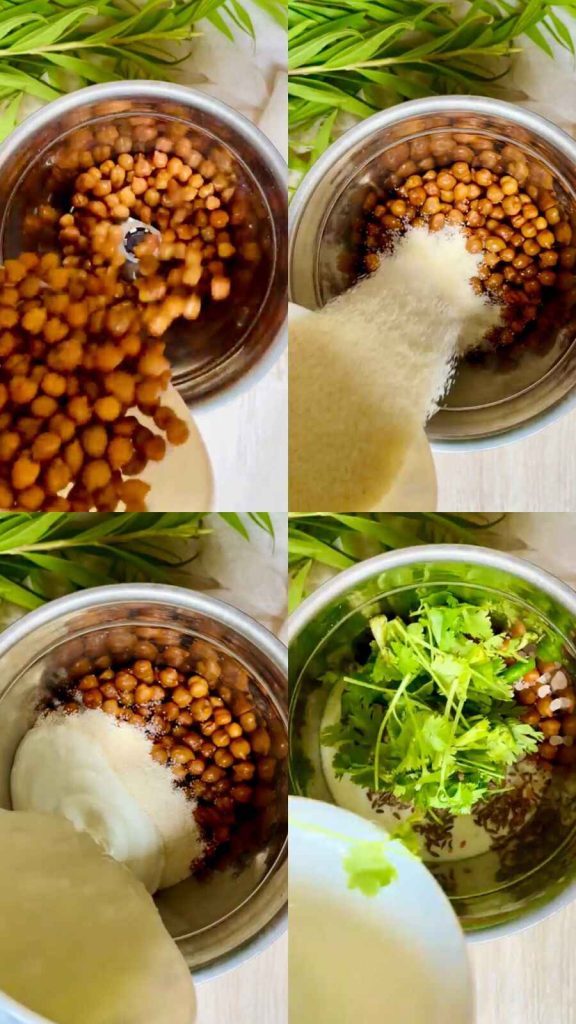
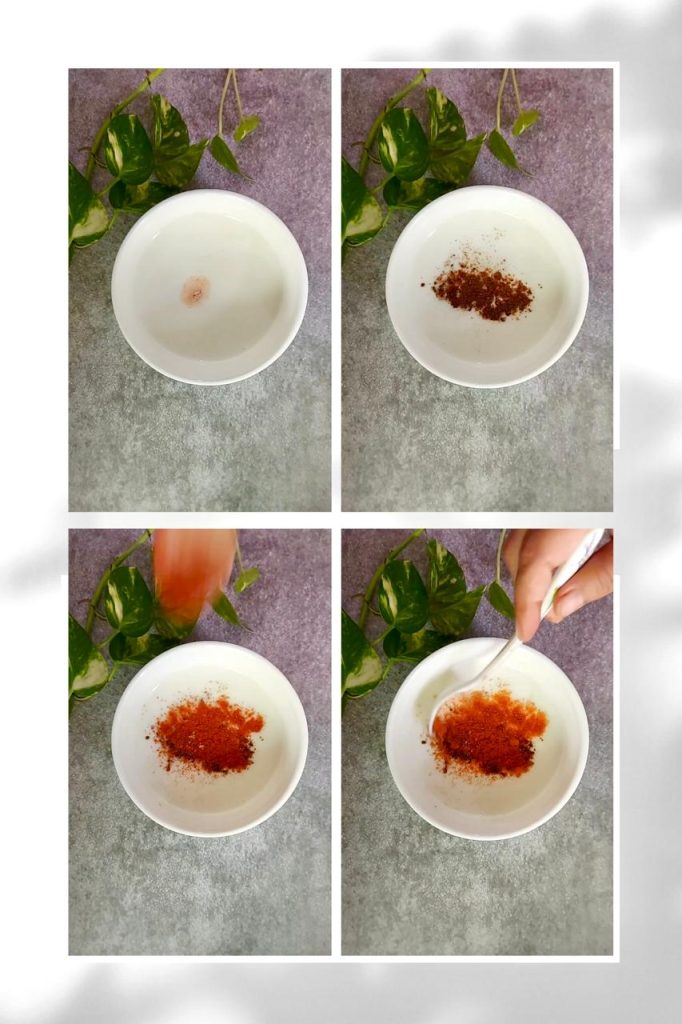
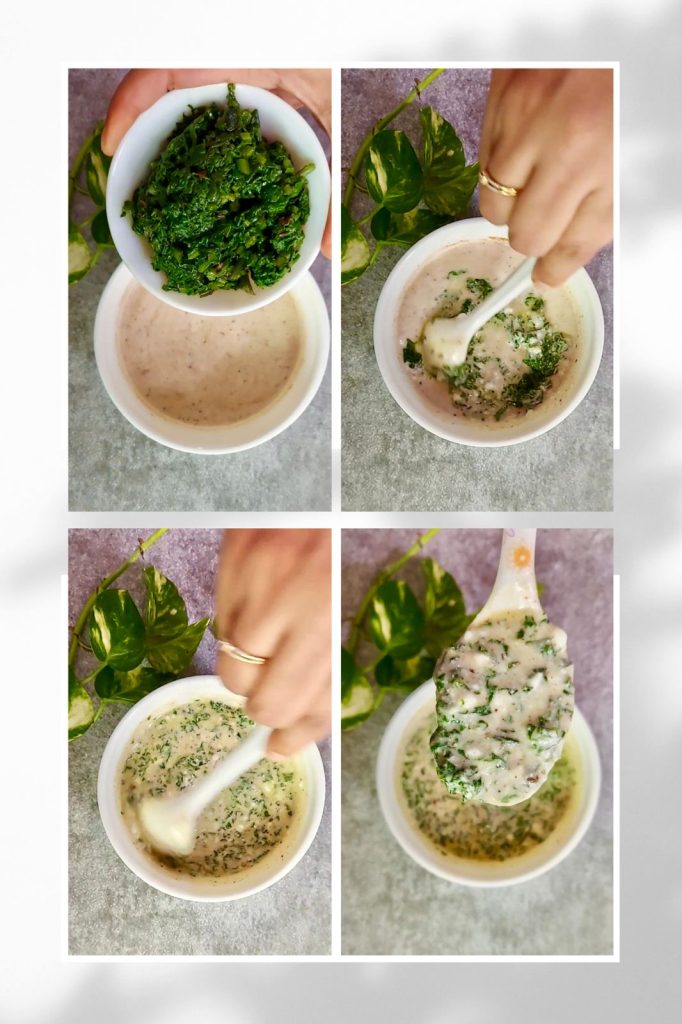
In a bowl, beat the curd until smooth. Add roasted cumin powder, black salt, red chilli powder, and a little more salt to the curd. Mix well to combine.
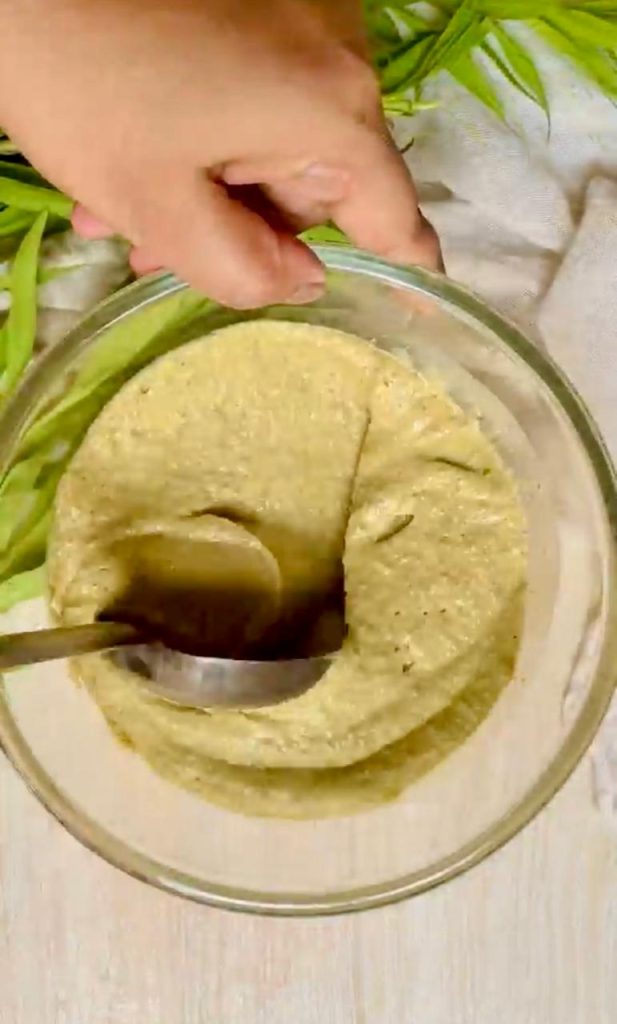
Once the spinach has cooled slightly, add it to the curd mixture. Mix well to ensure the spinach is evenly distributed.
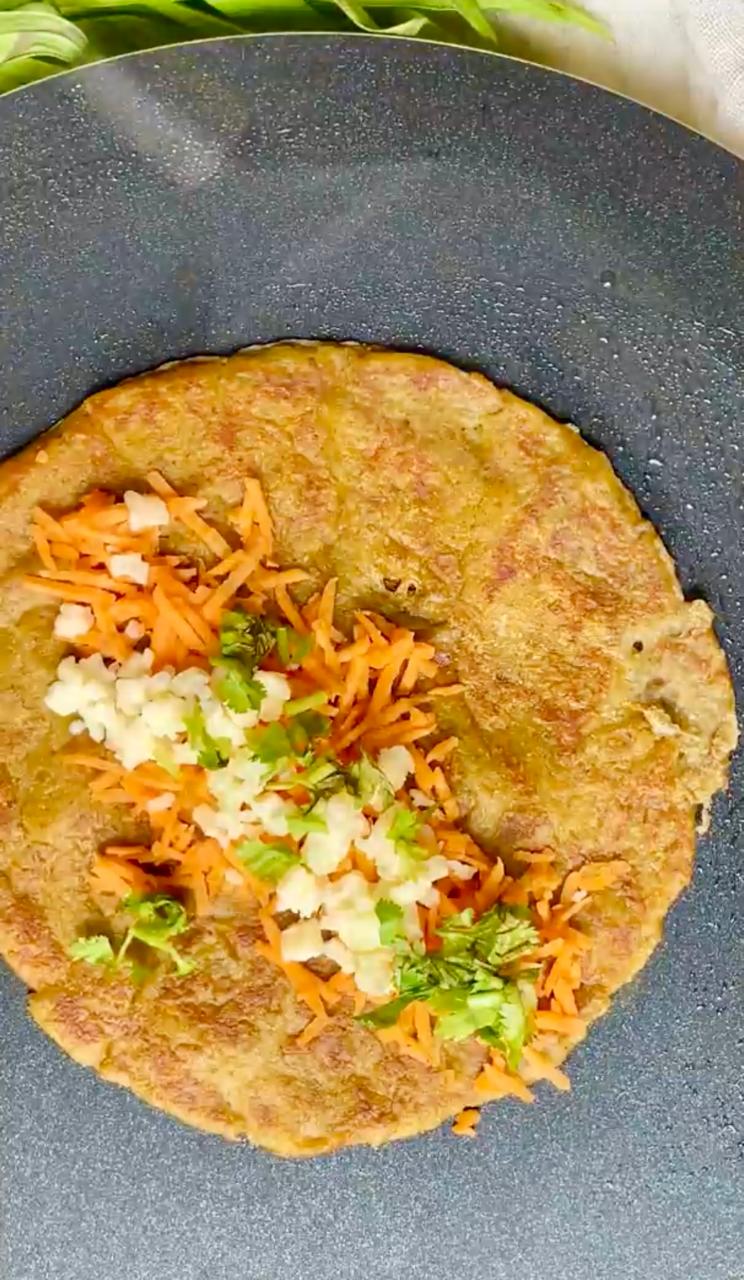
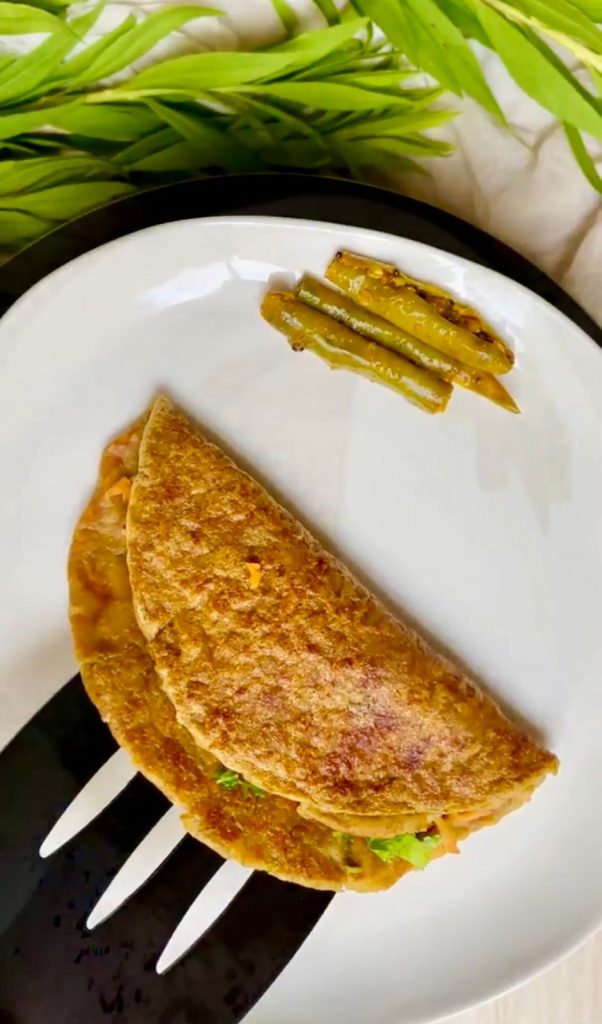
Serve chilled as a side dish with dal rice, parathas, or enjoy it just like that. I hope you enjoyed reading this recipe. Do give this recipe a shot. If you try this recipe, do give us a shout out. Just click a picture and tag us on @masala.monk or use the hashtag #MasalaMonkRecipe and share on Instagram and Facebook. We would love to hear from you.