Imagine harvesting a basket of super-nutritious greens in just 7–14 days, no matter the season, climate, or size of your home.
Welcome to the world of microgreens—a vibrant, health-boosting, and surprisingly easy indoor gardening revolution that’s taking over windowsills and kitchen counters worldwide.
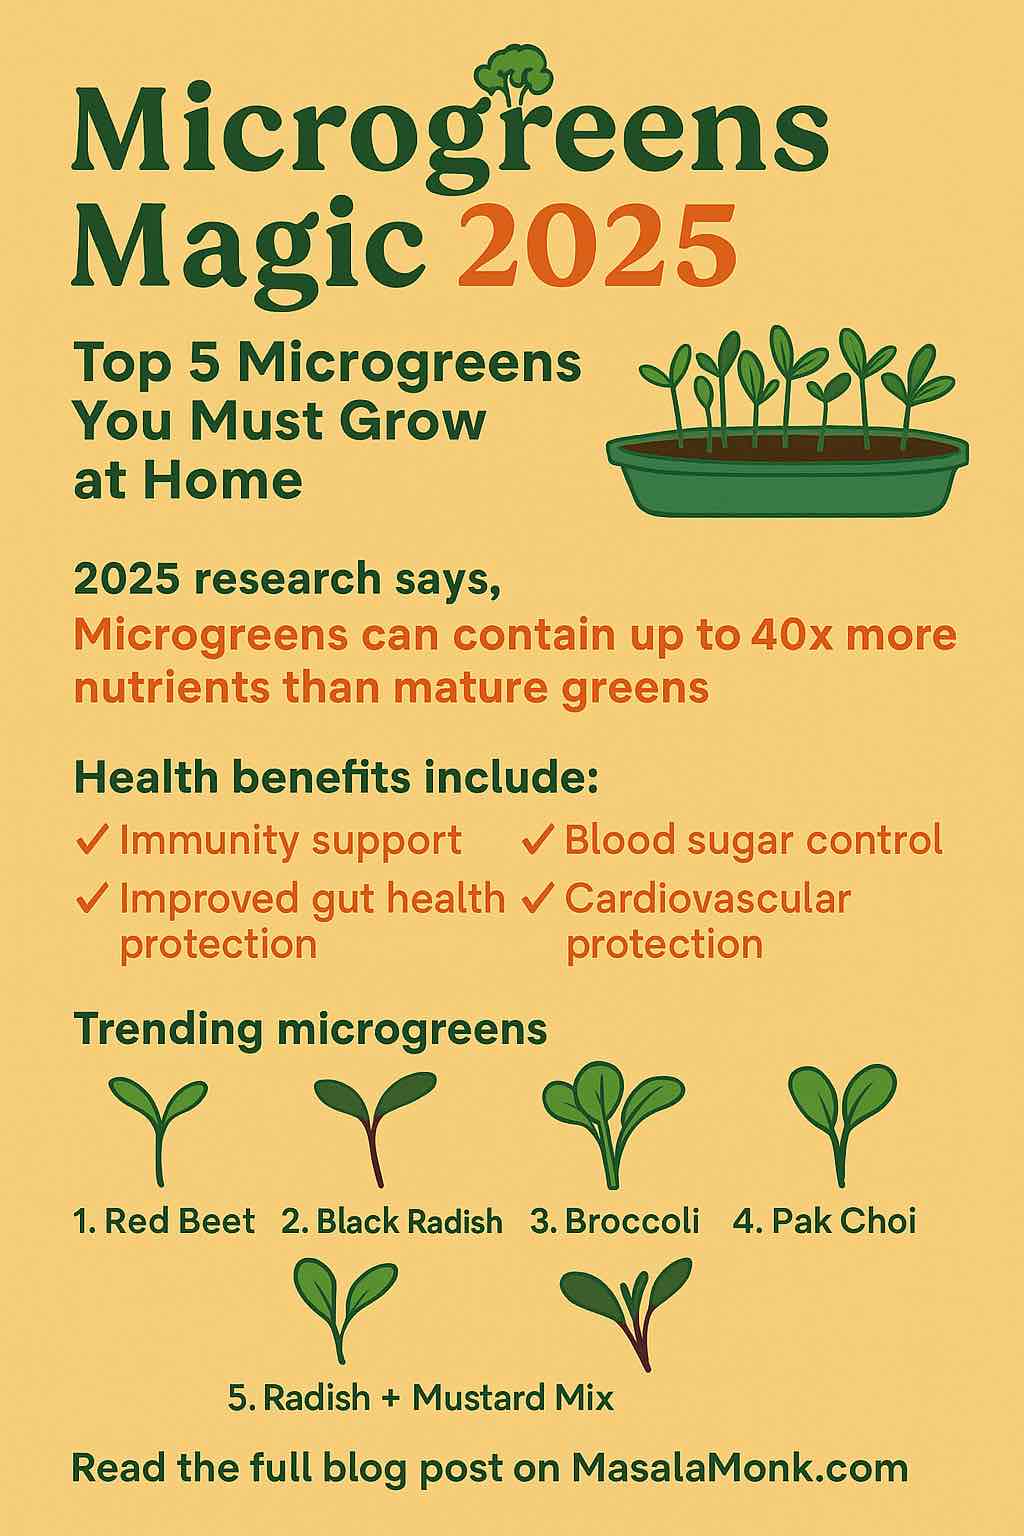
Microgreens aren’t just a foodie trend; they’re a science-backed, space-saving, and delicious way to supercharge your meals. This 2025 guide explores the latest research, the five must-grow microgreens, and step-by-step advice to help you become a microgreen maestro—no green thumb required.
Why Microgreens?
- Nutrient Powerhouses: Studies in 2025 confirm that microgreens can contain up to 40× more nutrients per gram than their mature counterparts (Nature, 2025).
- Fast, Year-Round Harvest: Most are ready to eat within 1–2 weeks.
- Minimal Space & Gear: A sunny window and a tray are all you need.
- Flavors for Every Palate: From peppery to nutty to sweet—there’s a microgreen for everyone.
The Latest Science (2025 Update)
This year, microgreens have made headlines in scientific journals and urban kitchens alike:
- Red Beet & Black Radish: A Scientific Reports study crowned red beet and black radish microgreens as leaders in flavonoids and antioxidants—key compounds for fighting inflammation, aging, and disease.
- Gut & Heart Health: Microgreens like radish and mustard show promise in supporting the microbiome, reducing blood sugar spikes, and helping manage heart risk (Cleveland Clinic, 2025).
- Biofortification: Growers are now using controlled environments to “supercharge” microgreens with extra vitamins and minerals, boosting their natural health benefits.
The Top 5 Microgreens to Grow at Home (2025 Edition)
1. Red Beet Microgreens
- Why: Outrageous levels of flavonoids, vibrant color, earthy flavor.
- Nutrition: The highest flavonoid content tested (1,625 mg/100g), plus iron and betalains.
- Time to Harvest: 10–15 days.
- How to Use: Add to salads, wraps, or as a colorful topping for rice bowls.
2. Black Radish Microgreens
- Why: Antioxidant superstar with a spicy kick.
- Nutrition: Rich in vitamin C, folate, and glucosinolates.
- Time to Harvest: 6–8 days (one of the fastest).
- How to Use: Perfect for adding zip to tacos, sandwiches, or savory pancakes.
3. Broccoli Microgreens
- Why: Most beginner-friendly, with proven anticancer compounds (sulforaphane).
- Nutrition: Up to 40× the sulforaphane of mature broccoli.
- Time to Harvest: 7–10 days.
- How to Use: Sprinkle on eggs, blend in smoothies, or layer in Buddha bowls.
4. Pak Choi (Bok Choy) or Kale Microgreens
- Why: Easy to grow, very nutrient-dense, mild flavor.
- Nutrition: Vitamins A, C, K, calcium, magnesium.
- Time to Harvest: 10–14 days.
- How to Use: Stir into stir-fries, soups, or use as a bed for grilled proteins.
5. Radish + Mustard Mix
- Why: Super fast, zesty, and excellent for gut health.
- Nutrition: Vitamin A, C, E, and microbiome-enhancing fibers.
- Time to Harvest: 6–8 days.
- How to Use: Mix into slaws, use as a pizza topping, or garnish noodle dishes.
Practical Guide: Growing Microgreens at Home—Step by Step
What You Need
- Seeds: Purchase organic/non-GMO seeds (brands like Urban Platter, AllThatGrows, True Leaf Market).
- Growing Trays: Shallow trays or upcycled containers (ice cream boxes, salad clamshells).
- Growing Medium: Coconut coir, peat moss, or quality potting soil.
- Spray Bottle: For gentle, even misting.
- Light: A sunny windowsill (4–6 hours sunlight) or a basic LED grow light.
How to Grow Microgreens—The 7-Day Routine
- Prep Your Tray
Fill your tray with 2–3 cm of moist growing medium. Level the surface. - Sow Seeds Generously
Scatter seeds thickly, almost like “carpet sowing.” Gently press them into the medium. - Mist & Cover
Mist seeds until moist but not soggy. Cover with another tray or a lid (blackout phase) for 2–3 days until most seeds sprout. - Let There Be Light
Remove the cover. Move tray to a sunny spot or under a grow light. Mist daily to keep soil moist (not wet). - Airflow is Key
Ensure good air movement to avoid mold—use a small fan if needed, or open a window nearby. - Harvest at the Peak
Once microgreens have their first true leaves (usually days 6–14), snip above the soil with clean scissors. - Rinse & Store
Store dry, unwashed in the fridge (in a container or ziplock), and rinse just before use for best shelf life.
Advanced Tips: Supercharge Your Microgreens
- Rotate Varieties: Grow 2–3 kinds together for a nutritional and flavor boost.
- Biofortification: Experiment by adding a pinch of Epsom salt or kelp to the water for extra magnesium and micronutrients.
- Hydroponic Options: Try growing on coconut coir mats or hemp pads—no soil needed, less mess!
- Troubleshooting: Yellow leaves? Add light. Mold? Increase airflow and lower watering. Slow growth? Check temperature (ideal: 20–24°C).
Real Stories & Urban Inspiration
“I started with radish microgreens in a repurposed sushi tray by my kitchen window. Now I have a full ‘microgreens bar’—every meal gets a fresh, crunchy upgrade.”
— Aman S., Delhi
Urban micro-farms are thriving from New York to Bangalore, with chefs and home cooks using microgreens for vibrant, Instagram-worthy, and health-conscious cooking. You don’t need a garden—just a little curiosity and a bit of sunlight.
Conclusion: Your Microgreen Journey Starts Now
Microgreens are one of the most rewarding (and forgiving) ways to garden at home.
You’ll eat fresher, feel better, and impress friends with your new “indoor harvests.”
Start with red beet or broccoli for science-backed health, add a spicy radish mix for flavor, and let your kitchen become a green oasis—365 days a year.
Ready to sow your first tray?
Share your progress, questions, or recipe wins below.
Let’s grow!
10 Most Relevant FAQs About Growing Microgreens at Home
1. Can I grow microgreens without soil?
Yes. You can use soilless media like coconut coir, hemp mats, or even paper towels. Many growers prefer coconut coir for its cleanliness, water retention, and eco-friendliness.
2. How much light do microgreens really need?
Most microgreens thrive with 4–6 hours of bright, indirect sunlight per day. If you lack natural sunlight, a simple LED grow light will give you faster, greener, and more uniform results.
3. Which microgreens are the easiest for total beginners?
Broccoli, radish, sunflower, and pea shoots are the most forgiving. They germinate quickly, grow evenly, and have minimal issues with mold.
4. How do I avoid mold or fungus on my microgreens?
Use clean trays and tools, sow seeds in a single, even layer, ensure good air circulation (a small fan helps), and avoid overwatering. Remove trays from blackout as soon as seeds sprout.
5. How often should I water my microgreens?
Mist once or twice a day—enough to keep the medium moist but not soggy. Too much water is the main cause of mold and rot.
6. Can I reuse soil or grow mats for another crop?
It’s not recommended due to potential disease buildup. Compost spent soil/growing media and start each batch fresh for best results.
7. How long do microgreens last after harvesting?
Stored dry and unwashed in an airtight container in the refrigerator, most microgreens last 5–7 days. Wash them right before eating, not before storage.
8. Are microgreens safe to eat raw?
Yes, provided you use clean seeds and growing materials. Always rinse before eating. If you’re immunocompromised, consider giving them a quick dip in vinegar water.
9. Do I need special “microgreen” seeds or can I use regular seeds?
You can use regular seeds of edible plants, but always choose seeds labeled untreated and preferably organic. Avoid seeds intended for field crops (which may have chemical coatings).
10. Can I grow microgreens year-round—even during winter or rainy season?
Absolutely! Microgreens are perfect for year-round growing indoors. Just ensure steady temperature (18–24°C), humidity, and adequate light.