Posted on Leave a comment

Boost Your Morning Routine with Energizing Chia Breakfast Bowls: 5 Nourishing Recipes

Chia Breakfast Bowls

Looking for a morning routine upgrade that fuels your body, sharpens your mind, and delights your taste buds? Say hello to chia breakfast bowls—a powerful combination of convenience, nutrition, and endless flavor options. This blog post dives into the benefits of chia seeds, practical preparation tips, and five energizing recipes that will transform your mornings.


Why Chia Seeds Deserve a Spot in Your Breakfast

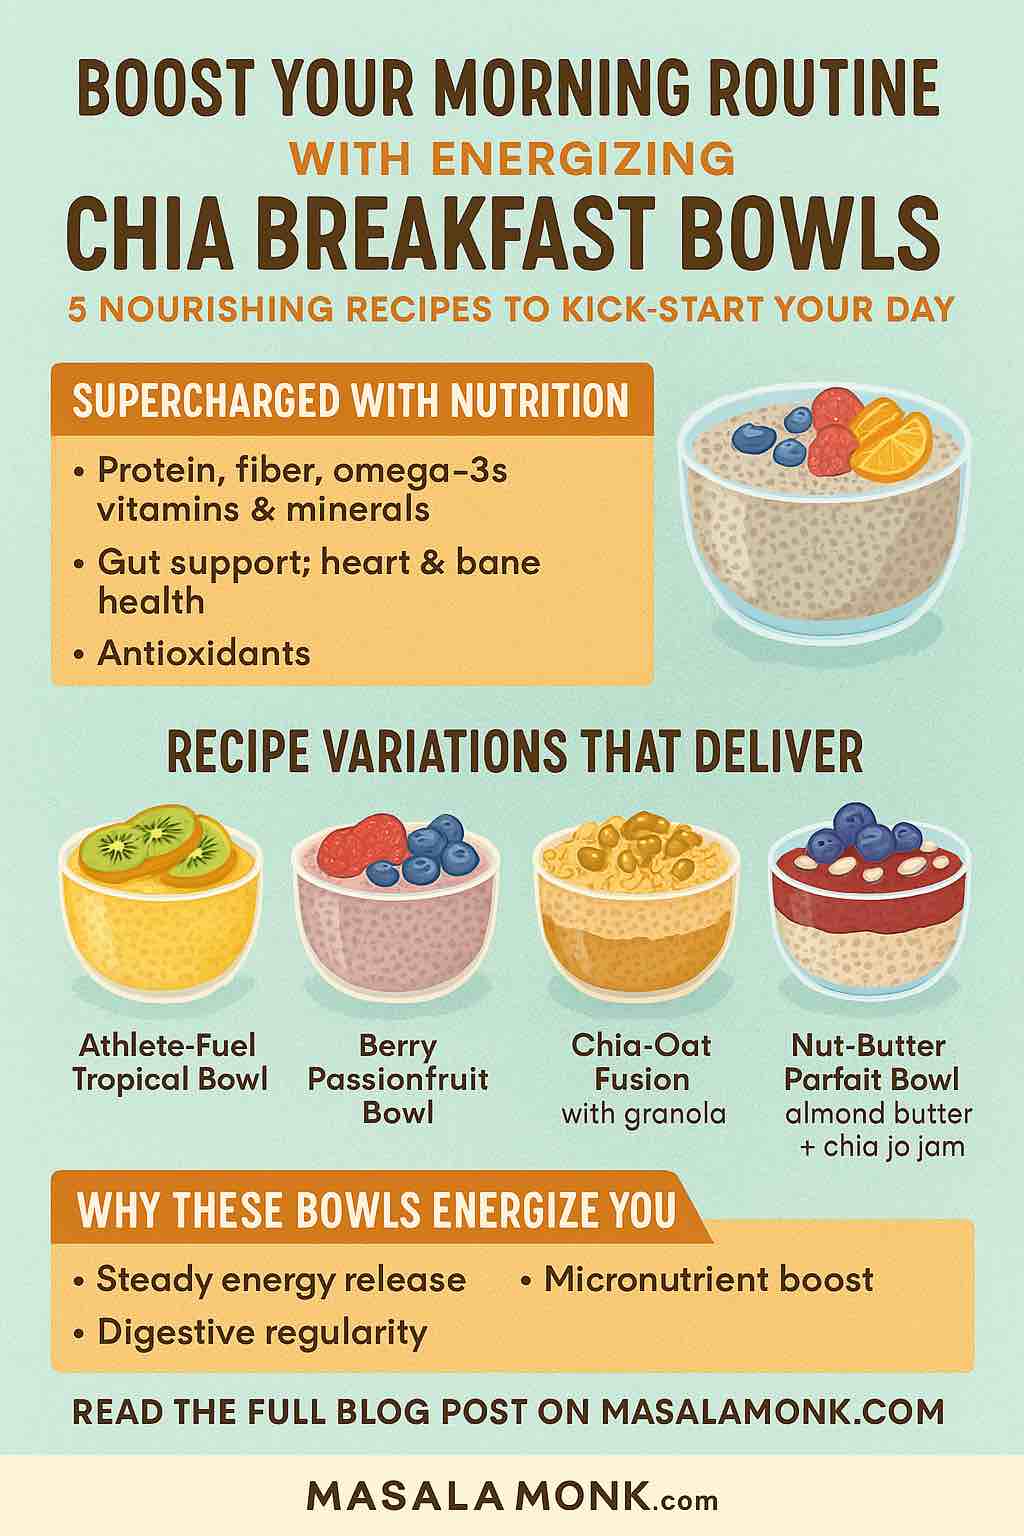
Chia seeds may be tiny, but they pack a punch when it comes to health benefits:

  • Nutrient Dense: Just 2 tablespoons of chia seeds provide ~10g of fiber, 4.7g of protein, omega-3 fatty acids, and essential minerals like calcium, magnesium, and iron.
  • Sustained Energy: The blend of protein, healthy fats, and complex carbohydrates helps maintain energy levels and avoid mid-morning crashes.
  • Gut-Friendly: High fiber content supports digestive health and regularity.
  • No-Cook Convenience: Mix, soak, top, and go. No stove required.

Whether you’re a busy professional, a fitness enthusiast, or someone exploring plant-based nutrition, chia breakfast bowls offer a customizable and satisfying start to your day.


How to Prepare the Perfect Chia Bowl

Step 1: Soak Your Chia

Mix 3 tablespoons of chia seeds with 1 cup of your favorite milk (plant-based or dairy). Let it soak for at least 2 hours, or preferably overnight in the refrigerator.

Step 2: Choose a Base

  • Creamy: Add Greek yogurt or plant-based yogurt for extra protein and creaminess.
  • Oaty: Mix in overnight oats for a more substantial bowl.
  • Fruity: Blend in mashed banana, mango puree, or applesauce.

Step 3: Add Your Toppings

Aim for a mix of textures and nutrients:

  • Fruits: Berries, sliced banana, kiwi, or citrus segments
  • Crunch: Toasted nuts, granola, pumpkin seeds
  • Superfoods: Coconut flakes, cacao nibs, hemp hearts, bee pollen
  • Sweeteners (optional): Honey, maple syrup, or dates

5 Nourishing Chia Bowl Recipes to Jumpstart Your Day

1. Berry & Passionfruit Sunrise Bowl

Base: Chia soaked in almond milk Toppings: Muddled berries, passionfruit pulp, toasted coconut, pepitas Why You’ll Love It: Antioxidant-rich and visually stunning, this bowl is a tropical wake-up call.

2. High-Protein Tropical Delight

Base: Chia + almond milk + Greek yogurt Toppings: Diced mango, kiwi, shredded coconut Nutrition Boost: ~18g of protein and 12g of fiber per serving. Ideal for post-workout recovery or long workdays.

3. Chia-Oatmeal Energy Bowl

Base: Rolled oats and chia seeds soaked in soy or oat milk overnight Toppings: Granola, blood orange slices, blackberries Power-Up: Combines slow-releasing carbs with high fiber for all-morning energy.

4. Yogurt-Chia Crunch Bowl

Base: Chia mixed with vanilla-flavored Greek yogurt Toppings: Fresh berries, kiwi slices, crunchy granola Best For: A fast and filling breakfast that feels like dessert but fuels like a power meal.

5. Apple-Cinnamon Comfort Bowl

Base: Chia in cinnamon-spiced oat milk Toppings: Sliced apples, a pinch of nutmeg, raisins, and almond slivers Why It Works: Cozy and warming, this bowl is perfect for autumn mornings or comfort cravings.


Smart Prep Tips for Busy Mornings

  • Batch It: Prepare 3-4 jars of chia pudding at once and store them in the fridge.
  • Pre-Cut Toppings: Keep containers of chopped fruit and toasted nuts ready for easy assembly.
  • On-the-Go Friendly: Use mason jars or meal prep containers to make your breakfast grab-and-go.

Customize Your Bowl

Want to make it your own? Try these fun variations:

  • Green Power: Add matcha or spirulina
  • Chocolate Fix: Mix in cacao powder or top with dark chocolate chips
  • Indian Inspired: Infuse with cardamom, rosewater, or turmeric
  • Savory Twist: Top with avocado, tomatoes, and a drizzle of olive oil

Final Thoughts

Energizing, delicious, and endlessly adaptable, chia breakfast bowls are a game changer. Whether you prep them the night before or whip them up in the morning, they deliver on taste, texture, and nutrition. Start small, experiment often, and you’ll soon have a chia bowl that’s as unique as your morning routine.

Ready to make the switch? Try one of these recipes this week and see how your mornings transform.

🔍 FAQs

1. How long should chia seeds soak before eating?
Chia seeds should soak for at least 2 hours, but overnight soaking is ideal for full hydration and a creamy texture.

2. Can I use water instead of milk for soaking chia seeds?
Yes, but using milk or plant-based alternatives improves taste, texture, and nutrition. Water works in a pinch but is less flavorful.

3. Are chia bowls good for weight loss?
Absolutely. Chia bowls are high in fiber and protein, helping you feel full longer and reduce unnecessary snacking.

4. Can I prep chia bowls in advance?
Yes. You can prep 3–4 servings at once and refrigerate them for up to 5 days, making them perfect for meal prepping.

5. Are chia bowls safe for kids?
Yes, but for young children, ensure seeds are fully hydrated to avoid choking hazards. Adjust toppings for age-appropriate textures.

6. What’s the best liquid-to-chia seed ratio?
A good rule of thumb is 1 tablespoon chia seeds to 1/4 cup liquid. For a thicker pudding, reduce the liquid slightly.

7. Can I eat chia seeds without soaking them?
While safe in small amounts, dry chia seeds absorb liquid and can swell in your throat or stomach. Always soak them when making bowls.

8. How can I make chia bowls more protein-rich?
Add Greek yogurt, nut butters, protein powder, or cottage cheese to increase protein content.

9. Are chia bowls suitable for diabetics?
Yes, when made without added sugars. Chia’s fiber helps regulate blood sugar, especially when paired with protein and healthy fats.

10. Can I freeze chia pudding bowls?
Yes, though texture changes slightly. Freeze in small portions and thaw in the fridge overnight before eating.

Posted on Leave a comment

Tempeh: A Plant-Based Protein Powerhouse

tempeh on a plate

Hello, Health Enthusiasts! 👋

Are you looking for a nutritious and versatile plant-based protein source? Look no further than tempeh! This Indonesian culinary gem has gained popularity worldwide as a nutritious and delicious alternative to meat. Today, we’re diving into the world of tempeh to discover what it is and how you can make it right in the comfort of your home in India. Get ready to embrace the power of plant-based protein! 🌱🇮🇳

What is Tempeh?

Tempeh is a fermented soybean product that originated in Indonesia. It is made by fermenting cooked soybeans with a tempeh starter culture, usually a specific strain of Rhizopus mold. The fermentation process binds the soybeans together, creating a firm and cake-like texture with a rich, nutty flavor. Tempeh is highly regarded for its nutritional profile, as it is an excellent source of protein, fiber, and essential nutrients.

Why Choose Tempeh?

Tempeh offers a range of health benefits that make it a popular choice among those following a plant-based diet or looking to incorporate more plant-based proteins into their meals. Here are some reasons why you should consider adding tempeh to your culinary repertoire:

  1. High in Protein: Tempeh is a fantastic source of plant-based protein, containing all the essential amino acids your body needs. It provides around 15-20 grams of protein per 100 grams, making it an excellent protein option for vegans, vegetarians, or anyone looking to reduce their meat consumption.
  2. Rich in Fiber: Tempeh is also a great source of dietary fiber, which aids digestion, helps regulate blood sugar levels, and promotes a healthy gut. Its fiber content helps you feel fuller for longer, making it a satisfying addition to your meals.
  3. Packed with Nutrients: Tempeh is a good source of various essential nutrients, including iron, calcium, magnesium, and vitamin B12. It also contains antioxidants and phytochemicals that support overall health and well-being.
  4. Versatile and Delicious: Tempeh’s firm texture and nutty flavor make it incredibly versatile in the kitchen. It can be marinated, sautéed, grilled, baked, or crumbled into various dishes, adding a delightful umami flavor and meaty texture.

Now, let’s explore how you can make tempeh at home in India:

How to Make Tempeh at Home:

Making tempeh at home requires a few simple steps and ingredients. Here’s a general guide to help you get started:

Ingredients:

  • 2 cups of soybeans
  • 1 tablespoon of tempeh starter culture (available online or at specialty health stores)
  • 1 teaspoon of white vinegar or lime juice (optional)

Instructions:

  1. Soybean Preparation: Start by soaking the soybeans in water overnight or for at least 8-10 hours. After soaking, drain and rinse the soybeans thoroughly.
  2. Cooking the Soybeans: Transfer the soaked and rinsed soybeans to a large pot and cover them with fresh water. Bring the water to a boil and cook the soybeans for about 40-50 minutes or until they are tender but not mushy. Stir occasionally and skim off any foam that forms on the surface.
  3. Cooling and Draining: Once the soybeans are cooked, drain them and rinse them under cold water to cool them down. Gently rub the soybeans between your hands or with a clean cloth to remove the outer skins. Removing the skins is optional but recommended for a smoother texture.
  4. Inoculation: Place the cooked and drained soybeans in a large mixing bowl and sprinkle the tempeh starter culture over them. If desired, add a teaspoon of white vinegar or lime juice to create an acidic environment for fermentation. Mix well to ensure the soybeans are evenly coated with the starter culture.
  5. Fermentation: Transfer the soybeans to a clean, shallow container or tray. Spread them out in an even layer, ensuring good air circulation. Cover the container with a clean cloth or plastic wrap with small holes to allow for airflow.
  6. Incubation: Place the container in a warm and dark place with a temperature between 28-32°C (82-90°F). Maintain the temperature consistently throughout the fermentation process, as temperature fluctuations can affect the quality of the tempeh. Incubation usually takes around 24-48 hours, depending on the temperature and desired fermentation level.
  7. Checking for Fermentation: After the incubation period, check the tempeh for a dense white mycelium (the network of mold). It should bind the soybeans together. A slightly nutty aroma is also a good sign of successful fermentation.
  8. Storing and Using: Once the tempeh is fully fermented, remove it from the incubator and let it cool to room temperature. Cut it into desired shapes or sizes and store it in an airtight container in the refrigerator for up to one week. Use it in various recipes, such as stir-fries, curries, salads, or even grilled as meat substitute.

Remember, the process of making tempeh may require some experimentation and adjustments based on your climate, as temperature and humidity can affect fermentation. But with practice, you’ll master the art of homemade tempeh and enjoy its wholesome goodness.

As you embark on your tempeh-making journey, don’t forget to share your experiences and culinary creations with us and our community of food lovers at EatLo. Let’s celebrate the power of plant-based proteins and inspire each other with our healthy and delicious tempeh creations!

Embrace the wonders of tempeh, a nutritious and versatile plant-based protein, and enjoy the benefits of this delightful Indonesian creation right in your own kitchen in India. Happy tempeh-making and bon appétit! 😜👊