When it comes to superfoods, pumpkin seeds—often called pepitas—deserve a top spot. These small, flat green seeds may not look like much, but they pack a potent punch of nutrients that support everything from satiety to insulin sensitivity.
Whether you’re managing diabetes, aiming to shed a few pounds, or simply looking for a smarter snack, pumpkin seeds could be the nutritional upgrade your diet needs.
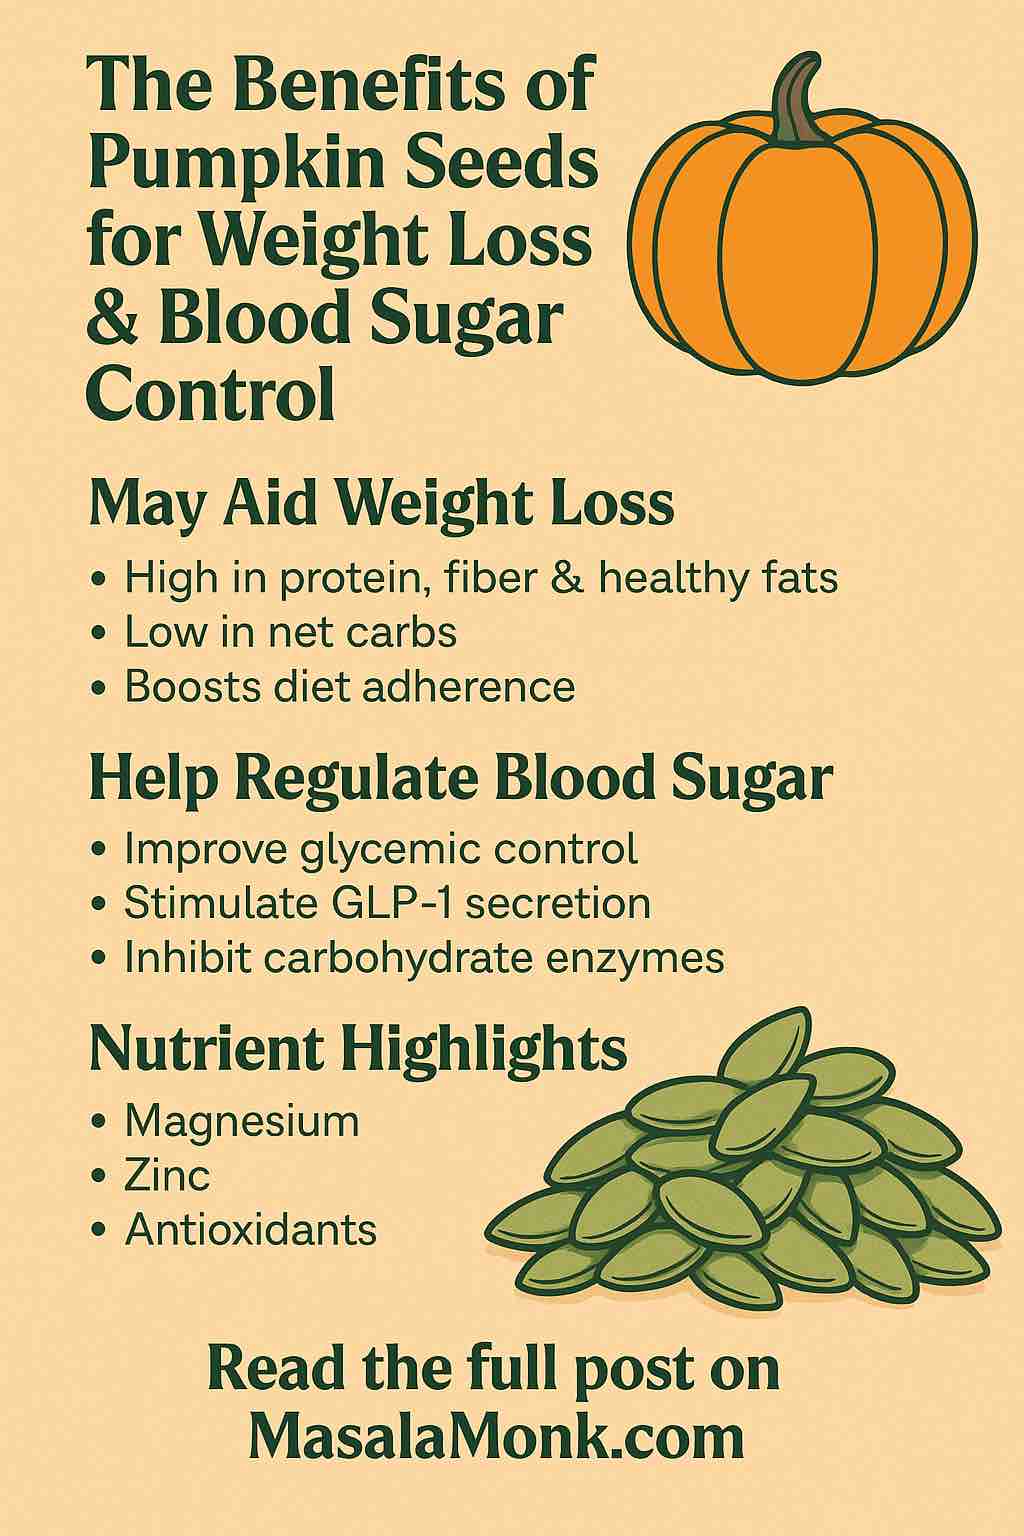
🏋️♂️ Why Pumpkin Seeds for Weight Loss?
Weight loss isn’t just about cutting calories—it’s about managing hunger, regulating blood sugar, and staying nutritionally satisfied. Pumpkin seeds tick all these boxes:
🔹 High in Protein and Fiber
One ounce (about 28g) of pumpkin seeds contains:
- 5g protein
- 5g fiber
- 13g healthy fats (mostly unsaturated)
This combo of macronutrients helps:
- Control hunger: Fiber swells in your stomach and slows digestion, making you feel full longer.
- Reduce cravings: Protein stabilizes blood sugar, helping avoid those afternoon sugar crashes.
- Support metabolism: Healthy fats support hormone balance—including those that regulate appetite.
🔹 Low in Net Carbs
With a low glycemic index and only ~4g net carbs per ounce, pumpkin seeds are ideal for:
- Low-carb or keto diets
- Managing insulin spikes
- Reducing fat-storing hormone triggers
🔹 Boosts Diet Adherence
Studies show that high-fiber, high-protein snacks increase the likelihood of sticking to a calorie-controlled diet. That means fewer cheat days and better long-term success.
🩸 Blood Sugar Benefits Backed by Research
Recent clinical and lab studies have highlighted multiple anti-diabetic effects of pumpkin seeds and their compounds.
🔸 Clinical Evidence (2024 RCT)
A randomized trial in adults with type 2 diabetes showed that:
- A daily dose of pumpkin seed oil + fish liver oil reduced HbA1c, LDL, and triglycerides significantly over 12 weeks.
- Patients also saw modest improvements in HDL cholesterol and insulin sensitivity.
🔸 Mechanism: GLP-1, Magnesium, and More
Pumpkin seeds are rich in:
- Magnesium: Crucial for insulin sensitivity; 1 oz provides nearly 40% of daily needs.
- Zinc: Linked to improved glycemic control and reduced insulin resistance.
- Pumpkin polysaccharides: These natural fibers stimulate GLP‑1, a gut hormone that:
- Boosts insulin response
- Reduces appetite
- Lowers post-meal blood glucose spikes
🔸 Lab Studies
- Pumpkin compounds inhibit α-glucosidase, an enzyme responsible for breaking down carbohydrates.
- In diabetic rats, pumpkin extract reduced fasting glucose and oxidative stress while protecting pancreatic beta cells.
🧠 Bonus Benefits: More Than Just Weight & Sugar
- Heart Health: High in antioxidants, magnesium, and unsaturated fats that support healthy blood pressure and cholesterol.
- Anti-inflammatory: Polyphenols and vitamin E reduce systemic inflammation—a driver of obesity and insulin resistance.
- Sleep & Mood: Contain tryptophan and magnesium, both linked to better sleep quality and mood regulation.
🍽️ Practical Ways to Add Pumpkin Seeds to Your Diet
1. Snack Smart
- Keep a small jar of dry-roasted, unsalted pumpkin seeds at your desk.
- Mix with sunflower seeds, almonds, or walnuts for a homemade trail mix.
- Eat ~1 oz per day (a small handful) to avoid overconsumption—remember, they’re calorie-dense.
2. Top Your Meals
- Add to salads for crunch and nutrition.
- Sprinkle over oatmeal, yogurt, or smoothie bowls.
- Blend into chutneys, sauces, or dips like pesto.
3. Use Pumpkin Seed Oil
- Drizzle cold-pressed pumpkin seed oil on roasted veggies or grain bowls.
- Avoid heating—it’s best used raw to preserve nutrients.
4. Try Pumpkin Seed Powder
- Available in supplement or smoothie-boosting form.
- Choose unsweetened, organic varieties.
⚠️ Caution & Moderation
- Portion control is key. One ounce (~28g) has ~150 calories.
- Avoid heavily salted, sweetened, or chocolate-covered varieties.
- If you’re diabetic or taking medications, consult your doctor—the hypoglycemic effect may require medication adjustments.
🧾 Quick Recap Table
| Feature | Benefit |
|---|---|
| Protein + Fiber | Enhances satiety, reduces cravings |
| Magnesium | Supports insulin sensitivity |
| GLP-1 Activation | Improves insulin response, reduces hunger |
| Low GI | Stabilizes blood sugar |
| Healthy Fats | Supports metabolism and hormonal health |
🌟 Final Thoughts
Pumpkin seeds may be small, but their impact is anything but. From curbing cravings to stabilizing blood sugar, they’re a convenient, affordable, and delicious addition to any health-focused diet.
If you’re looking for one small change with big benefits, start here. Just a handful a day can move the needle toward your weight loss or blood sugar goals—one crunch at a time.
🙋 10 Frequently Asked Questions (FAQs)
1. How many pumpkin seeds should I eat per day for weight loss or blood sugar control?
A: A typical serving is 1 ounce (28 grams)—about 2 tablespoons or a small handful. This provides a good balance of protein, fiber, and healthy fats without overloading on calories.
2. Are raw or roasted pumpkin seeds better?
A: Raw pumpkin seeds retain more nutrients, especially heat-sensitive ones like vitamin E. However, lightly dry-roasted seeds (without oil or salt) are still very healthy and often easier to digest.
3. Can pumpkin seeds lower blood sugar levels quickly?
A: They are not a fast-acting treatment for high blood sugar, but regular consumption can improve glycemic control over time, especially in people with insulin resistance or type 2 diabetes.
4. Are pumpkin seeds keto-friendly?
A: Yes. They are low in net carbs (~4g per ounce), high in fat and protein, and do not spike blood sugar—making them an ideal snack for keto and low-carb diets.
5. Is pumpkin seed oil as effective as whole seeds?
A: Pumpkin seed oil contains healthy fats and antioxidants, but lacks fiber and protein. For blood sugar and weight loss, whole seeds are more comprehensive in nutrient profile, but oil can be a good supplement for heart and prostate health.
6. Can I eat pumpkin seeds on an empty stomach?
A: Yes. Eating them in the morning or between meals may help control appetite and reduce blood sugar spikes from your next meal due to their fiber and fat content.
7. Are there any side effects or risks?
A: Generally safe in moderation. Overeating can lead to:
- Excess calorie intake
- Mild digestive discomfort (due to high fiber)
- Potential interactions with diabetes medication (due to blood sugar-lowering effects)
8. Can I give pumpkin seeds to kids or elderly people?
A: Yes, but serve in age-appropriate forms:
- Kids: use powdered seeds or seed butters to avoid choking hazards.
- Elderly: soaked or ground seeds are easier to chew and digest.
9. Do pumpkin seeds help with cholesterol or heart health?
A: Yes. They are rich in unsaturated fats, magnesium, and antioxidants, which contribute to lower LDL, improved HDL, and reduced inflammation—supporting overall cardiovascular health.
10. What’s the best way to store pumpkin seeds?
A: Store in an airtight container in a cool, dry place. Refrigeration or freezing extends shelf life and preserves healthy fats from going rancid.


