Arthritis is more than just joint pain—it’s a daily struggle that can steal away comfort, movement, and even simple joys like opening a jar or taking a morning walk. It’s no surprise that people are constantly on the hunt for natural ways to find relief. Among the most buzzed-about remedies? The humble cherry.
But is it just a juicy myth, or do cherries actually help arthritis? Let’s dig deep into the science, real user experiences, and practical ways to use cherries for joint health.
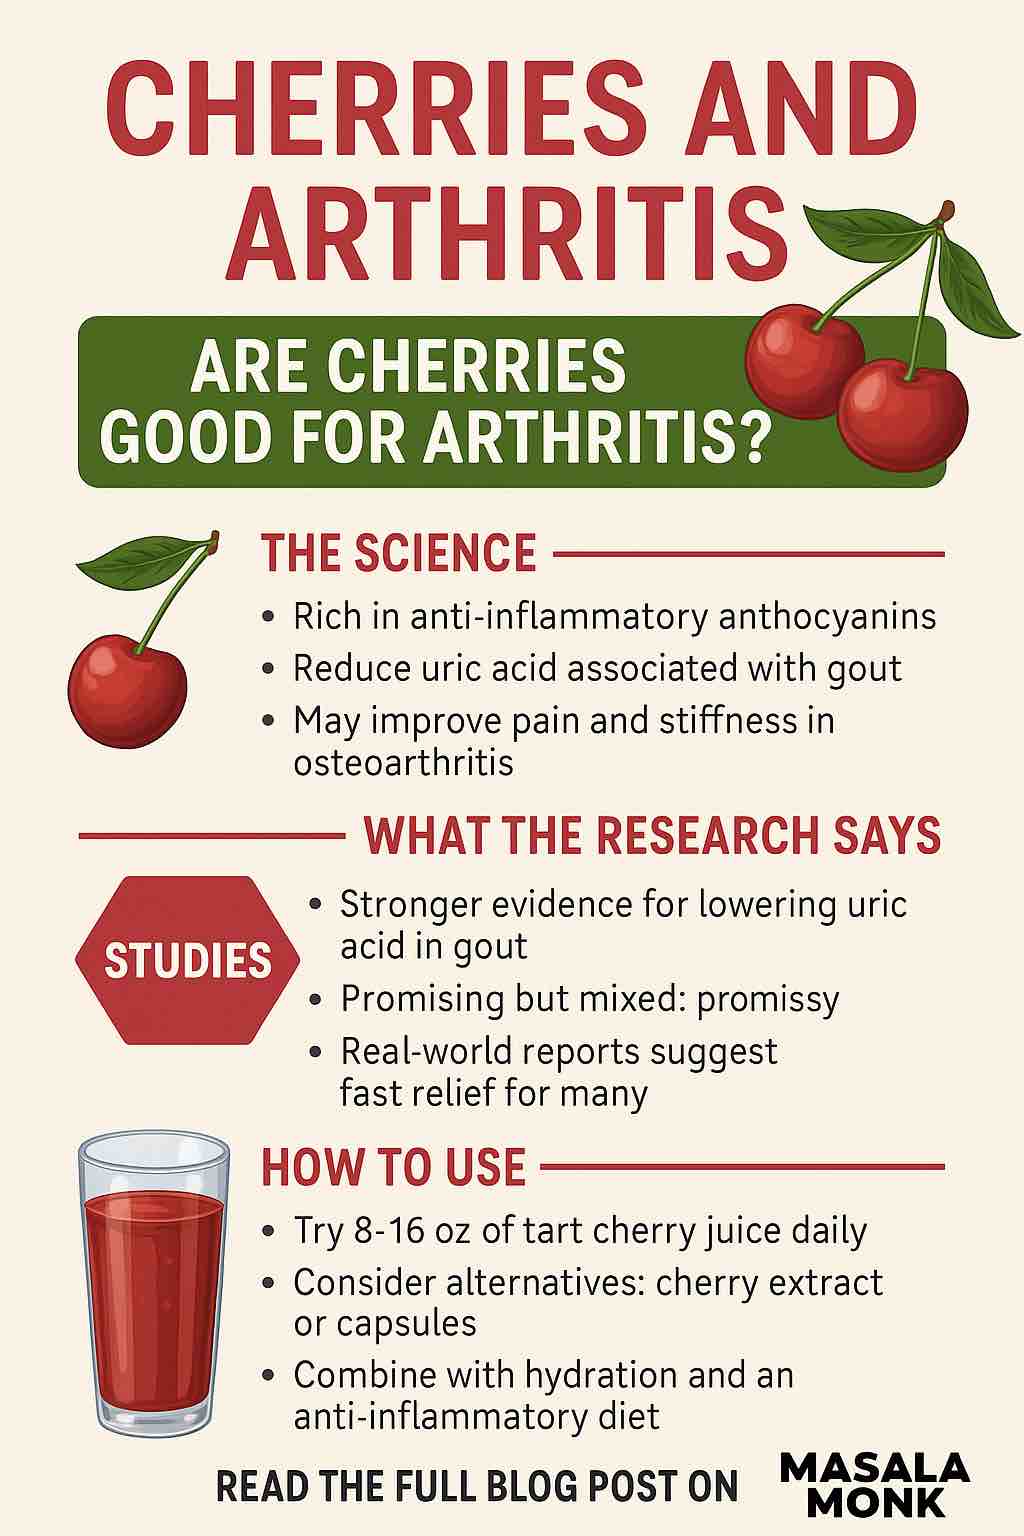
Why Cherries? The Science Behind the Hype
Cherries—especially tart varieties like Montmorency—are packed with anthocyanins and other polyphenols, which are plant compounds with strong anti-inflammatory and antioxidant effects. Chronic inflammation is a root cause of arthritis pain, making cherries a potentially powerful tool in your natural pain-relief arsenal.
How do cherries work for arthritis?
- Lower Inflammation: Anthocyanins and polyphenols in cherries suppress inflammatory markers like C-reactive protein (CRP) and interleukins, helping to soothe swollen, angry joints.
- Reduce Uric Acid: Gout—a painful form of inflammatory arthritis—is triggered by high uric acid. Cherries (and especially tart cherry juice) can reduce blood uric acid and the risk of painful flares.
- Ease Pain and Stiffness: Some studies show modest improvements in joint pain and function in osteoarthritis (OA) sufferers after regular cherry intake.
What Does the Research Really Say?
Let’s break it down by arthritis type and cherry form.
Gout
- Clinical evidence: Multiple studies—including a meta-analysis of six randomized controlled trials—show that tart cherry juice and extracts significantly lower uric acid and can reduce the frequency and severity of gout flares by up to 50%.
- How it works: Cherries increase uric acid excretion and may block inflammatory pathways triggered during gout attacks.
Osteoarthritis (OA)
- Pain relief: Randomized studies in knee OA patients found that daily tart cherry juice (usually 8–16 oz) for several weeks can reduce pain, improve function, and lower CRP. Some trials found symptom improvements similar to over-the-counter pain meds.
- Placebo effect: Not all studies find significant differences versus placebo, but the trend is consistently positive, especially for inflammation and mild to moderate pain.
Inflammatory Arthritis & General Joint Health
- Antioxidant action: Cherries’ anti-inflammatory and antioxidant properties may help reduce overall joint inflammation, benefiting those with rheumatoid arthritis and related conditions, although research is still emerging.
Real-World Stories: What Are People Saying in 2025?
Beyond the lab, thousands of people are trying cherries for arthritis relief—let’s look at some fresh stories straight from Reddit and patient forums.
- Gout flare-up stopped in its tracks: “I drank 8 oz of tart cherry juice when I felt a gout attack coming. By morning, the pain had calmed down.”
- Joint pain relief in OA: “After a month of tart cherry extract, my joint pain was noticeably reduced. I stopped for a few weeks, and the pain returned—so I’m sticking with it!”
- “Miracle” for chronic pain: “I’ve used tart cherry juice for 20 years for gout. After a flare, a few glasses and the pain is gone in hours. My uric acid levels are now normal.”
- Mixed opinions: Some users love the taste and relief; others aren’t convinced or dislike the flavor, but few report serious side effects.
Consensus?
Most people find at least some relief, especially with pure tart cherry juice or capsules. Relief can happen in hours for some and days for others. Results vary, but cherries are generally seen as a safe, pleasant, and practical supplement to conventional treatment.
How to Use Cherries for Arthritis: A Practical Guide
Here’s how to make cherries work for you—without hype or confusion:
1. Choose the Right Form
- Tart Cherry Juice: Look for 100% pure, unsweetened tart cherry juice. Common dose: 8–16 oz per day (split into two servings).
- Tart Cherry Capsules/Extracts: Standardized capsules (e.g., ZaZzee) are convenient, travel-friendly, and sugar-free. Dose: per manufacturer, often equal to 45–90 cherries/day.
- Fresh or Frozen Cherries: About 40–50 cherries daily may offer benefits, but consistency is key.
2. How Much Should You Take?
- For gout: Try 8–16 oz tart cherry juice daily during flare-ups or as a preventive. For capsules, follow label directions.
- For OA or general inflammation: Start with 8 oz juice or equivalent extract daily. Track symptoms and adjust as needed.
- Pro tip: Some people double up on juice (up to 32 oz) during acute flares, but check with your doctor if you have blood sugar concerns.
3. Consistency Counts
- Benefits build up over weeks. Give it 4–12 weeks before judging results.
- Track your pain, stiffness, and flare frequency in a journal.
4. Combine with Lifestyle Changes
- Hydrate: Water helps flush uric acid and ease joint stress.
- Diet: Pair cherries with an overall anti-inflammatory diet—rich in vegetables, omega-3s, and whole grains.
- Medication: Cherries can complement (not replace) prescribed meds like allopurinol or NSAIDs.
5. Watch for Side Effects
- Most people tolerate cherries well.
- Tart cherry juice is high in sorbitol and natural sugar—go slow if you’re prone to digestive issues or have diabetes.
Common Questions
1. What type of cherry is best for arthritis relief?
Answer:
Tart cherries (especially Montmorency) are most studied and generally provide higher levels of anti-inflammatory compounds (anthocyanins) than sweet cherries. Tart cherry juice or capsules are most often used in research.
2. How much tart cherry juice should I drink for arthritis or gout?
Answer:
Most studies recommend 8–16 ounces (about 240–480 ml) daily, divided into two servings. For gout flares, some people use up to 32 oz for a day or two, but check with your healthcare provider if you have diabetes or kidney issues.
3. How long does it take for cherries to improve arthritis symptoms?
Answer:
Some people with gout report relief in hours. For osteoarthritis and general joint pain, it usually takes 2–6 weeks of daily use to notice improvements.
4. Can I use cherry extract capsules instead of juice?
Answer:
Yes! High-quality tart cherry extract capsules are a convenient, sugar-free alternative. Choose a standardized product and follow label instructions, usually 1–2 capsules daily.
5. Are there any side effects from consuming tart cherries or juice?
Answer:
Most people tolerate them well, but tart cherry juice is high in sorbitol and sugar, which can cause stomach upset or diarrhea in some. Use caution if you have diabetes or IBS.
6. Can cherries replace my arthritis medication?
Answer:
No. Cherries are a helpful supplement but should not replace prescribed medications. Always consult your doctor before making changes to your treatment plan.
7. What’s the difference between tart cherry juice and black cherry juice?
Answer:
Tart cherry juice comes from sour cherries and is richer in anthocyanins and better studied for arthritis. Black cherry juice comes from sweet cherries and may help, but the evidence is stronger for tart cherries.
8. Can eating fresh cherries have the same effect as juice or supplements?
Answer:
Yes, but you’ll need to eat about 40–50 fresh tart cherries daily to match the active compounds in juice or capsules. Fresh, frozen, or dried cherries are all options, but portion size matters.
9. Is it safe to take tart cherry juice every day?
Answer:
For most people, yes. It’s considered safe as part of a balanced diet. Monitor for digestive upset or changes in blood sugar, especially if you have underlying health conditions.
10. Do cherries help with all types of arthritis?
Answer:
Cherries are most proven for gout and osteoarthritis, thanks to their ability to lower uric acid and inflammation. They may help with other types of arthritis, like rheumatoid arthritis, but more research is needed.
Bottom Line: Are Cherries Good for Arthritis?
Yes—cherries (especially tart varieties) are a proven, practical, and safe way to help manage arthritis and gout symptoms for most people.
They won’t cure arthritis, but they can make life more comfortable, naturally complementing medical treatment and healthy lifestyle choices.
Your Next Steps:
- Try tart cherry juice or capsules for a month and track your results.
- Pair with hydration, a joint-friendly diet, and medical advice.
- Listen to your body—and enjoy every juicy, pain-fighting bite!
Disclaimer: This post is for informational purposes and does not replace medical advice. If you have a health condition or take medications, check with your healthcare provider before starting any supplement, including cherries or cherry extracts.