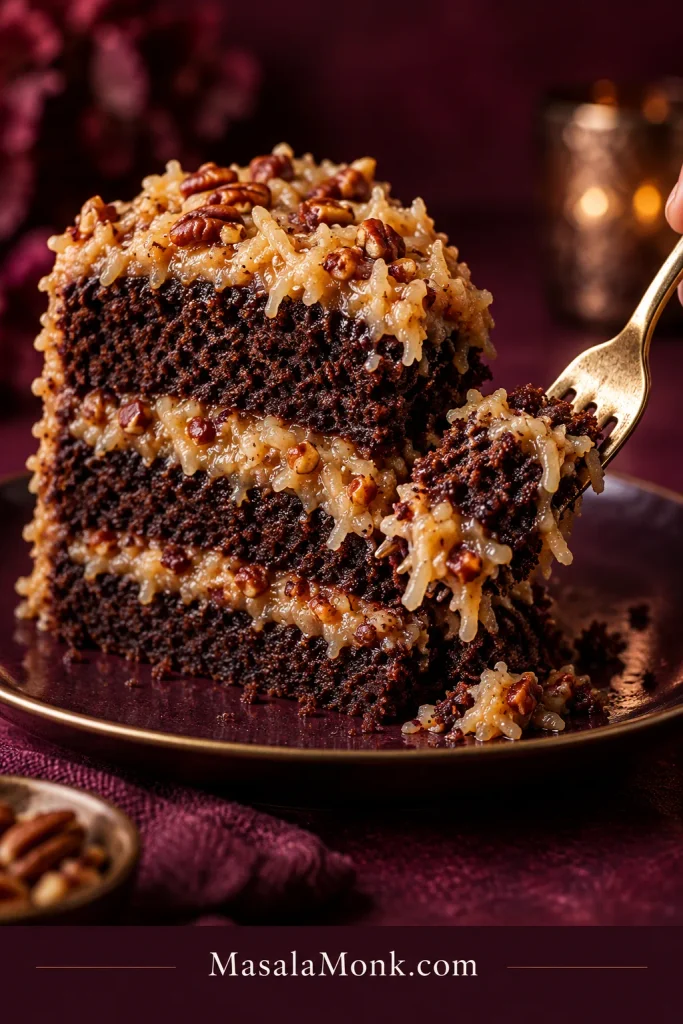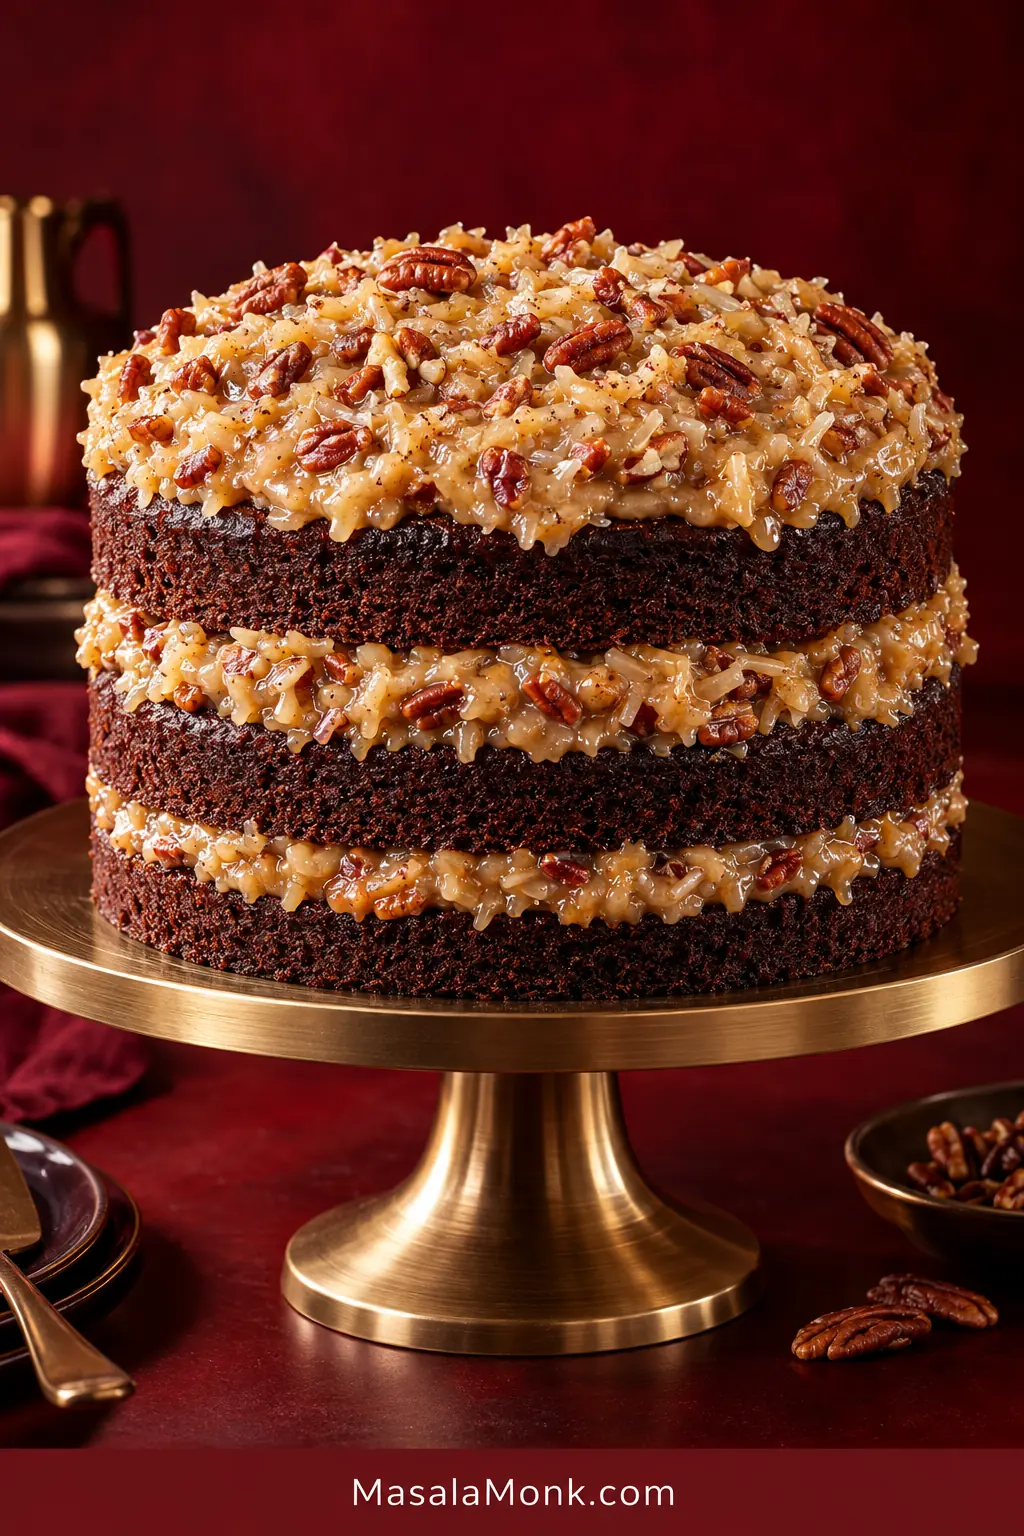
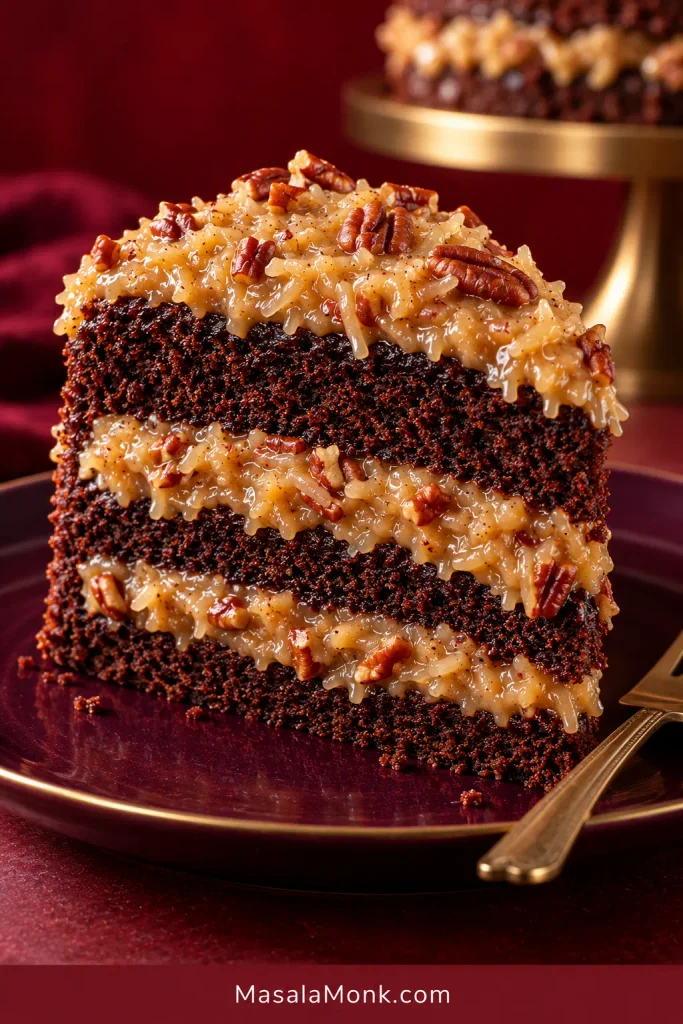
A good slice of German chocolate cake gives you soft chocolate layers, glossy coconut-pecan filling, toasted nuts and a top that looks generously covered rather than plastered smooth. The filling holds its place when you cut the cake, then stays creamy once the fork goes through it.
For plenty of people, this is also the cake somebody asks for by name, especially for a birthday. They already know the exposed chocolate layers and coconut-pecan top they are hoping to see, which makes getting both the cake and the filling right matter even more.
This German chocolate cake recipe makes both parts from scratch: three chocolate layers and a cooked coconut-pecan frosting, with no cake mix or canned frosting. German’s Sweet Chocolate supplies the familiar sweet-chocolate flavor, while a little natural cocoa adds more chocolate depth.
Pay closest attention to the frosting. A timer can tell you when to start looking; the saucepan tells you when to stop.
Three things matter most:
- Keep the chocolate balanced. German chocolate cake has a gentler chocolate profile than devil’s food, but the layers still need enough depth to stand beside the filling.
- Pull the frosting from the heat while it still looks a little soft. It thickens considerably as it cools, so waiting for it to look fully set in the saucepan can take it too far.
- Cool everything before stacking. Warm cake and warm custard are a recipe for sliding layers.
German Chocolate Cake Recipe
Three chocolate layers made with German’s Sweet Chocolate, natural cocoa and buttermilk, finished with a cooked coconut-pecan frosting.
Equipment
- Three 9-inch / 23-cm round cake pans, ideally about 2 inches / 5 cm deep
- Electric hand mixer or stand mixer
- Medium heavy-based saucepan
- Digital kitchen scale, strongly recommended
- Instant-read thermometer for checking the frosting’s egg-safety temperature
Chocolate Cake
- 4 oz / 113 g German’s Sweet Chocolate, finely chopped
- ½ cup / 120 ml hot brewed coffee, or hot water
- 2¼ cups / 270 g all-purpose flour
- ⅓ cup / 30 g natural unsweetened cocoa powder
- 1 teaspoon baking powder
- 1 teaspoon baking soda
- 1 teaspoon fine salt
- ¾ cup / 170 g unsalted butter, softened but not greasy
- 1¾ cups / 350 g granulated sugar
- ¼ cup / 60 ml neutral oil
- 4 large eggs, at room temperature
- 2 teaspoons / 10 ml vanilla extract
- 1 cup / 240 ml buttermilk, at room temperature
Coconut-Pecan Frosting
- 4 large egg yolks
- 1 can (12 fl oz / about 355 ml) evaporated milk
- 250 g packed light brown sugar, approximately 1 cup plus 3 tablespoons
- ¾ cup / 170 g unsalted butter, cut into pieces
- ½ teaspoon fine salt
- 1½ teaspoons / 7.5 ml vanilla extract
- 2¼ cups / about 180 g sweetened shredded coconut, preferably a moist baking-style shred
- 170 g pecan halves, toasted before chopping; approximately 1½ cups once chopped
Before You Start
- Chocolate: the familiar BAKER’S German’s Sweet Chocolate bar is around 48% cacao. When it is unavailable, a sweet or semisweet baking bar around 45–55% cacao is the closest fallback suggested here. A very dark bar will give the cake a more intense, bitter chocolate character.
- Cocoa: use natural unsweetened cocoa powder. Dutch-process cocoa changes the acidity and the way the leavening behaves.
- Coconut: choose sweetened shredded coconut with some moisture left in it. Very fine, dry desiccated coconut absorbs liquid differently and can make the filling firmer.
Method
1. Prepare the Pans
Heat the oven to 350°F / 177°C. Grease three 9-inch / 23-cm round cake pans, line the bottoms with parchment, then lightly grease the parchment.
Light-colored metal pans give the most predictable bake. Dark pans can set and brown the edges sooner.
Arrange the pans with enough space for air to circulate around them. If you need two racks, stagger the pans so one is not directly above another.
2. Melt the Chocolate
Put the chopped German’s Sweet Chocolate in a heatproof bowl. Pour over the hot coffee and leave it for about 2 minutes, then stir until smooth.
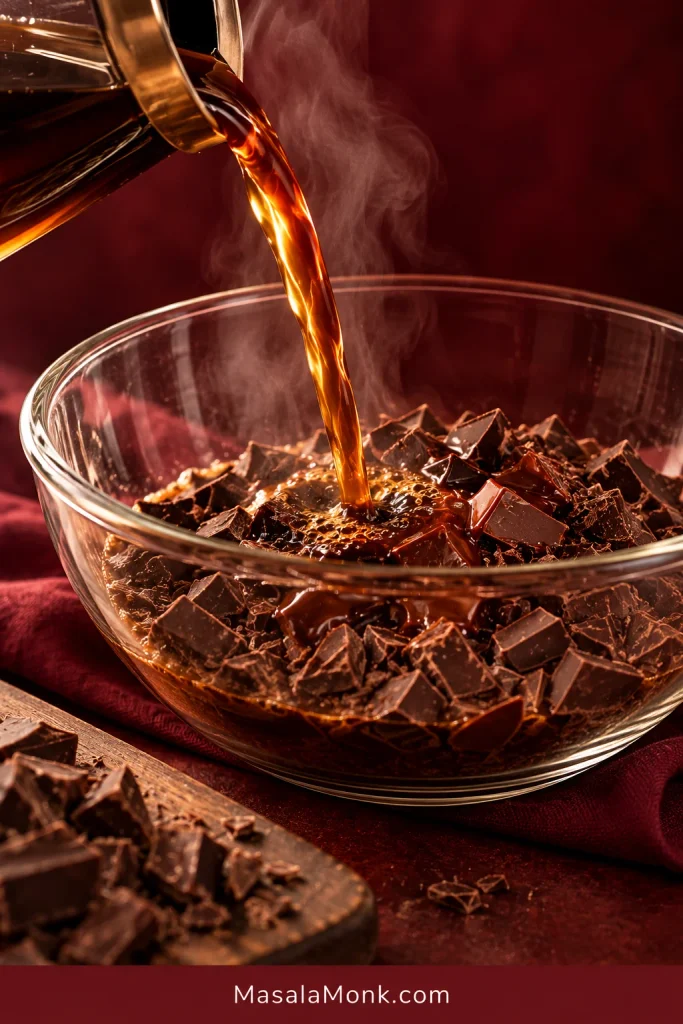
Let the chocolate mixture cool until warm rather than hot before adding it to the butter mixture. Coffee deepens the chocolate flavor without making the finished cake taste noticeably of coffee. Hot water works too.
3. Mix the Dry Ingredients
Whisk together the flour, cocoa powder, baking powder, baking soda and salt until the cocoa is evenly dispersed.
4. Build the Batter
Beat the softened butter and sugar for about 2–3 minutes, until creamy and slightly lighter. Beat in the oil.
Add the eggs one at a time, mixing well after each addition. Beat in the vanilla and scrape the bottom and sides of the bowl.
With the mixer on low, slowly add the warm chocolate-coffee mixture and mix until the color is even.
5. Add the Flour and Buttermilk
Add the dry mixture in three additions, alternating with the buttermilk in two additions. Begin and end with the dry ingredients. Keep the mixer on low and stop when the last streaks of flour are almost gone.
Finish with a few folds by hand, scraping the bottom of the bowl so no pockets of flour remain.
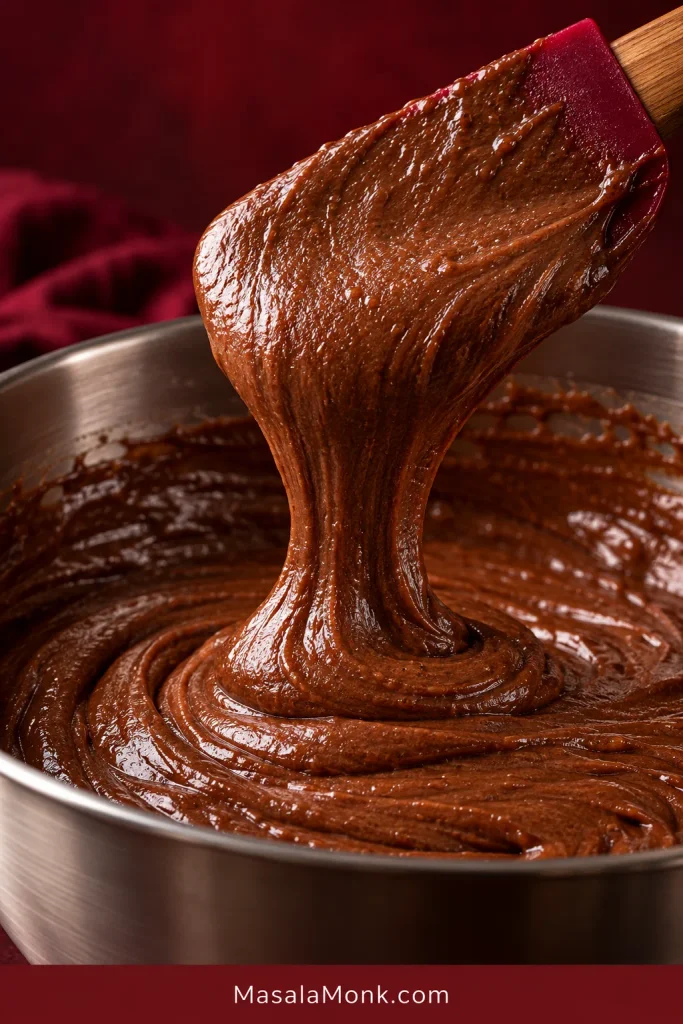
What you are looking for: a smooth, glossy batter that is softer than a traditional butter-cake batter. Resist the urge to add more flour just because it looks loose.
6. Divide and Bake
Divide the batter evenly among the three pans. A scale makes even layers easier: weigh the finished batter and divide the total by three.
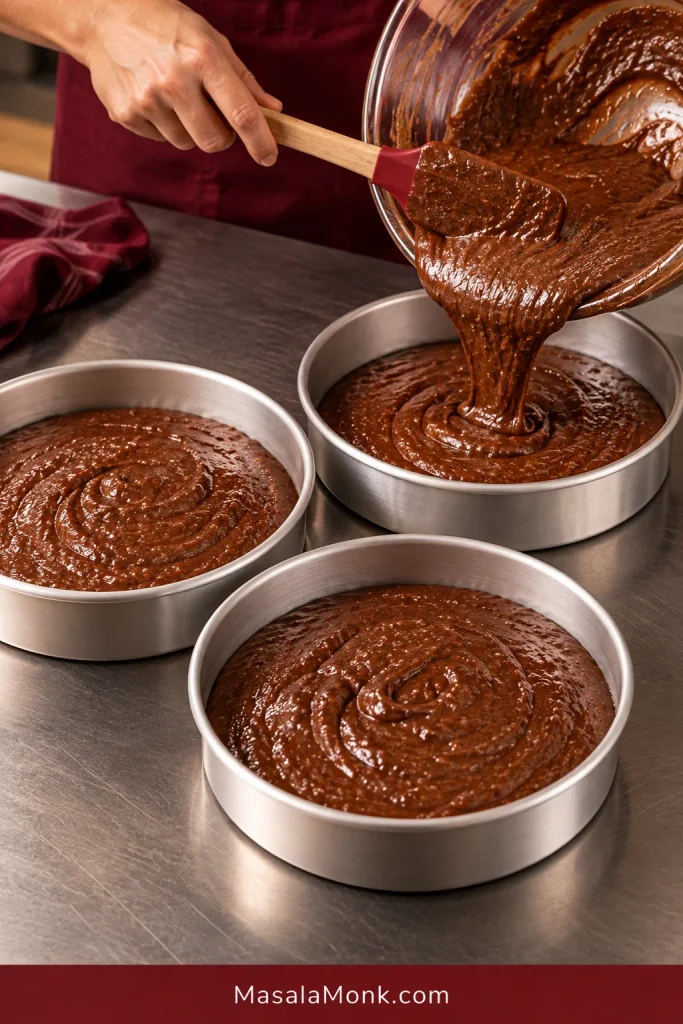
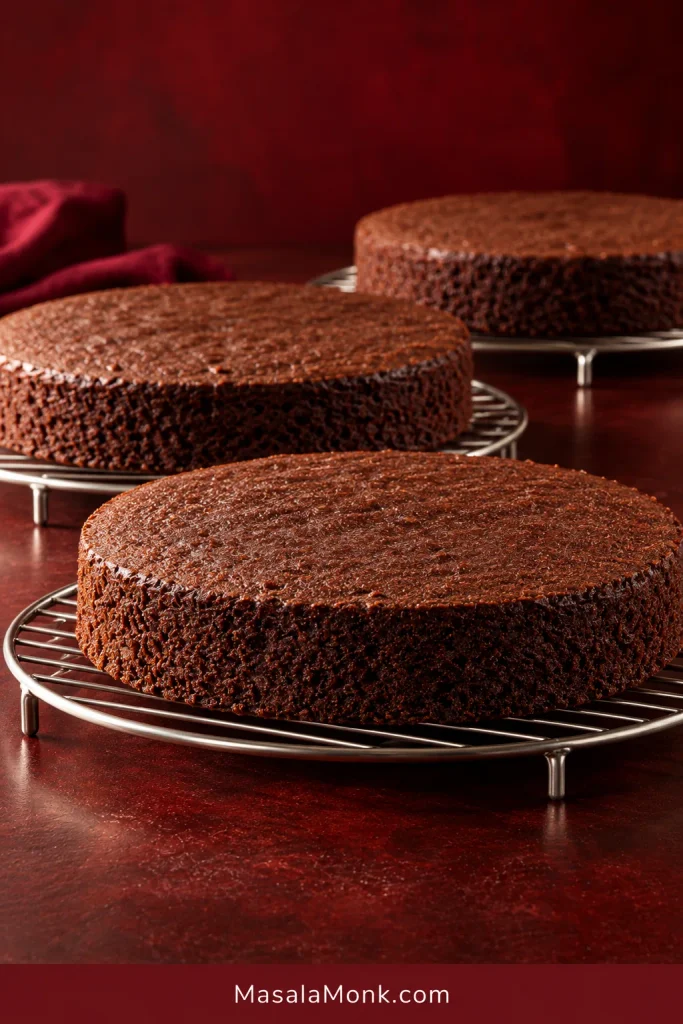
Begin checking around 26 minutes. The centers should no longer wobble, the tops should spring back lightly when touched, and a toothpick inserted near the center should come out without wet batter. A few moist crumbs are fine.
Cool the cakes in their pans for about 10 minutes, then turn them onto racks, remove the parchment and let them cool completely.
7. Toast the Pecans
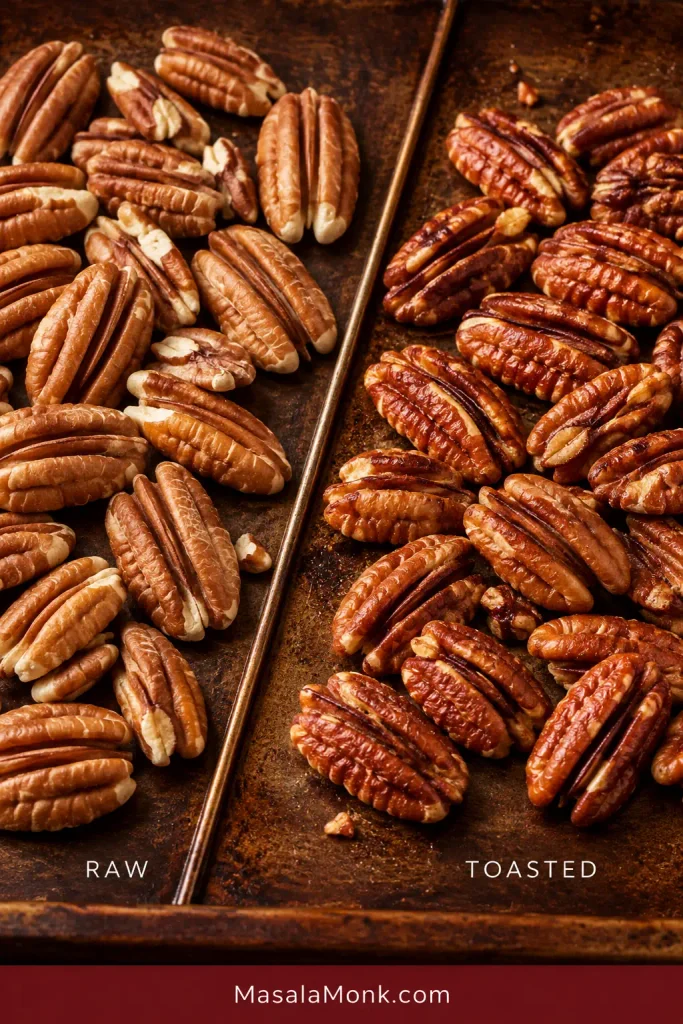
While the layers cool, spread the pecans on a baking sheet and toast at 350°F / 177°C for about 6–8 minutes. They are ready when the nutty aroma becomes obvious; there is no need to wait for them to turn dramatically darker. Cool briefly, then chop them into small but distinct pieces.
8. Cook the Coconut-Pecan Frosting
Whisk the egg yolks, evaporated milk, brown sugar and salt together in a medium heavy-based saucepan. Add the butter and set the pan over medium to medium-low heat.
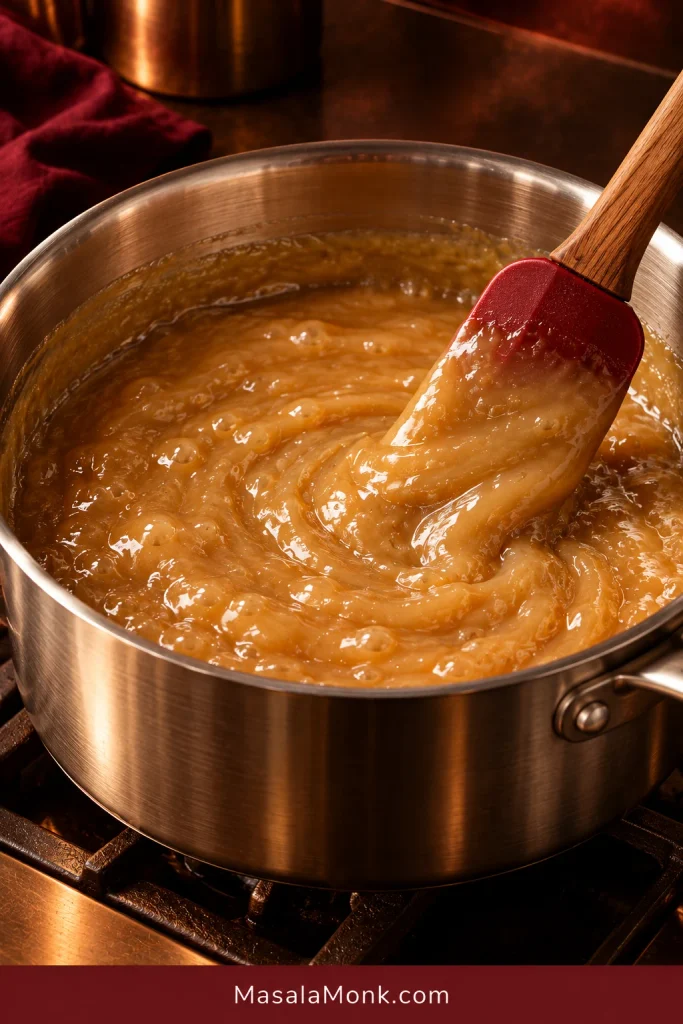
Stir continuously, scraping the bottom and corners. From the time the pan goes over the heat, this batch may take roughly 10–15 minutes, depending on the pan and burner. Treat that as a guide for when to watch closely, not a guaranteed finish time.
Keep stirring until the mixture reaches 160°F / 71°C and has thickened enough to coat the back of a spoon. Draw the edge of a spatula through the coating; the track should remain visible instead of immediately closing. The mixture should look glossy and thicker, but it will still be softer than the finished filling.
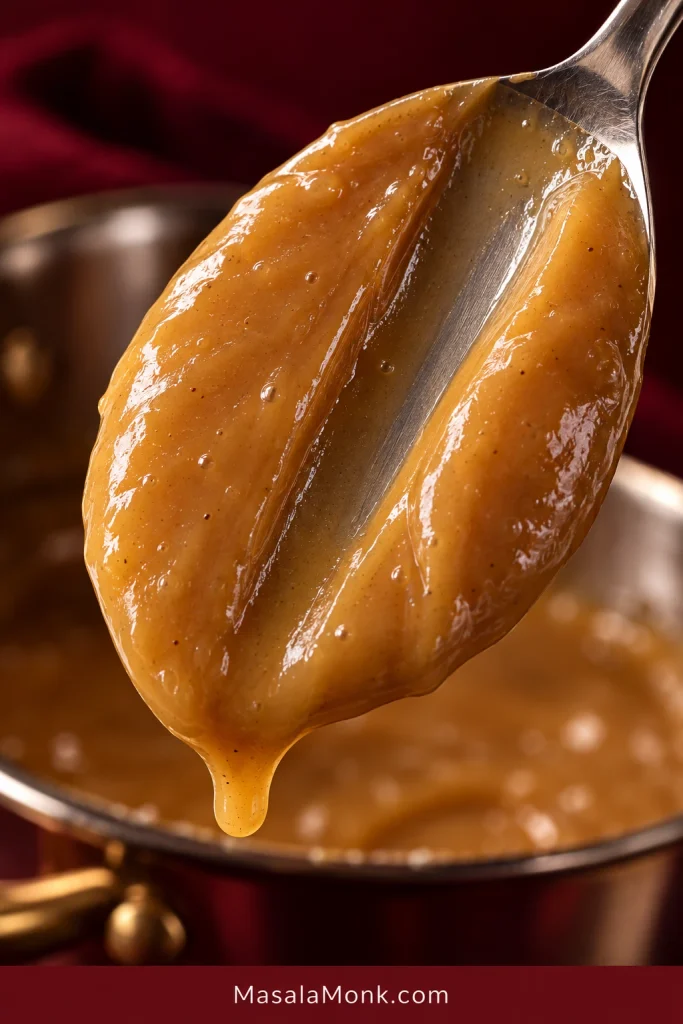
Temperature and texture are separate checks: the thermometer confirms that the egg mixture has reached the safety threshold, while the spoon test helps you judge consistency. For more on safe cooking and handling, see the USDA food-safety guidance.
Want a side-by-side visual check? Compare your custard with the three frosting states.
9. Finish and Cool the Frosting
Remove the pan from the heat and stir in the vanilla, coconut and toasted pecans until evenly coated. The coconut and nuts should be distributed throughout the custard rather than sitting in a separate layer.
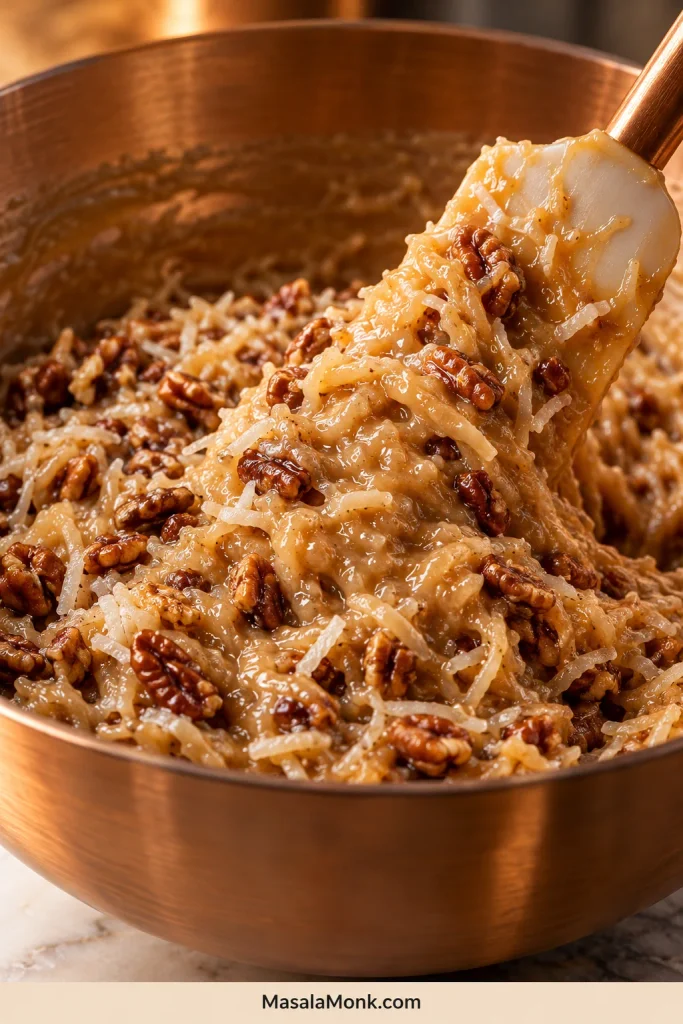
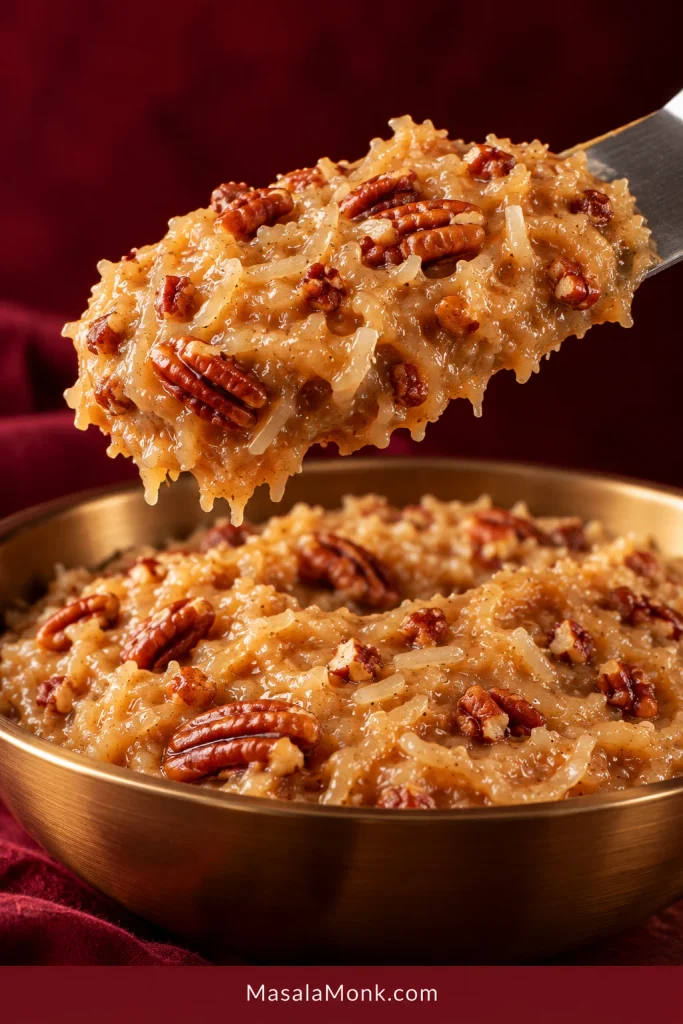
Transfer the frosting to a wide bowl or shallow dish and stir occasionally as it cools. Depending on room temperature and the dish, cooling may take roughly 45–60 minutes. The texture is the better guide: it is ready for stacking when it no longer feels warm and a spoonful holds its mound instead of slowly flowing outward.
10. Assemble the Cake
Before stacking, mentally divide the cooled frosting into three portions, making the top portion slightly larger. That helps prevent using too much between the first two layers and running short at the end.
Set the first cake layer on a serving plate or cake board. Spread one portion of frosting over the top, making a clear coconut-pecan seam without pushing the filling into a heavy bulge at the edge.
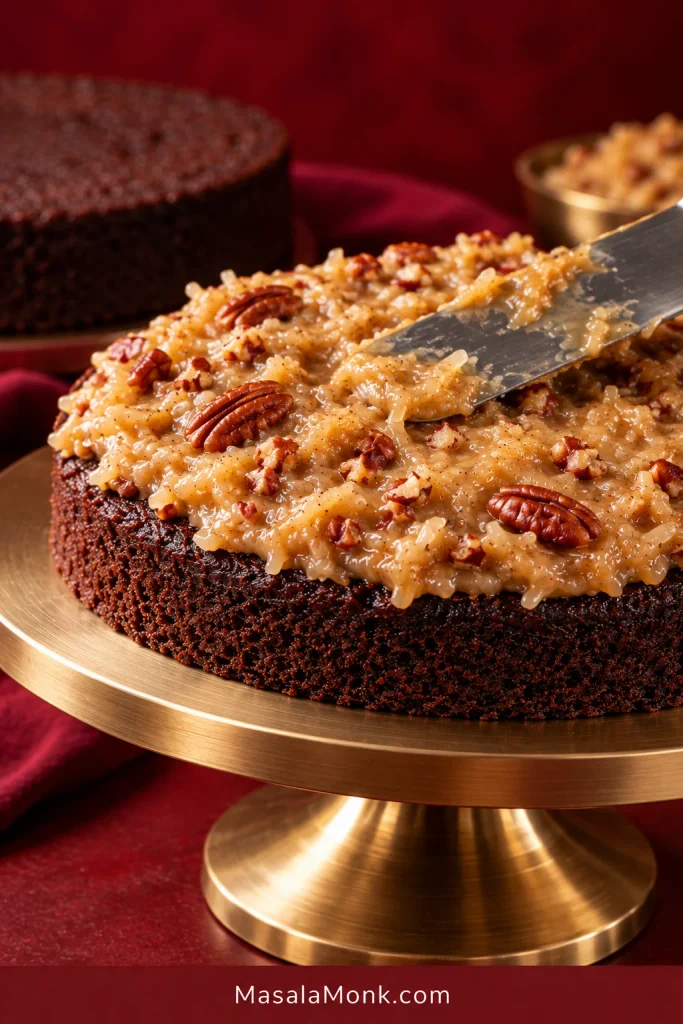
Add the second layer and repeat. Set the third on top and use the larger remaining portion for the crown.
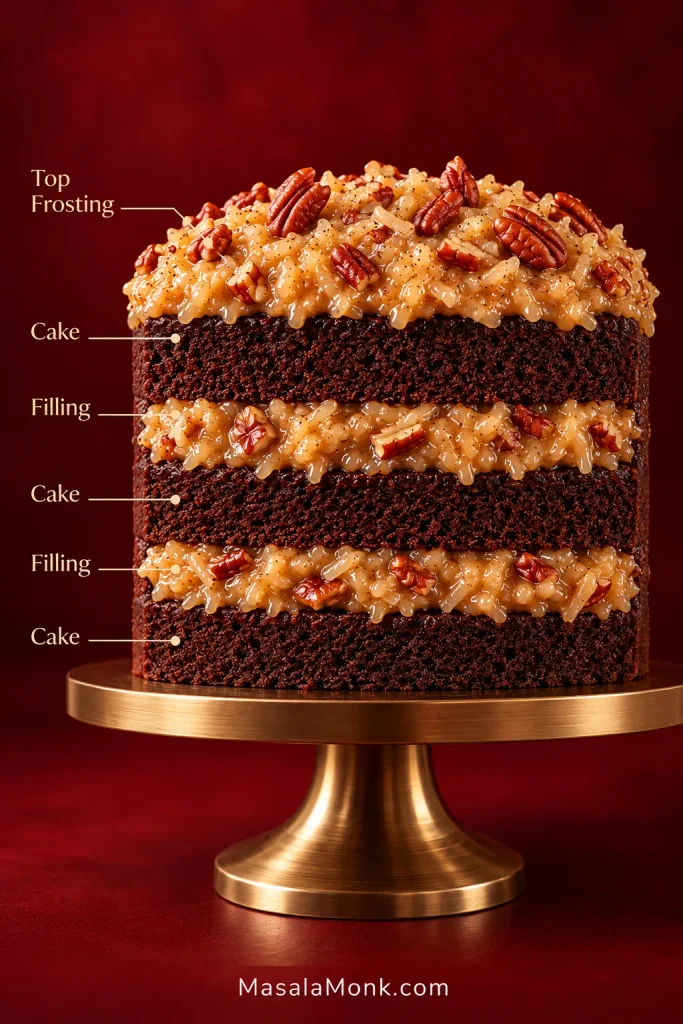
Leave the sides exposed for the classic look. Once the third layer is on and those coconut-pecan seams are showing, it finally looks like German chocolate cake.
If the stack starts shifting as you build it, see how to keep the layers from sliding.
11. Chill Before Slicing
Refrigerate the assembled cake for about 45–60 minutes. This gives the filling time to settle and makes the layers easier to slice cleanly.
For serving, let the cake lose some of its refrigerator chill so the crumb softens and the chocolate, butter and toasted nuts become more aromatic.
Back to Recipe ↑ · Explore the Cake & Frosting Guide ↓
If the cake is already chilling, you are done for today. Keep the guide below for the questions that tend to come up when choosing chocolate, judging the frosting, building a stable cake or planning ahead.
German Chocolate Cake Guide
What Makes German Chocolate Cake Different?
German chocolate cake is an American chocolate layer cake known for its cooked coconut-pecan filling and frosting; its name comes from German’s Sweet Chocolate, not Germany.
The chocolate was developed by Samuel German for Baker’s Chocolate in the nineteenth century. An early published version of the cake appeared in the Irving News Record in May 1956 as “Summer German Chocolate Cake.” A 1957 recipe in the Dallas Morning News helped popularize the cake nationally. Read more in this history of German chocolate cake.
Classic German Chocolate Cake vs This Version
The classic BAKER’S German’s Sweet Chocolate Cake uses a 4-ounce bar of German’s Sweet Chocolate, butter, buttermilk and separated eggs. The egg whites are beaten separately and folded into the batter for lift.
That gentler chocolate flavor is part of what longtime fans recognize as German chocolate cake. This version keeps German’s Sweet Chocolate, buttermilk, three exposed layers and the familiar cooked coconut-pecan finish.
The batter takes a more streamlined route: the whole eggs are added one at a time, natural cocoa adds another layer of chocolate flavor, and a little oil is used alongside the butter.
Our frosting is adapted too. The classic BAKER’S version uses 1½ cups granulated sugar and 2⅔ cups coconut. This version uses 250 g light brown sugar and 2¼ cups sweetened shredded coconut. It retains the cooked egg-yolk, evaporated-milk, butter and pecan base while changing the sugar and coconut proportions rather than reproducing the original formula.
For a dark, fudgy cake covered in glossy chocolate instead of coconut-pecan filling, our Matilda Cake is a much better match.
Choosing the Chocolate
German’s Sweet Chocolate is sweeter and less intense than the very dark bars now common in baking aisles. The familiar BAKER’S bar is around 48% cacao.
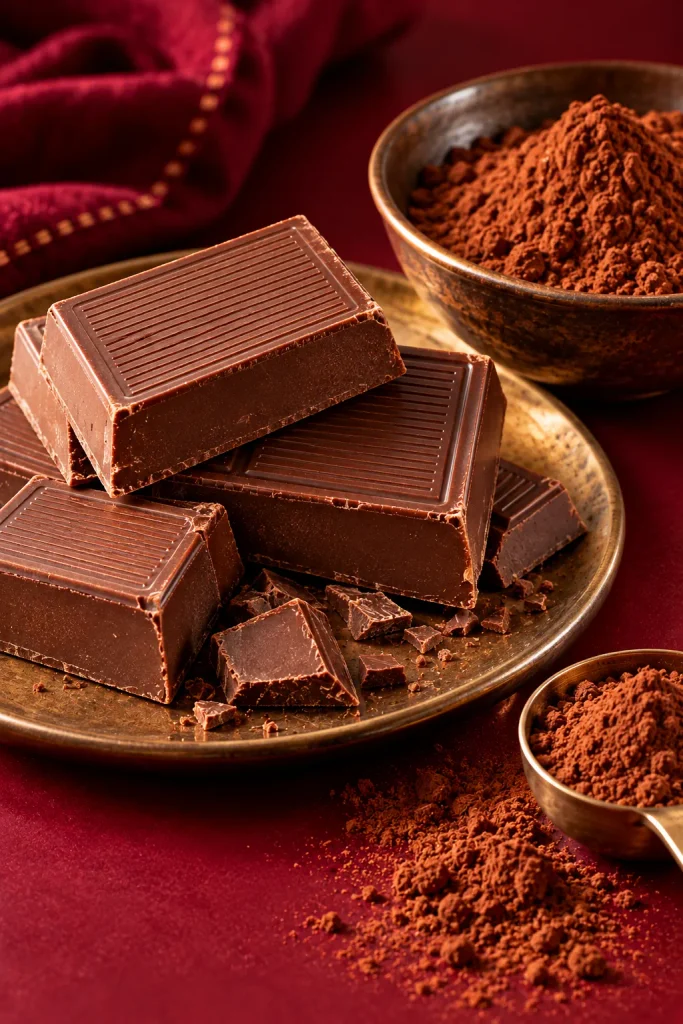
Choose it when you can find it. A sweet or semisweet baking bar around 45–55% cacao is the closest fallback suggested here. An 80% or 90% bar pushes the cake in a noticeably darker and more bitter direction.
Cacao percentages, cocoa and chocolate labels can get confusing quickly; our cacao vs chocolate guide explains what those terms actually mean.
Ready to bake? Back to the recipe ↑
Keeping the Chocolate Layers Moist
Butter brings flavor, oil stays fluid when chilled, buttermilk adds moisture and acidity, and coffee helps the chocolate taste fuller. Careful baking keeps that moisture in the cake instead of driving it off in the oven.
Flour measurement matters just as much. Use the gram weight when possible. Measuring by cups? Spoon the flour into the cup and level it instead of packing it down.
The target is a soft, tender layer with enough structure to sit beside the creamy coconut-pecan filling. A wet, brownie-like crumb would pull the cake in a different direction.
Getting the Coconut-Pecan Frosting Right
German chocolate frosting is naturally softer while hot, which makes it easy to keep cooking longer than necessary. Judge it again after cooling: if it still pours then, it was probably undercooked.
The filling begins like a cooked custard. Egg yolks, evaporated milk, brown sugar and butter thicken together before the coconut and pecans go in. Once cooled, you want a soft caramel-like layer with coconut and pecans suspended through it, supple enough for a fork but firm enough to stay between the layers.
Evaporated Milk vs Sweetened Condensed Milk
Sweetened condensed milk is not a 1:1 substitute for evaporated milk in this German chocolate frosting.
Evaporated milk is concentrated milk without the large amount of added sugar found in sweetened condensed milk. The two cans may sit beside each other at the store, but they behave very differently in a cooked filling.
Measure the full 12 fl oz / about 355 ml evaporated milk rather than relying on the phrase “one can,” since package sizes vary.
Condensed-milk German chocolate frostings do exist, but they are built around that ingredient from the beginning. Already have sweetened condensed milk? Our Magic Cookie Bars use it with chocolate, coconut and pecans.
Coconut and Pecans
Choose moist, sweetened shredded coconut here. It absorbs part of the custard and gives the filling much of its body. Very dry desiccated coconut can make the mixture tighten faster than expected.
Long coconut strands are easier to spread and slice after a few rough chops. Keep enough length for the coconut to remain visible.
Toast the pecans before chopping them. Their aroma deepens before the color changes dramatically, so smell is the better cue.
Removing the coconut changes both the body and texture of the filling because the shreds absorb part of the custard. A coconut-free version would need a different filling, not simply the same custard with one ingredient missing.
Walnuts are the easiest nut swap. Toasted walnuts provide similar bulk and crunch, although the flavor is distinctly different.
The Three Frosting States
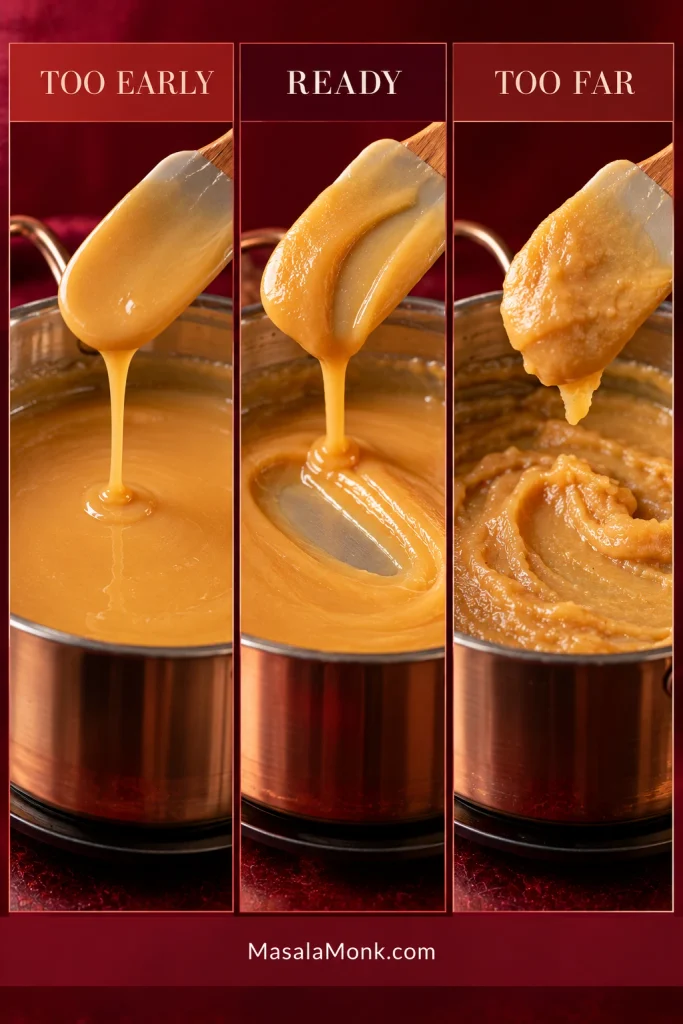
| What You See | What to Do |
|---|---|
| Too early: thin, runs quickly from the spoon and a track through the coating closes almost immediately | Keep cooking and stirring until the mixture reaches the egg-safety temperature and continues to thicken. |
| Ready: glossy and visibly thicker, coats the spoon and holds a track drawn through the coating; the mixture has reached 160°F / 71°C | Remove it from the heat promptly. It will thicken further as it cools. |
| Too far: heavy or pasty while still hot, difficult to stir or already beginning to set | Remove it from the heat if it has reached the safety threshold. It has gone beyond the ideal spreading stage. |
For egg safety, the custard needs to reach 160°F / 71°C. Temperature and spreading consistency are separate checks: use a thermometer for the safety threshold and the spoon test for texture. The USDA food-safety guidance explains safe cooking and handling temperatures.
What Went Wrong with the Frosting?
Still pourable once cool? It may have been undercooked. Return it to gentle heat, stir constantly and monitor both the temperature and the consistency. Do not rely on the spoon test alone to establish egg safety.
Already stiff while warm? The custard may have cooked too far, or the coconut may be especially dry. It can firm further as it cools, so avoid adding more cooking time just to make it resemble a cold filling.
Greasy or separated? Excess heat can disrupt the mixture. Stop cooking and let it cool before assessing the texture. There is no guaranteed fix for a badly separated batch; moderate heat and constant stirring are the best prevention.
Frosting sorted? Return to cake assembly ↑
Keeping the Layers from Sliding
Coconut-pecan filling stays softer than a structural buttercream. Cool cake and cool filling do most of the work here; keep each filling layer thick enough to see clearly without loading it so heavily that it is already pushing toward the edge.
Lower each cake layer straight down instead of sliding it into position. A shifting stack needs a short chill. Pressing harder usually makes the filling squeeze out faster.
For Birthdays and Transport
A narrow ring of firm buttercream around the first two layers can act as a dam when the cake has to travel or spend time in a warm room. Spoon the coconut-pecan filling inside that ring.
For piped decorations, writing or smooth chocolate-covered sides, use buttercream or ganache for those jobs and leave plenty of coconut-pecan frosting visible on top.
Our buttercream frosting guide covers the consistency needed for piping and structural work.
Chill the assembled cake thoroughly before transport and keep it level in a fitted box or carrier. For a longer drive or hot weather, place the boxed cake in an insulated cooler with frozen gel packs to keep it cold in transit. Count transport and serving time together: return the cake to refrigeration within 2 hours out of the cold, or within 1 hour when temperatures exceed 90°F / 32°C.
9×13 German Chocolate Cake
A 9×13-inch cake is easier to carry and portion, and it skips the layer-stacking altogether. Use a metal pan at least 2 inches deep.
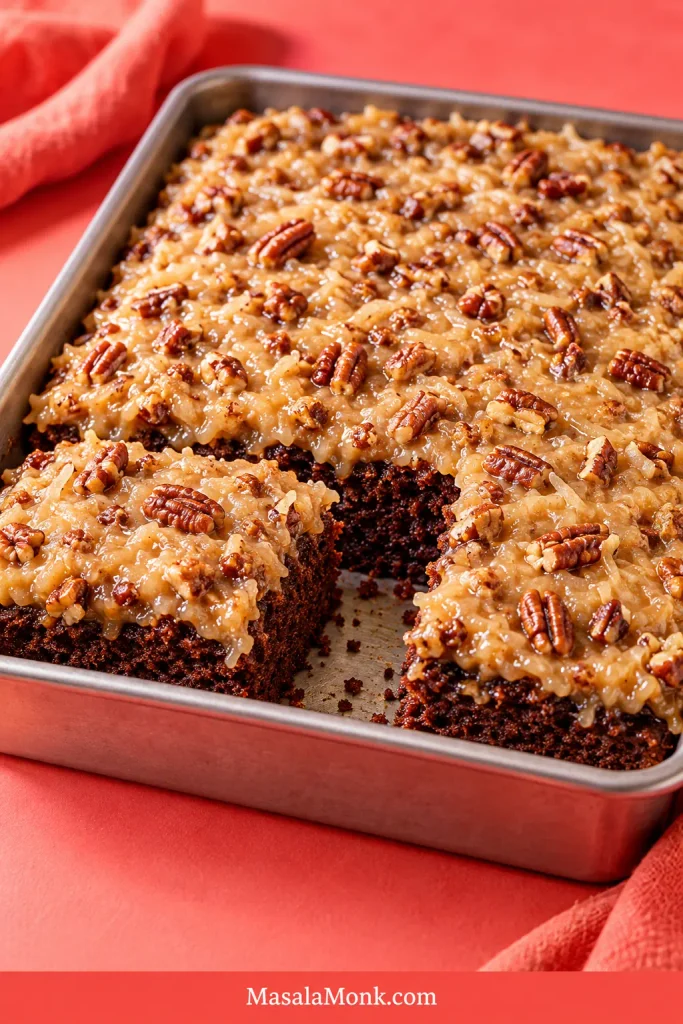
Spread the batter into the greased, parchment-lined pan and bake at 350°F / 177°C. Begin checking around 35 minutes; this is a starting point, and the center’s doneness cues determine when to remove the cake.
The center is ready when it no longer wobbles, the surface springs back lightly and a tester shows moist crumbs rather than wet batter. Cool the cake completely in the pan before frosting it.
Spread the cooled frosting over the cake in a generous, even layer. Once the topping has the depth you want, stop there; every last spoonful does not have to go onto the surface.
Planning ahead? Continue to make-ahead, storage and serving, or return to the recipe ↑.
Make Ahead, Storage & Serving
This cake is easier when the work is split over two days.
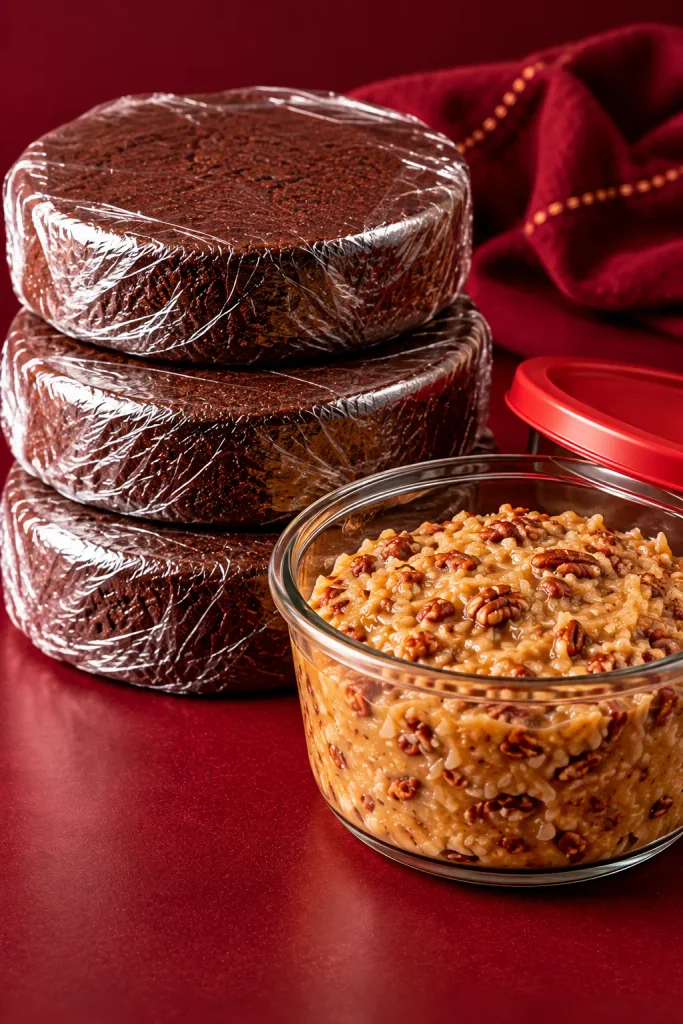
The Day Before
- Bake the layers and let them cool completely.
- Once completely cool, wrap each cake layer individually. If your kitchen is cool and dry, keep the wrapped layers at room temperature overnight; if the room is hot, freeze them instead.
- Cook and cool the coconut-pecan frosting, then cover and refrigerate it separately.
On Serving Day
- Take the refrigerated frosting out early enough to soften to a spreadable consistency. It should spread without requiring substantial heating.
- Assemble while the layers are still cool and easy to handle.
- Chill the finished cake for 45–60 minutes before slicing.
Freezing the layers: for a conservative quality window, freeze completely cooled, well-wrapped unfrosted layers for up to 1 month. Let them thaw at room temperature while still wrapped, then unwrap once fully thawed. Nine-inch layers will often need roughly 2–3 hours to thaw through the center.
Refrigerator storage: keep the assembled cake and leftovers covered in the refrigerator at 40°F / 4°C or below. For the best texture and freshness, eat within about 3 days; use refrigerated leftovers within 4 days.
Once the cake is out for serving, count all time spent out of refrigeration, including transport and serving. Return it to the refrigerator within 2 hours, or within 1 hour if the temperature exceeds 90°F / 32°C. Do not rely on appearance or smell to determine whether perishable food has been stored safely.
For the best texture, let a refrigerated slice sit out for roughly 20–30 minutes before eating, depending on room temperature. Keep the total time out of refrigeration within the limits above.
Back to Guide ↑ · Back to Top ↑
German Chocolate Cake Troubleshooting
| Problem | What to Check |
|---|---|
| Cake is dry | Too much flour, too long in the oven or an oven running hot. Weigh the flour and stop baking while the tester still carries a few moist crumbs. |
| Batter looks softer than expected | Do not add flour just to make it look like a traditional butter-cake batter. A smooth batter with the correct measurements can still look quite soft. |
| Edges look done before the center | Keep the oven temperature steady and give the middle more time. Dark pans and hot spots can set the outside first. |
| Layers slide | The cake or filling is probably too warm, or there is too much filling between layers. Give the stack a brief chill. |
| Filling squeezes out when sliced | Chill the assembled cake before slicing and use a sharp knife, wiping the blade between slices. |
Give the finished cake a little time out of the refrigerator before cutting. When the first slice comes away cleanly and the filling stays creamy instead of running or turning firm, the work has paid off—and the cake is ready for the table.