Posted on Leave a comment

Chatpati Karonde Ki Chutney: A Tangy Twist for Your Taste Buds

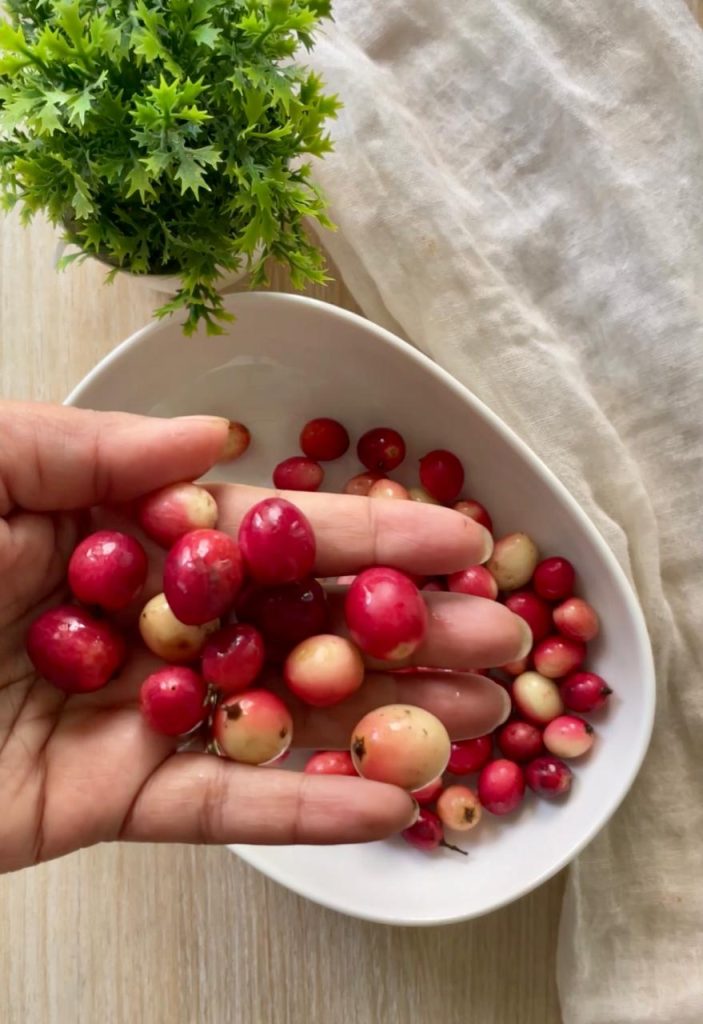
Karonda, also known as Carissa carandas, is a small, tart fruit native to India. Predominantly consumed in the northern regions, especially in Uttar Pradesh, Bihar, Jharkhand and Rajasthan, karonda is cherished for its unique flavor and numerous health benefits. This fruit is a powerhouse of vitamin C, antioxidants, and iron, making it an excellent addition to your diet. Including seasonal fruits and vegetables like karonda ensures that you are consuming the freshest and most nutrient-dense produce available. Seasonal produce is not only more flavorful but also more sustainable and eco-friendly. Incorporate karonda into your meals with this tangy and flavorful chutney recipe, and enjoy the goodness of this amazing fruit while supporting your health and the environment.

Ingredients:

1 cup Karonda (Indian cranberries)
1/2 cup Coriander leaves (cilantro), chopped
2-3 Green chilies, chopped
3-4 Garlic cloves
Salt to taste


Instructions:

Wash the Karonda thoroughly under running water to remove any dirt or impurities. Pat them dry using a clean kitchen towel or paper towels.

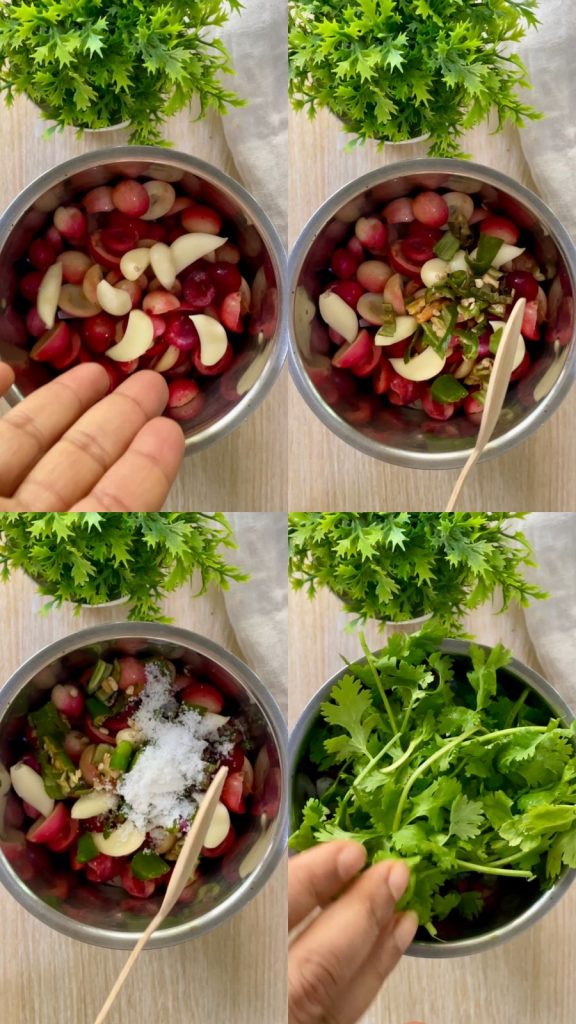
Take a blender or food processor and add the Karonda, chopped coriander leaves, green chilies, garlic cloves, and salt.

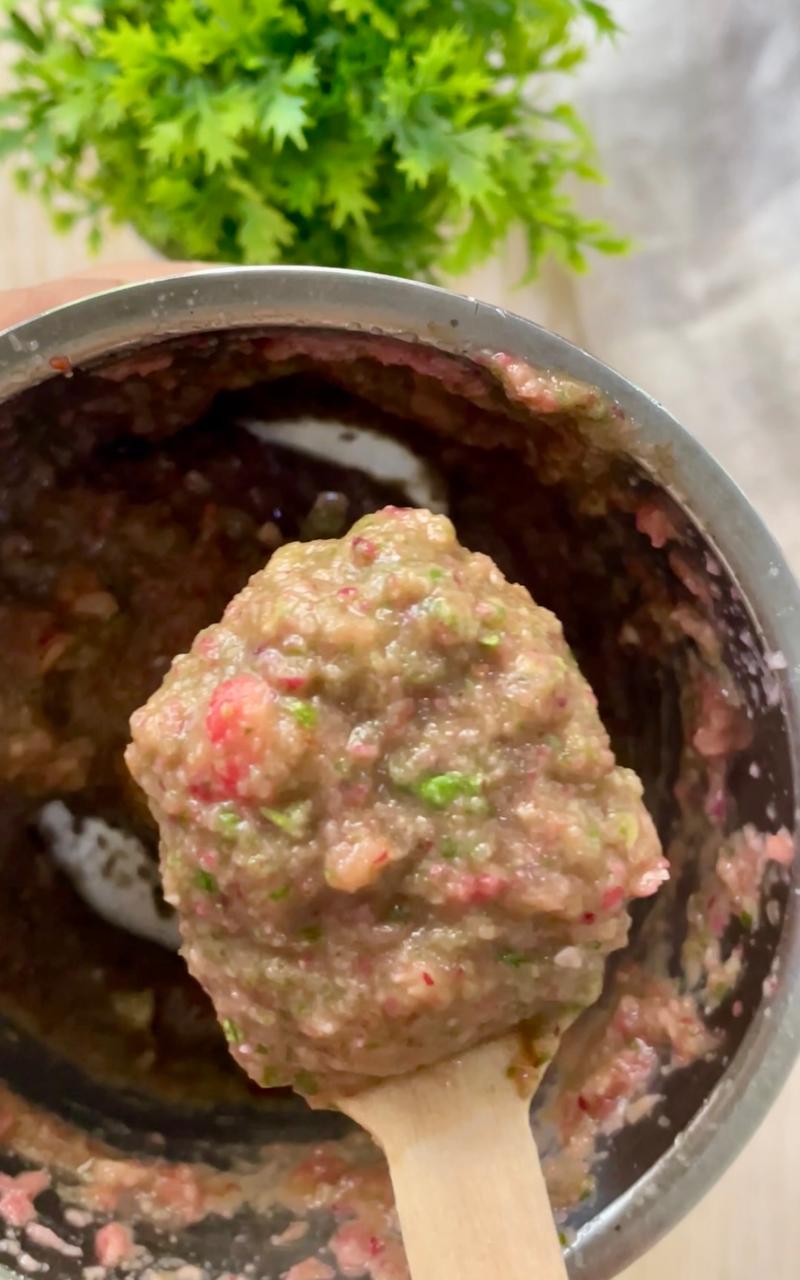
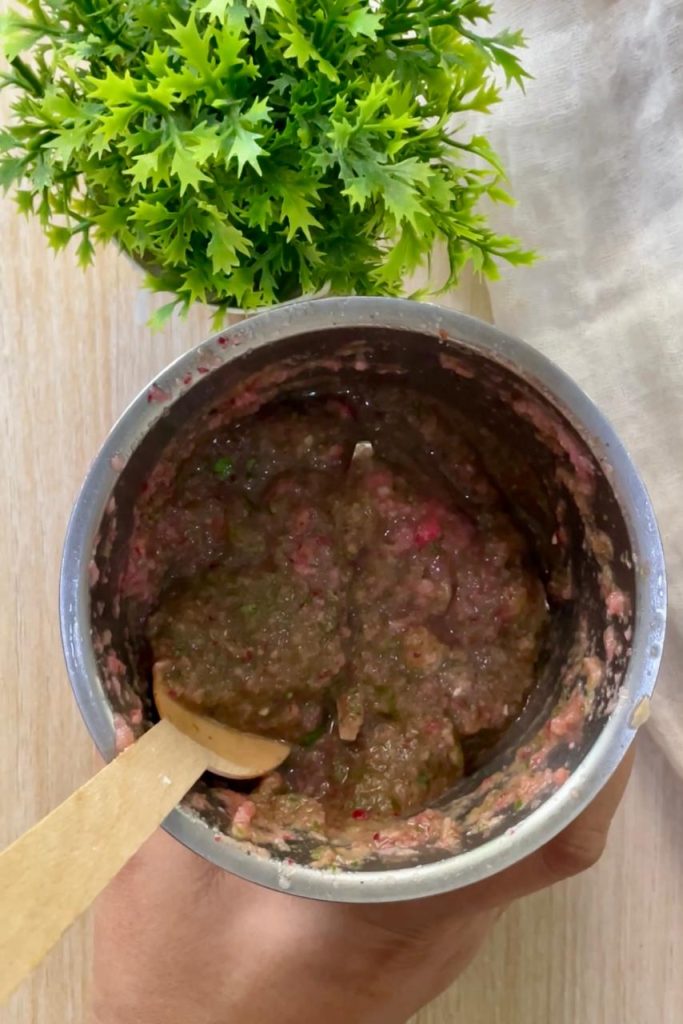
Blend all the ingredients together until you obtain a smooth paste. You may need to scrape down the sides of the blender or food processor a few times to ensure that everything is well incorporated.

Taste the chutney and adjust the seasoning as per your preference. If you find it too tangy, you can add a pinch of sugar to balance the flavors.

Once the chutney reaches the desired consistency and taste, transfer it to a clean, airtight jar or container. The Karonde ki Chutney is now ready to be served as a side dish. It pairs well with various Indian snacks, such as samosas, pakoras, or even as a spread for sandwiches.

Store any remaining chutney in the refrigerator for up to a week. Remember to use a clean, dry spoon each time you take out the chutney to maintain its freshness. Enjoy your homemade Karonde ki Chutney with your favorite snacks or meals!

If you love trying new and exciting flavors, we also offer karonda pickle and chutney on our website. We genuinely believe you’ll love these traditional recipes as much as we do.

We hope you will enjoy making and savoring this delicious Chatpati Karonde Ki Chutney. Its unique tangy flavor will surely add a burst of flavour to your meals. Give this simple yet flavorful recipe a try and experience the goodness of karonda. We’d love to hear how it turned out for you, so please leave your comments and share any variations you might have tried. Your feedback is invaluable to us. Happy cooking!

Posted on Leave a comment

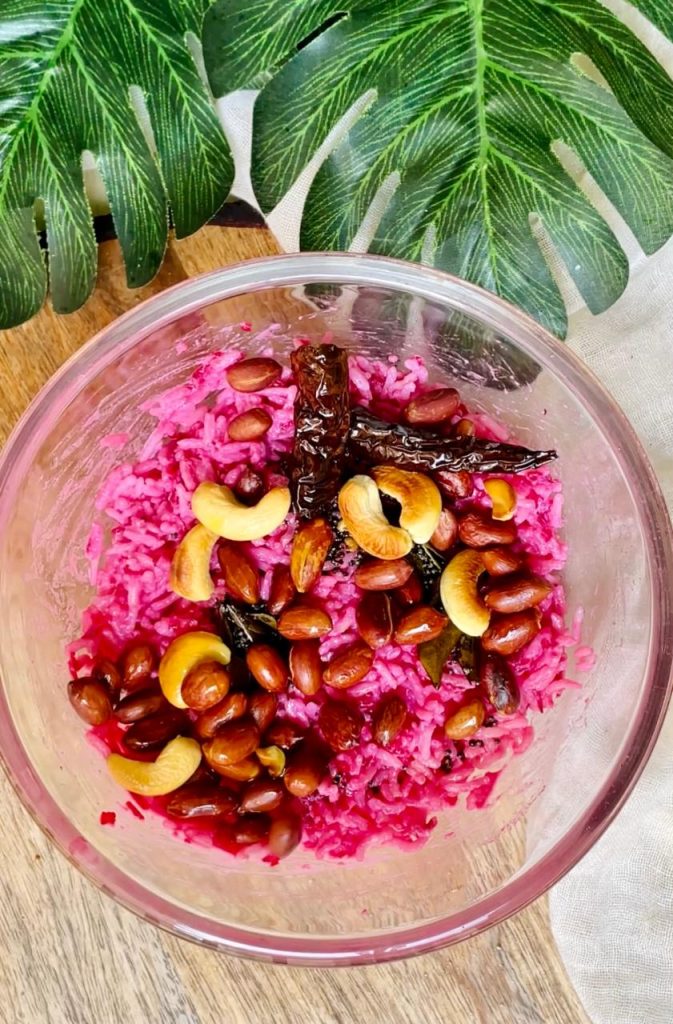
Barbie Curd Rice: A Vibrant Beetroot Twist on Classic Curd Rice

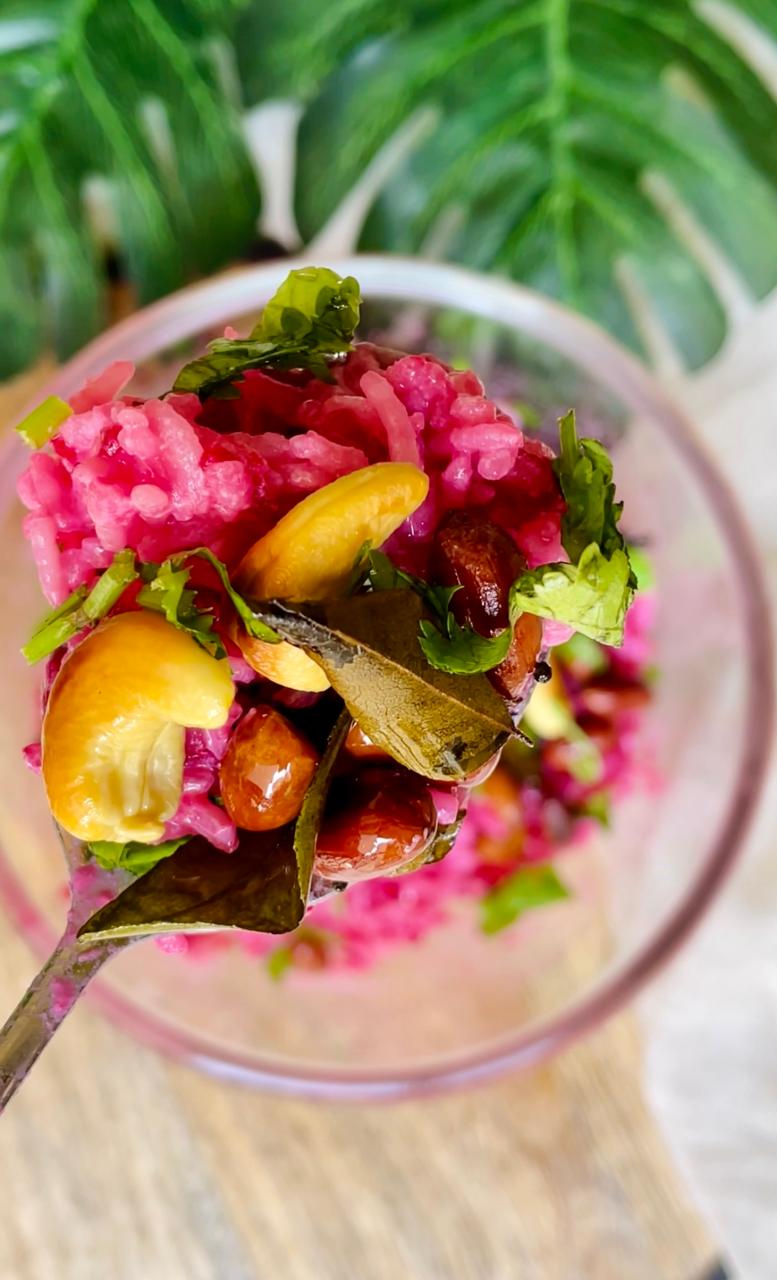
Curd rice, a beloved dish in South India, is not only comforting but also a perfect coolant for the scorching summer days. The addition of beetroot not only gives it a beautiful pink hue, earning it the nickname “Barbie Curd,” but also enhances its nutritional value. Beetroot is rich in antioxidants and essential nutrients, which aid in detoxification and boost overall health. Curd, being a probiotic, improves digestion and keeps the gut healthy.

Combining these ingredients makes for a delicious and refreshing meal that helps beat the heat. Enjoy this vibrant twist on the classic curd rice to stay cool and nourished this summer. Get ready to embark on a culinary journey filled with flavors and colors as we present to you the enchanting “Barbie Curd Rice”!

Ingredients:

Boiled rice
Creamy curd (yogurt)
Grated beetroot
Roasted peanuts and cashews
Fresh coriander leaves
Salt, to taste
Tadka (tempering):
Curry leaves
Rai (mustard seeds)
Whole red chillies

Instruction:

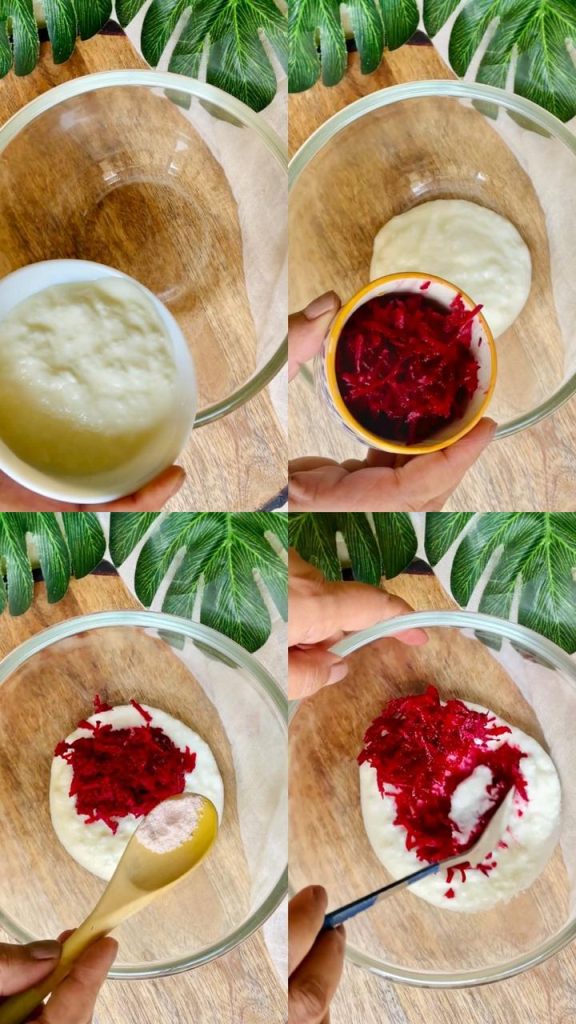
In a big mixing bowl, take a generous amount of creamy curd (yogurt). The tangy goodness of curd is going to bring out the flavors of this dish beautifully. Add the vibrant grated beetroot to the curd. This is where the “Barbie” charm comes in, infusing the dish with a splash of lovely pink. Season the mixture with a pinch of salt. Remember, balance is key!

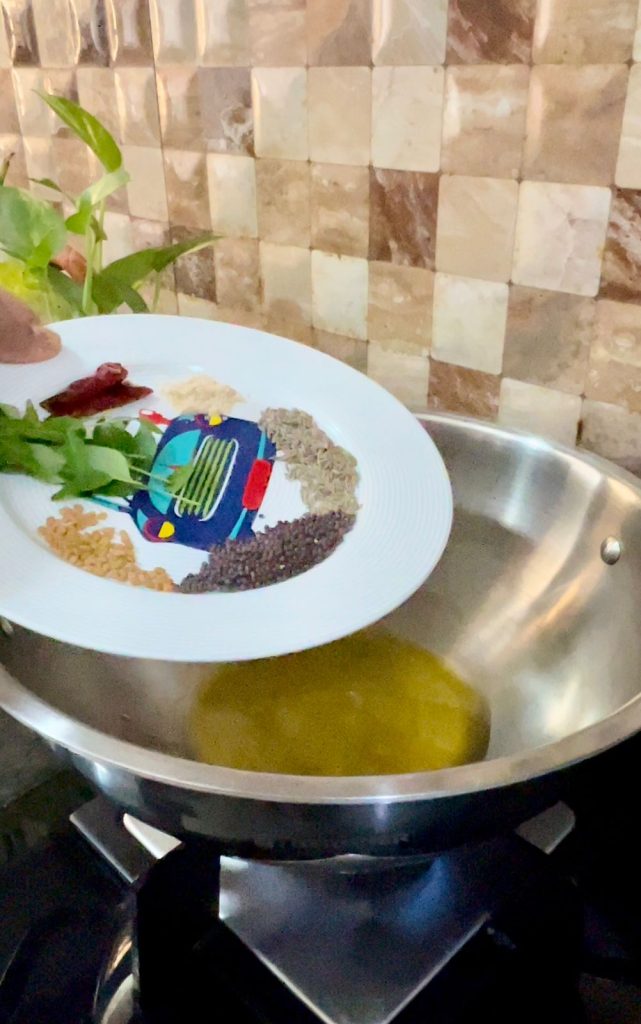
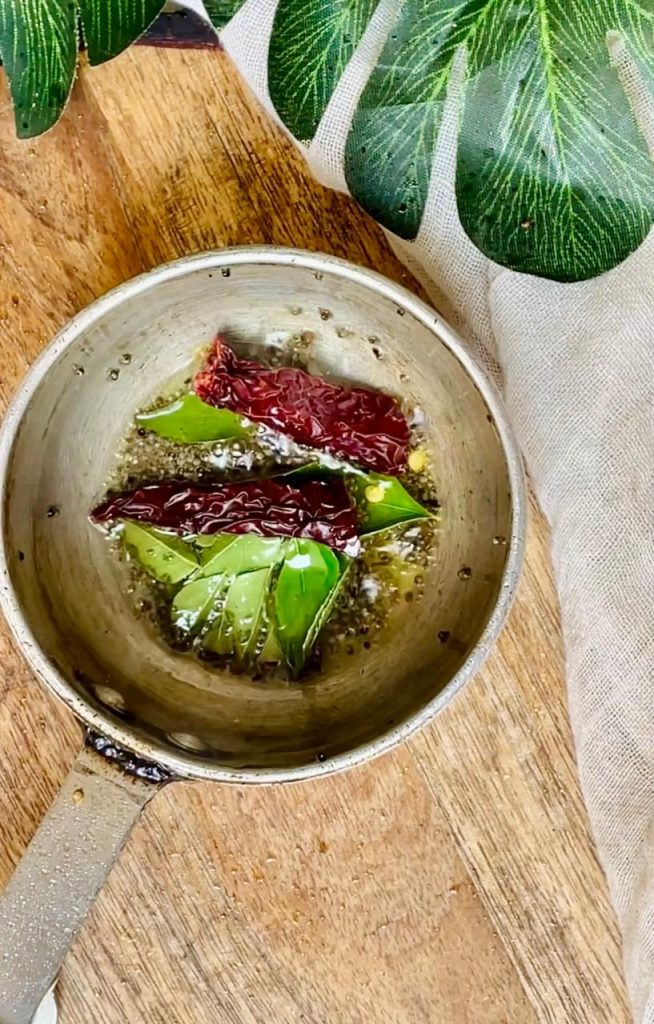
Start by preparing the tadka: In a small pan, heat a tablespoon of oil. Add the rai (mustard seeds) and allow them to crackle. Toss in the whole red chillies and curry leaves. Let them sizzle for a moment until fragrant.

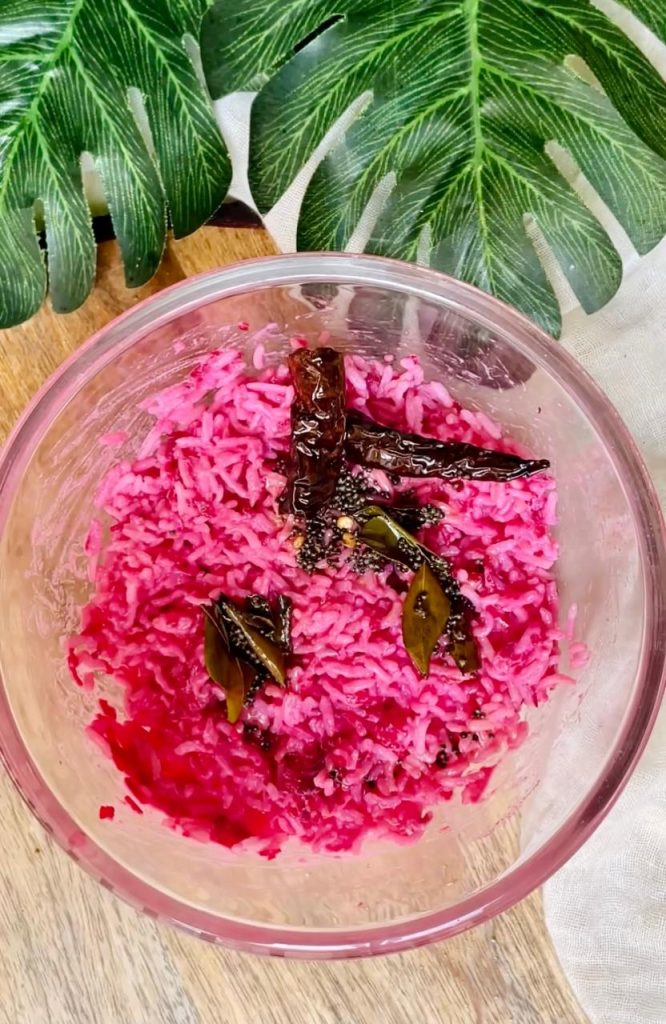
Gently fold in the perfectly cooked boiled rice. The rice will absorb the flavors of curd and beetroot, creating a harmony of tastes and textures. Pour the prepared tadka over the curd rice. The crackling spices and aromatic curry leaves will elevate the dish to new heights.

Now, it’s time to add a delightful crunch! Sprinkle roasted peanuts and cashews generously over the top.

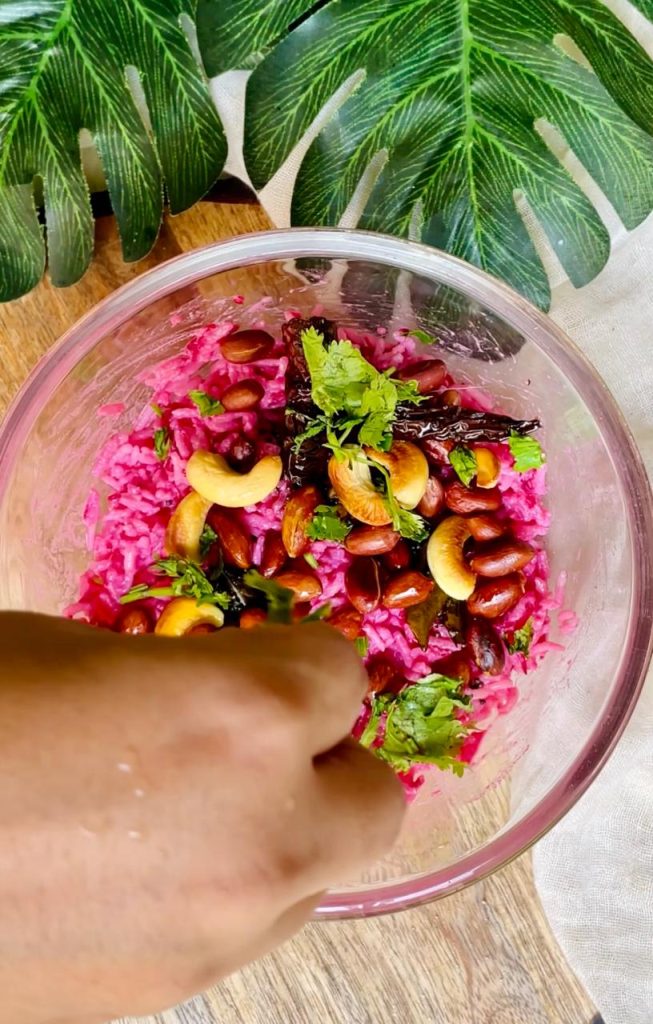
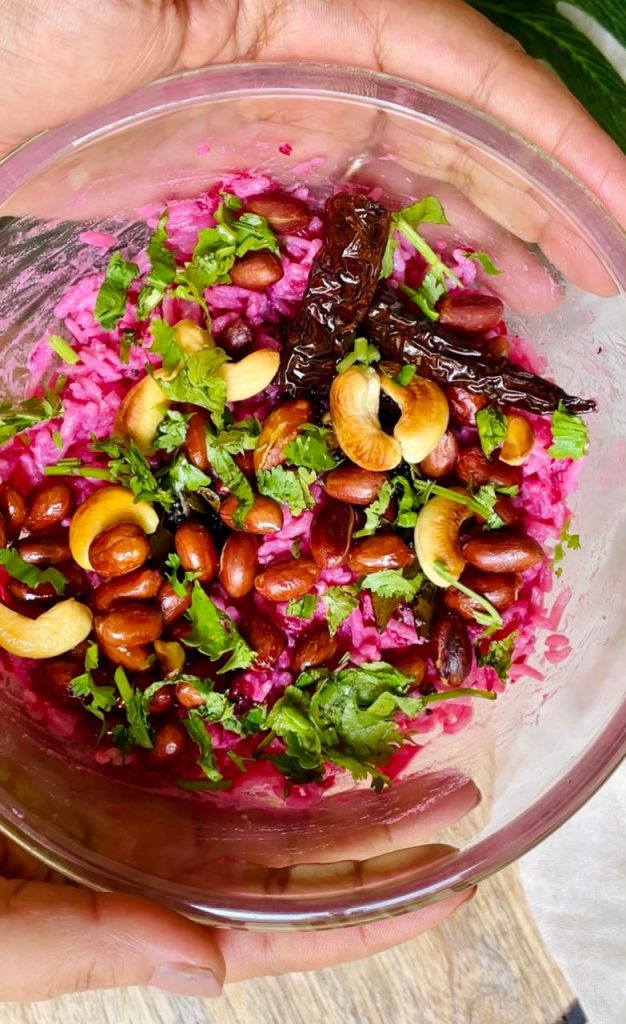
Finally, add a handful of fresh coriander leaves to enhance the freshness and add a burst of color.

Serving Suggestion:
Serve this beautiful “Barbie Curd Rice” on a plate and admire the magical blend of colors and textures. The vibrant pink from the beetroot, the golden crunch of nuts, and the lush green of coriander create a stunning visual treat.

Elevate your dining experience and surprise your taste buds with our Barbie Curd Rice. A delicious and visually captivating dish that’s perfect for special occasions or whenever you want to indulge in something delightful.

We hope you enjoy making and savoring this delightful Barbie Curd Rice with a beetroot twist. It’s not just a feast for the eyes, but also a nutritious and refreshing dish perfect for summer days. Give this colorful and healthy recipe a try and let us know how it turned out for you. We’d love to hear your feedback and any variations you might have added. happy cooking! 🍽🌈

Posted on Leave a comment

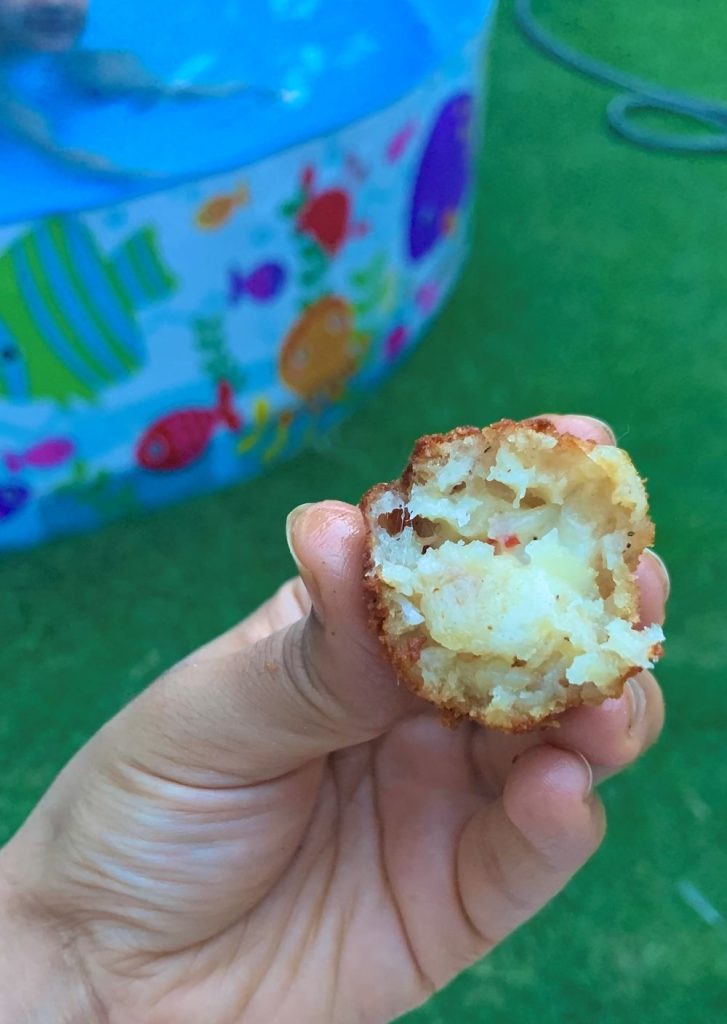
Air Fried Chilli Garlic Potato Bites- Guilt Free Snacking

Summer holidays have begun. Kids are at home. As much as it is exciting with all the play dates, pool parties but sometimes let’s admit it, it gets exhausting too, thinking about snacking options for everyone.

Potato-based snacks are very common and are prepared for various purposes. The market is flooded with fusion snacks made from potatoes. We all love those bite sized frozen snacks because they are quick to prepare and are absolutely delicious. But I have major concerns when it comes to frozen foods.

  • First of all is the high sodium content. Sodium is widely used as a preservative. I literally get enfolded with guilt if I serve my child packaged food with high sodium. Too much sodium in a child’s diet increases the likelihood of osteoporosis. It can cause calcium to be lost from bones resulting in weak bones.
  • The ingredients that are used in packaged frozen food are not the same as those in freshly cooked meals. It contains hydrogenated palm oil that has harmful trans-fat.
  • Preservatives like starch, corn syrup which is made up of glucose are added to these foods to add taste and texture. This increases the risk of diabetes and are noted as carcinogenic substances.
  • The high fat and sodium content can also increase the risk of heart diseases, BP and high cholesterol levels.

There is no one who doesn’t enjoy convenience. Tossing a packaged frozen food once in while in your shopping cart is not a problem. However, when this convenience becomes a habit, it comes with a huge risk of health problems.

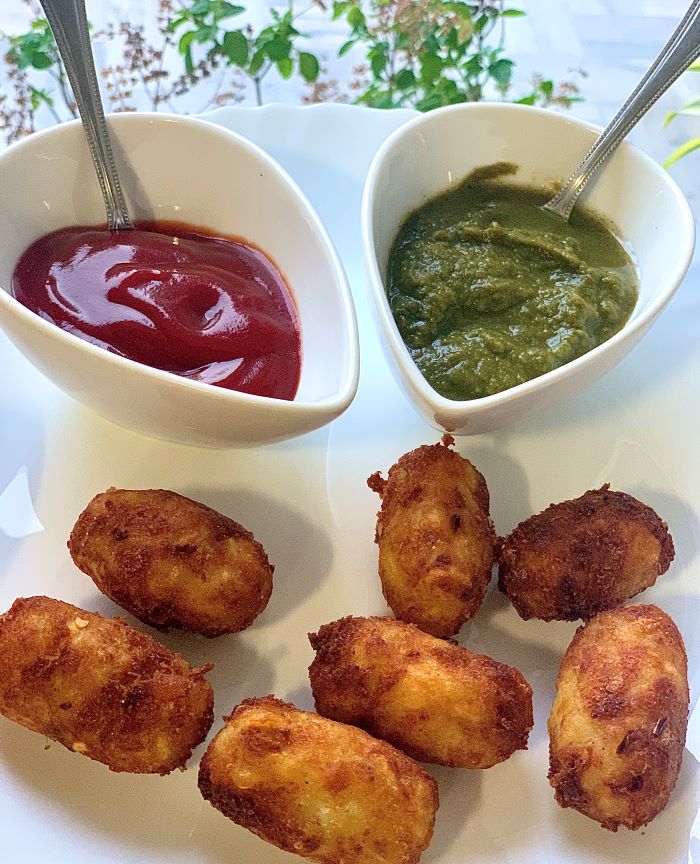
So, lets make fresh and delicious chilli garlic potato bites which I am sure you and your family will enjoy. They are air-fried, so there goes the guilt of deep frying too.

Recipe

Prep time: 10 minutes Cook time: 20 minutes 
Serving: 20 bites

Ingredients

  • 4 large Potatoes, boiled and mashed
  • 2 tbsps Rice flour
  • 3 slices of Bread (I used whole wheat)
  • 1 tbsp minced garlic
  • 1 tsp Red Chilli Flakes
  • 1/2 Mozzarella Cheese (optional but recommended)
  • Salt and Pepper to taste

Instructions

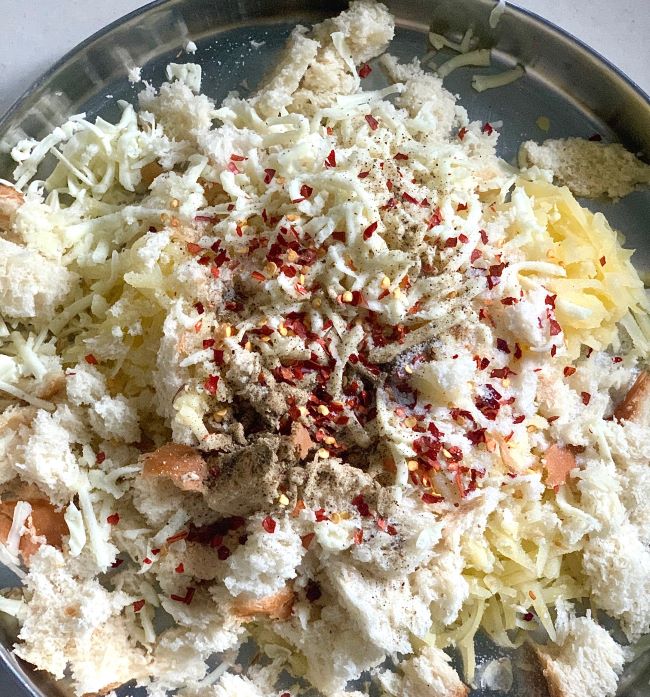
  • Take boiled and mashed potatoes in a large bowl or a plate. Break the bread slices into tiny pieces and add to potatoes. Add all the ingredients mentioned above.
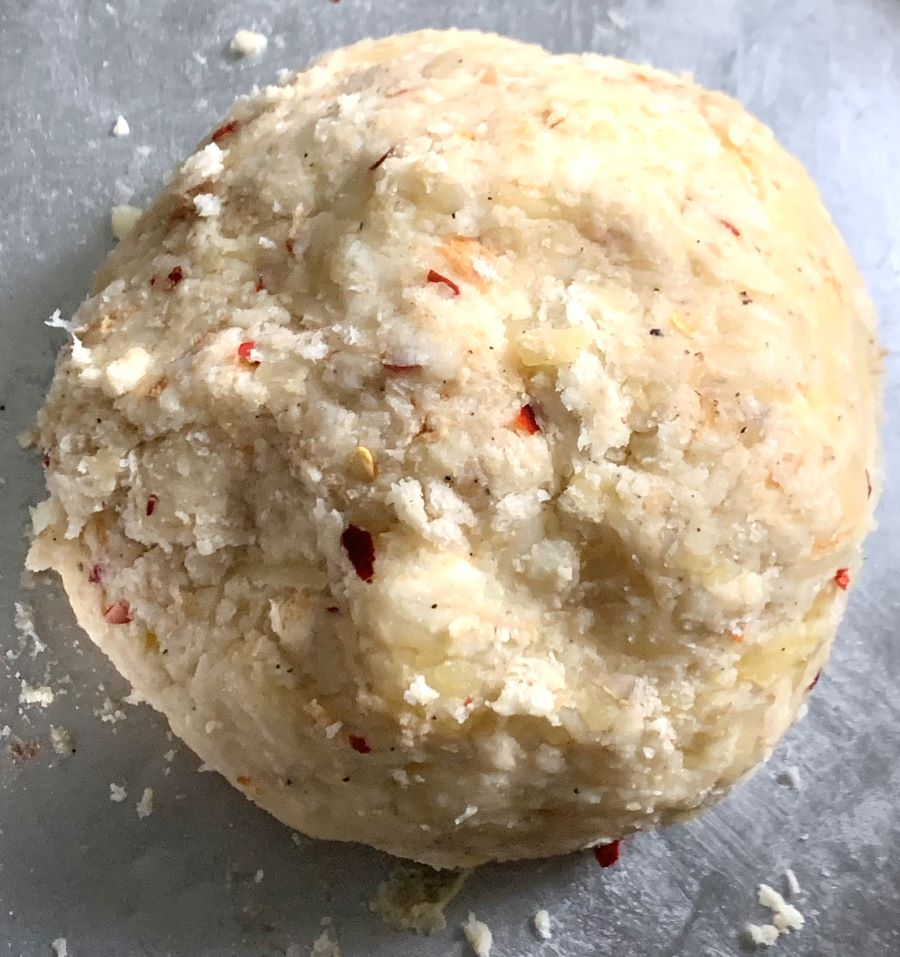
  • Squeeze and mix everything well to form a soft dough. If the dough feels sticky, add more rice flour or bread slice. It will help to absorb the moisture. Check for seasoning.
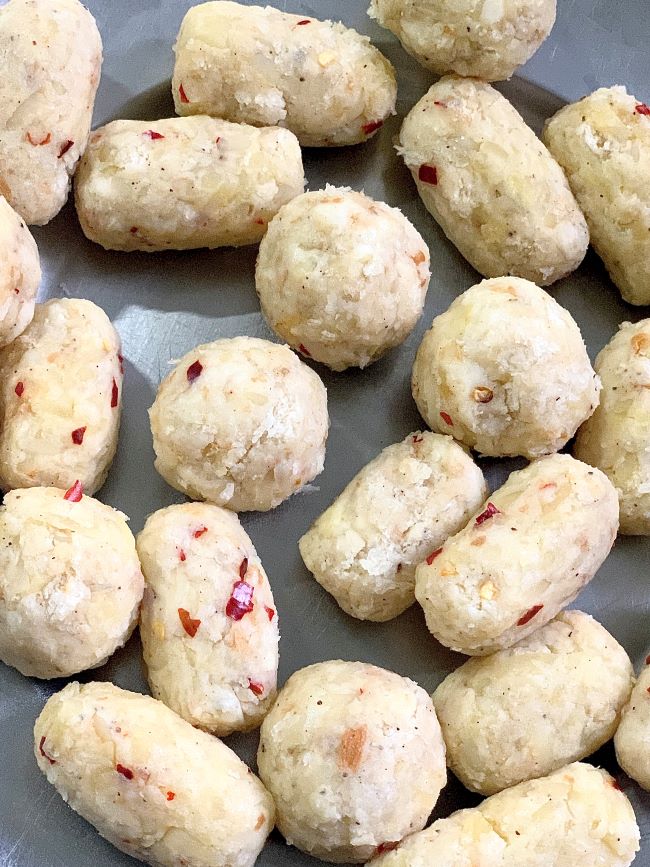
  • Now, shape it the way you like it. I shaped some in cylindrical shape but eventually got tired. The easiest is a round shape. So, if you plan to make a lot of these, I recommend a round shape.
  • Preheat the air fryer for 5 minutes at 360 F or 180 C. Brush the basket with little oil and gently add the potato balls. Do not crowd the basket. Do few batches of a single layer. Brush a little oil over the top of each ball. Cook for 4 minutes, shake the basket. Spray or brush it again with some oil. Cook for 2-3 minutes more until golden brown.
  • Serve with ketchup, chutney or ranch dipping sauce.

Variations

  1. A great variation to this is adding ranch seasoning packet to the potatoes because ranch seasoned potatoes are to die for.
  2. You can make them cheesy by adding a block of mozzarella or cheddar cheese in the center.
  3. To make it more crispy, you can dip these balls in corn flour slurry and then coat them with more bread crumbs.
  4. You can make this recipe gluten free by using gluten free bread slices.

Enjoy! Happy Holidays! 🙂

Posted on Leave a comment

Lotus Biscoff Dessert Cups: A No-Bake Delight

food wood coffee dark

Hello, dessert lovers! 🍨 Today, we’re diving into the world of no-bake treats with a recipe that’s both easy and delicious. We’ve found a delightful video by Easy & Yummy that guides you through the process of making Lotus Biscoff Dessert Cups. This video has been viewed over 4.1 million times, making it a popular guide for homemade dessert enthusiasts.🍮

Easy & Yummy demonstrates how to make homemade Lotus Biscoff Dessert Cups that are rich, creamy, and incredibly satisfying. The best part? No oven is required! These dessert cups are super easy to whip up and are made with just a few simple ingredients.

The Ingredients 🥣

To start, you’ll need a few basic ingredients:

  • 200 g Lotus Biscoff biscuits + 5 for decoration
  • 300 ml milk
  • 1.5 tbsp custard powder
  • 1 tbsp sugar
  • 300 ml whipping cream
  • 1 tbsp sugar
  • Pinch of vanilla powder or essence

The Process 🍮

Once you’ve gathered your ingredients, the process is straightforward:

  1. Crush 200g of Lotus Biscoff biscuits.
  2. In a separate jug, combine 300ml of milk with 1.5 tablespoons of custard powder and mix until the powder is fully dissolved.
  3. Add 1 tablespoon of sugar to the milk and custard mixture.
  4. Pour the mixture into a pot and heat on medium, stirring continuously until it thickens.
  5. In a separate bowl, whip 300ml of cream with 1 tablespoon of sugar and a pinch of vanilla powder or essence until stiff peaks form.
  6. Layer the crushed biscuits, custard, and whipped cream in cups, starting with the biscuits and ending with a layer of cream.
  7. Top each cup with a Lotus Biscoff biscuit for decoration.

The Result 🎉

The result is a batch of fresh, homemade Lotus Biscoff Dessert Cups that are creamy, rich, and full of that iconic Lotus Biscoff flavor. These dessert cups are perfect for parties or for when you don’t have time to make a cake. Plus, they’re ready to eat straight away!

For a step-by-step guide and to see the process in action, check out the full video by Easy & Yummy. Don’t forget to like and subscribe to their channel for more easy and yummy ideas!

We invite you to join our vibrant community on Facebook where we share our love for food, cooking, and everything in between. Let’s continue learning and growing together in our culinary journey. 🍽️👩‍🍳