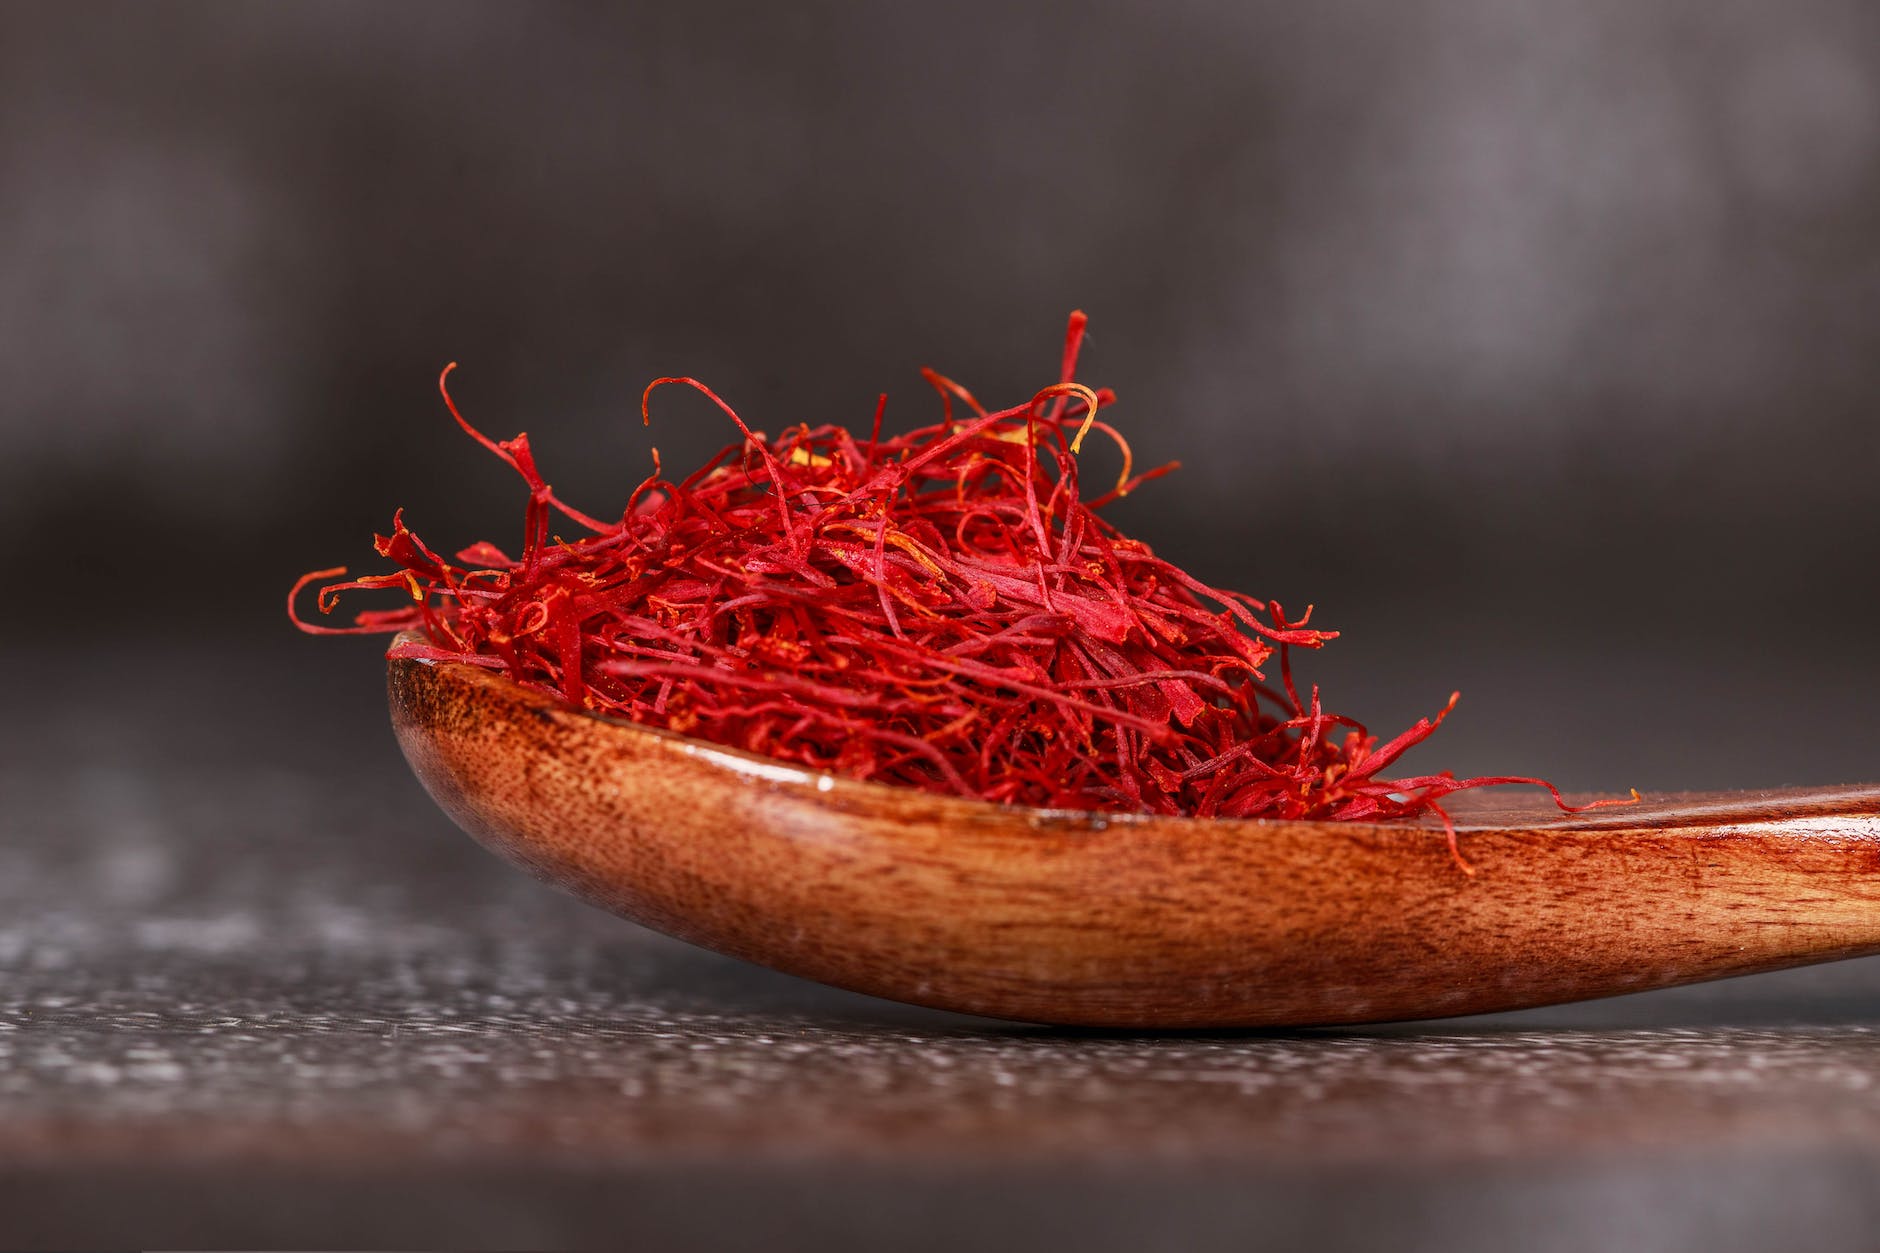
Saffron, a vibrant spice derived from the flower of Crocus sativus, has long been a crown jewel in culinary traditions worldwide. But when transformed into oil, it unveils a plethora of health, hair, and skin benefits that make it a compelling ingredient in wellness practices. In this comprehensive guide, we explore the many facets of saffron oil and why it should be a staple in your personal care routine.
The Immense Health Benefits of Saffron Oil
The health benefits of saffron oil stretch far and wide, making it a valuable addition to your daily regimen. It is a veritable treasure chest of antioxidants, anti-inflammatory compounds, and special bioactive ingredients that provide a significant boost to your overall health.
- Boosting General Well-being: Regular consumption of saffron oil can significantly improve your health on multiple fronts. It is an antioxidant powerhouse that combats harmful free radicals, reducing the risk of developing chronic diseases such as heart conditions and cancer. Anti-inflammatory properties of this golden oil can mitigate internal inflammation, promoting a healthy immune response.
- A Natural Uplifter for Mental Health: With high levels of compounds like safranal and crocin, saffron oil is a potent mood enhancer. These constituents show antidepressant effects, helping manage symptoms of depression and anxiety. Inhaling the scent of saffron oil can alleviate stress, ushering in a sense of calm and relaxation.
The Spectacular Benefits of Saffron Oil for Hair
Moving beyond its health benefits, saffron oil emerges as an ally for hair care, serving as a nourishing agent for your tresses.
- Stimulating Hair Growth: Saffron oil is rich in antioxidants that stimulate hair follicles, encouraging healthier and faster hair growth. Regular application can enhance the volume and shine of your hair, giving it a more vibrant appearance.
- Treating Scalp Concerns: The antifungal and anti-inflammatory properties of saffron oil make it a go-to solution for scalp issues like dandruff, itchiness, and dryness. It soothes the scalp, moisturizes hair roots, and reduces scalp irritation, making for a healthier hair growth environment.
The Skin-enhancing Benefits of Saffron Oil
Saffron oil is a game-changer for skincare, bringing along a multitude of benefits that can revitalize and enhance the health of your skin.
- Revitalizing Skin Health: Saffron oil is packed with vitamins and antioxidants that are crucial for skin repair and regeneration. Regular use can fade scars, alleviate hyperpigmentation, and diminish blemishes, paving the way for smoother, healthier skin.
- Brightening the Skin: The carotenoids and crocin found in saffron oil can give your skin a natural glow. Consistent application can lighten your complexion and add a radiant, healthy glow.
- Fighting Skin Aging: The strong antioxidants in saffron oil fight against free radicals that cause wrinkles and fine lines. Thus, incorporating it into your skincare routine can slow down the aging process and keep your skin looking youthful and supple.
The Alluring Benefits of Saffron Oil for Face
With its unique properties, saffron oil is a wonderful choice for facial care.
- Enhancing Facial Glow: A few drops of saffron oil can invigorate your facial skin, enhancing its natural luminosity. The oil seeps deep into the skin, moisturizing it from within and leading to a revitalized, fresh look.
- Controlling Acne and Breakouts: Thanks to its anti-inflammatory nature, saffron oil can help manage acne and breakouts, reducing the redness and inflammation associated with these skin conditions. Its antimicrobial properties further prevent the growth of acne-causing bacteria, leading to clearer, flawless skin.
The Unique Benefits of Saffron Essential Oil
Saffron essential oil, a more concentrated version of saffron oil, is prized for its potent therapeutic properties.
- Relieving Pain: The analgesic properties of saffron essential oil make it effective in alleviating pain. It is frequently used in aromatherapy sessions for relief from headaches and general bodily discomfort.
- Enhancing Mood: The distinct, calming aroma of saffron essential oil is a known mood booster. It can help relieve stress, promote relaxation, and improve sleep quality, enhancing overall mental well-being.
The Versatile Uses of Saffron Oil
Beyond skin and hair care, saffron oil has versatile applications that extend into the culinary realm.
- Culinary Uses: The distinct flavor of saffron oil can elevate your dishes, adding a unique twist to your culinary creations. It works well in an array of recipes, from stir-fries and marinades to salads and dressings.
- Aiding Weight Management: Emerging research suggests that saffron oil could play a role in weight management. It is believed to curb appetite and reduce cravings, thereby aiding in weight loss efforts.
Discovering Different Types of Saffron Oil
Saffron oil comes in several variations, each with its unique benefits.
- Kesar Oil: Known for its hair-strengthening and skin-rejuvenating properties, Kesar oil can also enhance memory and improve digestion.
- Zafran Oil: Predominantly used in the kitchen, Zafran oil is celebrated for its flavor-enhancing ability and digestive benefits.
- Blue Nectar Kumkumadi Serum: This blend of saffron oil and other herbs is known for its skin-nourishing properties. Regular use can lead to radiant skin, reduced signs of aging, and improved skin texture.
Frequently Asked Questions
- What makes saffron oil so beneficial?Saffron oil is derived from the saffron spice, which is renowned for its antioxidants, anti-inflammatory properties, and special bioactive ingredients. These components lend the oil its multifaceted benefits for health, skin, hair, and culinary uses.
- Can saffron oil enhance mental well-being?Absolutely, saffron oil contains compounds like safranal and crocin that show antidepressant effects. By inhaling the scent of saffron oil or incorporating it into your routine, you can experience reduced stress and improved mood.
- How does saffron oil contribute to hair health?Saffron oil is rich in antioxidants that stimulate hair follicles for healthier, faster growth. Moreover, its antifungal and anti-inflammatory properties make it a solution for scalp issues, promoting an optimal environment for hair growth.
- Is saffron oil good for skincare?Indeed, saffron oil offers a multitude of benefits for skin health. It can revitalize skin, fade scars, lighten complexion, and combat aging signs, thanks to its vitamin and antioxidant content.
- What are the benefits of saffron oil for facial care?Saffron oil can invigorate your facial skin, enhance its natural luminosity, and manage acne and breakouts. Its moisturizing and antimicrobial properties result in clearer, more radiant facial skin.
- What distinguishes saffron essential oil?Saffron essential oil is a more concentrated version with potent therapeutic properties. It’s often used for relieving pain, enhancing mood, and promoting relaxation, especially in aromatherapy sessions.
- Can saffron oil be used in cooking?Yes, the distinct flavor of saffron oil can add a unique twist to your culinary creations. Its potential role in weight management makes it a beneficial ingredient in healthy meal preparations.
- What are some different types of saffron oil?Saffron oil variations include Kesar oil, known for hair and skin benefits, Zafran oil for culinary uses, and blends like Blue Nectar Kumkumadi Serum for skin nourishment.
Conclusion
Saffron oil is a versatile and potent substance that holds immense value for health, hair, skin, and culinary uses. This guide is a testament to its multifaceted benefits and the reasons why it should be an integral part of your personal care regimen. Start incorporating saffron oil into your routine, and you’ll soon experience its magical transformation.
Blog Tags: Saffron oil, Health benefits, Hair care, Skin care, Essential oils, Saffron essential oil, Culinary uses, Weight management, Kesar oil, Zafran oil, Blue Nectar Kumkumadi Serum, Mood enhancement, Acne treatment, Antioxidants, Anti-inflammatory properties, Facial care.