In the world of superfoods, few pack as powerful a punch as flaxseeds. These tiny, golden or brown seeds might be small in size, but their health benefits are monumental—especially for women and those striving for sustainable weight loss. In this comprehensive guide, we’ll dive into the science-backed benefits of flaxseeds, how they support female health, aid in weight management, and practical ways to make them a part of your everyday life.
Why Flaxseeds Deserve a Spot in Your Pantry
Flaxseeds (Linum usitatissimum) are rich in essential nutrients like omega-3 fatty acids, fiber, protein, and lignans—a unique group of plant compounds known for their antioxidant and hormone-balancing properties. For centuries, they have been used in traditional medicine, and modern science continues to uncover their far-reaching health effects.
Top Health Benefits of Flaxseeds for Women
1. Hormonal Harmony
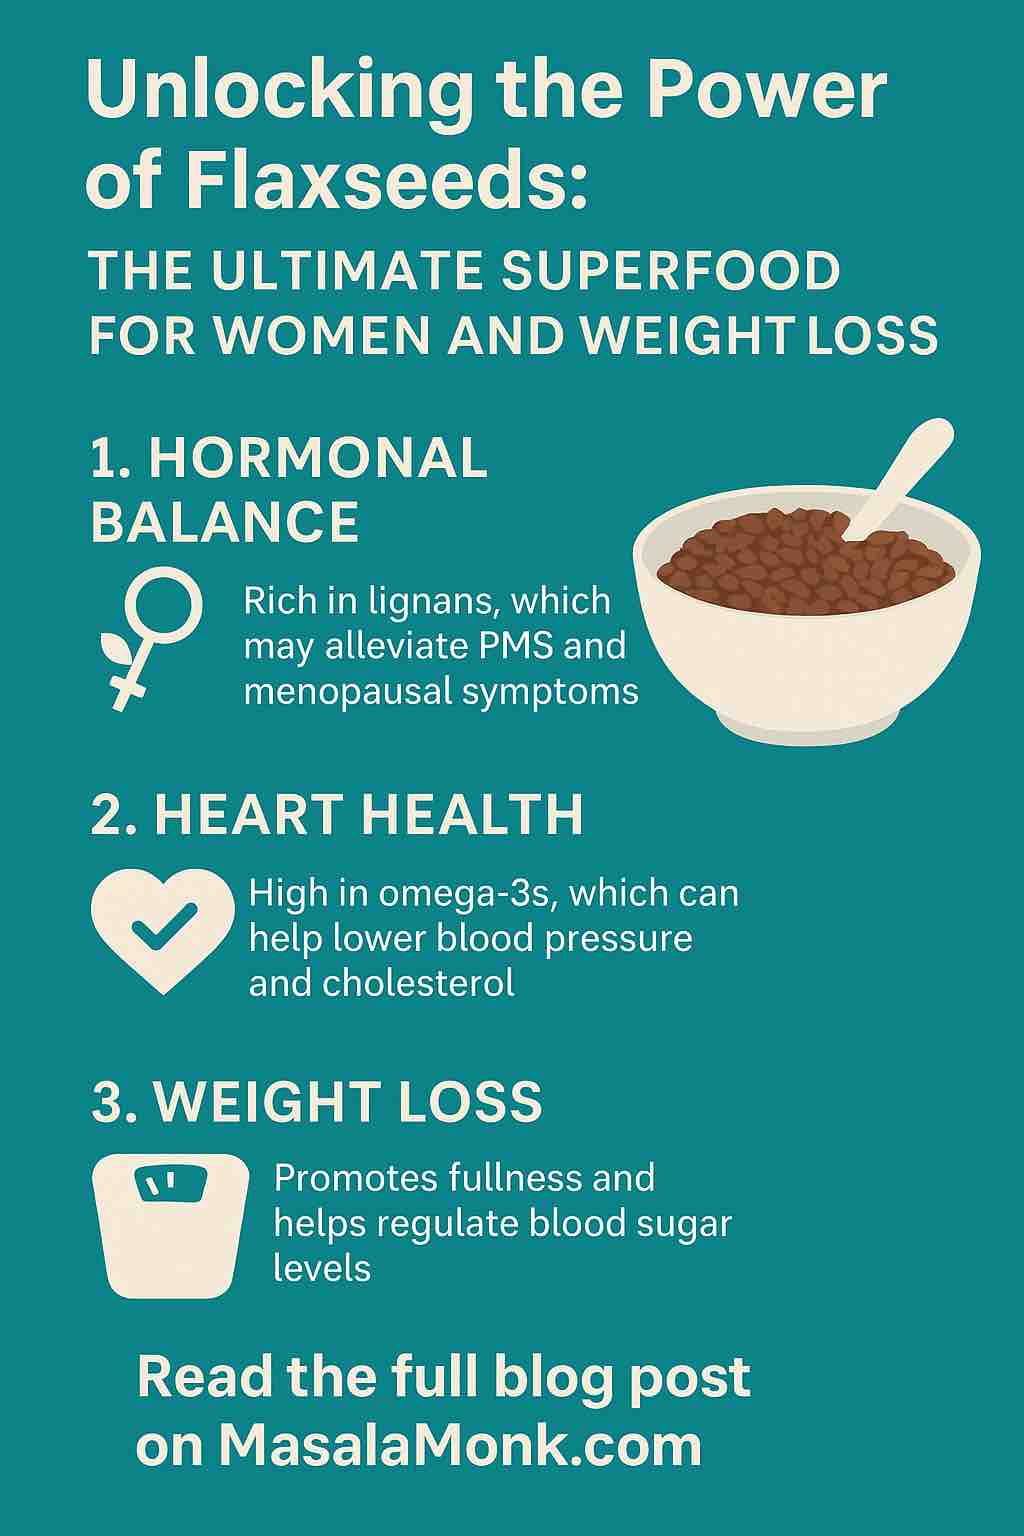
Flaxseeds are among the richest dietary sources of lignans, which have a weak estrogen-like effect in the body. These phytoestrogens help balance hormones, particularly useful during menstruation, perimenopause, and menopause. Studies have shown that flaxseeds may help reduce hot flashes, stabilize mood, and support overall hormonal health.
2. Improved Reproductive Health
The hormonal balancing properties of flaxseeds can also benefit reproductive health. They may help regulate ovulation and improve fertility by normalizing estrogen levels. Additionally, some research suggests that flaxseeds could reduce the risk of hormone-related cancers such as breast cancer.
3. Heart Health Hero
Women are at increased risk of heart disease as they age. Flaxseeds are rich in alpha-linolenic acid (ALA), a type of plant-based omega-3 fatty acid that reduces inflammation and supports cardiovascular health. Regular consumption has been linked to lower LDL cholesterol and blood pressure levels.
4. Bone Density and Strength
Flaxseeds contain magnesium, phosphorus, and calcium—all vital for bone health. This is particularly important for women post-menopause, as declining estrogen levels can lead to bone loss and an increased risk of osteoporosis.
5. Radiant Skin and Luscious Hair
Omega-3s and antioxidants in flaxseeds nourish the skin from within, reducing dryness, preventing acne, and improving elasticity. They also strengthen hair follicles, promoting shinier, thicker hair.
Flaxseeds and Weight Loss: What the Science Says
1. Fiber-Rich for Fullness
One tablespoon of flaxseeds contains about 3 grams of fiber. This high fiber content promotes a feeling of satiety, curbs cravings, and prevents overeating. It also slows digestion, keeping blood sugar levels stable.
2. Boosts Metabolism
The combination of healthy fats, fiber, and protein in flaxseeds helps fuel your metabolism and maintain muscle mass during weight loss. Lignans may also enhance fat-burning mechanisms in the body.
3. Reduces Visceral Fat
Some studies have shown that incorporating flaxseeds into your diet may reduce waist circumference and belly fat, particularly dangerous forms of fat that surround vital organs.
4. Regulates Blood Sugar
For those managing insulin resistance or type 2 diabetes, flaxseeds can be an excellent dietary addition. They help regulate glucose absorption and minimize insulin spikes.
How to Add Flaxseeds to Your Daily Diet
- Ground Flaxseeds: Whole flaxseeds may pass through your system undigested. Grind them for better absorption and add them to oatmeal, smoothies, yogurt, or baked goods.
- Flaxseed Oil: Drizzle on salads or add to dips. Avoid cooking at high temperatures to preserve its nutrients.
- Flaxseed Water: Soak 1 tablespoon of flaxseeds in a glass of water overnight. Drink it in the morning on an empty stomach for digestive benefits.
- In Baking: Replace eggs in recipes with a flaxseed mixture (1 tbsp ground flax + 3 tbsp water = 1 egg).
Safety and Precautions
While flaxseeds are generally safe, a few considerations are important:
- Medication Interactions: May interact with blood thinners and hormone-related medications.
- Allergies: Rare, but possible. Start with a small amount.
- Pregnancy and Lactation: Limited research is available; consult a healthcare provider before use.
Final Thoughts
Flaxseeds are more than just a trendy topping for smoothie bowls—they are a powerhouse of nutrition that can transform your health, especially if you’re a woman or aiming to lose weight. Rich in fiber, healthy fats, and hormone-balancing compounds, these tiny seeds deliver big benefits.
Start small, stay consistent, and let the magic of flaxseeds work its way into your life. Your hormones, heart, skin, and waistline will thank you.
Ready to supercharge your wellness? Start sprinkling some flax-powered goodness into your meals today!
FAQs: Flaxseeds for Women and Weight Loss
1. What is the best time to eat flaxseeds for weight loss?
The best time to consume flaxseeds for weight loss is in the morning, especially on an empty stomach. Drinking flaxseed water or adding ground flax to your breakfast can kickstart digestion and promote fullness throughout the day.
2. Should I use whole or ground flaxseeds?
Ground flaxseeds are more beneficial because the body can absorb their nutrients more effectively. Whole flaxseeds may pass through the digestive system undigested.
3. Can flaxseeds help with hormonal imbalance?
Yes. Flaxseeds contain lignans, which have mild estrogenic effects and may help regulate hormonal levels, making them beneficial for PMS, PCOS, and menopause symptoms.
4. How much flaxseed should I consume daily?
A typical recommended amount is 1–2 tablespoons of ground flaxseeds per day. It’s best to start with 1 tablespoon and gradually increase to avoid digestive discomfort.
5. Can I eat flaxseeds during pregnancy or breastfeeding?
While flaxseeds offer nutritional benefits, limited research exists on their safety during pregnancy and lactation. Always consult with a healthcare provider before including them in your diet.
6. Can flaxseeds cause any side effects?
In some people, flaxseeds can cause bloating, gas, or digestive discomfort, especially if introduced in large amounts. Drink plenty of water and start with a small dose.
7. Are flaxseeds good for skin and hair?
Yes. The omega-3 fatty acids and antioxidants in flaxseeds help nourish skin, reduce inflammation, and support healthy, shiny hair growth.
8. Is flaxseed oil as effective as whole seeds?
Flaxseed oil contains omega-3s but lacks the fiber and lignans found in the whole seed. For full benefits, ground flaxseeds are a better choice.
9. How should flaxseeds be stored?
Store whole flaxseeds in an airtight container in a cool, dark place. Ground flaxseeds should be kept in the refrigerator or freezer to prevent rancidity.
10. Can flaxseeds help reduce belly fat?
Flaxseeds may help reduce belly fat due to their high fiber content, which promotes satiety and balances blood sugar. Over time, this can contribute to a leaner waistline when combined with a healthy diet.