When we think of bones, most of us picture a rigid structure quietly supporting us in the background. But your bones are far from static — they’re dynamic, living tissue that constantly regenerates, supports movement, protects vital organs, and stores essential minerals.
Yet despite their importance, millions globally suffer from bone-density disorders like osteoporosis or osteopenia, often due to a lack of one key nutrient: Vitamin D.
Most people know about Vitamin D3 (cholecalciferol), commonly found in animal products and synthesized in the skin via sun exposure. However, there’s another form that’s often overlooked — Vitamin D2, or ergocalciferol — a plant-based alternative that plays a crucial role, especially for vegetarians, vegans, or those with limited sun exposure.
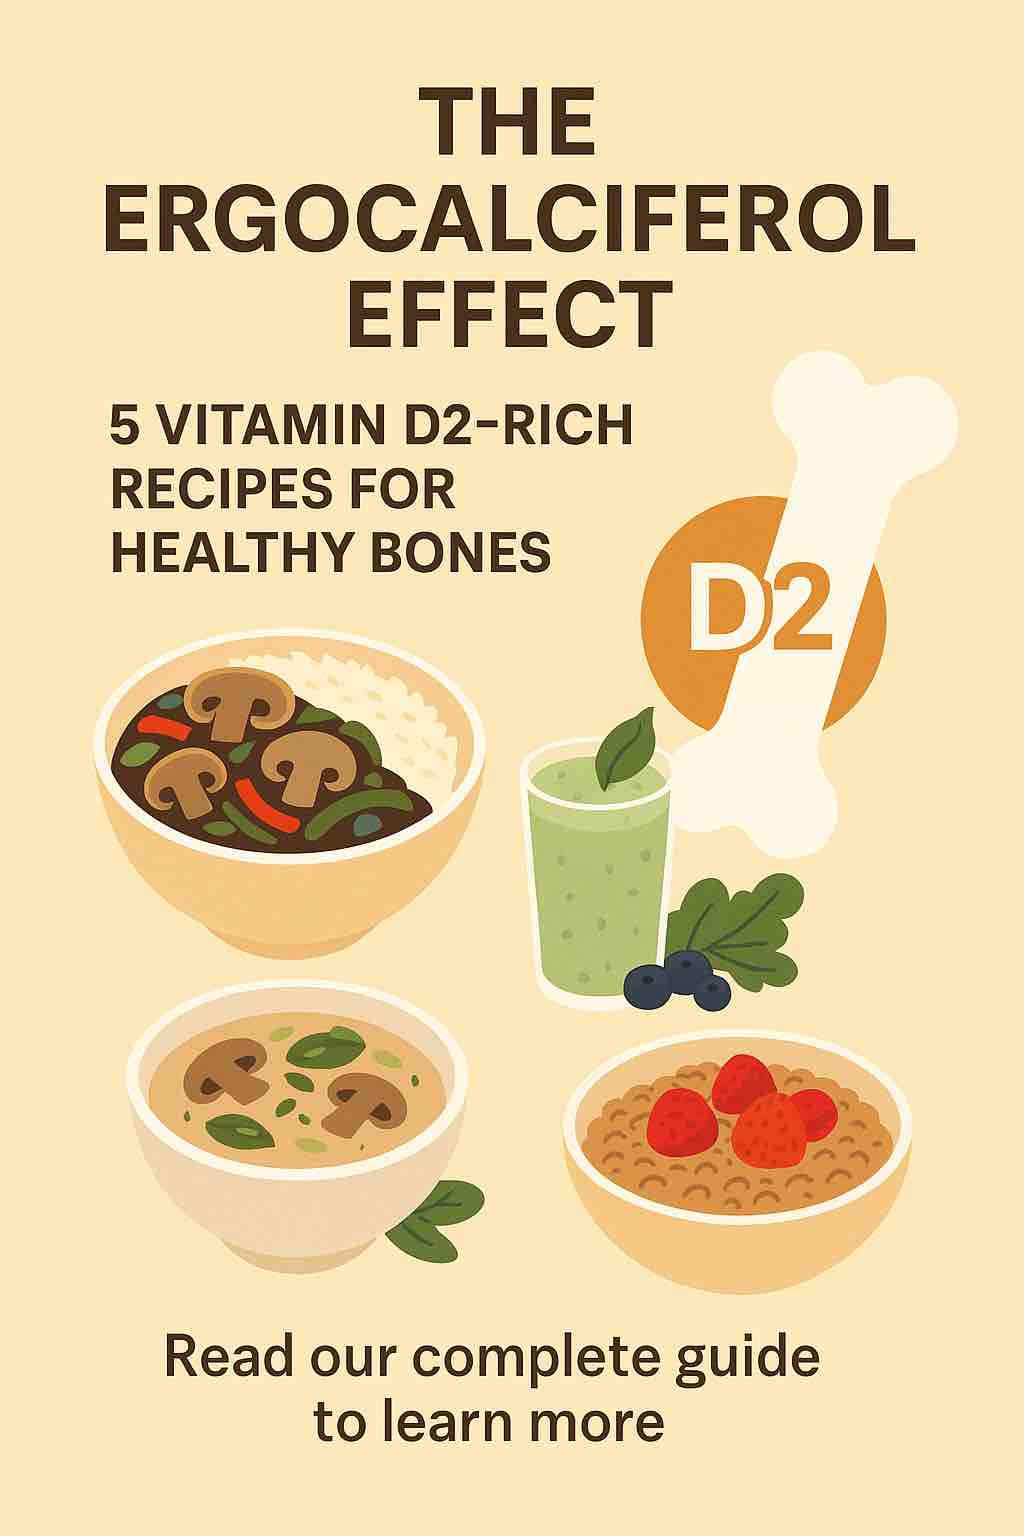
The Ergocalciferol Effect: What Makes Vitamin D2 Special?
Vitamin D2 is the plant-derived form of vitamin D. While it may not be as bioavailable as D3, ergocalciferol is still a potent ally in the fight against vitamin D deficiency, especially when consumed consistently and mindfully.
Here’s why it matters:
- Supports Calcium Absorption: Without vitamin D, your body can’t absorb calcium effectively, leading to brittle bones over time.
- Essential for Bone Remodeling: D2 is involved in the continuous process of breaking down and rebuilding bone tissue.
- Ideal for Plant-Based Diets: For people avoiding animal products, D2 is a rare and valuable nutrient often found in UV-exposed fungi and fortified plant foods.
Top Sources of Vitamin D2
Unlike D3, which is mainly synthesized through the skin, D2 comes from:
- UV-exposed mushrooms (shiitake, maitake, portobello)
- Fortified plant milks (oat, almond, soy)
- Fortified cereals and tofu
- Some nutritional yeast products
5 Vitamin D2-Rich Recipes to Strengthen Your Bones
Let’s dive into five thoughtfully crafted recipes that combine taste, nutrition, and the power of ergocalciferol to keep your bones strong and your meals vibrant.
1. Glazed Shiitake Stir-Fry Bowl
Packed with: UV-exposed shiitake mushrooms
Perfect for: A quick lunch or dinner that’s rich in umami and nutrients
Ingredients:
- 1 cup UV-exposed shiitake mushrooms, sliced
- 1/2 red bell pepper, thinly sliced
- 1/2 cup sugar snap peas
- 1 tbsp sesame oil
- 1 tbsp low-sodium soy sauce or tamari
- 1 tsp freshly grated ginger
- 1 garlic clove, minced
- 1 cup cooked brown rice or quinoa
- Optional: toasted sesame seeds for garnish
Instructions:
- Heat sesame oil in a wok or skillet over medium heat.
- Add garlic and ginger; sauté until aromatic.
- Toss in mushrooms and vegetables. Stir-fry for 5–7 minutes until tender-crisp.
- Add soy sauce and cook for another minute.
- Serve hot over grains and top with sesame seeds.
Tip: Sun-dry mushrooms on your windowsill for 30–60 minutes to naturally boost their Vitamin D2 content.
2. Creamy Wild Mushroom Soup
Packed with: UV-exposed portobello and cremini mushrooms
Perfect for: Cozy evenings or meal-prep lunches
Ingredients:
- 1 tbsp olive oil
- 1 medium onion, diced
- 2 garlic cloves, minced
- 2 cups chopped UV-exposed mushrooms (portobello and cremini)
- 1 cup vegetable broth
- 1 cup fortified unsweetened soy milk
- Salt, pepper, dried thyme to taste
Instructions:
- In a large pot, sauté onions and garlic in olive oil.
- Add mushrooms and cook until browned and tender.
- Pour in broth and bring to a simmer.
- Blend half the mixture (or all, for a smooth soup) and return to pot.
- Stir in fortified soy milk, season, and heat through.
Pro Tip: Fortified soy milk often contains both calcium and D2 — a dual bone-health booster.
3. Protein-Packed Tofu & Mushroom Skewers
Packed with: Fortified tofu + oyster mushrooms
Perfect for: BBQs, party platters, or meal-prep mains
Ingredients:
- 1 block firm tofu (look for D2-fortified brands)
- 1 cup UV-exposed oyster mushrooms
- 1 zucchini, sliced
- 1 red onion, chopped
- Marinade: 2 tbsp soy sauce, 1 tbsp olive oil, 1 tsp smoked paprika, 1 tsp lemon juice
Instructions:
- Press and cube tofu.
- Combine all marinade ingredients and toss tofu and mushrooms to coat.
- Thread onto skewers with veggies.
- Grill or bake at 400°F (200°C) for 15–20 minutes, turning once.
Bonus: This combo delivers protein, Vitamin D2, and antioxidants in every bite.
4. Fortified Oat Milk Smoothie
Packed with: D2-fortified oat milk
Perfect for: Morning energy or post-workout recovery
Ingredients:
- 1 cup D2-fortified oat milk
- 1 banana
- 1/2 cup frozen blueberries
- 1 tbsp chia seeds
- Handful of spinach (for added calcium and iron)
Instructions:
Blend all ingredients until smooth. Pour and enjoy cold.
Nutrition Hack: Check your plant milk label — not all brands are fortified equally. Look for “Ergocalciferol” or “Vitamin D2” on the label.
5. Fast Fortified Cereal Bowl
Packed with: Fortified cereal + fortified plant milk
Perfect for: Breakfast on the go
Ingredients:
- 1 serving whole grain fortified cereal (look for 20–30% RDA of D2)
- 1 cup fortified almond or rice milk
- Handful of fresh berries
- Sprinkle of flax or chia seeds
Instructions:
Combine all ingredients in a bowl. Let sit 1–2 minutes for flavors to meld.
Pro Tip: This is a great “set-it-and-forget-it” breakfast for busy mornings that still supports bone health.
Beyond Recipes: Tips to Maximize D2 Absorption
While D2-rich foods are a great start, bioavailability and nutrient synergy matter too:
✅ Combine with Healthy Fats
D2 is fat-soluble — it needs dietary fat for absorption. Include nuts, seeds, olive oil, or avocado in your meals.
✅ Pair with Calcium
Vitamin D helps absorb calcium, but having both together is more effective. Think leafy greens, sesame seeds, almonds, and calcium-fortified products.
✅ Store & Cook Smart
UV-exposed mushrooms retain their D2 when lightly cooked, but avoid overcooking which can degrade nutrients. Steaming or light sautéing is best.
Final Thoughts: The Power of Plant-Based D2
Getting enough Vitamin D — especially in D2 form — doesn’t require supplements or animal products. With just a little planning and the right recipes, you can fortify your bones naturally, boost your energy, and nourish your body with whole, plant-based ingredients.
The Ergocalciferol Effect is more than a dietary trend — it’s a shift toward mindful eating that supports not only bone density, but also long-term vitality.
📘 Frequently Asked Questions (FAQs)
1. What’s the difference between Vitamin D2 and D3?
Vitamin D2 (ergocalciferol) is plant-derived, primarily found in UV-exposed mushrooms and fortified foods.
Vitamin D3 (cholecalciferol) is animal-derived or synthesized in the skin through sun exposure. D3 is generally more bioavailable, but D2 is effective and ideal for plant-based diets.
2. Are mushrooms naturally high in Vitamin D2?
Only UV-exposed mushrooms (e.g., shiitake, portobello, maitake) contain significant amounts of Vitamin D2. Wild mushrooms exposed to sunlight or store-bought mushrooms treated with UV light are good sources.
3. How can I tell if mushrooms are UV-exposed?
Check the packaging — look for terms like “UV-treated,” “exposed to UV light,” or “rich in Vitamin D2.” Some may state specific D2 content (e.g., 400 IU per serving).
4. Can I increase the D2 content of regular mushrooms at home?
Yes. Place mushrooms (gill-side up) in direct sunlight for 30 to 60 minutes. This can significantly boost their Vitamin D2 levels.
5. Are all plant-based milks fortified with Vitamin D2?
No. Fortification varies by brand and region. Always check the label for “ergocalciferol” or “Vitamin D2.” Many brands use D2, especially in oat, soy, and almond milk.
6. How much Vitamin D2 do I need daily?
The RDA for Vitamin D (combined D2 and D3) is:
- 600 IU (15 mcg) for adults up to age 70
- 800 IU (20 mcg) for adults over 70
Talk to your healthcare provider if you have absorption issues or limited sun exposure.
7. Is Vitamin D2 effective for bone health compared to D3?
While D3 has slightly better absorption and a longer half-life, D2 still raises serum vitamin D levels and supports calcium absorption. For vegans and vegetarians, it’s a valid and effective option.
8. Can I get enough D2 from diet alone?
It’s possible, but it requires intentional eating of fortified foods and UV-exposed mushrooms. For those with low sun exposure or absorption issues, supplements may be necessary.
9. What other nutrients should I pair with Vitamin D2 for bone health?
Pair with:
- Calcium (leafy greens, fortified tofu, almonds)
- Magnesium (pumpkin seeds, legumes)
- Vitamin K2 (fermented foods)
These support mineralization and bone matrix health.
10. Are there any side effects of too much Vitamin D2?
Toxicity from food sources is very rare. However, excessive supplementation of Vitamin D2 (over 4000 IU/day long-term) can cause issues like nausea, kidney strain, and elevated calcium levels. Stick to food-based sources unless advised otherwise.