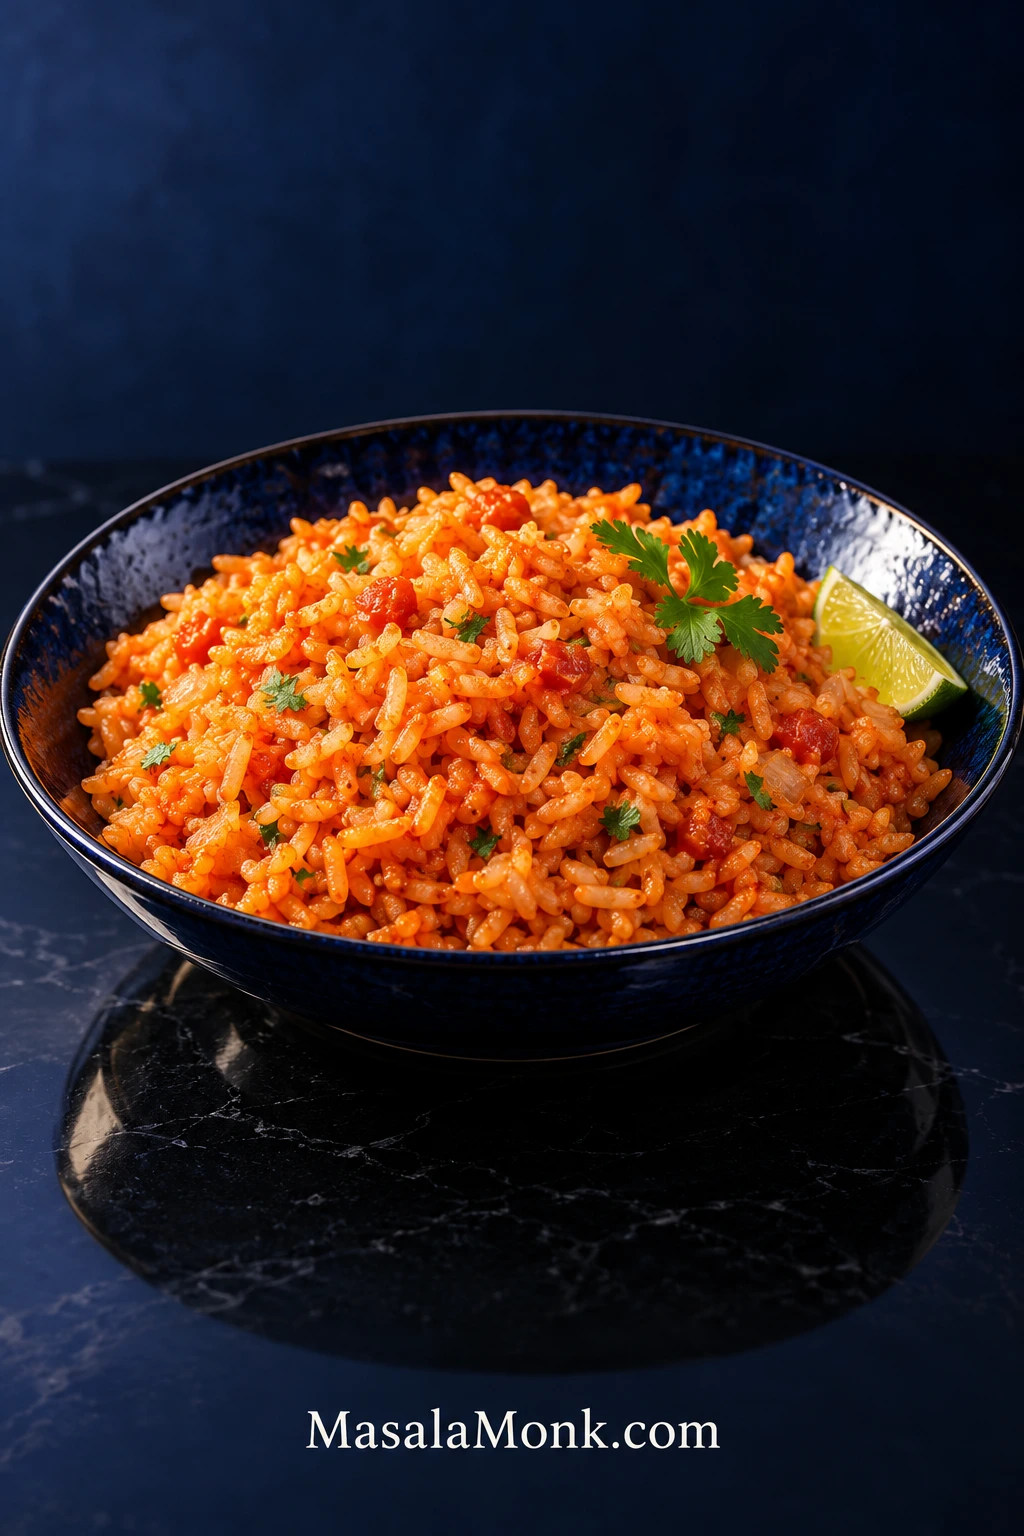
Good Mexican rice should arrive in loose orange-red grains: tender through the center, lightly toasty, savory with tomato, onion and garlic, and dry enough to sit beside refried beans or enchiladas without turning into a wet mound.
The frustrating part is how many different ways such a simple side can go wrong. Sometimes the top stays wet while the bottom catches; other times the rice turns sticky. Or the timer ends and hard centers are still hiding inside the grains.
This Mexican rice recipe starts with the detail that prevents a lot of those problems: tomato counts as part of the cooking liquid. Measure it as part of the liquid, not as something extra poured on top of a normal rice-and-water ratio.
Quick Answer: How to Make Fluffy Mexican Rice
For 2 cups / about 370 g long-grain white rice, use 1 cup / 240 ml tomato sauce and 3 cups / 720 ml broth—that is 4 cups / 960 ml total cooking liquid. Give the rice a brief rinse and drain it well, fry it until the grains turn opaque and begin taking on pale-golden color, cook the tomato briefly, then add the hot broth and bring it to an even boil. Cover, reduce to the lowest stable heat, check at 18 minutes, then rest the tender rice for 10 minutes before fluffing.
Make It Now: Easy Restaurant-Style Mexican Rice
This stovetop version uses long-grain white rice, plain tomato sauce and broth with restrained seasoning. Use the timer as a checkpoint, then let the grain tell you when it’s done.
| Hands-on time | About 15–20 minutes |
|---|---|
| Covered cook | Check at 18 minutes; allow roughly 18–23 minutes |
| Covered rest | 10 minutes |
| Total | About 50–60 minutes |
| Yield | About 6 cups; 6 generous or 8–10 smaller side servings |
| Pan | Heavy pan about 10 inches / 25 cm wide, 3–4 quart / about 3–4 L capacity, with a tight-fitting lid |
Equipment
- Fine-mesh sieve
- Liquid measuring jug
- Heavy 10-inch / 25 cm sauté pan, braiser or wide saucepan with a tight lid
- Heatproof spoon or spatula
- Fork for fluffing
Ingredients
- 2 cups / about 370 g / 13 oz regular uncooked long-grain white rice
- 2 tablespoons / 30 ml neutral cooking oil
- ½ medium white or yellow onion, about 75 g — finely diced
- 3 medium garlic cloves, about 9 g — finely minced
- 1 cup / 240 ml plain US-style tomato sauce — preferably unsalted or lower-sodium; smooth, pourable and unsweetened
- 3 cups / 720 ml low-sodium chicken broth — vegetable broth works too
- ¾ teaspoon fine salt — use ½ teaspoon if your broth or tomato sauce is noticeably salty; omit initially if using bouillon
- Optional: ½ teaspoon ground cumin; 1 small serrano or jalapeño; lime wedges and chopped cilantro for serving
Using one standard 8 oz / 227 g can of tomato sauce? Use the whole can. If it measures a little shy of 1 cup, make up the small difference with a splash of extra broth. There is no need to turn dinner into a measuring exercise.
If the “tomato sauce” sold where you live is ketchup or a sweet table sauce, that is not the ingredient meant here. Use a plain cooked tomato sauce or one of the alternatives farther down.
Method
1. Give the rice a brief rinse
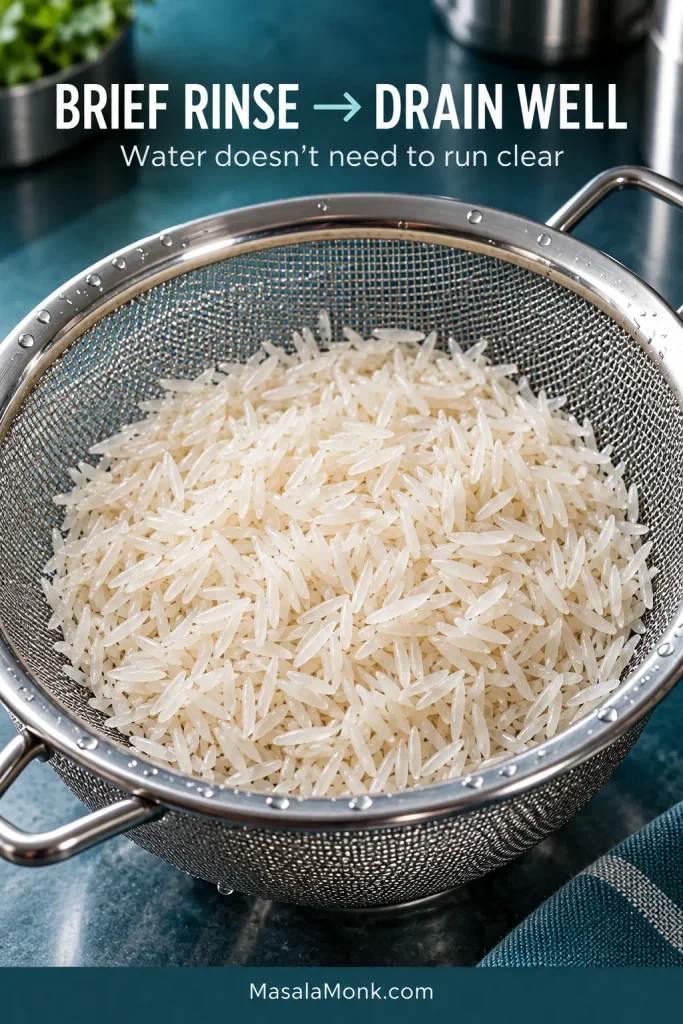
Rinse the rice briefly in a fine-mesh sieve under cool running water until the runoff becomes less cloudy. It does not need to run perfectly clear. Drain well and leave the rice in the sieve for 5–10 minutes.
Damp is fine. Dripping wet isn’t. Excess surface water makes the rice steam before it has a chance to fry and can send oil spitting around the pan.
2. Get the tomato and broth ready
Measure 1 cup / 240 ml tomato sauce and 3 cups / 720 ml broth. Keep them separate because the tomato cooks first. Warm the broth and stir in the salt.
With low-sodium broth and unsalted or lower-sodium tomato sauce, use the full ¾ teaspoon. Drop to ½ teaspoon if either product already tastes salty.
3. Start frying the rice
Heat the oil over medium heat. Add the drained rice and cook for 4–6 minutes, stirring regularly so the bottom doesn’t develop hot spots.
At first the grains look glassy and translucent. Keep going until most turn milky and opaque. A few pale-golden edges are welcome; every grain does not need to match.
4. Add the onion and finish the toast
Add the onion and cook for another 2–3 minutes. As it softens, the rice should develop scattered pale-golden patches and a lightly nutty smell.
Add the garlic and optional cumin. Give them about 30 seconds. Once the garlic smells good, move on—it burns fast.
Most of the rice should still be pale. Broad dark-brown patches mean the toast has gone further than this style needs.

5. Cook the tomato briefly
Add the tomato sauce and fold it through the rice. Cook for 1–2 minutes, until the color deepens slightly, the raw tomato smell fades and the sauce begins clinging to the grains.

6. Add the hot broth
Pour in the hot seasoned broth, then drop in the optional whole or slit chile. Stir once so the tomato and broth are evenly distributed.
7. Boil, cover, then turn the heat right down
Bring the liquid to an even boil. As soon as it is clearly bubbling, reduce the burner to the lowest stable heat and cover tightly.
From here, you want quiet steam under the lid—not a hard boil thumping against the bottom of the pan.

8. Check at 18 minutes
Leave the lid alone for the first 18 minutes. Then check the center of the pan once.
Done = a tender center + no standing liquid. A little surface moisture is fine; a puddle is not.
Taste a grain. If the center is tender, the rice is ready to rest. Still a little firm? Cover the pan again and give it another 2–5 minutes. The grain matters more than the timer.
Dry pan + hard center? Sprinkle over 2–3 tablespoons / 30–45 ml hot broth or water, cover and cook on very low heat for about 5 minutes.
Hard center + obvious liquid? Keep the pan covered and the heat gentle. The moisture it needs is already there.

9. Rest for 10 minutes
Turn off the heat, replace the lid and leave the rice untouched for 10 minutes. The rest is part of the cooking, not dead time.
Using an electric coil or glass-ceramic hob that stays hot? Move the covered pan to a cool burner or heatproof surface so the bottom doesn’t keep frying while the rice rests.
10. Fluff gently
Remove the chile if you used one. Fluff gently with a fork, lifting the grains from underneath.
A forkful should loosen easily, with clean separate grains and no wet tomato layer hiding underneath. The rice should smell lightly nutty and savory, with an even orange-red color throughout.

Once you know those cues, the rice stops feeling nearly as temperamental. You can usually tell what it needs before anything actually burns.
Using the rice, tomato sauce and pan listed above? You can stop here and cook dinner. Use the covered rest to warm tortillas, finish the beans or get the rest of the plate ready.
Mexican Rice Guide
Why Mexican Rice Turns Mushy: The Tomato-to-Liquid Ratio
If Mexican rice is soft and wet, too much total liquid is usually the first thing to check. Tomato sauce, tomato purée and salsa all bring water into the pan, so they count along with the broth.
Give the rice the full amount of broth you would have used for plain rice and then pour tomato on top, and the grain may already have more moisture than it needs before the lid goes on. Wet vegetables can add a little more.
For this 2-cup batch, the ratio is 1 cup tomato sauce + 3 cups broth = 4 cups / 960 ml total cooking liquid.
The same arithmetic appears in Pati Jinich’s arroz rojo: for 2 cups of rice, the tomato mixture is measured first and broth brings the total cooking liquid to 4 cups.
This is also why extra cooking time cannot solve every wet pan. If the bottom is already catching while the top still looks soupy, harder heat may scorch one layer before the other finishes.

Thickness matters too
Broth slips easily around the grains. Thick tomato purée moves more slowly, while tomato paste brings lots of tomato solids with very little water.
Equal volumes therefore do not always cook the rice the same way. Change the tomato and the amount of broth, tomato-cooking time or covered timing may need to shift with it.
Choose Your Tomato: Sauce, Fresh, Paste or Bouillon
Plain tomato sauce is the easiest option. Fresh tomatoes give a brighter tomato flavor. Paste is much more concentrated. Bouillon is mostly about seasoning and savory depth.
If you are using the tomato sauce in the main recipe, there is nothing else to calculate. The alternatives below are simply for the day when something else is what you have.
| Tomato choice | What changes | Starting approach |
|---|---|---|
| Plain tomato sauce | Most predictable moisture | Use the main recipe |
| Fresh Roma tomatoes | Brighter flavor; water varies | Blend, measure, then complete the liquid with broth |
| Tomato paste | Deep tomato flavor with very little water | Use a small amount and supply the moisture with broth |
| Tomato bouillon | Concentrated savory flavor and salt | Use as a seasoning booster or make broth to the brand’s directions |
| Salsa | Tomato, chile and onion with variable thickness | Count it toward the liquid and watch the grain |
Fresh Tomatoes
For the fresh-tomato version, blend 450–500 g ripe Roma tomatoes with 50–60 g onion and 2 garlic cloves. Use this onion and garlic in the purée and skip the diced onion and minced garlic from the main ingredient list.
Measure the purée, then measure enough broth so the two together will equal about 4 cups / 960 ml for 2 cups of rice.
Toast the rice in the oil. If you are using cumin, stir it in for the final 20–30 seconds of toasting. Add the purée and cook for 3–5 minutes, until the raw tomato smell fades, the color deepens and the mixture visibly thickens.
Pour in the measured broth and bring it to an even boil. Cover, reduce to low and taste a grain after about 15 minutes. If the center is still firm, cover again and continue in short increments until tender.

Tomato Paste
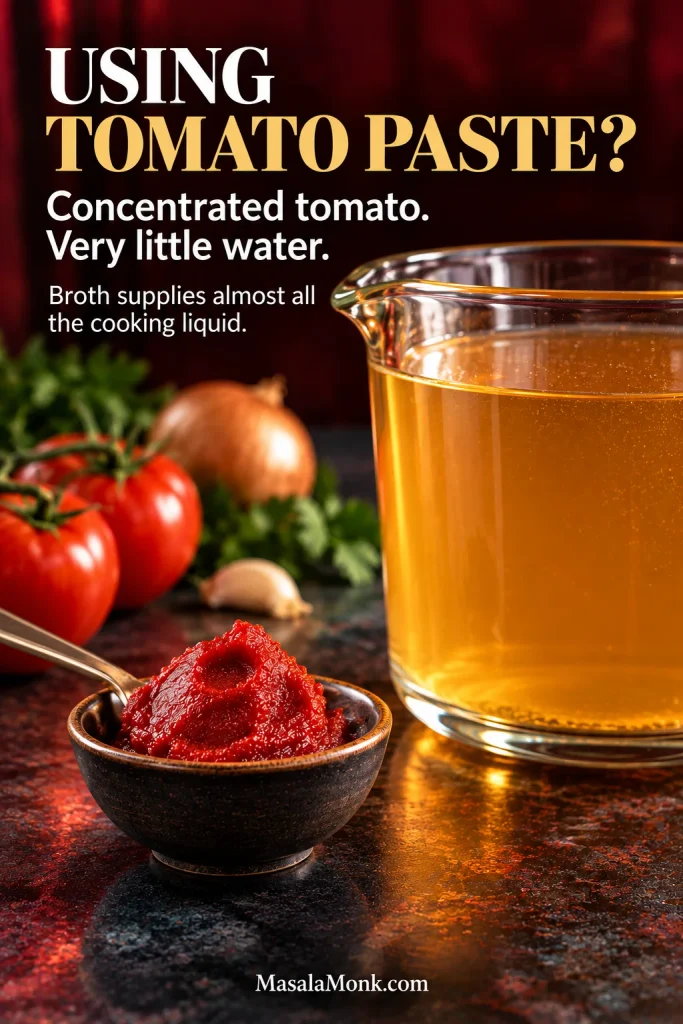
A useful starting point is 3 tablespoons / 45 g tomato paste + about 4 cups / 960 ml broth for 2 cups rice. Keep the onion and garlic from the main recipe. Unlike tomato sauce or fresh purée, a few tablespoons of concentrated paste contribute very little water, so the broth supplies almost all of the cooking liquid here.
After the aromatics, fry the paste for 1–2 minutes, until it darkens slightly and loses its raw smell. Add the hot broth and bring it to an even boil, then cover and reduce to low. Check the center after about 20 minutes; depending on the pan and heat, it may need closer to 25.
Tomato Bouillon
Bouillon brands vary enough that one universal spoon measurement would be misleading.
If you already have low-sodium broth, start with 1–2 teaspoons tomato bouillon as a flavor booster for the 2-cup batch and leave out the added salt until you taste it.
With water, prepare the amount of broth you need according to your bouillon brand’s broth-strength directions. If you are also using the 1 cup tomato sauce, you need 3 cups / 720 ml prepared broth.
For a no-sauce, bouillon-led version, make 4 cups / 960 ml prepared broth to the brand’s directions and use that as the cooking liquid. Keep extra salt out until you know how strong the finished broth tastes.
Salsa
Measure roughly 1 cup salsa, then use enough broth so salsa + broth come to about 4 cups / 960 ml for 2 cups rice.
Use the salsa where the tomato sauce goes in Step 5, cooking it briefly before adding the broth. Thin restaurant-style salsa and dense chunky salsa do not cook identically, so treat the 4-cup total as a starting point. If a thick salsa leaves the pan drying before the grain becomes tender, add hot liquid a tablespoon or two at a time.
Control the Grain Before the Lid Goes On
Should You Rinse Mexican Rice?
For this method, give the rice a brief rinse, then drain it thoroughly before frying. You do not need perfectly clear water. Other established arroz rojo methods toast dry unwashed rice or soak it first, so rinsing is part of this method rather than a universal rule for Mexican rice.
Problems often begin when the rinsing step from one method gets mixed with the liquid ratio and timing from another. Pick one system and follow it through.
Long-Grain or Medium-Grain?
Long-grain white rice is the easiest choice for the loose texture targeted here. Medium-grain rice is also used in Mexican arroz rojo; Rick Bayless notes that the celebrated rice of Morelos is medium-grain. Expect a plumper, slightly more cohesive result.

Keep the rice layer reasonably shallow
A narrow pot piles this batch too deeply. The bottom receives concentrated heat while the rice above is still trying to cook through—that is how you can end up scraping scorched rice from underneath a wet top.
A heavy pan around 10 inches / 25 cm across is a comfortable fit for 2 cups of dry rice. A 12-inch / 30 cm skillet can work too, though the larger surface area can make the liquid disappear faster.

Stop at pale gold
Don’t chase the clock here. Watch the rice. Once the grains are opaque with scattered pale-golden patches and the pan smells lightly nutty, the toast has done its job.
How to Get More Restaurant-Style Mexican Rice Flavor
If the texture is right but the flavor feels flat, check the salt and bouillon before adding more spices.
Well-fried rice, tomato, enough salt, a little fat and concentrated savory seasoning from tomato or chicken bouillon can create that familiar orange-red profile. Heavy additions of cumin, oregano or chili powder take the rice in a different direction.
Use the bouillon guidance above and adjust cautiously. Too much can make the rice salty, bitter or noticeably packet-like.
Lard is another option. Replace some or all of the neutral oil while keeping the total amount of fat about the same. It gives the grains a richer savory finish, but good arroz rojo does not depend on it.
This restrained seasoning works especially well beside something already saucy, such as chicken enchiladas. Add creamy refried beans and the plate comes together without every component shouting at once.

Look at the Rice Before You Fix It
A wet or crunchy pan does not automatically mean dinner is lost. Look at the grain before reaching for more water or more heat; its texture usually tells you which direction to go.
Wet + soft is not the same failure as wet + hard.
| What you see | What it usually means | What to do now |
|---|---|---|
| Soft + wet | Too much moisture or overcooking | Turn off the heat and rest covered for 10 minutes. Still wet afterward? Uncover briefly and leave it alone. |
| Sticky but not wet | Too much agitation, loose starch or a stickier rice variety | Leave it alone through the rest, then lift gently with a fork. |
| Dry + hard | Not enough moisture or steam | Add 2–3 tbsp / 30–45 ml hot liquid, cover and cook very gently for about 5 minutes. |
| Wet + hard | Weak or uneven heat, steam loss or a rice layer that is too deep | Keep it gently covered. There is already enough liquid. |
| Burnt underneath + wet above | Too much bottom heat, thin cookware, deep rice or excess liquid | Move off the heat and rescue the unburnt rice first. |
| Some grains soft, others hard | Steam escaping, uneven heat or uneven rice depth | Cover tightly and continue gentle steaming. |
Dry + hard or wet + hard?

Burnt below, wet above?
Smell burning before the timer is up? Move the pan first. You may still be able to save the rice above the scorched layer.
Carefully transfer the unburnt rice to another pan without scraping up the bottom. If those upper grains are still firm, cover and finish them over gentle heat.
Next time, lower the covered heat, use heavier cookware and keep the rice from sitting in such a deep layer.

Cooking at high elevation?
At high elevation, water boils at a lower temperature and moisture can evaporate faster, so rice may take longer. Colorado State University Extension gives the same general guidance for simmered foods. If the pan dries before the grains soften, add hot liquid in 1–2 tablespoon increments, cover again and continue gently.
Arroz Rojo, Mexican Rice & “Spanish Rice”
Arroz rojo literally means red rice, which is why you may also see the dish described in English as Mexican red rice. Across Mexican kitchens, the grain may be long or medium, the tomato may be fresh or concentrated, and vegetables or chile may join the pan.
In the United States, similar tomato-seasoned rice is often called Spanish rice, especially on restaurant menus and older recipe cards. That naming convention does not make Mexican arroz rojo the same thing as Spain’s many distinct rice dishes.
Can You Use Other Rice for Mexican Rice?
| Rice | Use this recipe unchanged? | What to expect |
|---|---|---|
| Long-grain white | Yes | The light, separate texture the main recipe is built around. |
| Medium-grain white | Usually; watch texture and timing | Plumper and a little more cohesive; medium-grain rice is also used for Mexican arroz rojo. |
| Jasmine | No; liquid and timing may need adjustment | Softer, more tender grains with a floral aroma. |
| Basmati | No; expect a different result | Very separate grains with a distinctive aroma. |
| Brown rice | No; use a separate method | Needs substantially longer cooking and a different liquid amount. |
Instant rice, converted/parboiled rice and already-cooked rice also need methods designed around how those grains have been processed.
Simple Variations
Spicy Serrano Rice
Leave the serrano whole or slit it lengthwise for a gentler chile aroma. Chop it finely if you want the heat spread through the pan.
Peas, Carrots & Corn
Peas and carrots are common additions in many arroz rojo versions, and corn appears often too. For this batch, keep the total amount modest—about ½–¾ cup / 75–110 g of small vegetables is plenty.
Add them with the broth, before bringing the pan to a boil and covering it. Frozen vegetables cool the pan and release some water, so a smaller amount is easier to absorb without throwing off the rice.

Vegetarian
Use flavorful low-sodium vegetable broth. Check tomato-bouillon labels carefully because some products contain chicken ingredients.
Black bean and veggie enchiladas make an easy meatless main; the beans, vegetables and red sauce give the plate plenty of substance while the rice stays simple.
Doubling the Batch: Increase the Pan, Not Just the Numbers
A recipe calculator can turn 2 cups of rice into 4 cups. It cannot make your pan twice as wide.
Move to a substantially larger vessel when doubling—preferably wider as well as deeper. Packing 4 cups of dry rice into the same pan changes evaporation, steam movement and how long the bottom gets direct heat before the upper grains are ready.
If your largest pan would leave 4 cups of dry rice sitting in a deep layer, cook two normal batches instead. That is safer than forcing a double batch into cookware that is too small.
The larger batch will also take longer to return to a boil after the liquid goes in. Keep judging the grain instead of simply doubling the cooking time.

A larger batch in the oven
A covered oven can make a larger batch easier to manage. Toast the rice and build the tomato mixture on the stovetop, add the hot liquid, bring it back to a boil, then cover the oven-safe pan and transfer it to a 350°F / 175°C oven.
A Food Network Mexican red rice method uses a covered 350°F oven for roughly 30–40 minutes, which closely matches this larger-batch route. Check at about 30 minutes; a deeper or doubled batch may need closer to 40.
As on the stovetop, use tender centers and absorbed liquid as the final cues.
Holding Mexican rice for a party
Keep cooked rice at 140°F / 60°C or hotter while it is being held for service. A preheated warming appliance or chafing setup works for already-hot rice.
Long holding gradually dries the grains. A small splash of hot broth or water can help; fold gently and keep the lid closed as much as practical.
Storage & Reheating
Rice keeps well, but cool it quickly. Get leftovers into the refrigerator within 2 hours; if the surrounding temperature is above 90°F / 32°C, make that 1 hour. Shallow containers help a large batch cool faster.
Use refrigerated rice within 3–4 days. USDA leftover-safety guidance supports these cooling and refrigerated-storage windows, along with reheating leftovers to 165°F / 74°C.
For longer storage, cool the rice promptly and freeze it in airtight portions. Aim to use frozen rice within about 3–4 months for best quality. Thaw it in the refrigerator or reheat it from frozen.
When reheating, add a small splash of water or broth, cover the rice and heat it through to 165°F / 74°C. That moisture helps the grains steam back to life instead of turning brittle around the edges.

What to Serve with Mexican Rice
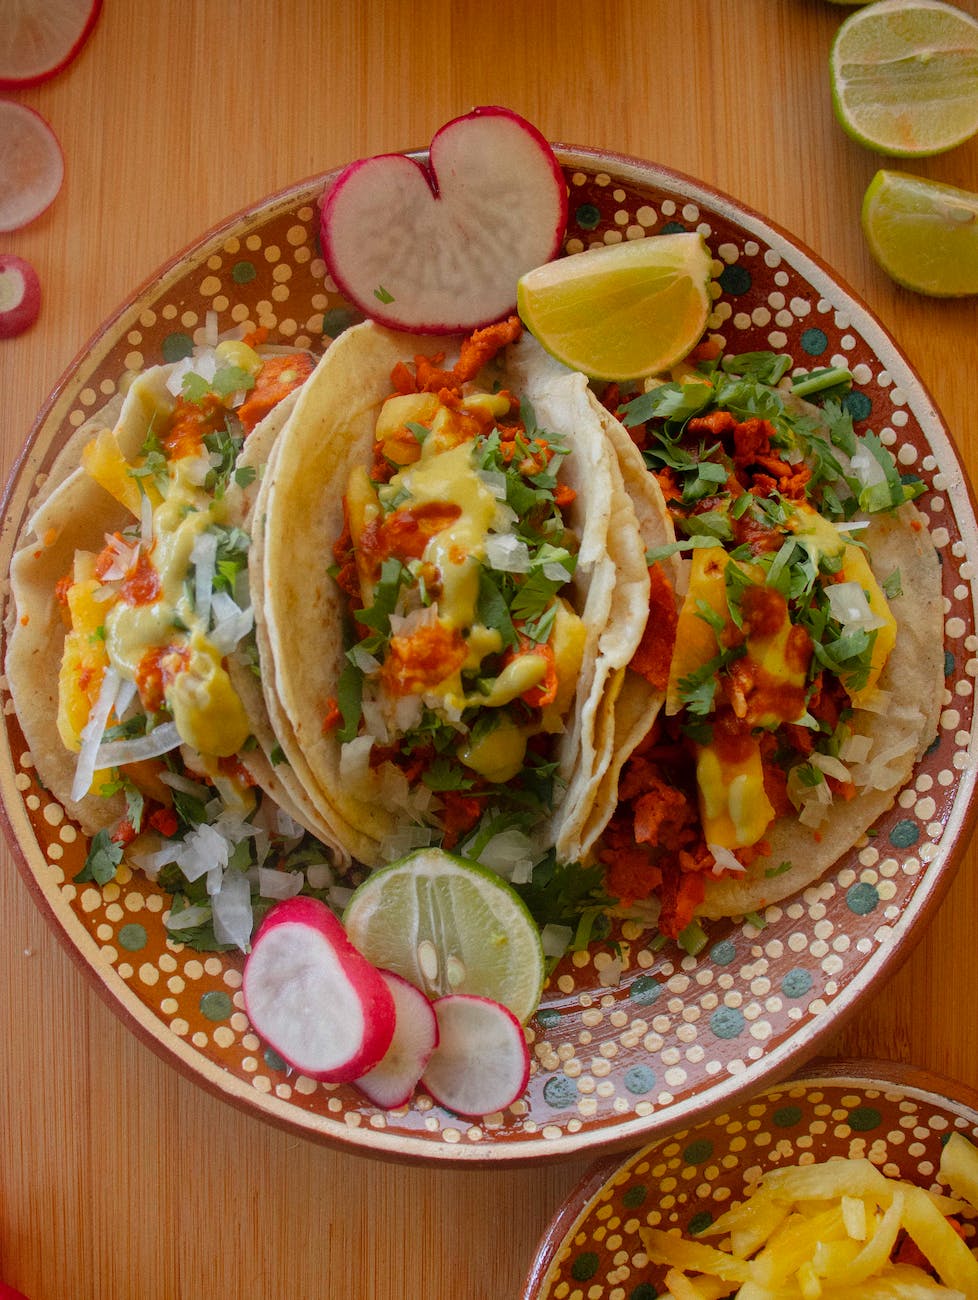
Juicy ground beef tacos are an easy place to start. The rice also works beside enchiladas, fajitas, carne asada, burritos, quesadillas or a simple pot of beans.
For a hands-off main when you are feeding more people, slow cooker chicken fajitas can handle most of their cooking while the rice gets the stovetop attention.
If you want tortillas on the table too, homemade corn tortillas are worth making when you have the time. For a quicker dinner, simply warm whatever tortillas you already have while the rice rests.
Then bring in something sharp or fresh. Lime, pico de gallo and pickled onions all cut through the savory tomato flavor; fresh mango salsa adds a sweeter contrast with chile and lime.
Or keep dinner very simple: beans, this rice and a fried egg make a satisfying plate without turning the meal into a project.

Once you know what tender, properly steamed rice looks like, the next batch is much easier to judge. You are no longer waiting for a timer to tell you what happened—you can read it in the grain.