Posted on Leave a comment

How to Set Perfect Curd in the Chilly Winters

Setting curd in winter can be a challenge, especially in the colder regions of India where temperatures drop significantly. But fear not! With a few tips and tricks, you can enjoy homemade curd that’s creamy, thick, and perfect for your meals, even during the chilliest months.

Why Is It Difficult to Set Curd in Winter?

Curd requires a warm environment for fermentation. The bacteria in the starter culture thrive at temperatures between 30°C to 40°C. In winters, the ambient temperature often falls below this range, slowing down or halting the fermentation process.
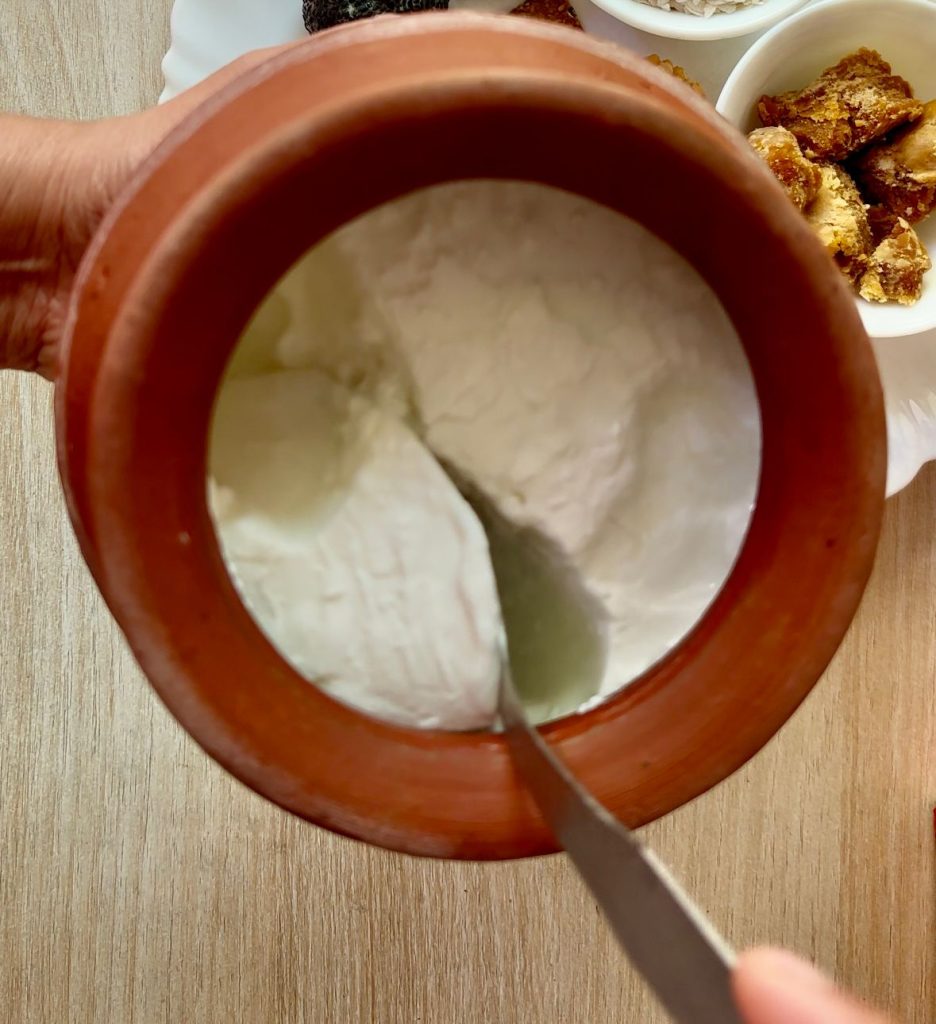
Tips to Set Curd Successfully in Winter

1. Choose the Right Container

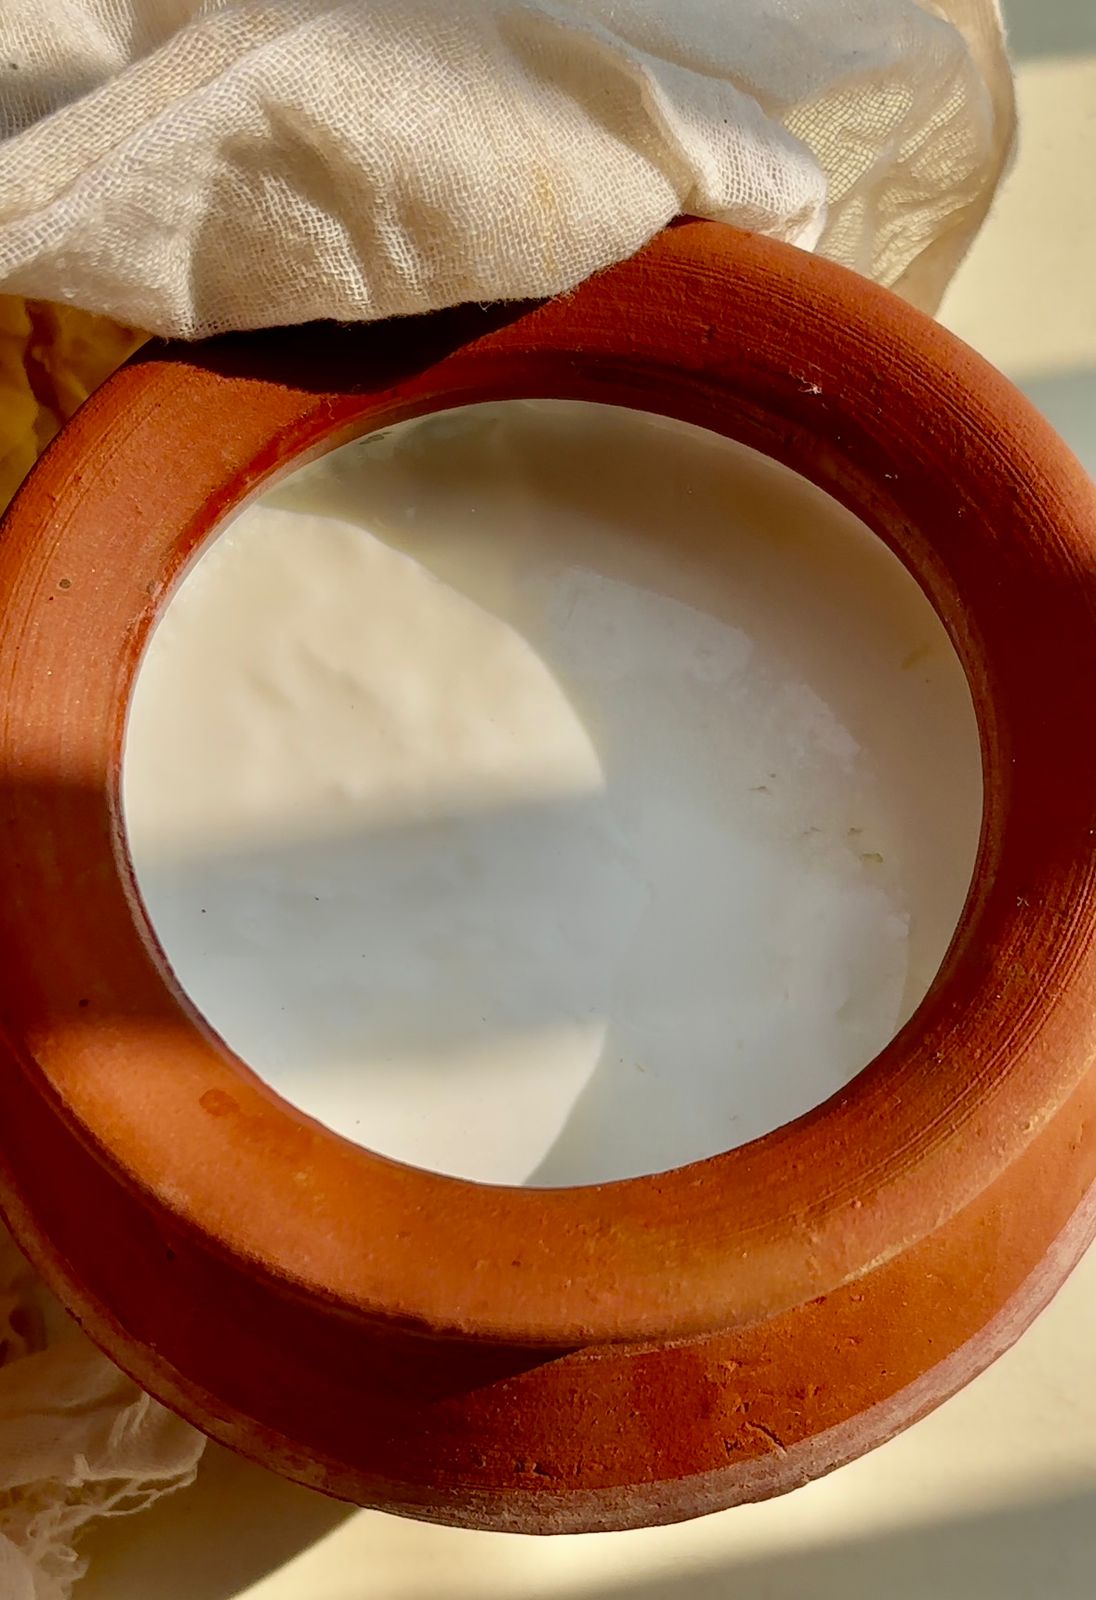
Use a ceramic, clay, glass, or stainless steel container as these retain heat better than plastic.

Pre-warm the container by rinsing it with hot water before adding the milk and starter.

2. Heat the Milk Properly

Heat the milk until it starts to simmer (do not boil). This ensures the milk is warm enough for fermentation.

Let the milk cool down to a lukewarm temperature (about 35°C-40°C) before adding the starter. A simple test: it should feel warm but not hot when you touch it.

3. Use a Good Starter

Always use fresh and active curd as a starter. Older or less active curd may not yield good results.

Add about 1-2 teaspoons of starter to 500 ml of milk. Whisk it well to mix evenly.

4. Keep It Warm

Maintaining a warm environment is the key to setting curd in winter. Here are a few tricks:

Wrap It Up: Cover the container with a thick towel or woolen cloth to retain warmth.

Use a Casserole: Place the curd container inside an insulated casserole to keep it warm for longer.

Oven Method: Preheat your oven for 5 minutes at the lowest temperature, turn it off, and place the container inside.

Hot Water Bath: Place the curd container in a larger bowl filled with warm water (not boiling) to create a warm environment.

5. Add a Warm Touch

If the milk is slightly colder than needed, add a pinch of sugar to the starter to activate the fermentation process.

You can also add a green chili stalk or a dried red chili to the milk. This traditional Indian trick boosts fermentation due to the bacteria present on the chili surface.

6. Time It Right

In winter, curd takes longer to set compared to summer. Leave the container undisturbed for 8-10 hours, preferably overnight. Check after this period, and if needed, give it a bit more time.

How to Store the Set Curd

Once the curd is set, refrigerate it immediately to stop further fermentation and prevent sourness. Always use a clean spoon to scoop out curd to maintain its freshness.

Nothing beats the satisfaction of enjoying creamy, homemade curd, even in the chilliest Indian winters. From pairing it with parathas to turning it into raita or adding it to curries, curd is a staple in Indian cuisine and an essential part of a healthy diet.
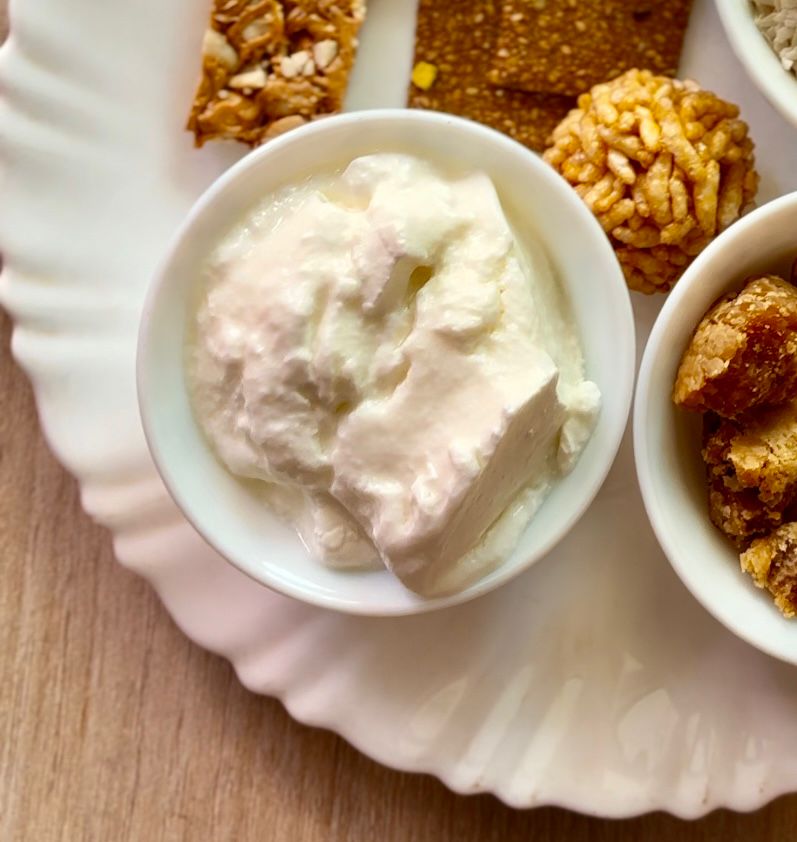
So, next time the temperature drops, don’t let the cold stop you from enjoying your homemade curd. Use these tips and relish the joy of perfectly set curd, no matter how cold it gets!

Try these tricks and let us know how they worked for you!

Posted on Leave a comment

Instant Masala Bread Idli- Easy Breakfast Recipe

Instant Masala Bread idli is delicious protein rich breakfast. They are air light, super easy to make and above all healthy. I can bet you can’t stop at one. This is one of my favourite breakfast recipes. Easy, simple with no fancy ingredients required!

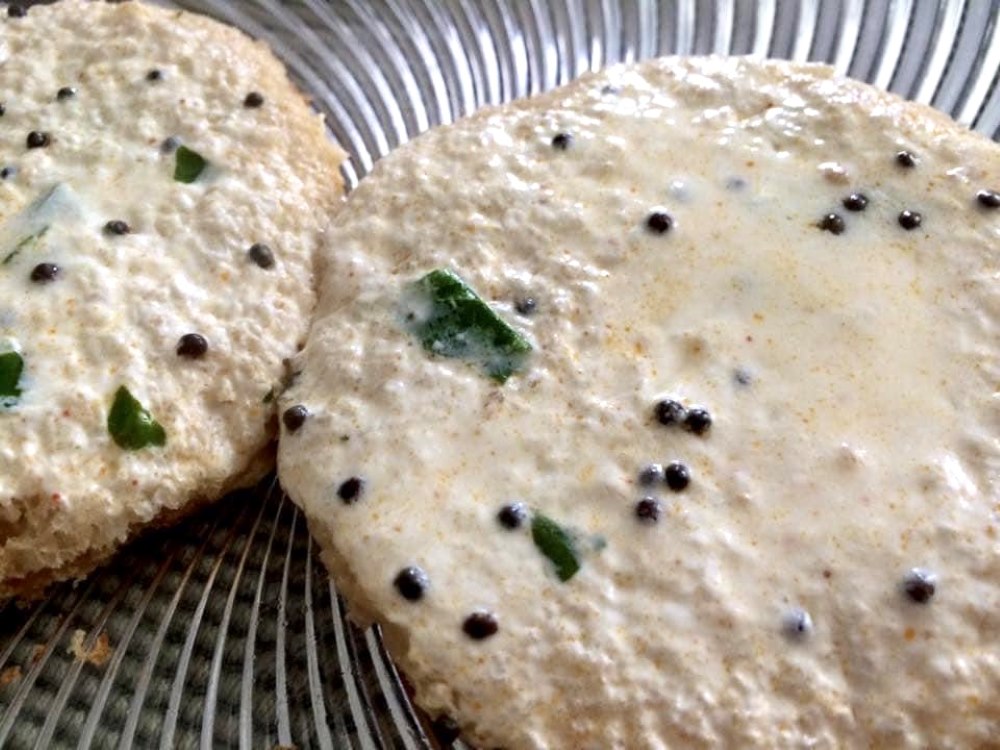
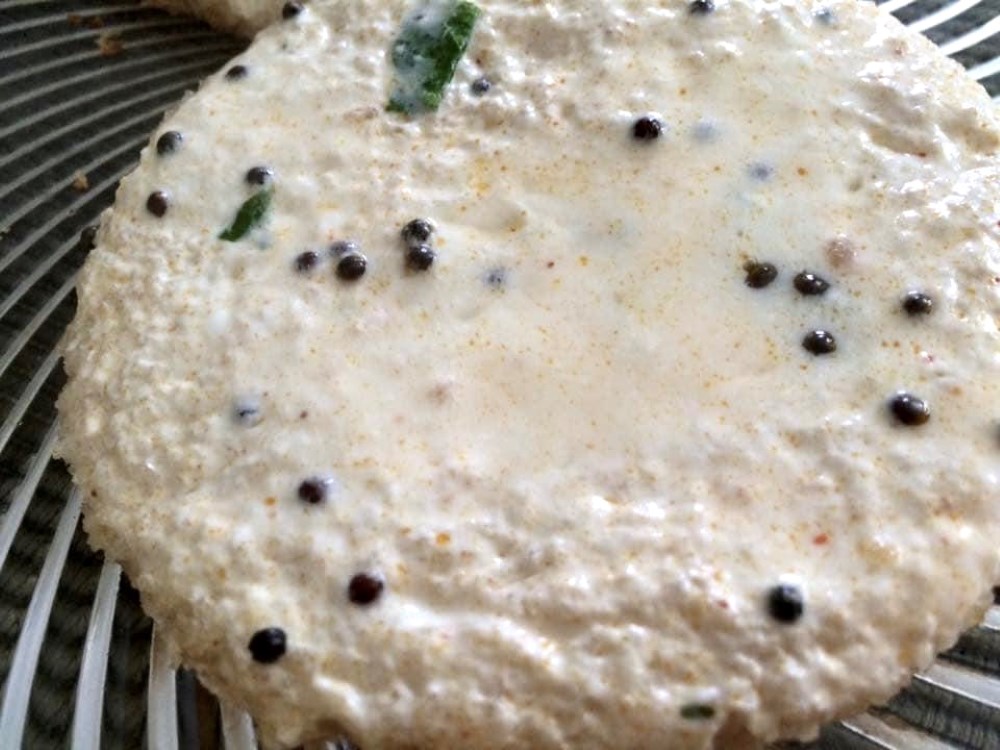
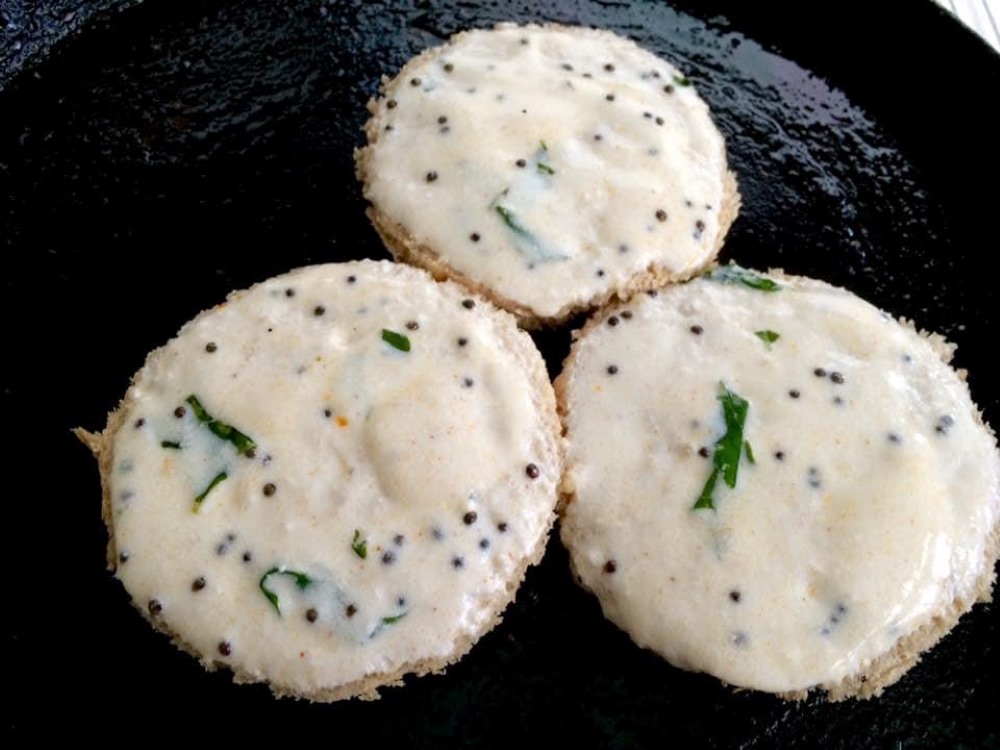
It is like a slice of bread with a filling of your choice on one side and steamed tempered yogurt on the other side, adding different textures to this simple yet delicious dish. It’s creamy, soft and crispy- all of that in one slice of bread. 

I had these bread idlis for the first time some 17-18 years back at my Aunt’s house and instantly fell in love with it. Years later when I got married, I remembered those instant bread idlis and wanted to make it for my husband and child. Just like me, my family too totally loved it.

You need very basic ingredients for this recipe- bread slices, either brown or white bread, thick yogurt or homemade curd and Indian cottage cheese (Paneer) or potatoes.

I shared this recipe in one of the food community groups on facebook, Eatlo and it was such a huge hit. I was amazed to see that hundreds of people tried this recipe and the feedback was just fantastic. If you talk about food just as much as you eat, you should definitely join this community. It’s a safe space where you can share your cooking adventures, know more about different cultural and regional foods, ask for recipes, get health tips and interact with food enthusiasts all over the world.

Now without further delay let’s see how you can make this delicious recipe

Recipe: serves 3

Ingredients: 

  • Bread slices: 8
  • Oil/Ghee for Cooking

For Tempered Yogurt/Curd

  • Thick Yogurt/Curd: 1.5 cup
  • Mustard seeds: 1/2 tsp
  • Curry leaves: 1 sprig
  • Asafoetida/hing: a pinch
  • Oil: 1 tbsp
  • Red chilli powder: 1/4th tsp
  • Salt to taste

For Paneer Filling

  • Paneer: 150 grams
  • Coriander Leaves: handful 
  • Capsicum: 1/4th cup; finely chopped
  • Salt to taste
  • Minced Garlic: 1/4th tsp
  • Red Chilli Powder: 1/4th tsp or to taste
  • Garam masala: 1/4th tsp
  • Roasted Cumin Powder: 1/2 tsp
  • Raw Mango Powder: 1/4th tsp
  • Green Chilies: 1; finely chopped (optional)

Method:

  • Whisk thick yogurt/curd to get a smooth consistency. 
  • Now heat oil in a small pan. Add mustard seeds and hing. Let it splutter. Switch off the flame and add curry leaves, salt and red chilli powder. Let it sit in hot oil for 15 seconds and then add this tempering to yogurt and mix well. Keep aside.
  • Cut bread slices in roundels using a bowl or a round cutter and keep aside.
  • Crumble paneer in a plate. Add finely chopped capsicum, coriander leaves, minced garlic, salt, red chilli powder, garam masala, cumin powder and raw mango powder. Mix well. Check for seasoning and your filling is ready.
  • Now take the bread slice and spread the prepared filling on one side. Do not make a very thick layer. 
  • Heat a non stick pan to a medium heat. Brush it with some oil or ghee. 
  • Now put the filling side down. Reduce the flame to the lowest. On the top, apply the prepared tempered yogurt. Do not overload it with curd but put a generous amount so that the bread is coated well. 
  • Cover the slice with a large bowl. The idea is to steam the yogurt side and make the filling side crisp. This should take about 3-4 minutes to cook. Keep the flame low.
  • Cook till bottom side becomes golden brown. 
  • Serve hot with chutney of your choice.

Notes: 

  1. You can choose the filling of your choice. I also make this with potatoes. Just replace paneer with potatoes. 
  2. Always cook bread idli on low flame. Otherwise the bottom side will be cooked and yogurt side will not get time to get set. 
  3. Serve it immediately or the bread will become soggy.
  4. For leftover bread sides, you can toast them in the oven and turn into bread crumbs.
  5. If the yogurt or curd you have is watery, simply line a colander with muslin cloth. Add yogurt/curd and keep it refrigerated for an hour. This will drain the excess whey.

For more quick yogurt recipes you can try out my quick and absolutely delicious Hung Curd Spinach Cheese Sandwiches

Do try out this recipe. I promise you will not be disappointed. Let me know in the comments if you do try. Would love to have your feedback. Happy Cooking! 😊