Posted on 16 Comments

3 Minutes Homemade Chocolate Syrup- Dairy and Gluten free

Homemade Chocolate Syrup is incredibly easy to make and trust me it rivals or dare I say doesn’t come even close to anything you’ll buy at the store. You can literally whip up chocolate syrup using this recipe in 5 minutes and that includes prep time. That’s how quick and easy this Homemade Chocolate Syrup recipe is.

God knows how much I hate those store-bought chocolate syrups. With less than 5% cocoa, it is just full of artificial flavors, emulsifiers, liquid glucose, thickeners, artificial colours and as if liquid glucose was not enough, the second main ingredient in these syrups is Inverted sugar. What a whole lot of crap! And they don’t even taste authentic.

I made this chocolate syrup some 4 years back because I wanted something chocolatey to go with my waffles. I was surprised to see how unbelievably delicious, smooth, sweet and chocolate-y it turned out to be. I just couldn’t stop myself from licking it from the spoon. 

When I found this recipe, it was just too simple to believe. No fancy ingredients required. It is dairy free and gluten free. Looks like store bought syrup but tastes way better. It is perfect to add to a plate of Fluffy Buttermilk Pancakes.

Difference between Chocolate Syrup and Chocolate Sauce

If you find yourself confused between the two, you are clearly not alone. They have a lot in common from their appearances and use, whether drizzled over sundaes, pancakes, waffles or bread pudding. They both are often used interchangeably. It all comes down to viscosity. Chocolate syrup is thinner than chocolate sauce. Syrup is mostly created with cocoa powder, water and sugar whereas sauce has cream, butter and sugar, giving it more richness.

Recipe: makes 90 ml or 3 ounces

Ingredients: 

  • Unsweetened Cocoa/Cacao powder: 1/4th cup
  • Sugar: 3 tbsps or as per taste
  • Water: 100 ml
  • Instant Coffee: 1 tsp
  • Pure Vanilla extract: 1/2 tsp
  • Coconut oil: 1 tbsp
  • Salt: a pinch 
  • Dark Chocolate (70%): 25 grams

Method: 

  • In a pan mix together cocoa powder, sugar, salt and instant coffee. Now add water and bring it to boil while whisking continuously till everything incorporates. Use a wire whisk.
  • Cook for 2 minutes on low flame while stirring continuously. Stirring is important to avoid grainy syrup.
  • Take it off flame. Then add coconut oil, vanilla extract and dark chocolate and whisk till chocolate melts. 
  • Allow it to cool. Transfer it in a glass jar. Refrigerate for 30 minutes before using. It tastes even better the next day.

Notes: 

  • The chocolate syrup will be thin when it finishes boiling. But it will thicken quite a bit on cooling and even more after refrigeration.
  • It will last you a week or 10 days in refrigerator.
  • The taste of this sauce will depend on the quality of cocoa powder and dark chocolate you will use. So use good quality cocoa powder & dark chocolate. 
  • This recipe gives 3 ounces but it can easily be doubled or tripled.
  • You can add more sugar if you like. I like it bitter sweet.

How you can use it

  • Pour it over icecream, pancakes or waffles
  • Stir it in milk
  • Drizzle it over brownies
  • Make chocolate trifle 
  • Use it as a dip for fruits

Enjoy. 😊

Posted on Leave a comment

Is Thick Mucus Troubling You? 7 Foods and Home Remedies to break down Excess Mucus

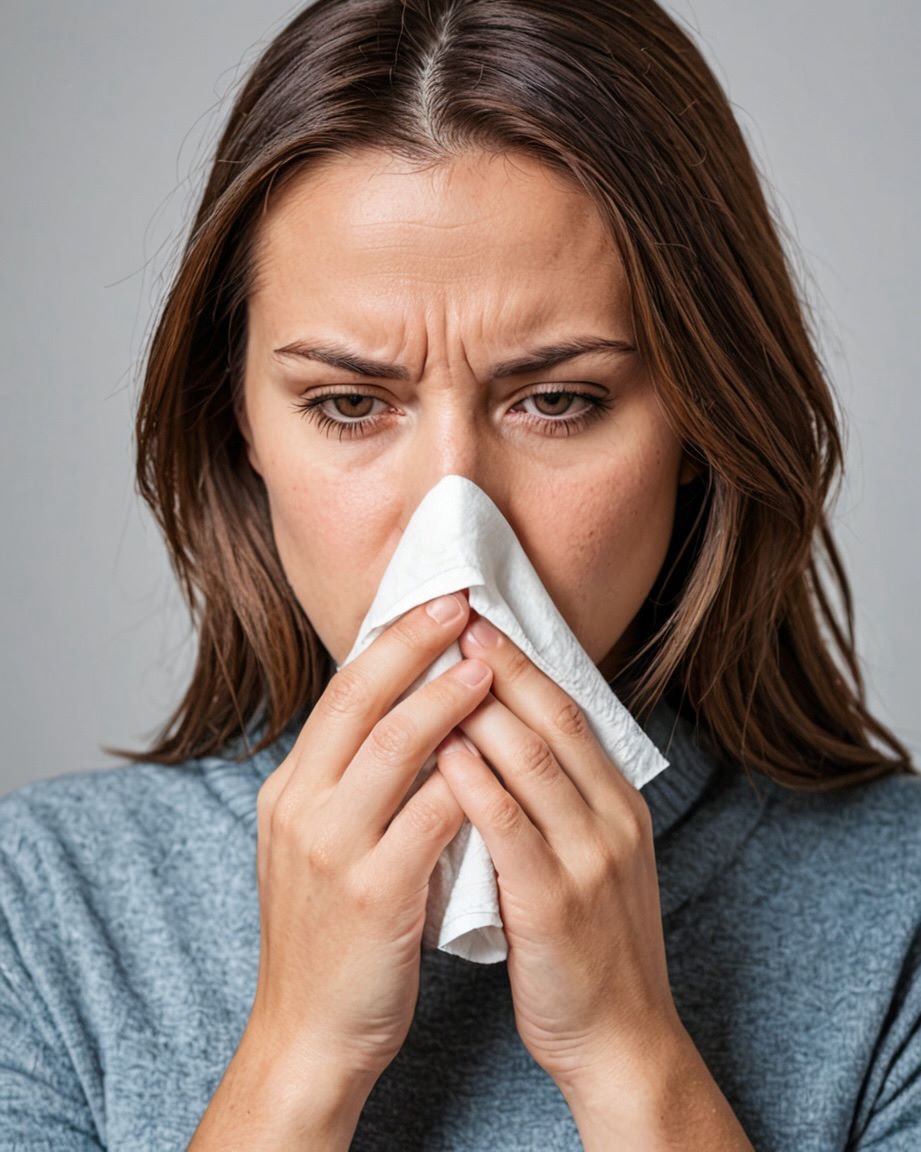
Mucus has several names. Less elegantly it is known as a snot, sticky substance that comes out of your nose or phlegm that clogs your lungs. Nobody is a fan of such stuff especially when you are sick.

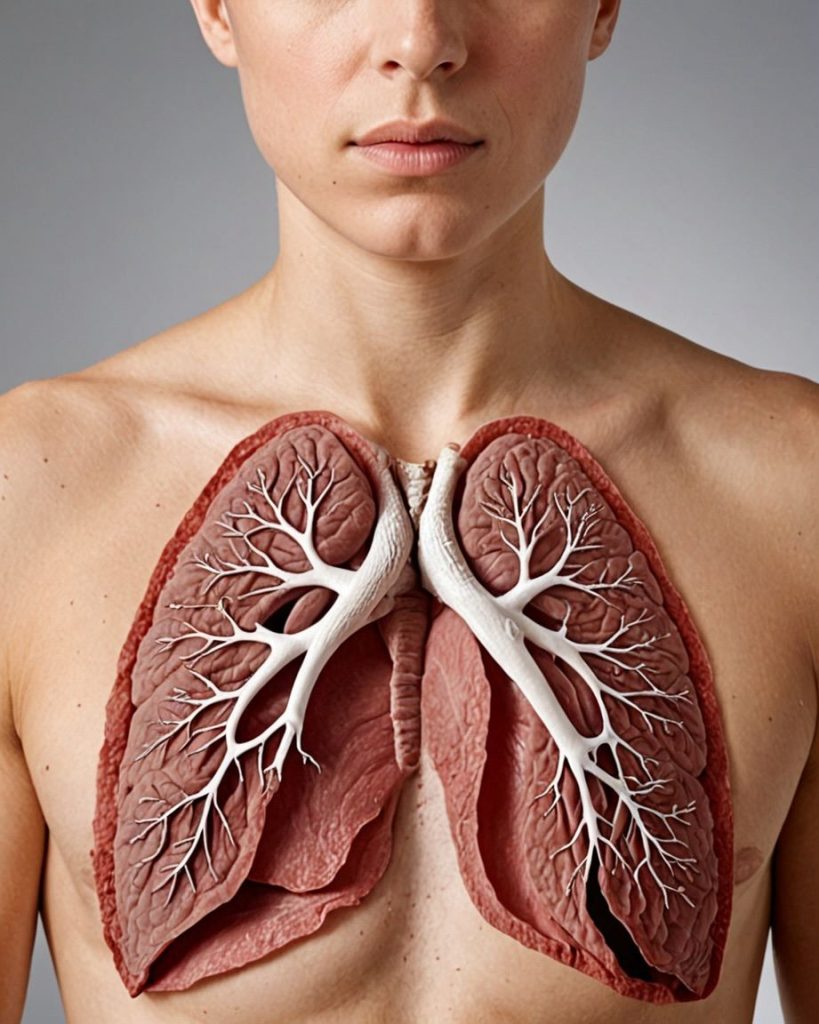
Technically mucus is a sticky, gelatinous material that lines your lungs, throat, mouth, nose, and sinuses. We all need mucus. We have mucus membranes lined from the nose right up to the lungs. Its main function is to trap bacteria, viruses, and allergens like dust or pollen in your nose and prevent them from spreading through your body and making you sick. You may have noticed that when you are in a place which is very polluted and later when you blow your nose or cough up mucus, it contains specs of black colour. This is because the mucus has picked up different allergens from the polluted area and your body is expelling it out. This is a good thing. Your body is doing the right thing for you at the right time. 

Mucus is also made by the digestive system, the cervix, and the urinary tract. But here we’ll be focusing on respiratory mucus.

Mucus in itself is not a problem. It is our body’s line of defence. It’s a good thing but the problem comes when your body produces excess mucus or the mucus that is thick and irritates your throat and airways. Most people swallow mucus all day long without even realizing it. The mucus passes through your throat and into your stomach, where any irritants or bacteria are disposed off. But only when it becomes thick people actually notice mucus. 

Over production of mucus in the body for a long period of time causes diseases or make it difficult for your body to heal from an infection. It keeps the bacteria and pathogens trapped inside your system and these pathogens that are attached to your organs are depriving your cells of oxygen ultimately leading to bigger problems.

Reasons why body produces Excess Mucus

  1. One of the main reasons is an infection- viral or bacterial. Infection can make mucus thicker and stickier. Infections causes inflammation causing certain airway glands to produce more mucus. That mucus can get thick with bacteria and cells that arrive to fight the infection.
  2. Allergies like dust allergy, pollen allergy can also cause your body to produce excess mucus. When you have an allergy, your immune system overreacts to harmless substances like dust, pollen, dog or cat hair and produces extra mucus.
  3. Dehydration is another very common reason which makes your body produce excess mucus. If your body is not hydrated enough, your sinuses will not have enough lubrication to produce thinner mucus.
  4. Regular consumption of processed foods that contain too much salt or sugar can mess with your gut and cause inflammation in your body. Excessive and inadequate mucus can be triggered by food additives such as thickeners, preservatives and other artificial substances added in processed foods.

7 foods in your Kitchen that can help break Excess Mucus

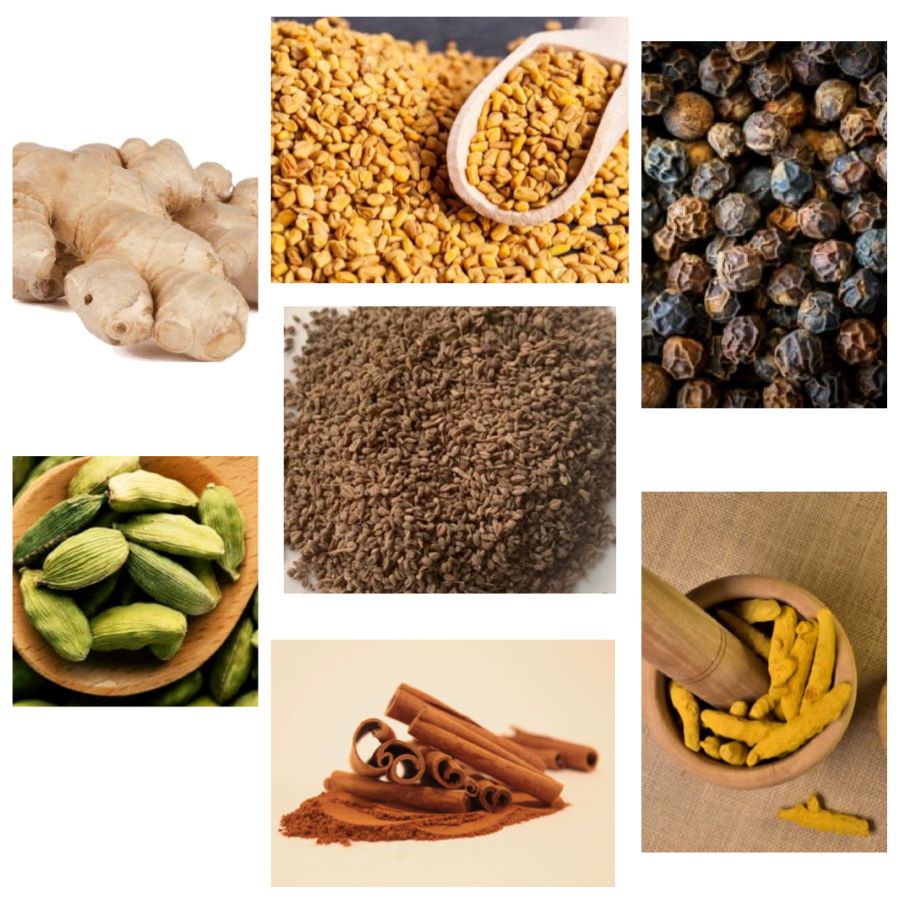
1) Ginger: Ginger is an excellent anti-inflammatory, antihistamine and a natural decongestant. It has antibacterial and antiviral properties that are useful in drying out mucus from sinuses, nasal passage and chest providing relief and preventing infections. It contains compounds called gingerols and shogaols which give ginger its medicinal properties.

2) Cardamom: Cardamom popularly known as the ‘Queen of Spices’ is used as a flavoring agent and as a mouth freshener. It is traditionally taken after meals for aiding digestion and assimilation of nutrients. It aids easy digestion of food by protecting mucus membranes. It helps to loosen mucus and expel it from respiratory tract.

3) Fenugreek Seeds: This is one of my favourites and works like a charm. Fenugreek maintains mucus conditions of the body, mostly the lungs, by helping to clear congestion. It also acts as a throat cleanser and mucus solvent that also eases the urge to cough. In traditional Chinese medicines, fenugreek is known as ‘phlegm remover’ as it is said to break up stuck energies and cool inflammation in the body.

4) Caraway seeds or Ajwain: Another one of my favourite ingredients. Ajwain helps to reduce irregular pains of the intestines and stomach in both adults and children. It contains a compound called Thymol that helps to treat many infections. It can help expel mucous and may improve the symptoms of chronic bronchitis and asthma. It is also helpful in giving relief from chronic colds and cough. If you can’t find ajwain in your area, then you can substitute it with thyme leaves. They both belong to the same family with almost similar effects.

5) Cinnamon: Cinnamon is a natural expectorant. It has antimicrobial and anti-inflammatory properties. Cinnamon can help in reducing inflammation in the respiratory tract. It may also provide relief from coughing by soothing the throat.

6) Black Pepper: Black peppercorns contains a compound called piperine, which is known to have antimicrobial properties. Black pepper also has expectorant properties, which can help in relieving congestion and expelling mucus from the respiratory tract.

7) Raw Turmeric Root: Raw Turmeric contains an active powerful compound called curcumin, which aids in the dissolution of mucus. It also improves chest congestion. It is antibacterial, antiviral and a natural antibiotic which can help in reducing inflammation from the body and fight off infections that cause excess mucus.

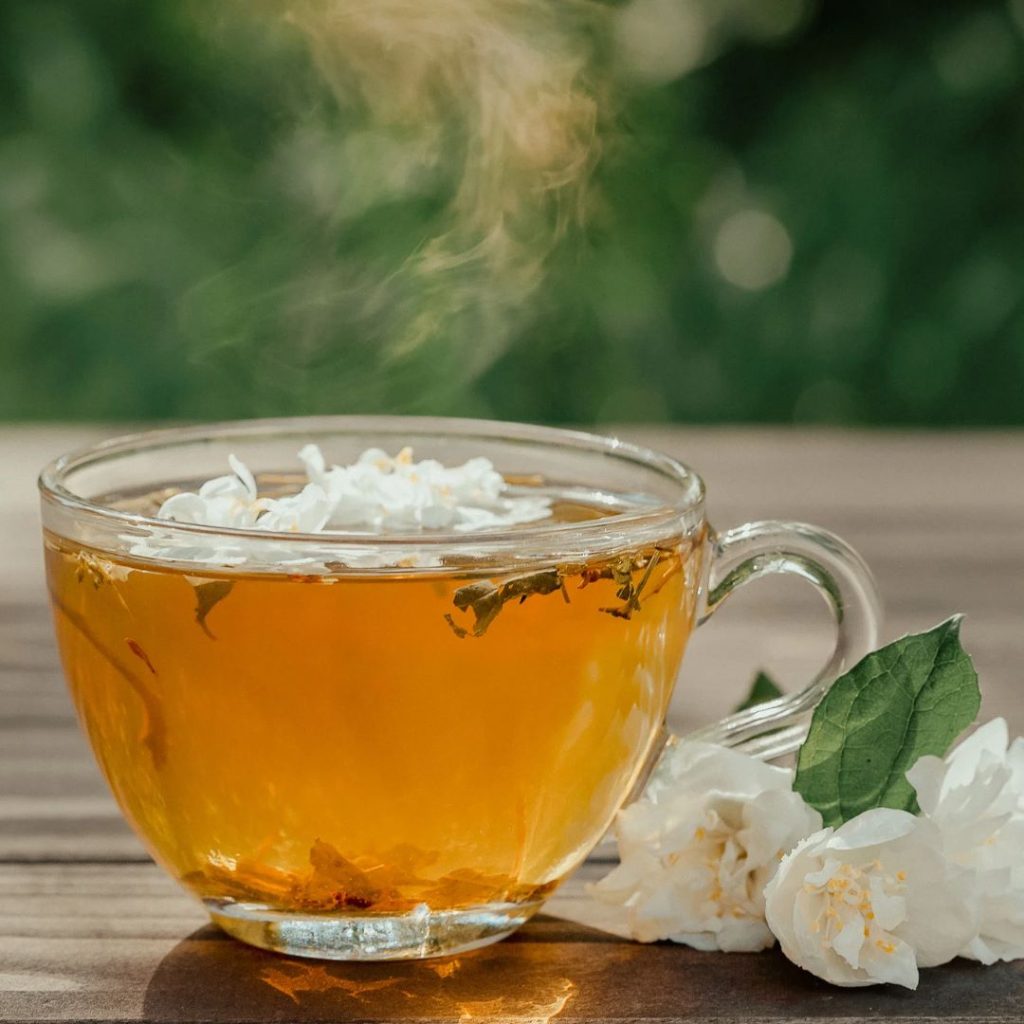
Brews and Remedies Effective in Expelling Mucus and help to Improve Lung Health

Recipe 1

Take 1/2 tsp fenugreek seeds. Either soak it overnight or boil it in 2 cups of water. Reduce it to half. Sip it warm either on an empty stomach or any time of the day. 

Recipe 2

Boil 1 inch raw turmeric root in 500 ml water. Add 4 to 5 crushed black pepper corns to it. Black pepper increases the bioavailability of curcumin by 200%. Reduce the concoction to half. Sip it warm. 

Recipe 3

Boil 10 to 12 fresh holy basil leaves in 2 cups of water. Add 2 crushed cardamom pods. Reduce it to half and sip it warm.

Recipe 4

Boil 1/2 an inch ginger root in 500 ml water. Add 1 teaspoon fennel seeds. Reduce it to half and sip it warm 1 or 2 times in a day.

Recipe 5

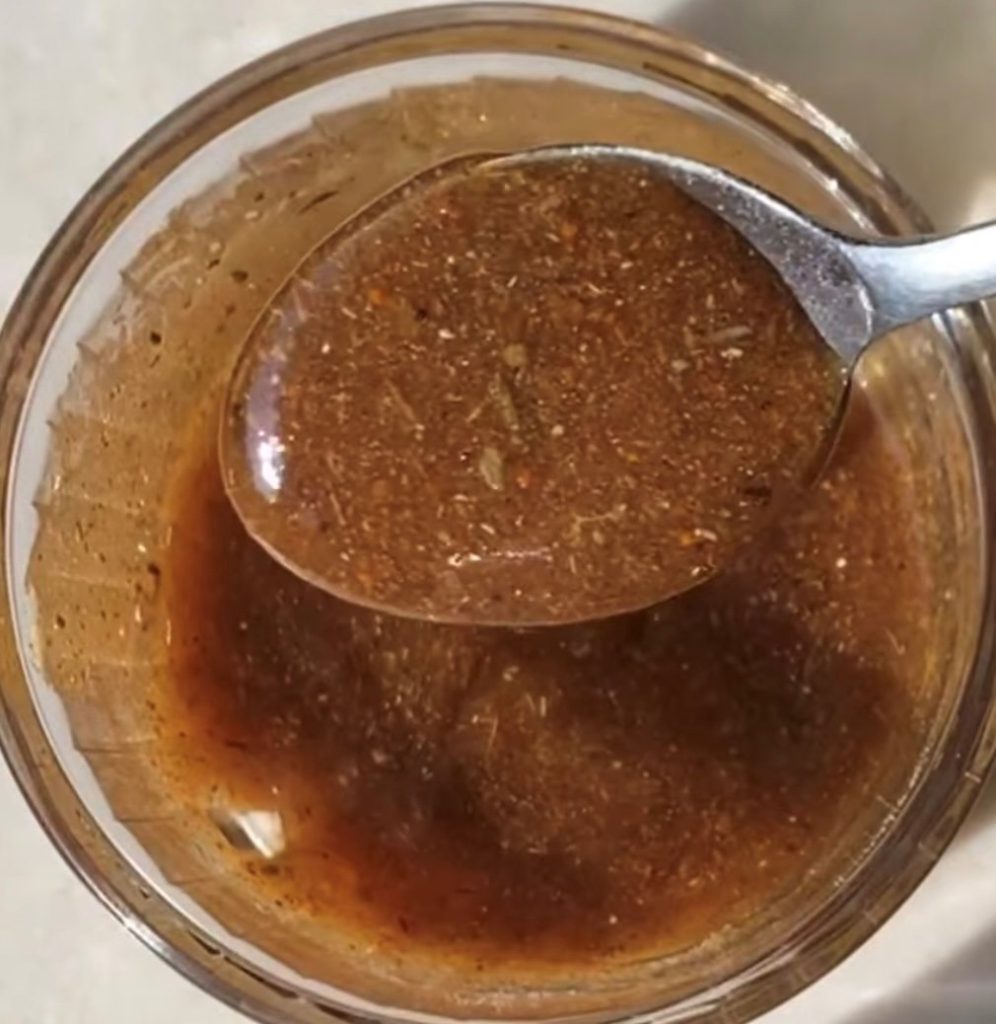
Dry roast 1/2 tsp of caraway seeds/ajwain. Crush it into a fine powder. Mix it with 1 teaspoon of raw honey and consume it twice a day. 

Recipe 6

Mix 1/4th teaspoon of dry ginger powder and cinnamon powder each. Add it to a teaspoon of coconut oil or raw honey and consume it twice a day. It has drying effect making it a great natural expectorant.

Bottom line:

These remedies are very effective in getting rid of excess mucus if taken regularly. You don’t have to stick to just one concoction. You can keep changing it as you like. But please remember these remedies are not some magic pills. They alone will not help you. Yes, they do work but along with these remedies, make necessary lifestyle changes for better health. Get proper sleep, eat home cooked fresh meals, cut down on processed sugar and junk and say no to sedentary lifestyle. This ultimately will take you a long way. Cheers to good health!

Disclaimer: None of the above remedies are a replacement for medical treatment. Please review the ingredients with your healthcare expert if you have a medical condition.

Posted on 15 Comments

How to make Almond Milk at Home

While I love the convenience of store-bought almond milk but once you get the taste of your homemade version, it’s hard to go back to store-bought milk. It’s creamier and nuttier than commercial almond milk and of course without thickeners, artificial flavors, stabilizers and no shelf life extending additives.

Almond milk is a nutritious, nut-based dairy alternative and has become popular over the years. It’s dairy and lactose free. Hence, making it a good option for those avoiding dairy or are lactose intolerant.

Including almond milk in an overall healthy and balanced diet certainly has its upsides. Almond is a fabulous source of vitamin E, a nutrient that has antioxidants properties. Since it is low in calories, it can also support your weight management goals. 1 cup of almond milk has only around 40 calories. It also contains heart-healthy poly- and monounsaturated fats and is also free from saturated fat, trans fats and dietary cholesterol.

While homemade almond milk is a great source of nutrients, it is not a good source of protein and calcium but don’t let it stop you. There are plenty of other plant base sources of calcium and protein which you can include in your diet.

Homemade almond milk allows you to control the amount of sweetness and infuse flavors as well as play around with the thickness. It’s amazingly simple- just soak, blend and strain and it is super versatile. You can use this milk for making coffee, add it to your cereals, blend it to smoothies, use it in your favorite baked goods. Once you have it in hands, there are million ways to use it.

How to make Almond Milk

Ingredients: makes 800 ml thick Almond milk

  • 1 cup raw Almond
  • 3 sticky Dates
  • 1/2 tsp Vanilla extract
  • 3 cups of filtered Water

Instructions

  • Soak almonds overnight or for at least 7-8 hours. Now most recipes call for soaking almonds in hot water for an hour or 2. But soaking it for long increases bioavailability of the nutrients and makes milk easy to digest. Also, it makes almond easier to blend resulting in creamier milk.
  • Drain the water. The almonds should be nice and plump. Add soaked almonds in a blender. (Do not peel the skin. Skin contains several antioxidants and prebiotics)
  • Also add de-seeded sticky dates and vanilla extract.
  • Add filtered water and then blend till it is smooth & creamy. Do it for 1 or 2 minutes. The timing will depend on how powerful your blender is.
  • Take a clean muslin cloth and set it over a large bowl. Add almond milk. Use your hands to squeeze and press as much liquid out as possible. This is thick creamy milk.
  • If you want it thin, which I like, put the almond residue back in blender. Add 1.5 cups of water and strain again. This will be thin and less creamy.

Variations:

  1. You can choose sweetener of your choice as well. If you don’t want to use sticky dates, you can either go for maple syrup or honey to sweeten it.
  2. You can also simply go for unsweetened version of almond milk as well.
  3. Flavoring your almond milk is totally your choice. Either you can add vanilla extract like mentioned above or flavor it with cinnamon or raw cacao powder if you like chocolaty milk.
  4. You also try blending it with strawberries or blueberries if berry milk is your thing.

Notes:

  • You can use almond milk right away or refrigerate it in a clean airtight glass bottle for upto a week.
  • Do not throw away the almond residue. This can be added to cakes, cookies, smoothies, energy bites. You can also spread the almond residue on a baking tray and bake it in an oven at 180 C till moisture evaporates. Once cooled, grind it to a fine powder and you have your homemade almond meal ready.


Posted on 1 Comment

Spiced Plum and Dragon Fruit Compote with Jaggery

Welcome to my kitchen, where I am always experimenting with fresh and exciting flavors! Today, I’m thrilled to share a delightful recipe that combines the sweet and tangy taste of plums with the exotic flair of dragon fruit. Enhanced with the rich, caramel-like sweetness of jaggery and the warm spice of cinnamon, this compote is a versatile treat perfect for topping your favorite desserts, breakfast dishes, or simply enjoying by the spoonful. Whether you’re a seasoned cook or just love to dabble in the kitchen, this Spiced Plum and Dragon Fruit Compote with Jaggery is sure to become a new favorite. The best part? You can store this compote in a jar and keep it in the fridge for a few days, making it a convenient and delicious addition to your meals throughout the week. Let’s dive into this easy-to-make, yet irresistibly delicious recipe!

Ingredients:

3 ripe plums, pitted and chopped
1 dragon fruit, peeled and chopped
1/2 cup jaggery powder
1 cinnamon stick

Instructions:

Start by chopping the plums and dragon fruit into small, bite-sized pieces. This will ensure they cook evenly and blend well in the compote.

In a medium saucepan, combine the chopped plums, dragon fruit and cinnamon stick and cook for 2-3 minutes.

Now add the jaggery powder. Cook over medium heat, stirring occasionally, until the fruits begin to soften and the jaggery dissolves, about 5-7 minutes. You’ll notice the wonderful aroma of the fruits and jaggery blending together.

Continue to cook for another 10-15 minutes, until the mixture thickens to a compote-like consistency. Stir occasionally to prevent sticking and ensure even cooking.

Remove the saucepan from the heat and let the compote cool slightly. Once cooled, remove the cinnamon stick and transfer the compote to a clean jar. Seal the jar tightly and store it in the fridge. This compote will keep well for a few days, allowing you to enjoy it throughout the week.


Serve the compote warm or chilled. It’s a fantastic topping for yogurt, ice cream, pancakes, waffles, or toast.
You can also enjoy it on its own for a simple, satisfying treat.


Tips:
Adjust the sweetness by adding more or less jaggery powder to suit your taste. For an extra flavor boost, consider adding a splash of vanilla extract or a squeeze of lemon juice towards the end of cooking. This Spiced Plum and Dragon Fruit Compote with Jaggery is not only easy to make but also a wonderful way to incorporate unique flavors into your meals. I hope you enjoy making and eating it as much as I do! Happy cooking!

Posted on 5 Comments

Wholewheat Carrot Orange Tea Cake- Kid Friendly Easy Recipe

Carrot cake is my and my child’s all time favourite. There’s something so heartwarming about a good carrot cake. As soon as those orange carrots hit the Indian market, this is one thing I crave. 

Why did I add orange to this cake? Well, I think it gives it that special subtle finesse that makes it stand out. Orange flavor goes beautifully with carrots. It gives a burst of citrus flavour along with a bright punch.

One bite of this can even convert those silly people who don’t like carrot cake 😄 Who are these people anyway!

My child loves to carry a slice of cake or a muffin in his school snack box. So I had to make it healthy and equally delicious for my child. This is the recipe that I mastered after a few failed attempts. Well, not exactly failed though. Those failed attempts were edible too but this one comes out to be perfectly soft, moist and fluffy

It is made using Wholewheat flour and Jaggery. Now baking with wholewheat flour can be a little tricky. It can make the texture of the cake dense. To ensure that your cake remains light and fluffy, the trick is to sieve wholewheat flour 3-4 times. This will add more air and the cake will not come out dense.

This recipe is actually so easy to make that anyone who hasn’t tried baking before will be able to crack it. Being a mother I understand how busy days get and trying those time consuming recipes can be quite daunting at times. To save you from all that hassle, all you have to do is put everything in a blender and Viola! Your batter is ready in less than 5 minutes. This will also save you from washing too many bowls which is quite a task when you have to bake.

Do try out this recipe and let me know. Trust me it will not disappoint you. 🙂 You can frost this cake with your favourite cream cheese frosting. This recipe is a make-ahead cake recipe whose taste and texture will not be compromised.

This cake is not overly sweet. I don’t prefer too sweet desserts. Feel free to add more jaggery if you like.

Recipe: cup measurement 250 ml

Prep time: 15 minsCook time: 30 mins


Ingredients

  • 2 medium size Carrots, shredded
  • 3 heaped tbsps Orange Marmalade 
  • 60 grams softened unsalted Butter or any non-fragrant oil
  • 1/2 cup Jaggery powder
  • 1 1/2 cup Wholewheat flour
  • A generous pinch Salt
  • 2 small Eggs
  • 1/2 cup Milk 
  • 1/2 tsp Vanilla extract
  • 1/2 tsp Baking soda
  • 1 tsp Baking powder
  • Handful of Chopped Walnuts (optional)

Method

  • In a blender, add butter, jaggery, lightly beaten eggs, milk, shredded carrots, marmalade & vanilla extract. Blend well on high speed till everything comes together. Take it out in a large bowl.
  • In another bowl, sieve wholewheat flour, baking powder, baking soda and salt. Add walnuts now if using and combine everything well. 
  • Add dry ingredients to wet ingredients in 2 to 3 batches. Gently cut & fold each time till everything incorporates well and there are no lumps. Don’t mix rigorously or over mix the batter. This will lead to a dense cake texture.
  • Preheat oven at 180C 10 minutes prior to baking. Grease a 7 inches diameter round pan or 11x7x2 inches rectangular baking pan with butter and line it with parchment paper or alternatively you can dust it with some flour. 
  • Add the batter. Tap the pan on the shelf 2-3 times to clear out all the air bubbles. Now, bake for 30 minutes on the middle rack of your oven or till a toothpick inserted at the center comes out clean. 
  • Allow it to cool for 15 minutes in the pan and then transfer it on a wire rack to cool completely. If you find that the cake is sticking to the bottom of the pan, leave the cake upside down for sometime and let gravity do it’s thing.

My Pro Tips:

  1. Use fresh baking soda. It looses it potency after 6 months of opening it.
  2. When measuring dry ingredients, level it off using the straight edge of a spoon or a butter knife.
  3. This recipe makes 12 muffins. Bake them for 14 to 18 minutes and allow the muffins to cool completely on wire rack.
  4. You can add cinnamon and ginger powder to this recipe to add a warm touch to it.
  5. If you want this cake to be perfectly moist, use fresh carrots and shred them. DO NOT USE packaged pre-shredded carrots for this recipe. This is the prime moisture for your cake and you don’t want to miss it.
  6. In case you want to bake this cake for yourself and are feeling fancy, I would highly recommend adding Orange Whiskey Marmalade. Orange and whiskey combination can lift your simple cake to something gourmet. You can buy it here-

Substitutes:

  • Eggs: You can either use flaxmeal or 1/4th cup Greek yogurt for every egg. For flaxmeal, take 1 tbsp flaxseeds for every egg. Coarsely ground them. Add 4 tbsps of water and let it sit for 15 minutes. It will become like a slimy gel like mixture. Use this as a substitute for one egg.
  • Orange Marmalade: If you don’t want to use Orange Marmalade, you can use 1/4th cup of freshly squeezed orange juice along with a tsp of orange zest instead. If using orange juice, you might have to adjust sugar accordingly. Add 1 or 2 tbsps of extra jaggery powder.
  • Jaggery: In case you don’t have jaggery powder, you can use any unprocessed sugar like palm sugar, coconut sugar etc.