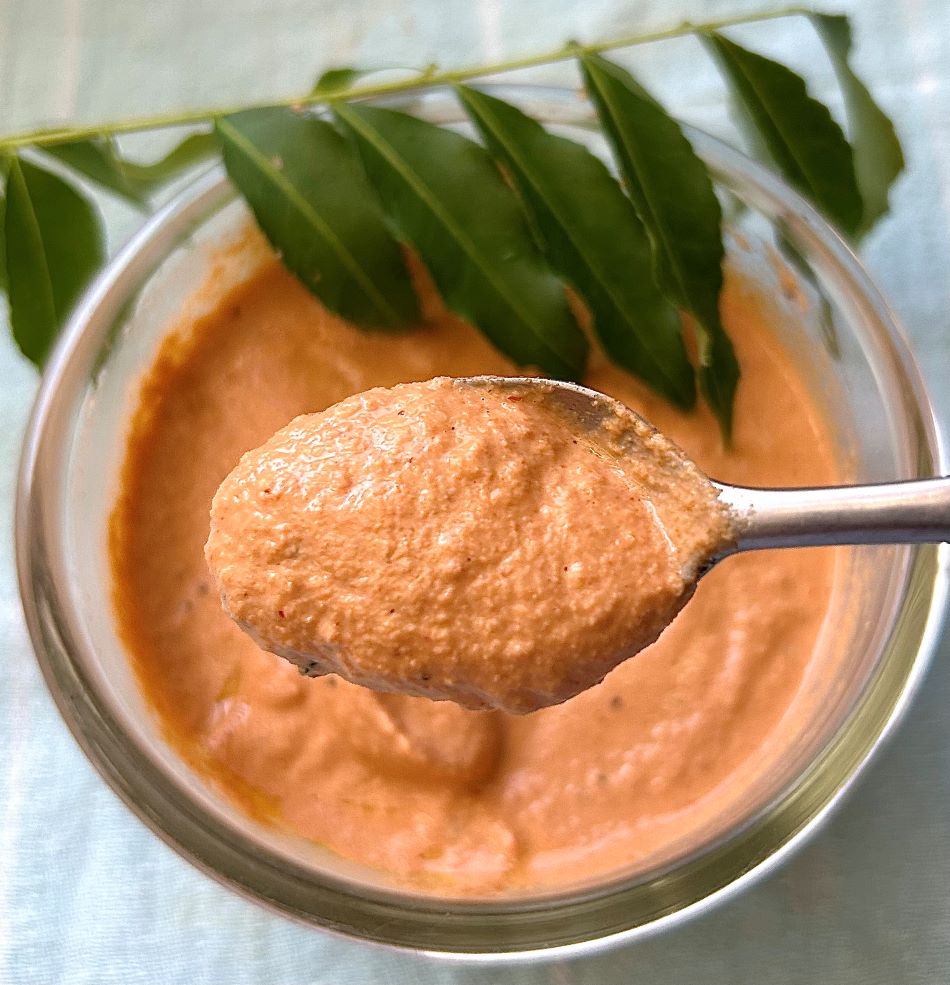
Peanut Chutney also known as Groundnut Chutney is a flavourful, delicious Indian chutney. It is an easy and a tasty chutney made with peanuts and is served popularly along with South Indian breakfast dishes. The texture of this chutney is thick and creamy with of course great blend of flavours. Among all the other Indian chutneys, this groundnut chutney is quite unique, given that there is no addition of coconut, onion or garlic.
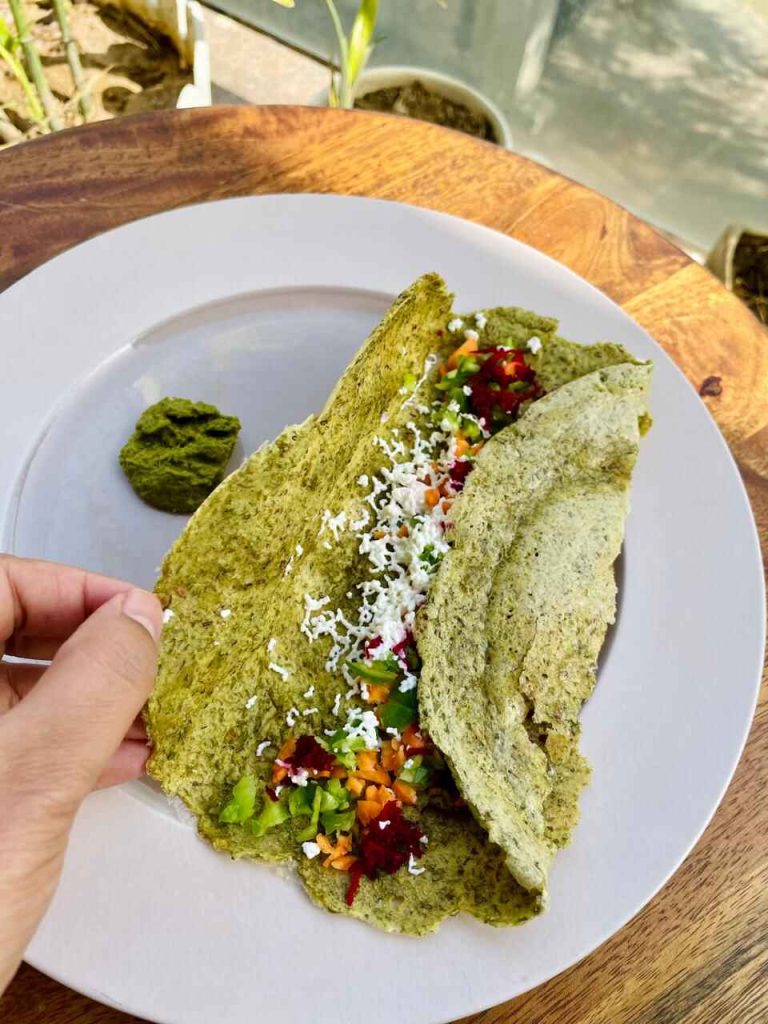
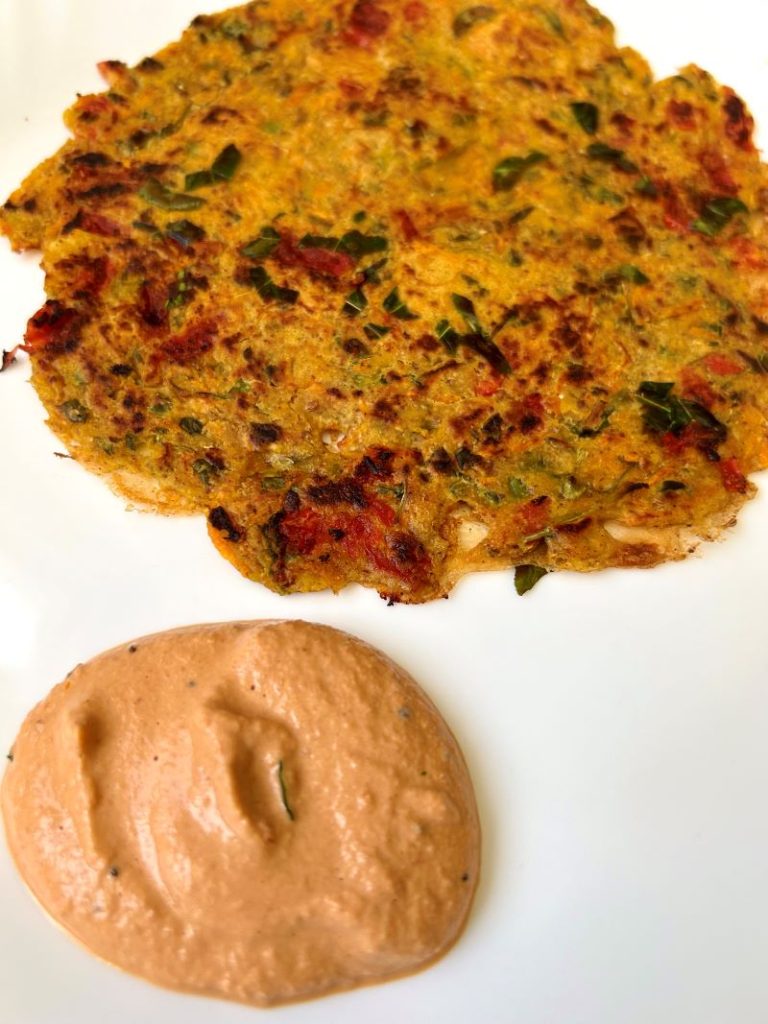
It is made with just few everyday ingredients and is flavour bomb. You can serve this chutney with idlis, dosas, Indian savoury pancakes, pakoras, flatbreads or wraps. It is excellent to brighten up your meal and add a lot flavour to your dish.
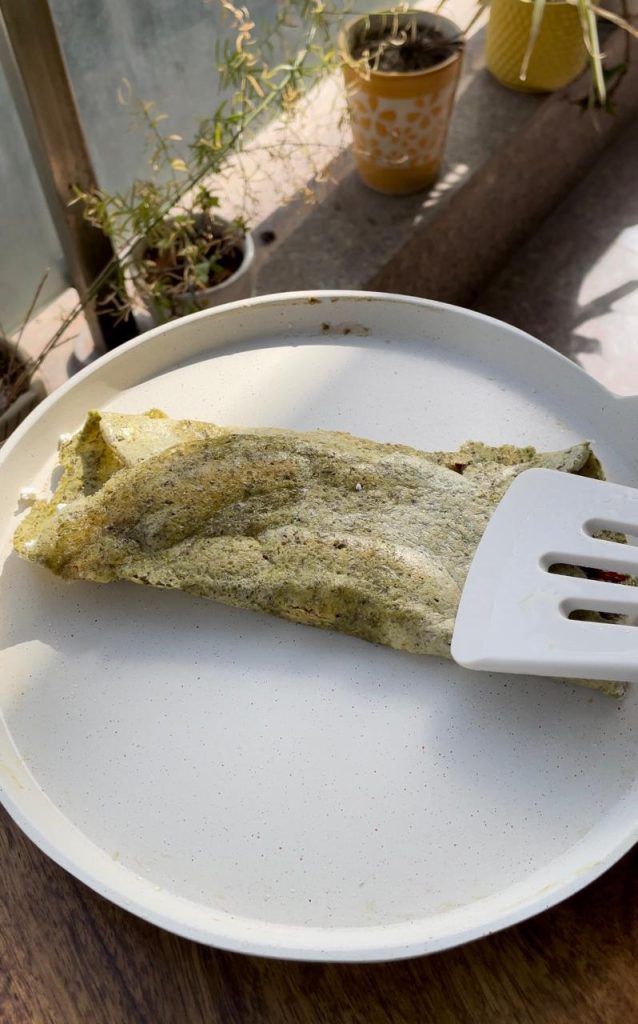
This Indian peanut chutney is protein-packed and boost the nutrition profile of your everyday breakfast meal and it is naturally vegan too. I made this Iron Rich Pancake for breakfast. It is made with chickpea flour and sattu, both of which are great sources of protein as well. But I wanted to add more protein to my vegetarian meal, so I decided to make this Peanut Chutney. One bite of this and the flavours just blew my mind. You guys have to try this to believe it. You can also try pairing this chutney with this Semolina pancakes or this Karnataka style Coconut dosa.
I kept this recipe in some way traditional by using raw peanuts which are roasted and then ground with other ingredients. I have also kept the skin of the peanuts. Peanut skins have the highest antioxidant levels compared to other parts of the peanut, and roasted peanut with skins have a high antioxidant capacity.
The traditional version is usually made with only 6 ingredients such as roasted peanuts, garlic, green chilies, cumin seeds, salt and tamarind. All of these are ground with water to a smooth chutney & most often it is not tempered.
The traditional version is great too but I’ll share with you a way to add maximum punch with minimal ingredients that you will actually always make this peanut chutney without onion and garlic. This flavourful chutney can also be taken in any vrat. So save this recipe for your next Navratri fast.
How to make Peanut Chutney?
Ingredients
- Raw Peanuts: 1/2 cup
- Roma Tomato: 1 medium size
- Dry Red Chillies: 3 (you can increase or decrease chilli as per your liking)
- Salt to taste
- Groundnut oil: 1 tbsp
- Lemon juice: 2 tbsps or to taste
- Water: 1/4th cup or as required
For Tempering
- Groundnut oil: 1 tbsp
- Mustard seeds: 1/2 tsp
- Curry leaves: 5-6
Instructions
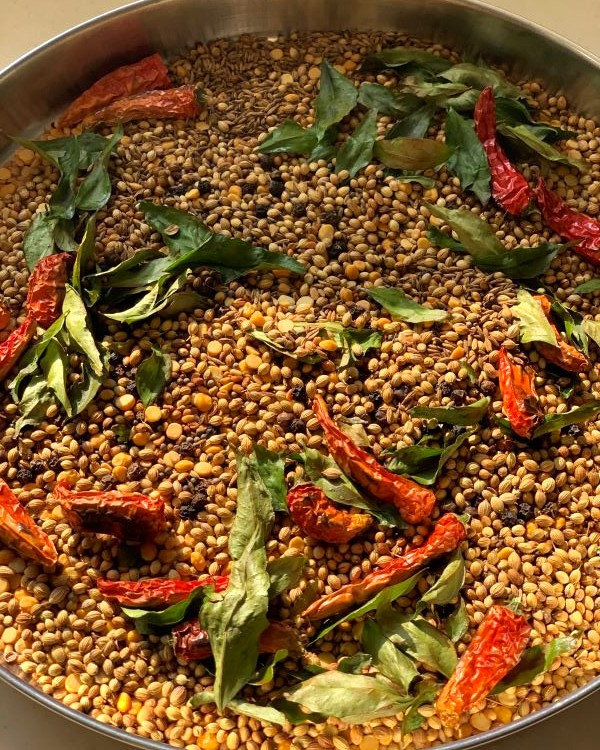
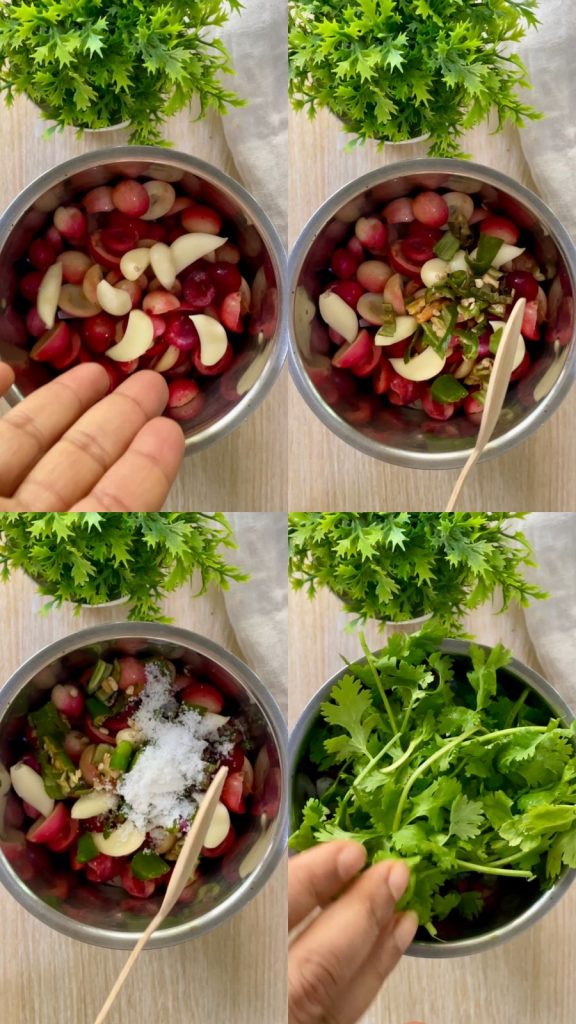
- In a flat bottom pan, heat 1 tbsp oil to a medium heat. Add raw peanuts and roast till they change colour and become fragrant.
- Once peanuts are roasted, in the same pan add roughly chopped tomato, salt and dried chilli. Cook on a medium to low flame till tomato becomes mushy. If the need be, you can sprinkle some water to cook tomato.
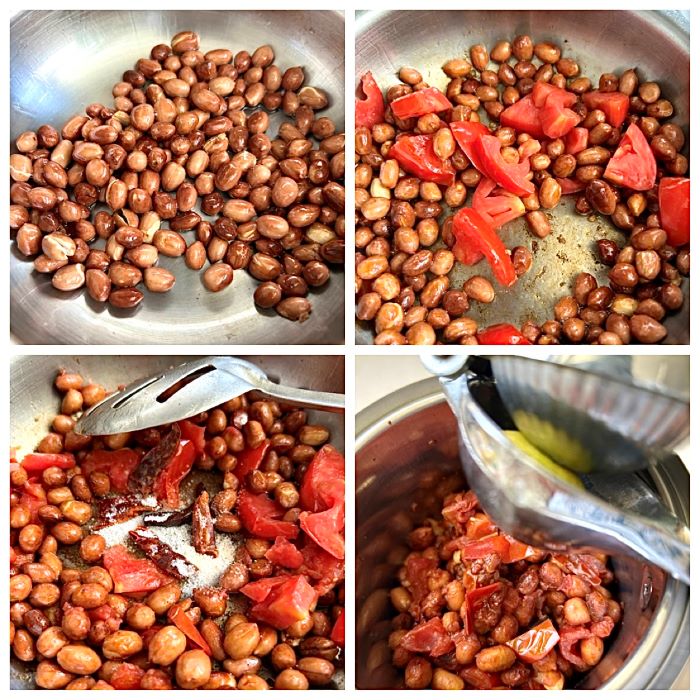
- Remove from heat and allow it to cool a little. Then add everything to a mixer grinder. Add lemon juice and 1/8th cup of water.
- Give it a blitz. Now add remaining water and blend till it becomes smooth and creamy. You can add more water if required but don’t add too much. Add little at a time.
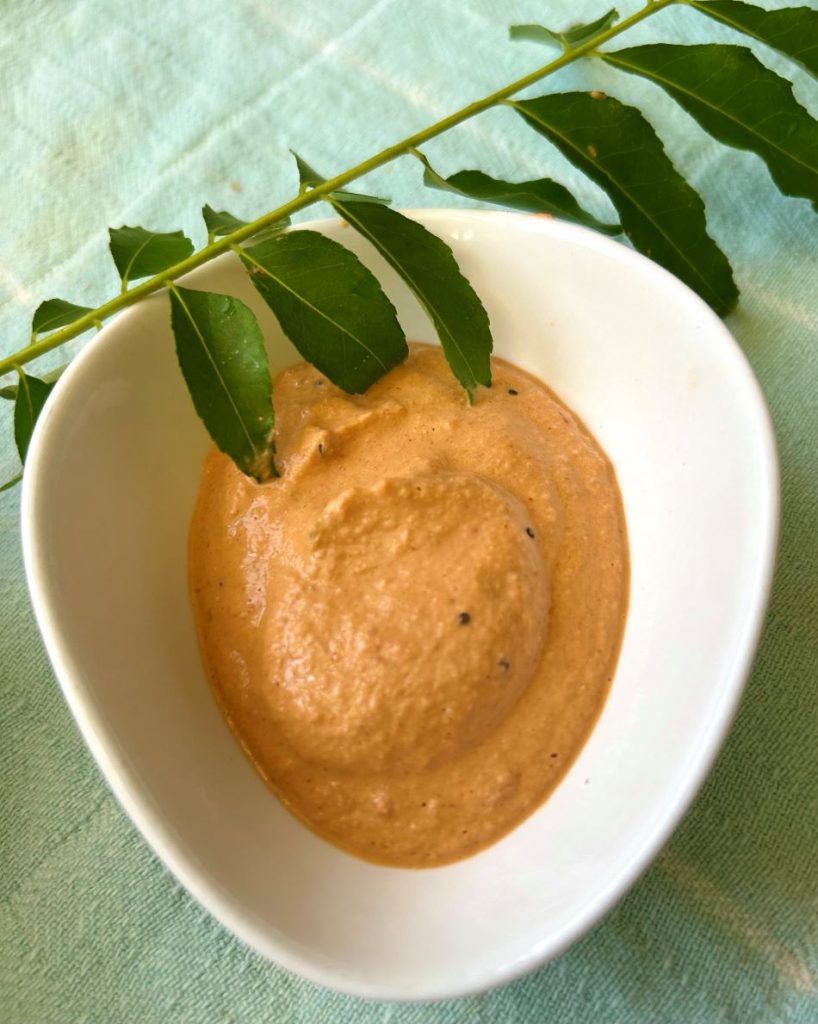
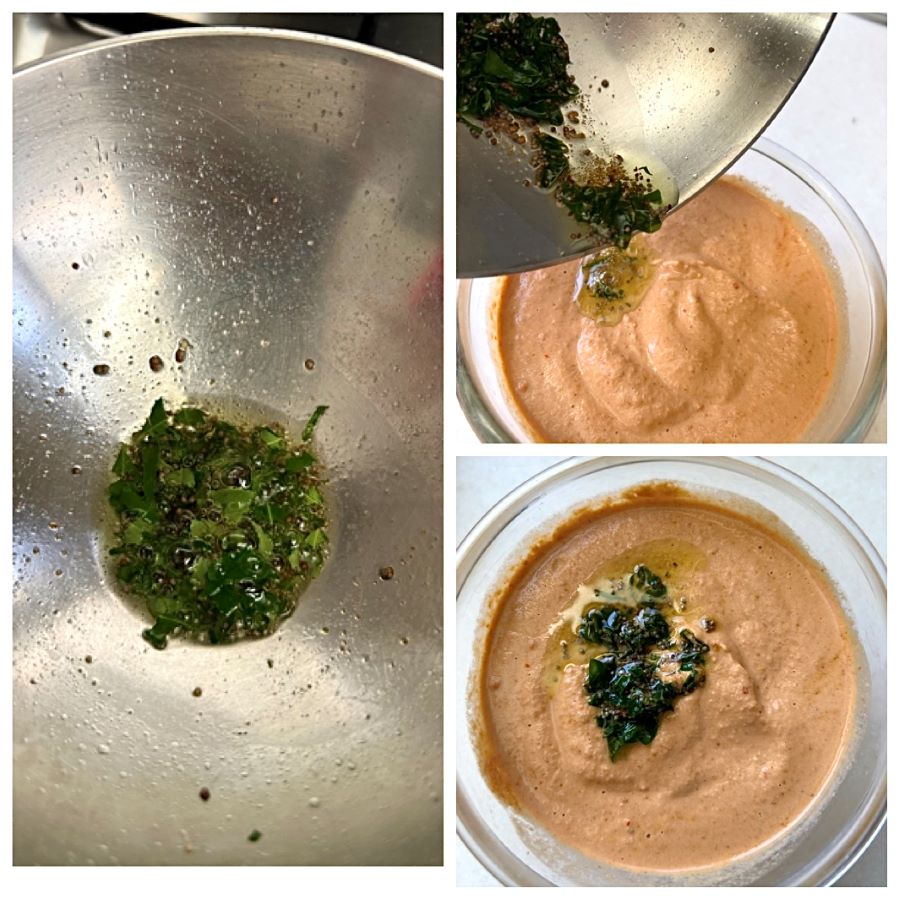
- Empty the chutney into a bowl. For tempering, heat a tbsp of oil. Add mustard seeds and asafoetida/hing. Let mustard seeds splutter. Turn off the flame.
- Now add curry leaves and swirl it around. Let curry leaves rest in oil for 15-20 seconds then add this tempering to the chutney and mix well.
- Check for salt and lemon juice. Adjust as per your liking. Your chutney is ready to serve.
Notes:
- You can adjust the consistency by adding less or more water, but do not make the consistency runny or thin.
- Store your peanut chutney in an air-tight container. Refrigerate and use within a week.
- To make groundnut chutney, always use fresh dry peanuts. Do not use peanuts that have gone rancid.
- In case raw peanuts are not available, you can make this chutney with roasted salted peanuts. In that case, please be mindful of additional salt.
- You can replace lemon juice with tamarind. Rinse or soak the tamarind in some water before you blend it with the remaining ingredients.
I genuinely encourage you to try this recipe because it is absolutely delicious. Do let me know in the comments section if try this recipe. Happy eating! 🙂