Steamed, juicy, spicy, and addictive — momos have taken Indian street food culture by storm. Whether you’re grabbing a quick plate outside a metro station, enjoying a cozy snack during monsoons, or craving something spicy in the evening, momos have become the go-to comfort food for millions.
But as delicious and irresistible as they are, have you ever stopped to think about what goes into your favorite dumplings? What if your love for momos is coming at a hidden cost to your health?
In this blog, we’re diving deep into the dark side of momos — from the ingredients that make them to the hygiene risks they pose, and how you can enjoy them more safely.
🧾 The Momo Phenomenon in India
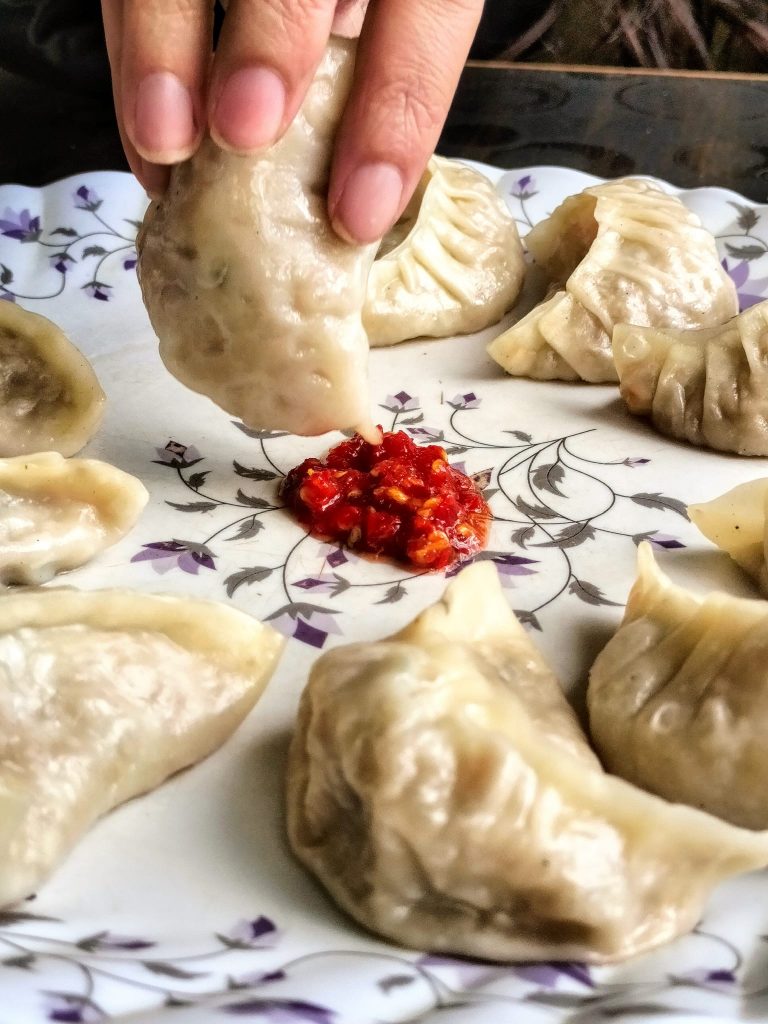
Originating from Tibet and Nepal, momos are essentially dumplings filled with meat, vegetables, or cheese, typically steamed or fried and served with spicy red chutney. Their simplicity, affordability, and adaptability to Indian palates made them an instant hit across Indian cities.
Today, from Delhi’s Lajpat Nagar to Mumbai’s Lokhandwala and Kolkata’s College Street — momos are everywhere. But as their popularity has soared, so have concerns about their nutritional value and hygiene standards.
⚠️ The Hidden Health Hazards of Momos
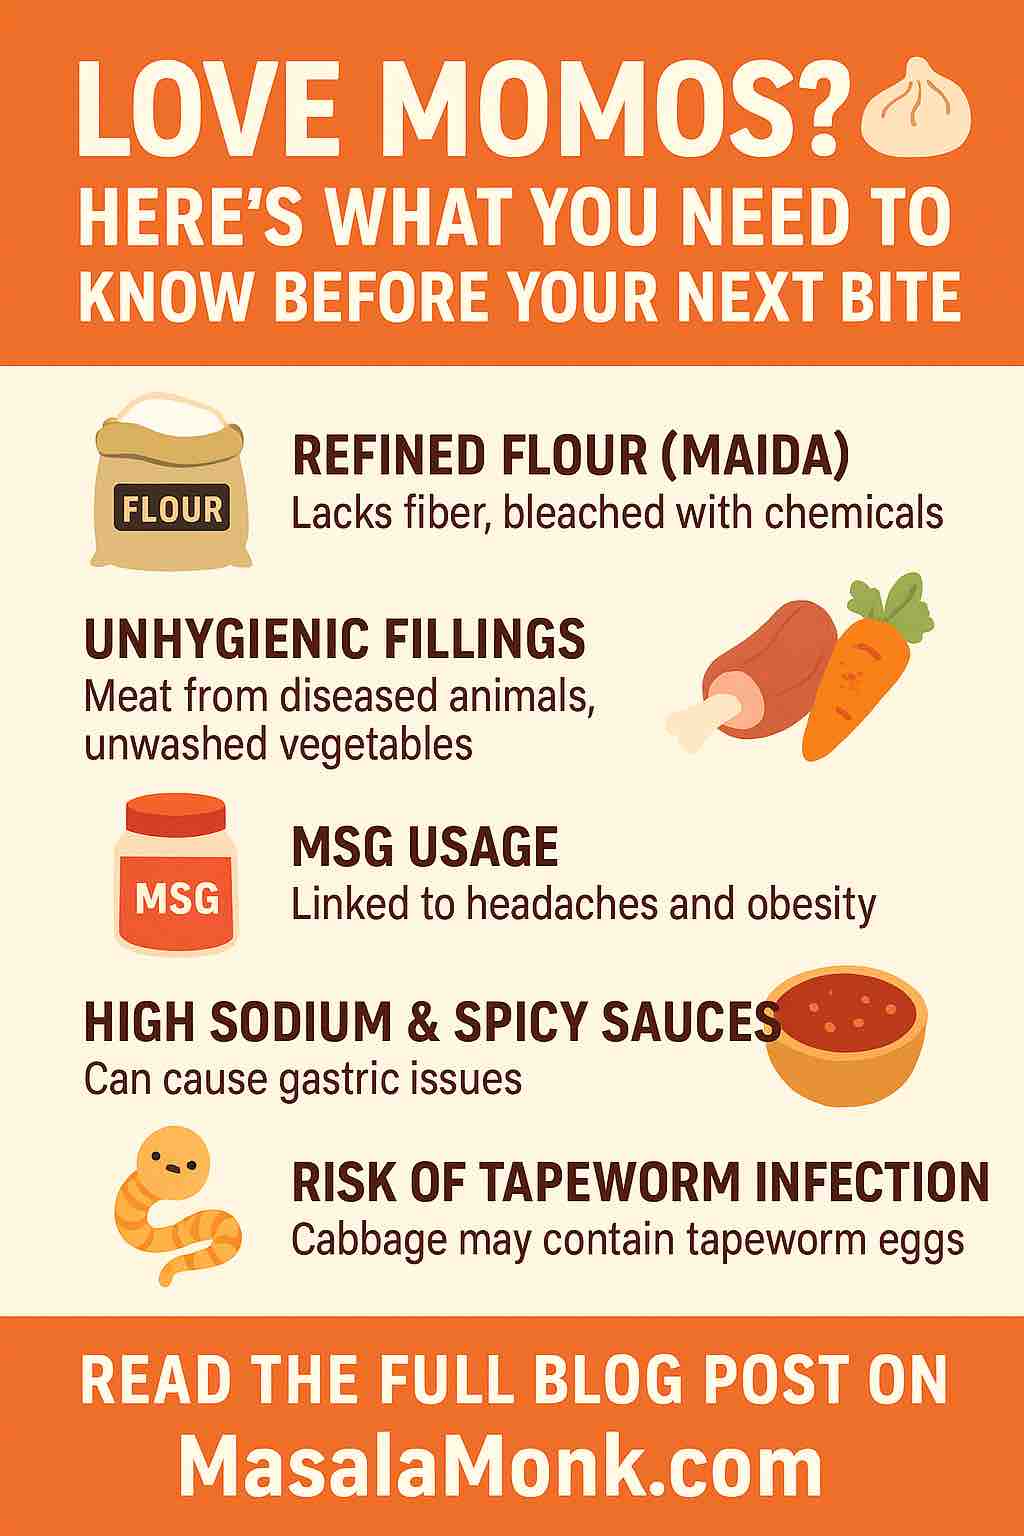
1. The Refined Flour Dilemma (Maida Overload)
Most momos are made using refined white flour (maida) — which undergoes chemical processing to give it a bright white appearance and fine texture. The issue? It’s:
- Low in fiber — making digestion sluggish.
- High glycemic index — can spike blood sugar quickly.
- Often bleached — with chemicals like benzoyl peroxide and azodicarbonamide, which may harm the pancreas and disrupt insulin sensitivity.
📌 Long-term consumption of maida-based foods has been linked to obesity, insulin resistance, and digestive issues.
2. Mystery Fillings and Quality Concerns
Here’s the brutal truth: not all street vendors use fresh or quality ingredients. In some cases:
- Meat used is stale or sourced unethically.
- Cabbage and other veggies may be unwashed or infested with bacteria.
- Spices and oils are reused or of extremely low grade.
🥬 Did you know improperly washed cabbage can carry tapeworm eggs? If undercooked, these can enter your body and, in rare cases, reach the brain, causing neurocysticercosis — a potentially life-threatening condition.
3. MSG – The Silent Enhancer
To make their momos tastier, many vendors add monosodium glutamate (MSG) — a flavor enhancer that:
- Can trigger “Chinese Restaurant Syndrome” in sensitive individuals — headaches, dizziness, and chest pain.
- Is associated with obesity, fatigue, and neurotoxicity when consumed in large quantities.
- Often hidden under names like “Ajinomoto” or “flavor enhancer” in ingredient lists.
💡 There are no legal mandates in India requiring vendors to disclose MSG use.
4. High Sodium & Spicy Chutneys
The red momo chutney — arguably the soul of the dish — often contains:
- Massive amounts of salt, vinegar, and chili.
- Spoiled tomatoes or fermented ingredients to cut costs.
- Artificial colors that can irritate your gut lining.
📌 Regular intake can lead to:
- Gastric ulcers
- Acid reflux
- Elevated blood pressure
5. Hygiene? Often an Afterthought
In the hustle of Indian streets, hygiene standards can be shaky at best:
- Raw and cooked foods stored together.
- Lack of gloves or hairnets.
- Momo steamers and oil reused for days without cleaning.
- Exposed to flies and polluted air.
During monsoons, when contamination risks are highest, consuming unhygienic momos can lead to food poisoning, E. coli infections, or dysentery.
🧬 Real Stories, Real Consequences
Here’s a sobering case: In 2017, AIIMS doctors in Delhi highlighted an alarming number of cases involving tapeworm larvae in the brain linked to consuming street-side momos with improperly cooked cabbage. The cases triggered a regional health advisory — and yet, many people remain unaware of these dangers.
Another report by The Times of India stated that excessive momo consumption, especially among school and college students, led to rising instances of gastritis, obesity, and lethargy.
✅ Enjoy Momos the Right Way: Tips for Safe Indulgence
You don’t have to give up on momos entirely. Here’s how you can savor them safely:
- Choose Clean, Reputable Outlets
Avoid roadside stalls with poor hygiene. Opt for restaurants or cafes that maintain kitchen transparency and food safety standards. - Go for Steamed, Not Fried
Fried momos add trans fats and make digestion harder. Stick to steamed or tandoori varieties with minimal oil. - Limit the Chutney
Try squeezing lemon instead or use yogurt-based dips to avoid acidity. - Make Them at Home
Homemade momos let you choose whole-wheat flour, fresh fillings, and low-sodium sauces. Bonus: You can even bake them! - Watch the Frequency
Treat momos like a cheat snack — not a daily meal. Balance with fiber-rich fruits, vegetables, and hydration.
🌱 Healthier Alternatives to Traditional Momos
If you’re a momo lover but health-conscious, explore:
- Whole Wheat or Millet Momos
- Tofu, Paneer, or Soya Fillings
- Grilled or Baked Momos
- Low-sodium chutneys with herbs, mint, and lemon
❤️ Final Thoughts: Don’t Hate the Momo, Just Be Smart About It
Momos are more than food — they’re culture, comfort, and community. But indulging in them blindly, especially from questionable sources, can be dangerous to your health.
Let your love for momos be balanced by awareness. Ask questions, observe preparation methods, and most importantly — listen to your body. With just a few smart choices, you can keep enjoying momos without putting your health at risk.
Do you have a momo horror story or a healthy momo recipe? Share it in the comments below! Let’s make the momo movement safer and smarter. 🥢
❓ Frequently Asked Questions (FAQs)
1. Are momos unhealthy to eat?
Momos aren’t inherently unhealthy, but they become a problem when made with refined flour (maida), filled with low-quality or unhygienic ingredients, or deep-fried. The health risks increase significantly when consumed regularly from questionable sources.
2. What are the most common health risks of eating street momos?
Health risks include food poisoning, tapeworm infections, stomach ulcers, high sodium intake, MSG-related reactions, and long-term risks like obesity and digestive issues due to maida.
3. Can I get worms or parasites from eating momos?
Yes. If the cabbage or meat inside momos is not washed or cooked properly, it can carry tapeworm larvae, which may lead to neurocysticercosis, a serious brain infection.
4. Is it okay to eat momos every day?
No. Eating momos daily—especially from street vendors—can affect digestion, increase your sodium and MSG intake, and lead to chronic health conditions like high blood pressure or weight gain.
5. What’s the problem with using maida in momos?
Maida is a refined flour with almost no fiber or nutrition. It’s difficult to digest and may spike blood sugar levels. Over time, it can contribute to metabolic issues and sluggish digestion.
6. Are steamed momos healthier than fried ones?
Yes. Steamed momos are lower in fat and calories. Fried momos absorb oil, increasing trans fats and digestive strain. If you’re going to eat momos, steamed is the safer option.
7. What should I watch out for when buying momos outside?
Check for:
- Cleanliness of the vendor’s stall
- Whether ingredients are refrigerated or exposed
- If the chutney is stored properly
- Use of gloves or clean utensils
Always avoid vendors with poor hygiene or reused oil.
8. How can I make healthier momos at home?
Use whole wheat or millet flour for the wrapper. Fillings can include fresh vegetables, tofu, or paneer. Avoid MSG and use herbs and spices for flavor. Steam or bake instead of frying.
9. Is momo chutney bad for health?
It can be. Street momo chutneys often contain excessive salt, chili, artificial color, and even spoiled tomatoes. Overconsumption may lead to acid reflux, ulcers, or stomach pain.
10. Can children eat momos safely?
Occasionally, yes — especially if made at home with healthy ingredients. Avoid feeding children street momos frequently due to hygiene concerns, MSG, and high spice levels.