
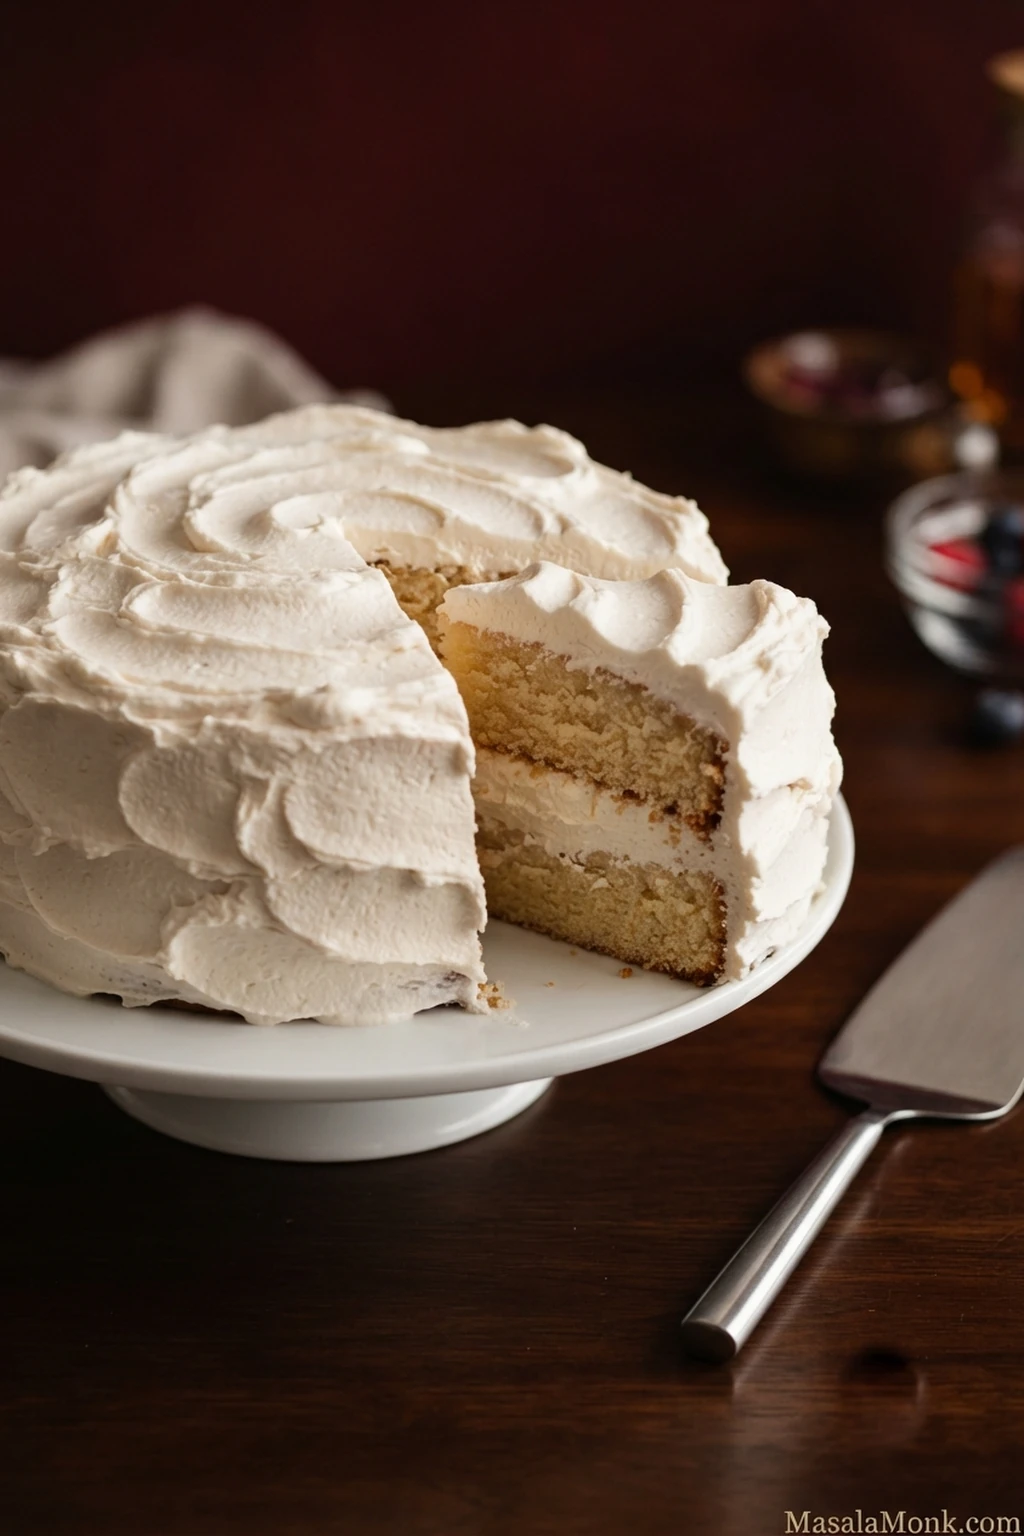
Traditional cream cheese frosting can be wonderfully tangy but quite rich. Whipped cream feels much lighter, but it can be frustratingly soft. This whipped cream cheese frosting lands between the two: airy, creamy, gently tangy and noticeably lighter to eat.
The finished texture is closer to a light mousse than a dense buttercream. It feels cool and creamy rather than sugary, with enough cream-cheese tang to keep the vanilla from becoming cloying. You still taste the cake underneath it, and the frosting is deliberately not overly sweet.
If you enjoy cream cheese frosting but sometimes find yourself scraping off part of the layer because it feels too dense or sweet, this version gives you much of the same tang with a lighter finish. It also solves the opposite frustration: whipped frosting that looks beautiful in the bowl and then slowly slumps once you start piping.
You may also see this called cream cheese whipped cream frosting. Here, that means regular full-fat cream cheese whipped with heavy cream. The cream cheese provides enough body for this chilled frosting, so there is no butter or gelatin. “Stable” means it can hold defined piping, stay put as a filling and cover a refrigerated layer cake; it is not meant to sit for hours in summer heat like firm buttercream.
Whipped Cream Cheese Frosting Recipe
Check the dairy. Watch the whisk. Stop at the peak.
- Active time: about 10 minutes
- Yield: about 4 cups, depending on how much air the frosting holds
- Texture: light, silky and pipeable when cold
- Sweetness: lightly sweet, with the cream cheese and vanilla still easy to taste
- Best for: cupcakes, cake filling, chilled layer cakes and simple decorative piping
- Make ahead & storage: best made the day you use it; refrigerate the finished dessert and use within about 2–3 days for the best texture
- Not ideal for: long unrefrigerated display or hot outdoor events
Equipment
You need a large mixing bowl, an electric hand mixer or stand mixer, a flexible spatula and preferably a kitchen scale.
With a stand mixer, use the paddle to smooth the cream cheese, then switch to the whisk before adding the cream. A hand mixer can handle the entire recipe with its regular beaters.
In a warm kitchen, chill the bowl and whisk while you prepare the other ingredients. That gives the cream a colder starting point and buys you a little more working time.
Ingredients
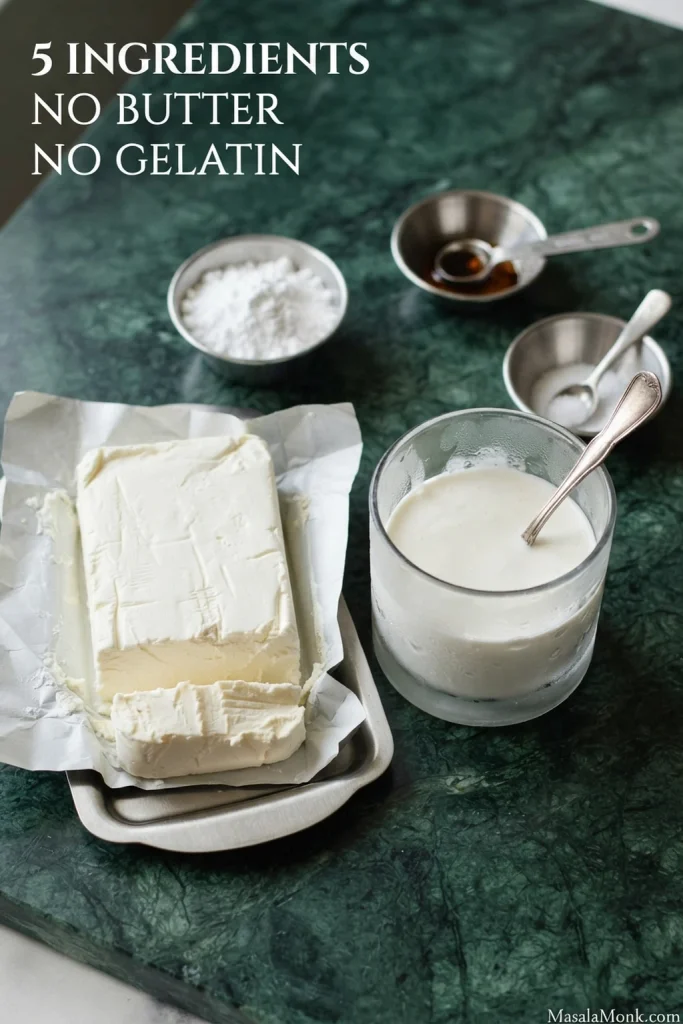
- 8 oz / 226 g full-fat cream cheese — firm block or brick-style when available
- 1½ cups / 360 ml cold heavy whipping cream — about 35–36% milk fat or higher
- ¾ cup / about 90 g powdered or icing sugar — sift only if visibly lumpy
- 1 teaspoon / 5 ml vanilla extract
- ⅛ teaspoon fine salt
Start with cold, firm cream cheese and properly refrigerated cream. Cutting a hard block into small cubes makes it easier for the mixer to smooth. An exceptionally hard block can sit out very briefly in a cool kitchen, but there is no need to soften it until loose—especially in warm weather.
Method
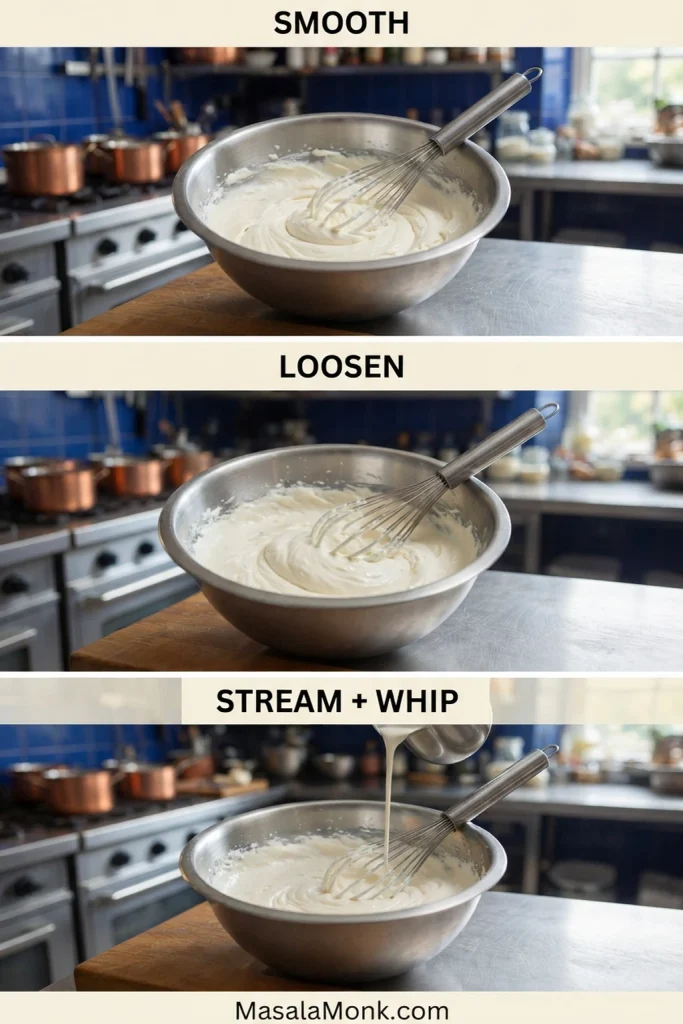
- Smooth the cream cheese. Beat on low to medium-low speed only until the lumps disappear. Scrape the bowl. Once the cheese is smooth, stop; prolonged beating warms and loosens it.
- Add the sugar, vanilla and salt. Start on low speed, then mix only until everything looks even. Scrape the bottom and sides again.
- Switch to the whisk and start the cream slowly. Add the first 2–3 tablespoons / 30–45 ml of very cold cream a little at a time, mixing until the cream cheese base is smooth after each addition. Once it has loosened evenly, pour in the remaining cream in a slow stream while mixing on low to medium-low.
- Scrape, then whip. Stop and scrape the bottom and sides once all the cream is in. Increase to medium-high speed. At first the mixture may still look disappointingly loose. Keep watching the whisk trails: they will begin to stay visible, the frosting will mound instead of flow, and the final change can happen quickly. Depending on your mixer and temperature, this stage may take roughly 1–3 minutes.
- Stop at stiff peaks. Lift the whisk. The peak should stand upright while the frosting still looks smooth and creamy. Near the end, check every 10–15 seconds; another short burst can make a surprisingly big difference.
How to Test Whether the Frosting Is Ready to Pipe
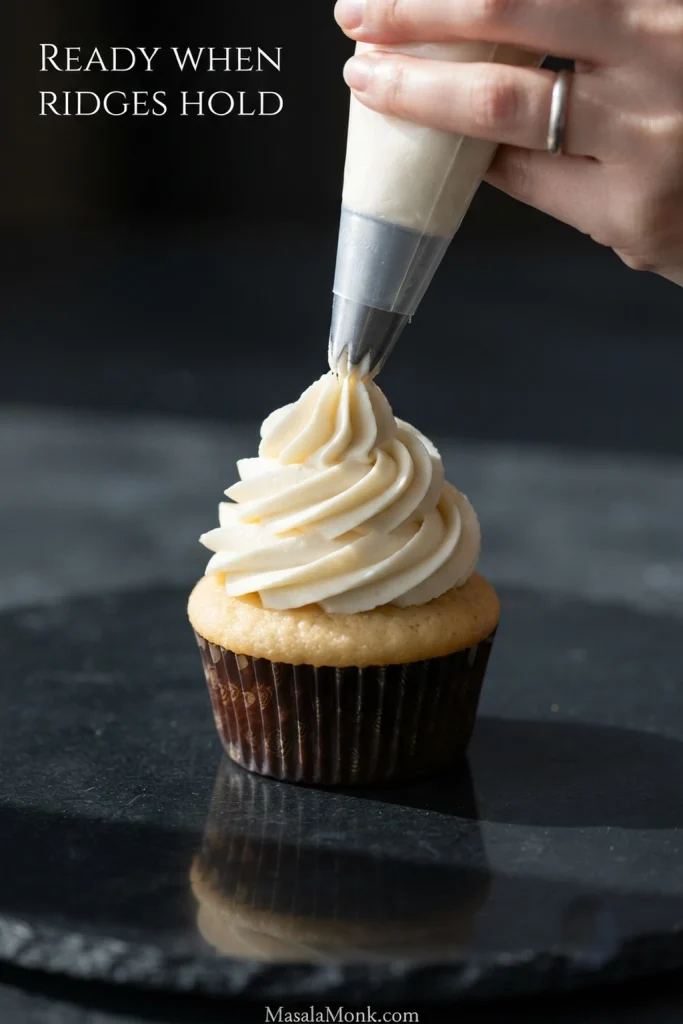
Still unsure? Pipe one test swirl. If the ridges stay defined, stop.
Loose, Ready, Too Far: Read the Whisk
Mixer power, ingredient temperature and room temperature all change the timing. The bowl tells you more than the clock.
Loose: The frosting is glossy and flowing. Whisk trails disappear quickly, a lifted peak folds back into the bowl, and piped ridges relax almost as soon as they leave the bag. A cold bowl at this stage usually needs more whipping.
Ready: Whisk tracks stay visible. A spoonful sits in a soft mound, and a stiff peak stands upright while the surface remains smooth and creamy. This is the point to stop.
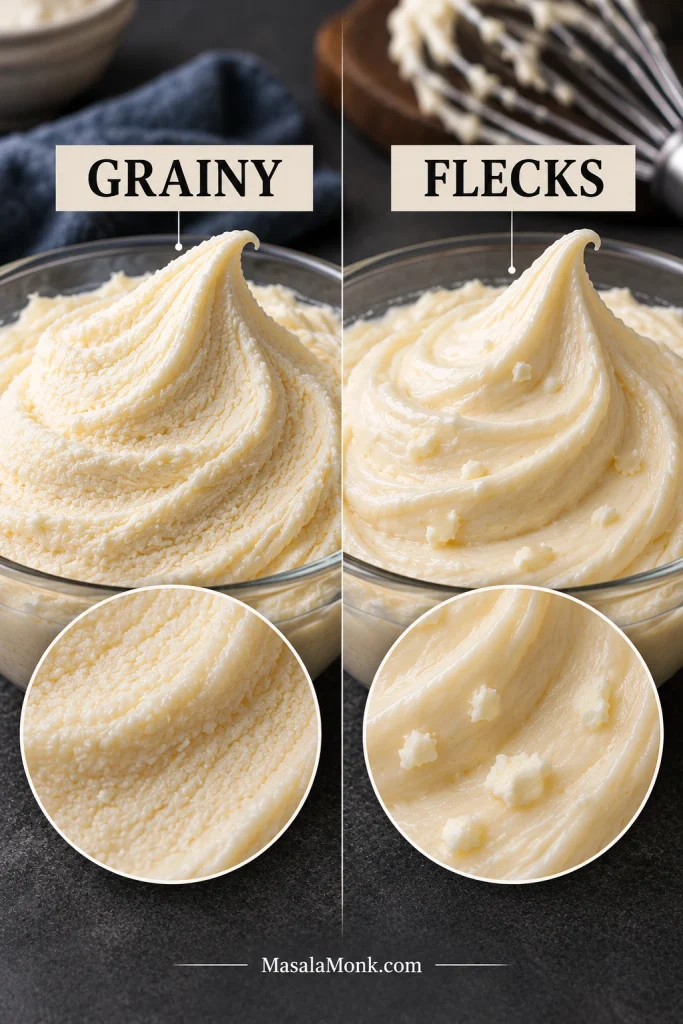
Too far: The silky surface starts looking coarse or grainy. The frosting becomes denser and may begin to look curdled. More whipping now pushes the cream toward butter.
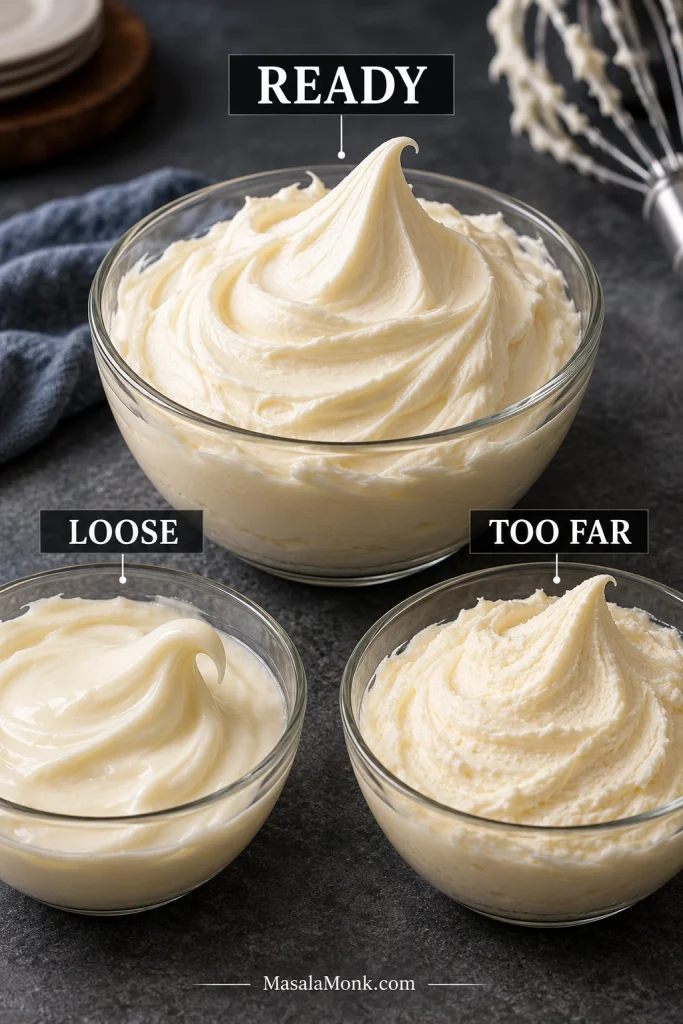
Once you reach the Ready stage, decorate straight away or refrigerate the finished cake or cupcakes.
Before You Blame the Mixer, Check the Dairy
Use firm full-fat cream cheese and very cold cream with about 35% milk fat or higher. Around 36% or higher is the safest choice when you want defined piping or a dependable cake filling.
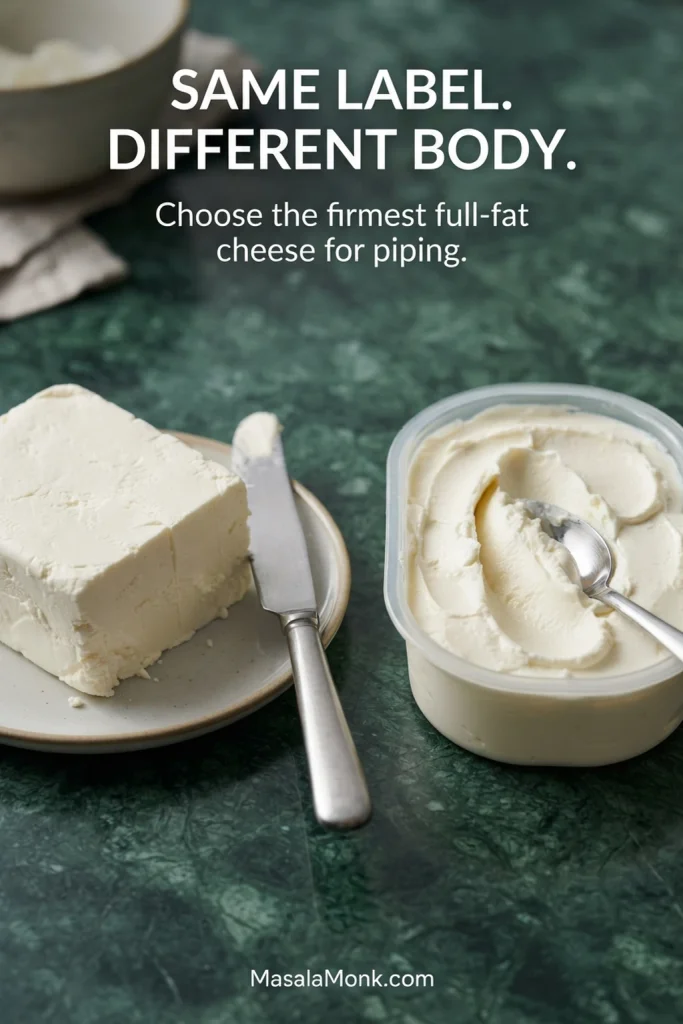
Block vs Tub Cream Cheese for Whipped Frosting
A very soft tub cheese may taste almost identical to block cream cheese on toast and still behave quite differently once you ask it to hold a piped swirl. Where block cream cheese is hard to find, choose the firmest full-fat product available.
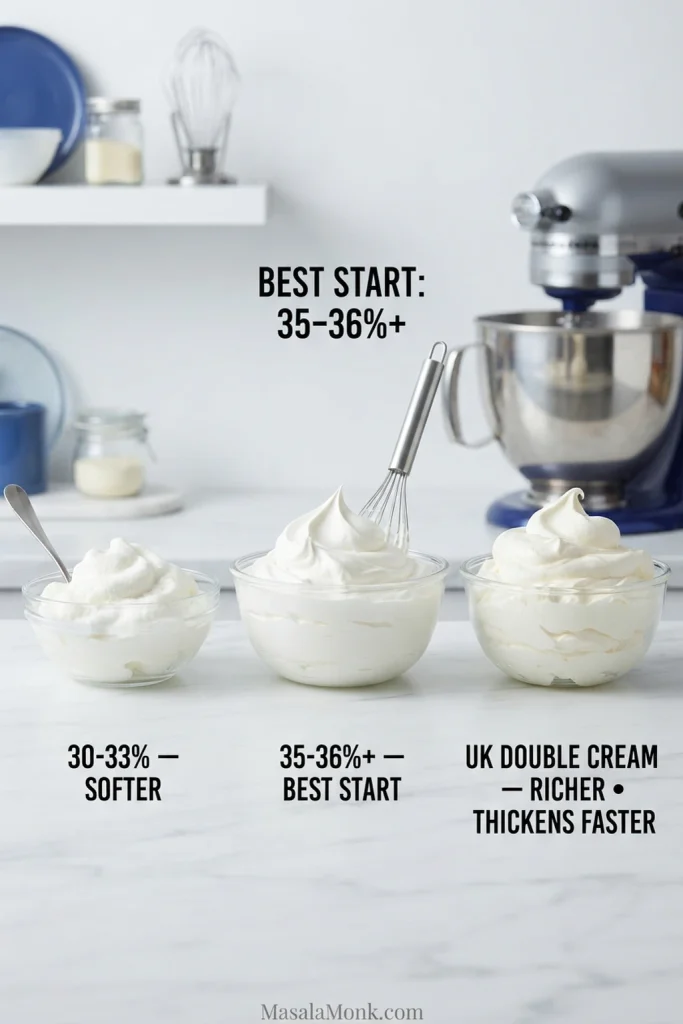
Cream in the 30–33% range may whip on its own, but it is less dependable here when you need firm swirls or support between cake layers.
Which Cream Works Best for Whipped Cream Cheese Frosting?
In the United States, the federal standard for heavy cream begins at 36% milk fat. Elsewhere, labels such as whipping cream, heavy cream and double cream can refer to products with quite different fat levels.
UK-style double cream is much richer than typical U.S. heavy cream and can thicken quickly. Follow the peak instead of expecting the same whipping time.
Temperature is the other half of the equation. Cold cream whips more reliably, and cool cream cheese gives you more working time before the bowl warms. Refrigeration will firm frosting that simply became warm on the counter. It cannot make low-fat cream whip like heavy cream or remove excess water from very soft cheese.
Chilling fixes temperature. It does not fix chemistry.
Once those two ingredients are right—firm cream cheese and properly cold whipping cream—the recipe itself is quite straightforward.
Already have a bowl in front of you? If it is loose, grainy or softening, jump straight to troubleshooting. Otherwise, go back to the recipe.
How Much Frosting Should You Make?
This batch should make about 4 cups. Treat the table as an approximate planning guide; piping style, cake height and how generously you frost all make a difference.
| What You Are Frosting | Approximate Coverage |
|---|---|
| 12–16 cupcakes | Tall bakery-style swirls |
| 18–24 cupcakes | Moderate swirls |
| 6-inch two-layer cake | Filling, exterior and simple decoration |
| 8-inch two-layer cake | Filling plus a moderate exterior coat |
| 9-inch two-layer cake | Lighter finish; make extra for generous piping |
| 9×13-inch cake | A comfortable layer over the top |
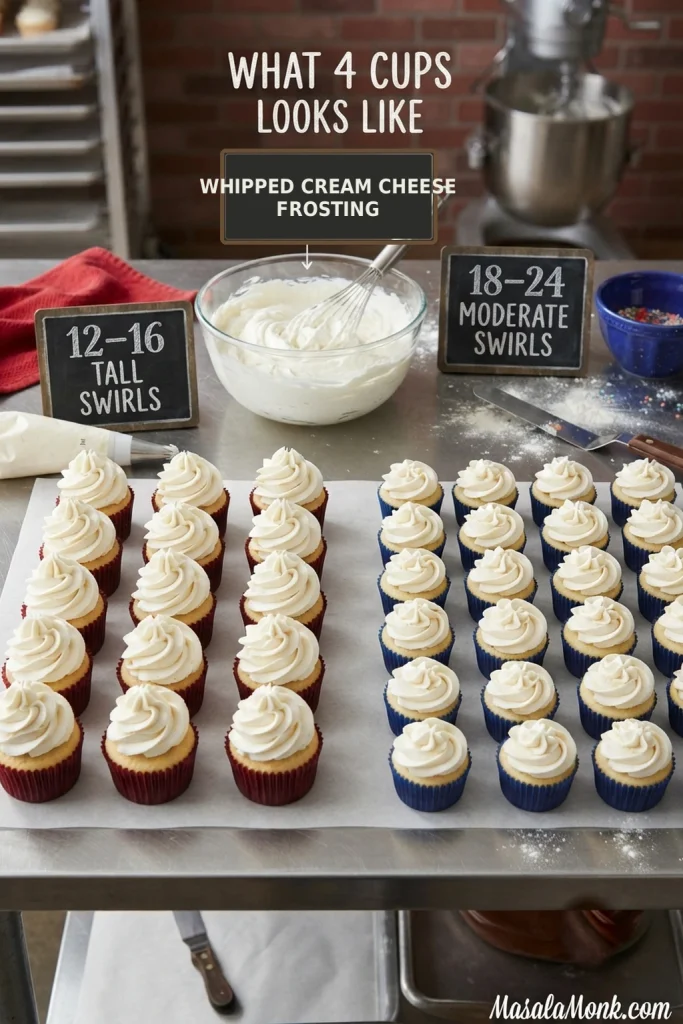
Cake height matters almost as much as diameter. Tall layers, thick filling and oversized borders can use frosting surprisingly quickly.
Making several dozen cupcakes or a large celebration cake? A few manageable batches are easier to keep cold and stop at the right point than one enormous mixer bowl.
Where This Frosting Works Best
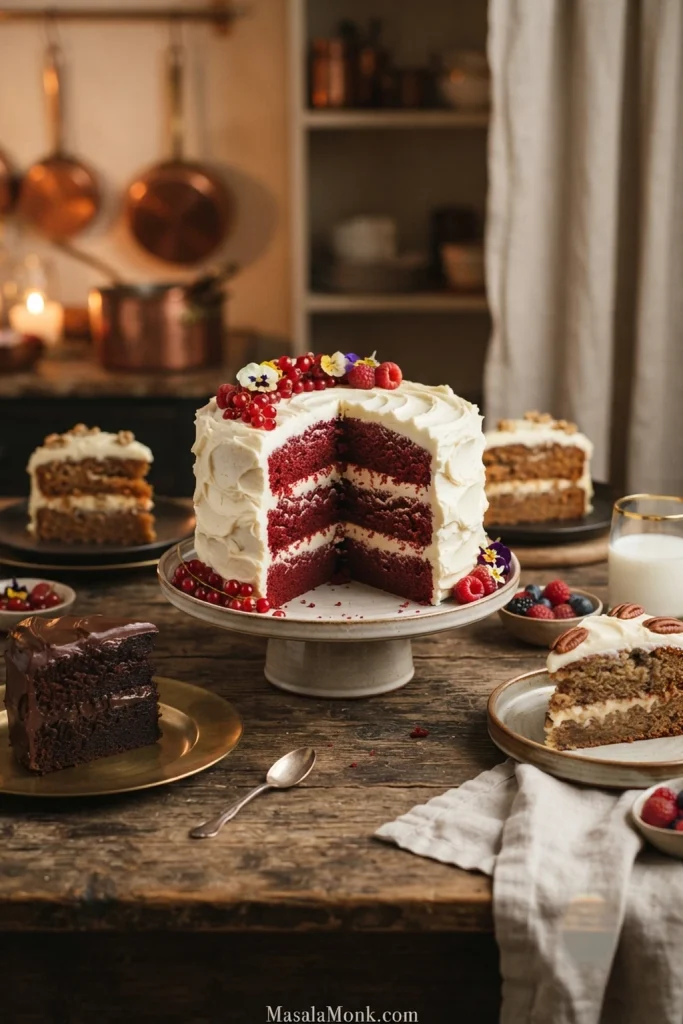
This frosting is especially good where a dense layer of buttercream could overwhelm the cake. The cool tang cuts through rich chocolate, feels natural against the warm spices in carrot or spice cake, keeps banana cake tasting like banana, and gives red velvet cake its familiar cream-cheese flavor without quite as much weight. On cupcakes, even a tall swirl still eats surprisingly lightly.
When Whipped Cream Cheese Frosting Smears Instead of Smooths
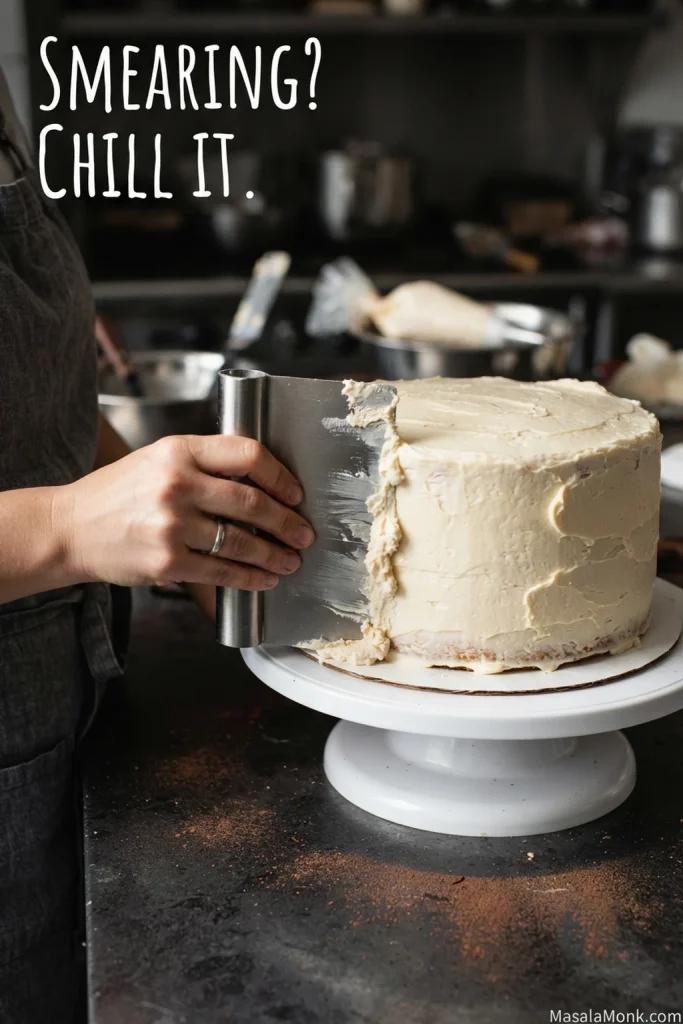
Simple rosettes, cupcake swirls and softly finished cake sides all work well. To smooth the sides, frost the cake and chill it until the outside firms, then make a few clean passes with a bench scraper. Warm frosting starts smearing instead of smoothing; that is the cue to chill it again.
Need razor-sharp edges, complicated flowers or a cake that must spend a long time at room temperature? Buttercream frosting is the more practical choice. This whipped frosting also works beautifully between the layers.
Why Is My Whipped Cream Cheese Frosting Runny? Start With What Happened
Never thickened? Check the cream fat, cream cheese and temperature. Reached stiff peaks and softened later? Chill it before changing the recipe. Grainy or curdled? Stop mixing; it has probably gone too far.
The important clue is what happened first. A bowl that never developed body is a different problem from frosting that stood beautifully and then softened halfway through decorating.
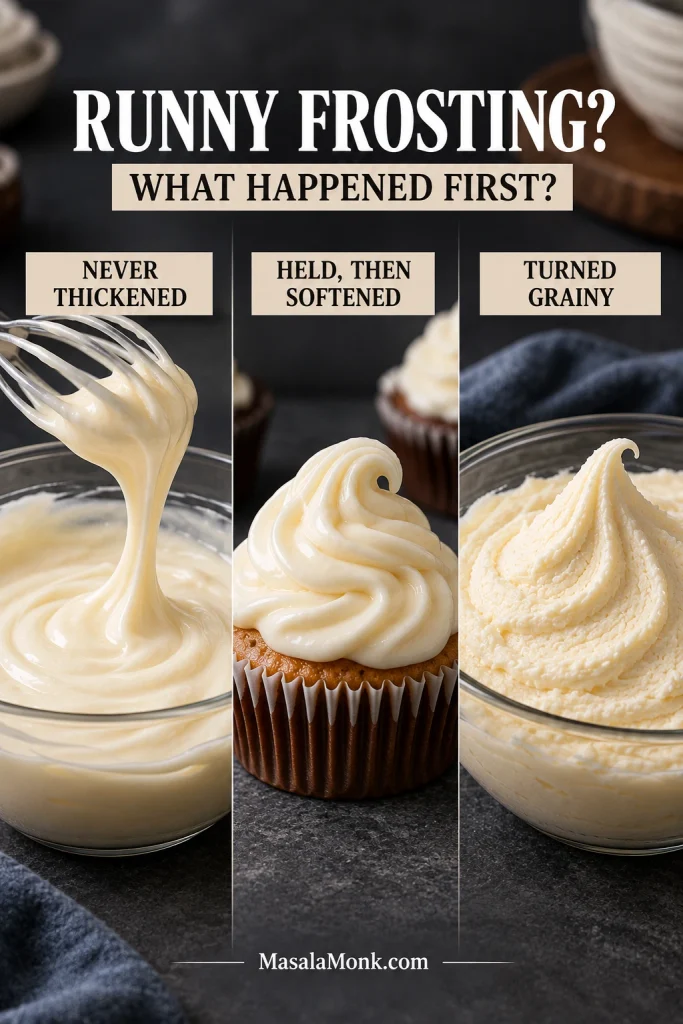
| What You See | What to Do First |
|---|---|
| Never thickened at all | Check cream fat, cheese type and temperature |
| Thickening, but not at stiff peaks yet | Keep whipping briefly if the bowl is still cold |
| Held peaks, then softened | Chill the frosting, piping bag or cake |
| Grainy or curdled | Stop mixing |
| Small cream cheese flecks | Change the incorporation method next time |
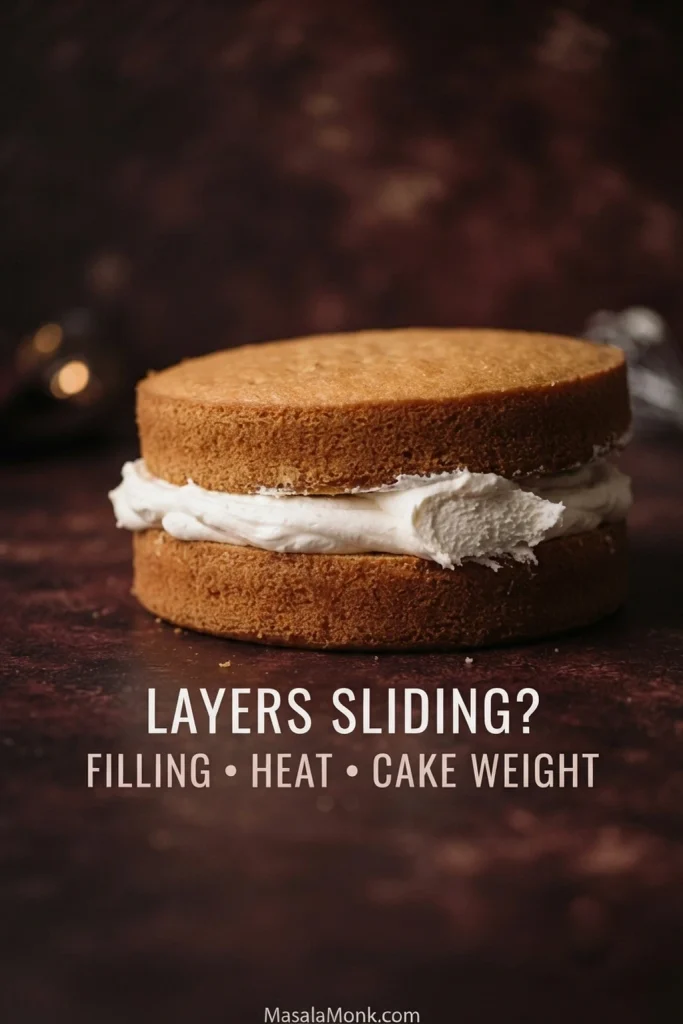
| Layers slide or filling squeezes outward | Chill the cake; reduce the filling or add a firmer dam if needed |
It Never Thickened
Start with the cream. Was it properly cold, and does it contain enough fat to whip firmly? Then look at the cheese. Firm full-fat cream cheese behaves very differently from a loose spread or packaged whipped cream cheese.
A cream-cheese base that became loose before any cream went in was probably too warm or beaten too long. Brief chilling may help. More beating usually does not.
Powdered sugar is not the first rescue here. When the cream or cheese cannot give the frosting enough body, extra sugar can leave you with something that is still soft and much sweeter than you wanted.
Never thickened at all? Before adding more sugar, revisit the cream cheese, cream fat and temperature.
Soft Frosting: Did It Ever Hold a Peak?
A cold, smooth bowl that is visibly thickening but has not reached a stiff peak yet may simply need another short burst of whipping. Keep watching the whisk.
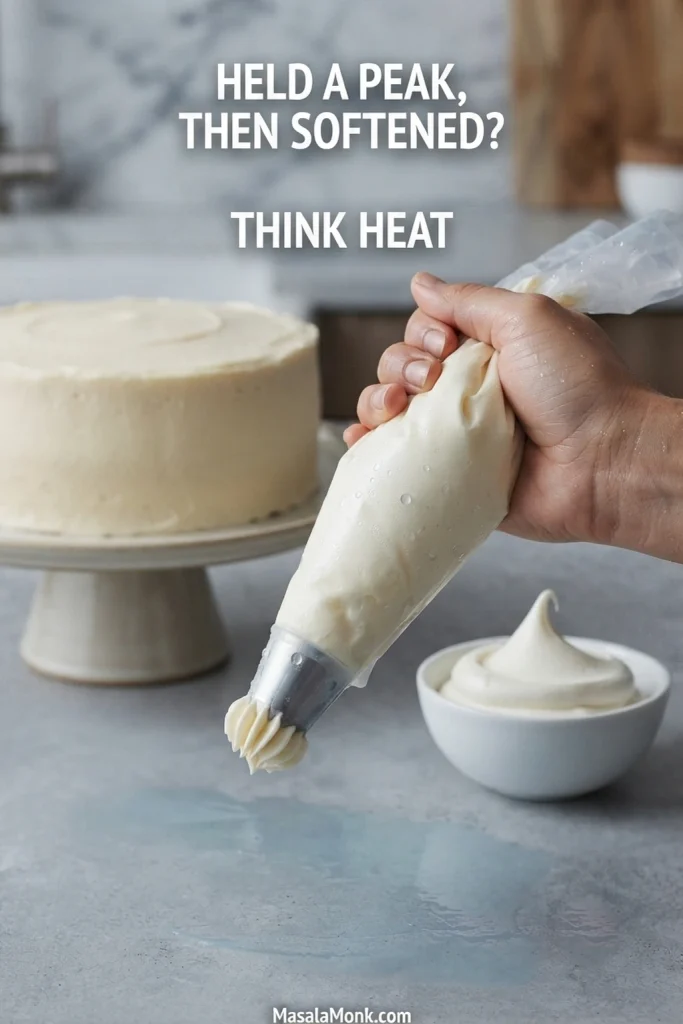
Frosting that held a clean peak earlier has already proved it can thicken properly. Softening halfway through decorating points first to warmth. A piping bag held in warm hands can soften whipped dairy surprisingly quickly.
Chill the bowl, bag or cake before changing the ingredients. Frosting that stood properly before it warmed up is often perfectly sound once cold again.
Grainy or Curdled Frosting
Stop mixing. When the frosting is only beginning to look rough, you can try gently folding in about 1 tablespoon / 15 ml very cold heavy cream by hand. Add more only when the texture clearly improves.
Once it has visibly separated into buttery curds, it may not return to a smooth frosting you can pipe.
Little Flecks of Cream Cheese
Small flecks usually mean the cream cheese was not completely smooth before the cold cream arrived, or the first cream went in too quickly. The gradual first additions in the main method are designed to prevent that.
Still Getting Flecks or a Frosting That Will Not Thicken?
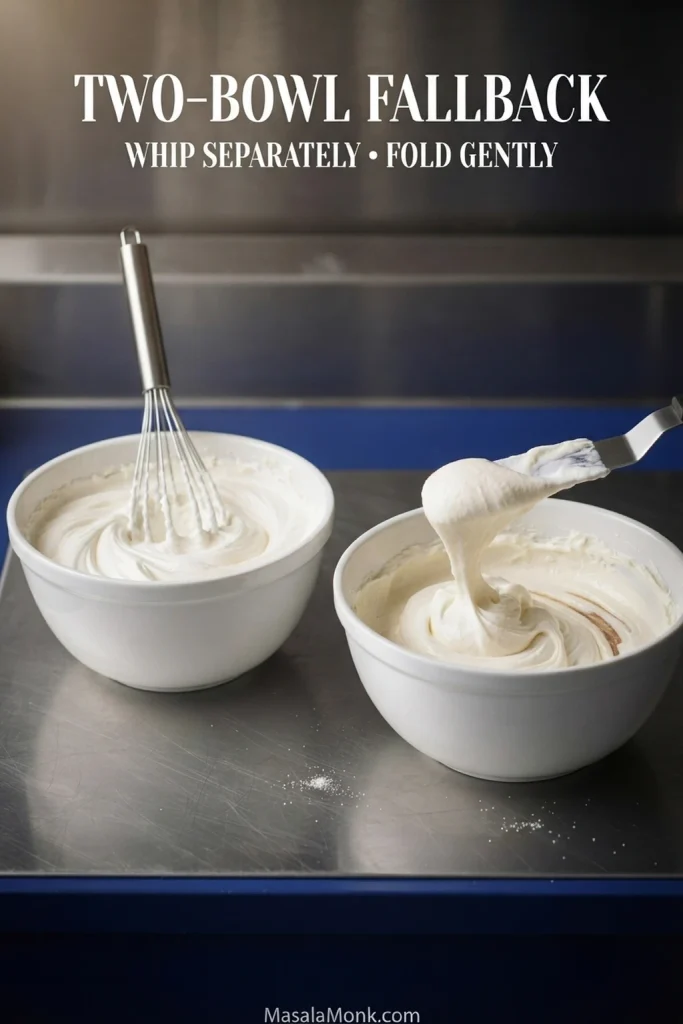
Try the two-bowl method. Whip the cold cream separately to stiff peaks. In another bowl, mix the cream cheese, sugar, vanilla and salt until smooth. Fold a small amount of whipped cream into the cheese mixture first, then gently fold in the rest.
It means washing one more bowl, but it gives you one useful answer immediately: whether your cream can reach stiff peaks on its own.
Sliding Layers, Heavy Cakes and Warm Kitchens
Temperature, an overgenerous filling, heavy cake layers, or a combination of all three can make layers slide. Frosting that stands neatly on a cupcake can still squeeze outward beneath heavy layers.
Use completely cooled or chilled layers, keep the filling sensible, and refrigerate the assembled cake before continuing to decorate. Tall or heavy cakes may also benefit from a firmer buttercream dam around the filling.
In a hot kitchen—around 30°C / 86°F, for example—the working window gets noticeably shorter. Use a chilled bowl and whisk, work with cold cake layers, fill only part of the piping bag at once, and return the frosting to the refrigerator as soon as the ridges begin to soften.
Very warm weather makes refrigeration part of the decorating method, not merely somewhere the finished cake goes afterward.
Taking the cake somewhere? Jump ahead to the cold-transport setup before you box it.
When It Won’t Pipe: Use It Another Way
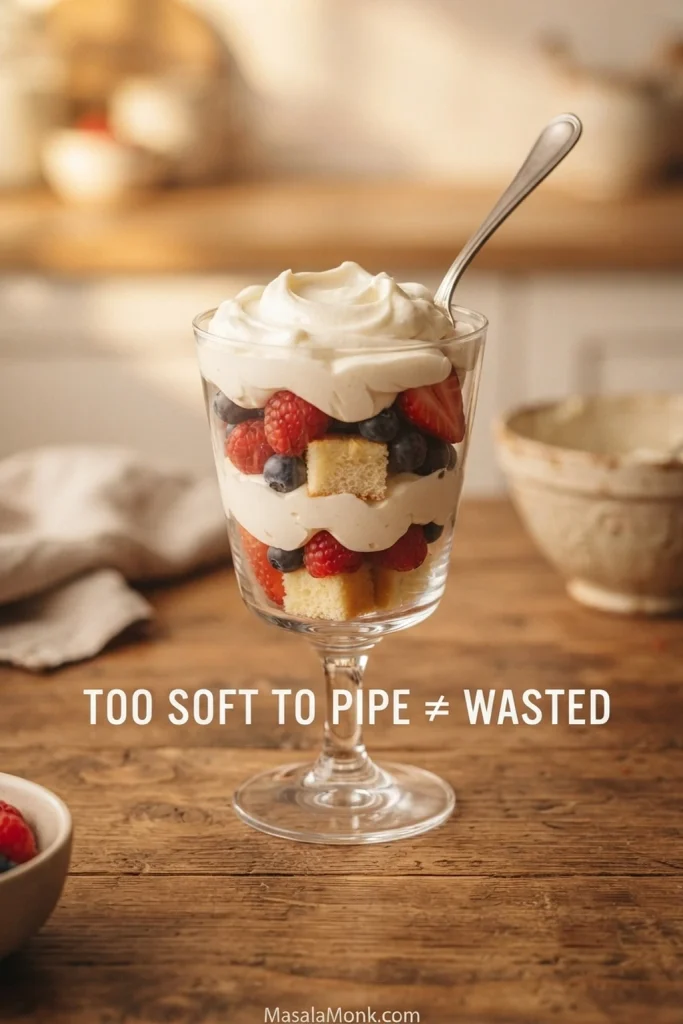
A fresh, safely handled batch that tastes good but will not pipe can still be useful. Spoon it over pancakes, layer it into dessert cups, serve it with fruit or use it as a softer cake filling.
Cinnamon rolls are even more forgiving: softness may be exactly what you want. Our cream cheese frosting for cinnamon rolls is deliberately made to soften over warm dough rather than stand like cupcake frosting.
Flavoring Without Making It Runny
Dry or concentrated flavorings are easiest because they add very little extra liquid. Citrus zest, cinnamon, espresso powder and freeze-dried strawberry or raspberry powder all work well. Espresso is particularly good with chocolate cake, while berry powder gives strong fruit flavor without loosening the frosting.
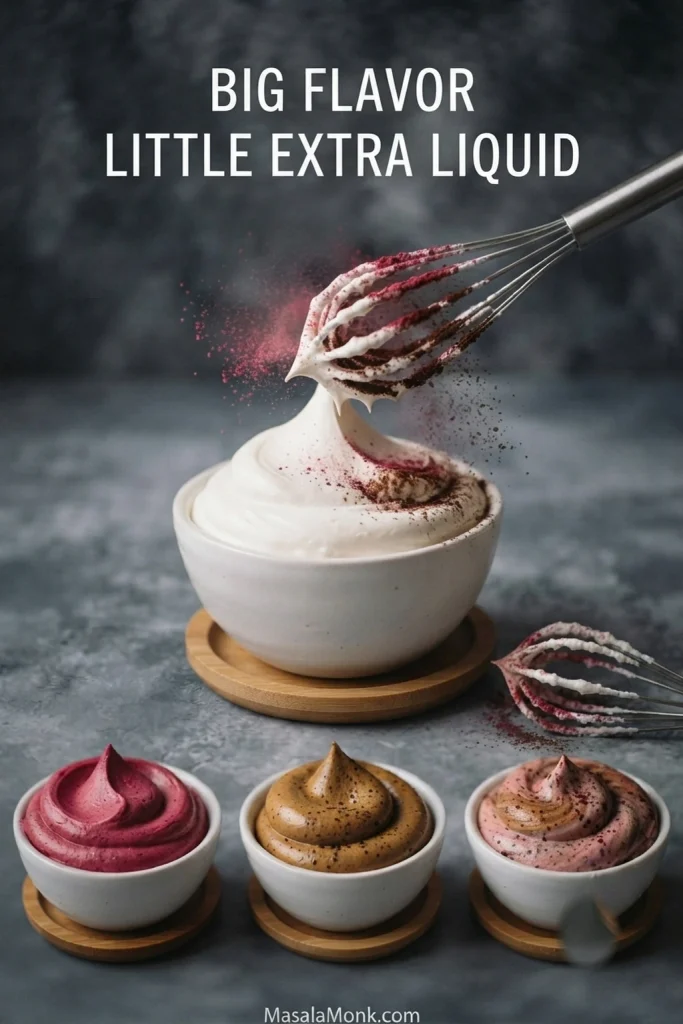
Cocoa powder, nut butter, jam and thick fruit reductions need more care because they also change the frosting’s thickness and moisture. When chocolate is the main goal, use a recipe designed for it from the beginning, such as our Chocolate Cream Cheese Frosting Recipe.
Fresh fruit purée, juice, thin syrups and large amounts of liqueur bring considerably more liquid. Test a wet flavoring in a small portion of finished frosting first. One unsuccessful spoonful is much less painful than losing the entire bowl.
Gel food color is easier to control than liquid color. Add a little near the end. Very deep shades require more coloring and may begin changing the texture.
Make Ahead, Store and Transport
For the best volume and texture, make the frosting the day you use it. Working ahead is easiest once the dessert is already decorated: refrigerate the finished cake or cupcakes—frost ahead rather than rewhip ahead.
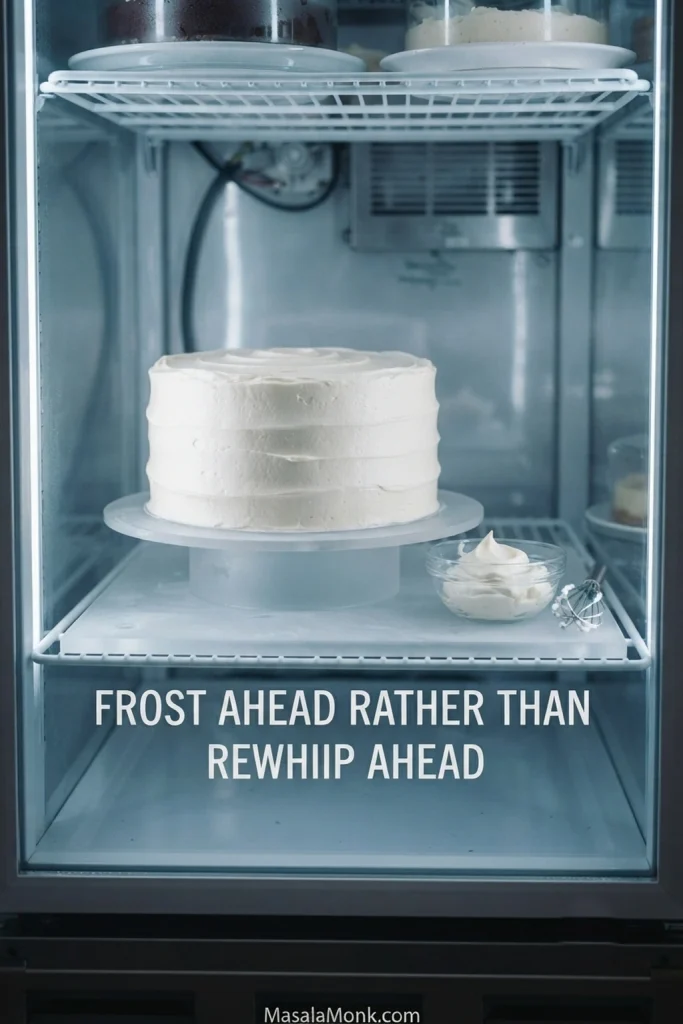
Refrigerated, the frosting or finished dessert is at its best within about 2–3 days. Cover it once thoroughly chilled so the cake does not dry out or absorb refrigerator odors.
A chilled dessert can sit out briefly before serving so the cake itself loses some refrigerator chill. The piping may begin to soften before food safety becomes the limiting concern.
For food safety, USDA guidance says perishable food should not remain unrefrigerated for more than 2 hours, or more than 1 hour when the air temperature is above 90°F / 32°C.
Transporting a Frosted Cake or Cupcakes
Give cupcakes enough refrigerator time for the frosting to feel thoroughly cold before transport. A layer cake needs longer because the cake itself also has to chill through.
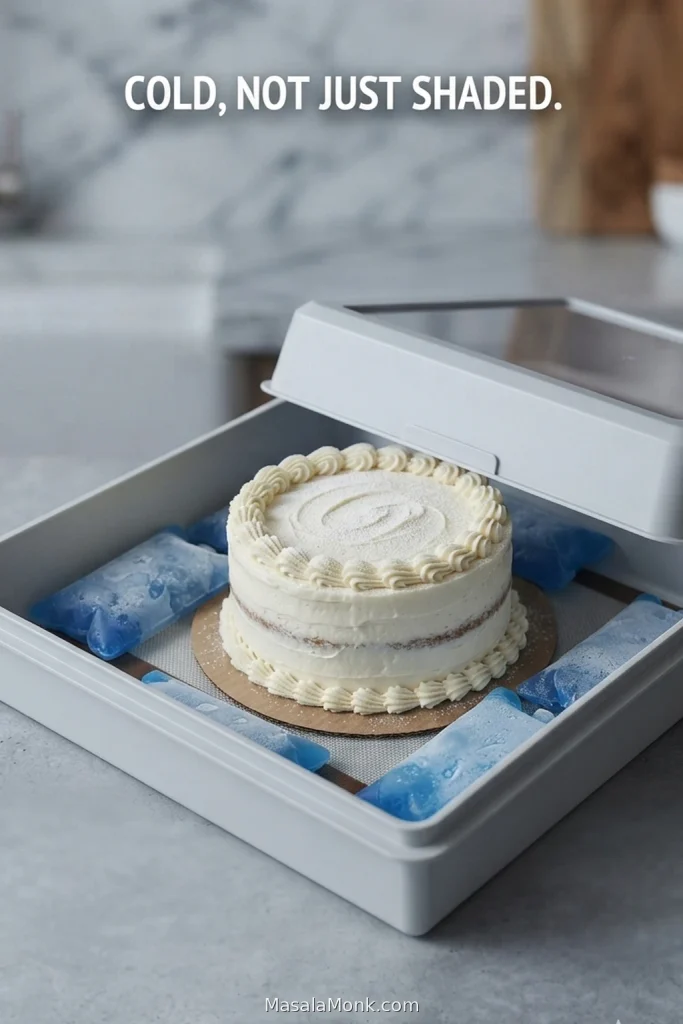
Start the trip with the dessert thoroughly chilled and keep it on a flat non-slip surface. Use an air-conditioned vehicle in warm weather. For a long drive, use a cooler or another method that actually keeps the dessert cold; shade alone is not enough.
What About Freezing?
Freeze-and-thaw results vary between whipped cream cheese frostings, so refrigeration is the more reliable choice. A finished frosted cake usually makes more sense to freeze than a bowl of frosting that must later be thawed and rewhipped.
For an important cake, freeze and thaw one frosted cupcake first. That small test will tell you more about your particular cream and cream cheese than a generic freezing promise.
Which Frosting Do You Actually Need?
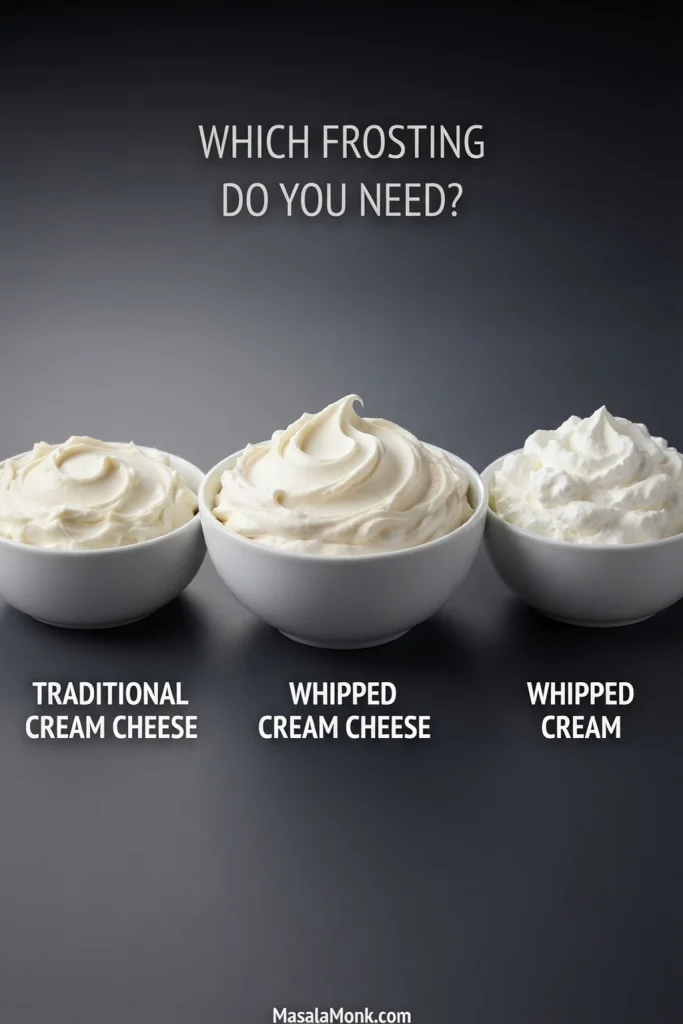
Want a richer, denser frosting with stronger cream-cheese flavor? Use traditional cream cheese frosting. It is usually butter-based and feels much more substantial on the cake.
For the clean flavor and softness of cream with little or no cream-cheese tang, start with homemade whipped cream or a stabilized whipped-cream recipe.
A cream cheese and Cool Whip frosting is another shortcut because it begins with commercially prepared whipped topping. Classic Chantilly cream is sweetened whipped cream. Some American Berry Chantilly cake frostings are richer, combining whipped cream with mascarpone and sometimes cream cheese.
Frequently Asked Questions
Can I use whipped cream cheese?
Use regular full-fat cream cheese. Packaged whipped cream cheese has already been aerated and may contain a different balance of moisture and stabilizers. Here, whipped describes the frosting, not the cheese.
Can I use tub cream cheese?
Sometimes, but very soft spreadable cream cheese makes defined piping less reliable. Where tubs are standard, choose the firmest full-fat version available.
Can I use double cream?
Yes, but it contains much more fat than typical U.S. heavy cream and can thicken very quickly. Watch the peak closely and expect a shorter whipping time.
Can I use milk or half-and-half instead of heavy cream?
No. They do not contain enough fat to whip and trap air the way heavy cream does.
Can I use granulated sugar instead of powdered sugar?
It is possible, but the quantities and method may differ. Powdered sugar dissolves readily and is the more reliable choice for this version.
Scaling and Substitutions
Can I halve or double the recipe?
Yes. Halve the ingredient quantities directly. A double batch also works if your mixer bowl leaves enough room for the cream to aerate.
Can I use mascarpone instead of cream cheese?
Mascarpone is milder and much higher in fat than cream cheese. Treat it as a different frosting recipe, not a straight one-for-one substitution.
Cream cheese and whipping cream vary much more from country to country than many recipes make obvious. If your local cream, cream cheese or fat percentage behaves differently, tell us what you used in the comments. That detail may help the next baker standing over a bowl of the same ingredients.








