Is raw garlic the missing piece in your blood pressure puzzle? Let’s cut through the folklore and dive deep into the real science, the user experiences, and how to use garlic practically (and safely) for better blood pressure and heart health.
Why the Buzz About Garlic?
Garlic isn’t just a kitchen staple—it’s a superstar in folk medicine, prized for centuries across cultures for everything from fighting colds to “purifying the blood.” But modern science is especially interested in garlic for one headline effect: lowering high blood pressure.
So, does the evidence live up to the hype? And if you want to harness garlic’s power, is raw the way to go—or should you pop a supplement? Here’s what you need to know.
What the Research Actually Says
Meta-Analyses & Clinical Trials: The Big Picture
Multiple large-scale reviews and meta-analyses—some including over 500 patients—reveal a surprisingly consistent finding:
- Garlic can lower blood pressure, especially in people with hypertension (SBP ≥ 140 mmHg).
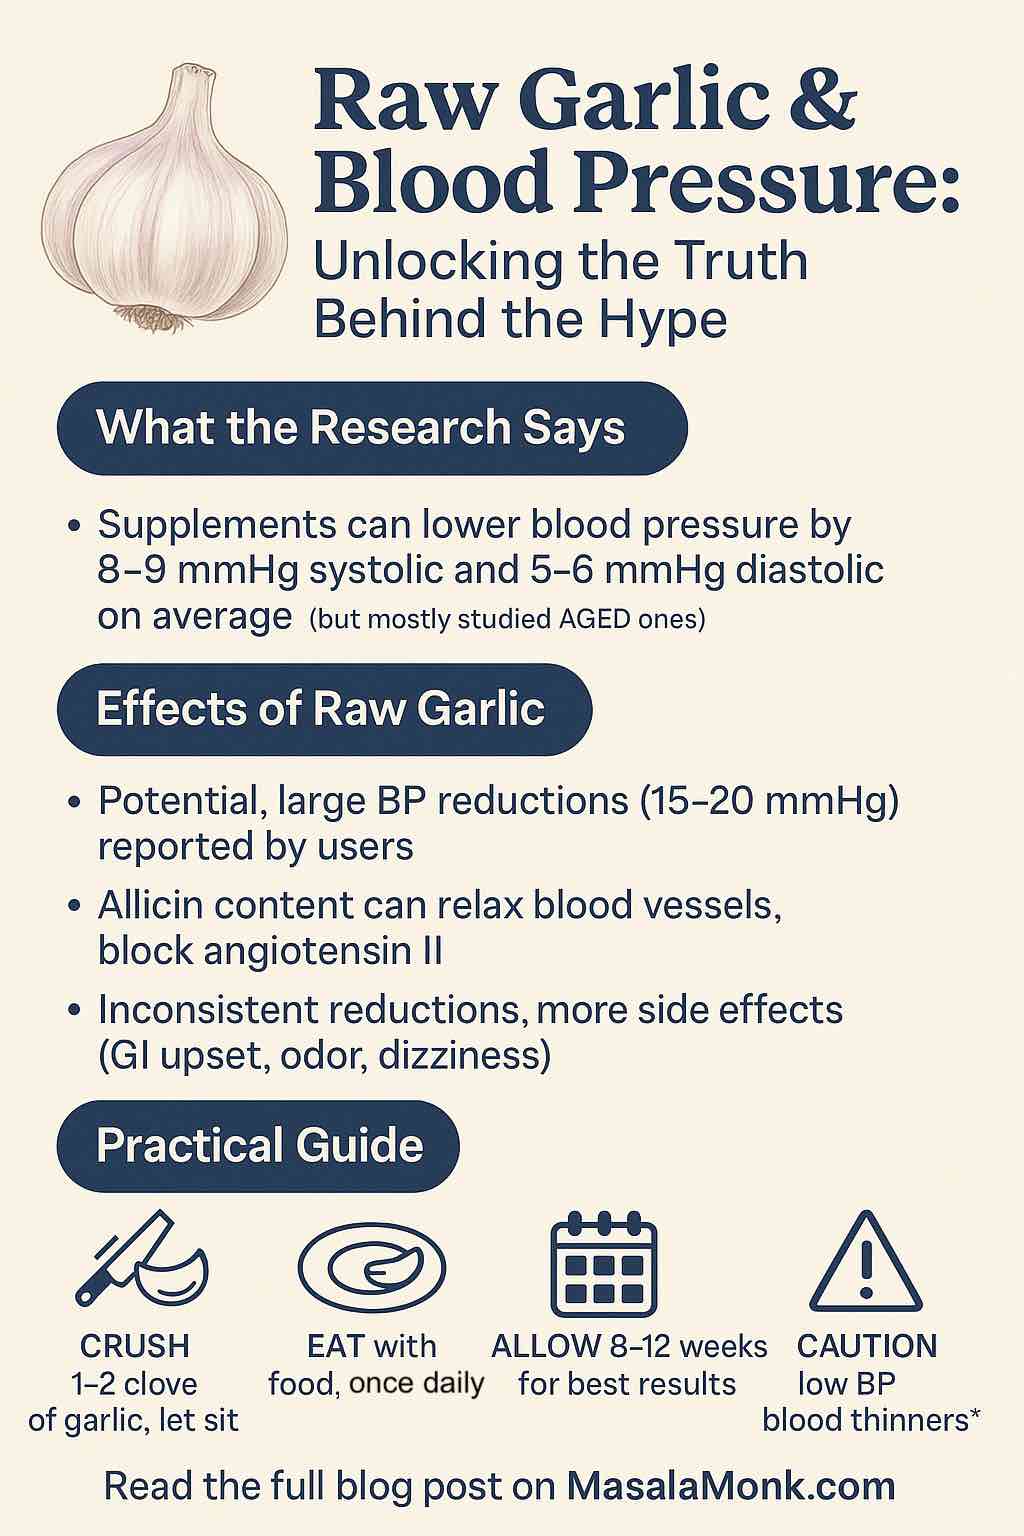
- On average, garlic supplements reduce systolic blood pressure by about 8–9 mmHg and diastolic by 5–6 mmHg—comparable to many first-line blood pressure medications, but with fewer side effects.
- The effect is much weaker (sometimes negligible) in people with normal blood pressure.
Example:
A 2019 meta-analysis pooled data from 12 clinical trials and found garlic could reduce systolic BP by 8.3 mmHg and diastolic by 5.5 mmHg in hypertensive adults. A 2024 review confirmed these numbers and highlighted added benefits like improved arterial flexibility and gut health.
The catch? Most of these studies use aged garlic extract or standardized garlic powders—not raw garlic cloves.
Raw Garlic vs. Supplements: What’s the Difference?
- Raw garlic is packed with allicin, the compound responsible for its smell and most of its blood-pressure-lowering magic. Allicin is released when garlic is crushed or chopped and consumed soon after.
- Supplements (especially aged garlic extract, like Kyolic) are more standardized—meaning you know exactly how much you’re getting, and you won’t clear a room with your breath.
What About Real-World Experiences?
Many people online (see Reddit, product reviews, forums) swear by raw garlic:
“I eat raw garlic every day and my blood pressure dropped 15–20 points. When I stop, it goes right back up.”
— Reddit user
Others warn of the downside:
“I already had low blood pressure and eating raw garlic made me dizzy and nearly faint. Be careful!”
— Reddit user
Supplements are often praised for being more convenient and gentle on the stomach:
“Kyolic aged garlic brought my BP from 140/90 to 120/80 in a few weeks. No odor, no side effects.”
— Amazon review
How Does Garlic Actually Work?
Garlic’s key compounds work on blood vessels in several powerful ways:
- Vasodilation: Allicin and related molecules help relax blood vessels by increasing nitric oxide and hydrogen sulfide—nature’s “relax and widen” signals.
- Blocking Angiotensin II: Garlic compounds help dial down angiotensin II, a hormone that constricts blood vessels.
- Reducing Arterial Stiffness: Garlic (especially aged extract) improves artery flexibility, which is a huge win for heart health.
- Gut Microbiome: Studies show garlic can promote the growth of beneficial bacteria, which also impacts blood pressure.
Raw Garlic in Practice: How Much? How Often? How Safe?
What Dose Works?
- Clinical studies: Most used 600–900 mg/day of garlic extract (roughly equal to 1–2 raw cloves per day).
- For raw garlic: Aim for 1–2 crushed cloves daily, ideally with food. Crushing and letting it sit for 5–10 minutes helps maximize allicin.
How Long Before You See Results?
- Typical timeline: BP reductions start showing at 2–4 weeks, and are usually most pronounced by 8–12 weeks of daily use.
- Consistency is key—random doses won’t cut it.
Are There Side Effects?
- Common: Garlic breath, body odor, heartburn, stomach upset (especially if you go raw and heavy).
- Rare but important: If you’re on blood thinners (like warfarin) or planning surgery, garlic can increase bleeding risk. Always talk to your doctor first.
Who Should (and Shouldn’t) Try Garlic for Blood Pressure?
Good Candidates
- Adults with hypertension, especially if you want to add a natural option alongside lifestyle changes and meds.
- Those with borderline high BP looking to avoid starting medication (always monitor BP and check with a doctor).
Use Caution or Avoid
- People with already low blood pressure
- Anyone on blood thinners
- People with sensitive stomachs—try aged garlic extract instead
Practical Guide: How to Use Garlic for Blood Pressure
Option 1: Raw Garlic Ritual
- Crush or chop 1–2 cloves. Let them rest 5–10 min (to boost allicin).
- Eat with food to soften the blow (e.g., add to salad, avocado toast, or a savory yogurt dip).
- Stay consistent: Daily is best.
Option 2: Aged Garlic Extract Supplement
- Pick a reputable brand (Kyolic is most studied).
- Dose: 600–1200 mg daily, with food.
- No odor, gentle on digestion, and easier to dose precisely.
What to Expect
- Best results: Used consistently for 8–12 weeks, especially in people with elevated blood pressure.
- Track your BP: Log your numbers before and after starting. Don’t stop other BP meds unless your doctor says so.
Real-Life Stories
- Linda, 54: “After two months on garlic supplements, my BP went from 150/95 to 132/85. It wasn’t the only thing I changed—I also walked more and ate less salt—but garlic felt like my ‘secret weapon.’”
- James, 62: “Raw garlic helped but was hard to stomach. Kyolic extract was easier. My numbers dropped 10 points, and my doc was impressed.”
- Anonymous Redditor: “I combined garlic, more potassium, and less salt. BP went from pre-hypertensive to normal. Small changes added up!”
The Bottom Line: Is Garlic Worth a Try?
If you’re struggling with high blood pressure, adding garlic—especially in the form of a standardized supplement or regular raw garlic intake—may help nudge your numbers down, with few risks for most people.
- For best results, use it consistently and alongside other heart-healthy habits (less salt, more potassium, movement, less stress).
- Choose aged garlic extract for the most reliable effect, or raw garlic if you enjoy the ritual and flavor.
- Always check with your doctor, especially if you’re on medications or have a bleeding risk.
Final Takeaway
Garlic is no magic bullet—but as part of a bigger picture, it’s a simple, natural, and science-backed way to support healthy blood pressure.
Try it, track your numbers, and see how your body responds. Your heart may just thank you.
Got a garlic story or question? Share it below! Let’s help each other on the path to better blood pressure—naturally.
10 FAQs About Garlic and Blood Pressure
1. How much raw garlic should I eat per day to help lower blood pressure?
Most studies suggest 1–2 cloves of raw garlic daily, crushed or chopped and eaten with food, is a good starting point. Let it sit for 5–10 minutes after crushing to maximize allicin (the active compound).
2. How soon will I notice a difference in my blood pressure after starting garlic?
Blood pressure reductions may begin in as little as 2–4 weeks, but most people see the best results after 8–12 weeks of daily, consistent use.
3. Is raw garlic more effective than garlic supplements for lowering blood pressure?
Raw garlic contains potent allicin, but supplements (especially aged garlic extract) are more standardized and supported by clinical trials. Both can work, but supplements are easier to dose and often cause fewer side effects.
4. Are there any side effects of eating raw garlic for blood pressure?
Yes. Common side effects include garlic breath, body odor, stomach upset, and heartburn. Some people may experience dizziness if their blood pressure drops too low.
5. Can I take garlic with my blood pressure medication?
Usually, yes, but you should monitor your blood pressure closely. Garlic can potentiate the effects of medications and, in rare cases, cause your blood pressure to fall too low. Always discuss with your healthcare provider first.
6. Is garlic safe for everyone?
No. People with low blood pressure, those taking blood thinners, or individuals scheduled for surgery should avoid or use garlic with caution. Always consult your doctor if you have any medical conditions or take medications.
7. What type of garlic supplement works best?
Aged garlic extract (e.g., Kyolic) is the most researched and reliably effective. Look for a reputable brand with standardized dosing (typically 600–1200 mg/day).
8. Do I need to eat garlic every day for it to work?
Yes. Consistency is key for blood pressure benefits. Skipping days or taking garlic only occasionally is unlikely to produce meaningful results.
9. Will garlic cure my high blood pressure?
No. Garlic is a helpful addition to a healthy lifestyle, but it is not a cure or a replacement for prescribed medications. Use it as part of an overall heart-healthy plan—diet, exercise, stress management, and medical care.
10. Can I just cook garlic instead of eating it raw?
Cooking garlic reduces its allicin content, so raw or lightly crushed garlic delivers more of the beneficial compounds. If you must cook it, let chopped garlic rest 10 minutes before heating to retain more allicin.