
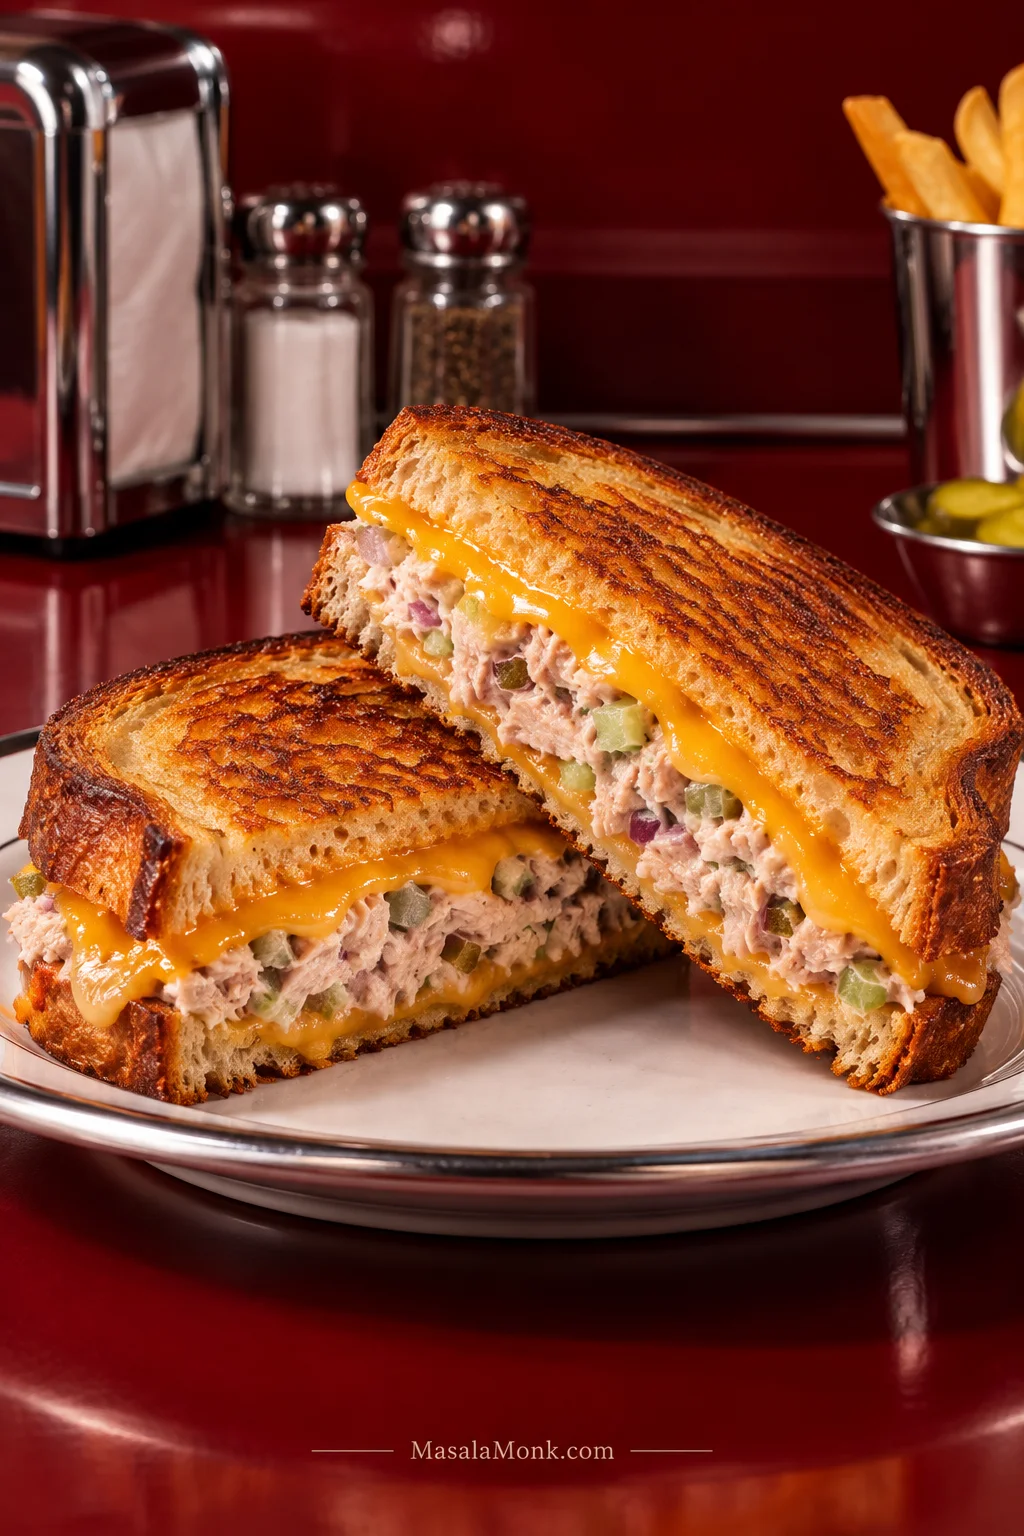
Tuna melts tend to go wrong in opposite directions. Turn up the heat and the bread can go dark while the cheddar in the middle is still holding its shape. Leave too much moisture in the filling and the cheese may melt beautifully over bread that has already gone soft underneath.
A good one solves both problems: toasted bread that cracks a little at the first bite, cheddar melted right into the edges, and warm tuna that stays creamy without sliding out of the sandwich. The fix in this tuna melt recipe is straightforward—get rid of the free water before adding the mayonnaise, keep the filling thick enough to stay put, and give the cheese enough gentle heat to melt before the bread goes too far.
Before the Skillet: Two Checks
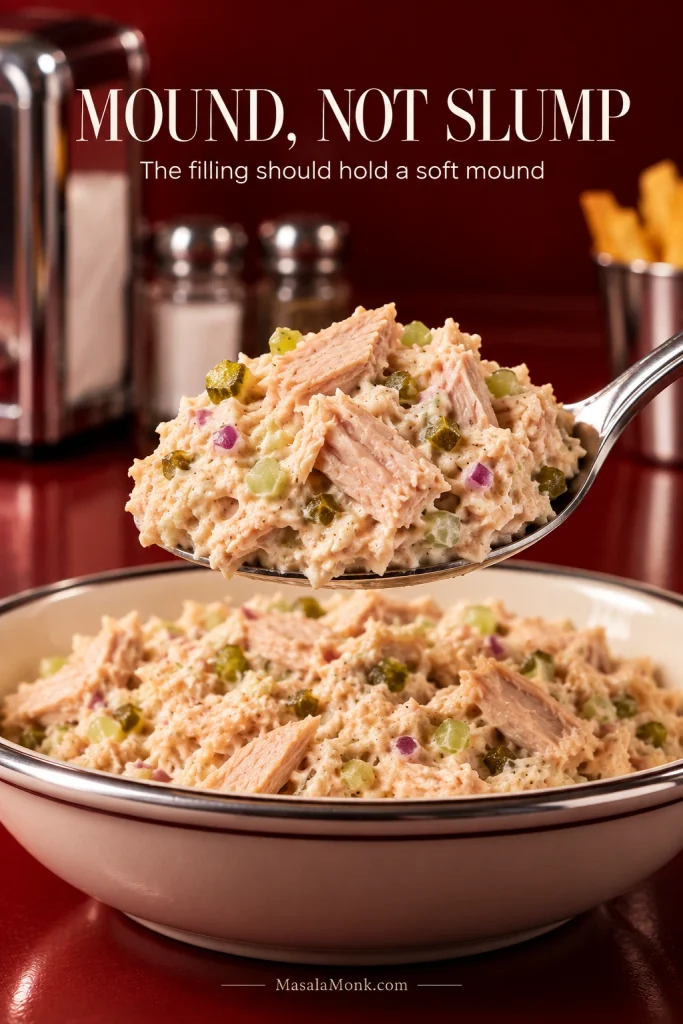
Check the tuna: the filling should be creamy enough to bind but dry enough to mound rather than slump. If liquid gathers in the bowl or the tuna spreads like dip, it is too wet for a crisp closed sandwich.
Check the heat: medium-low is your friend. A slower skillet gives the cheddar time to melt while the bread browns. If the crust gets there first, turn the heat down and cover the pan briefly.
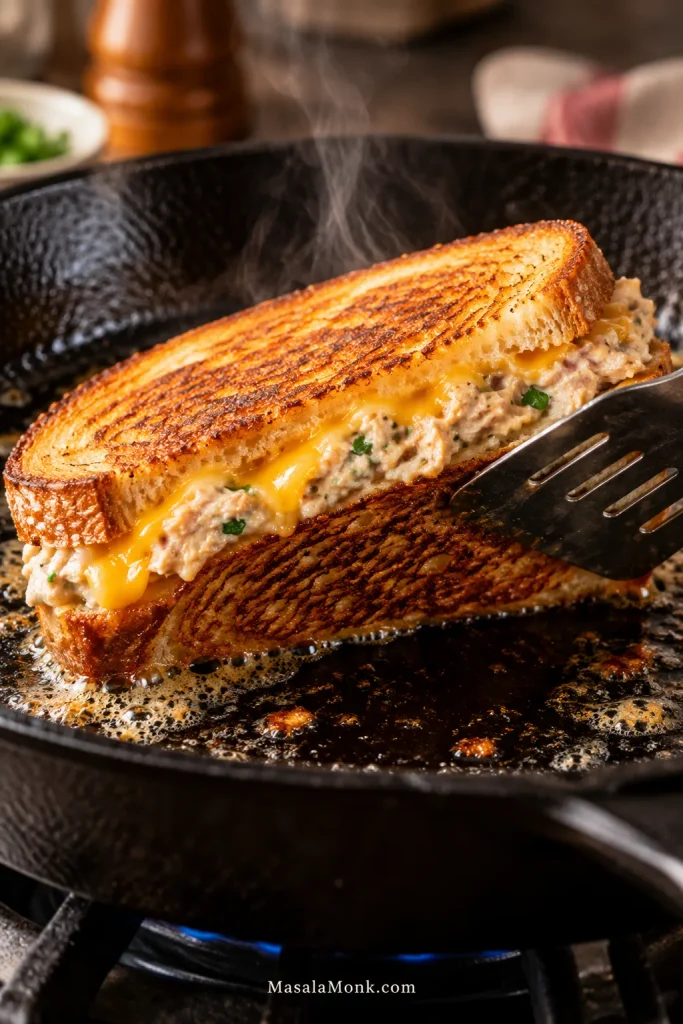
A crisp skillet tuna melt with a creamy-but-firm lemon-Dijon tuna filling, sturdy sourdough and fully melted cheddar.
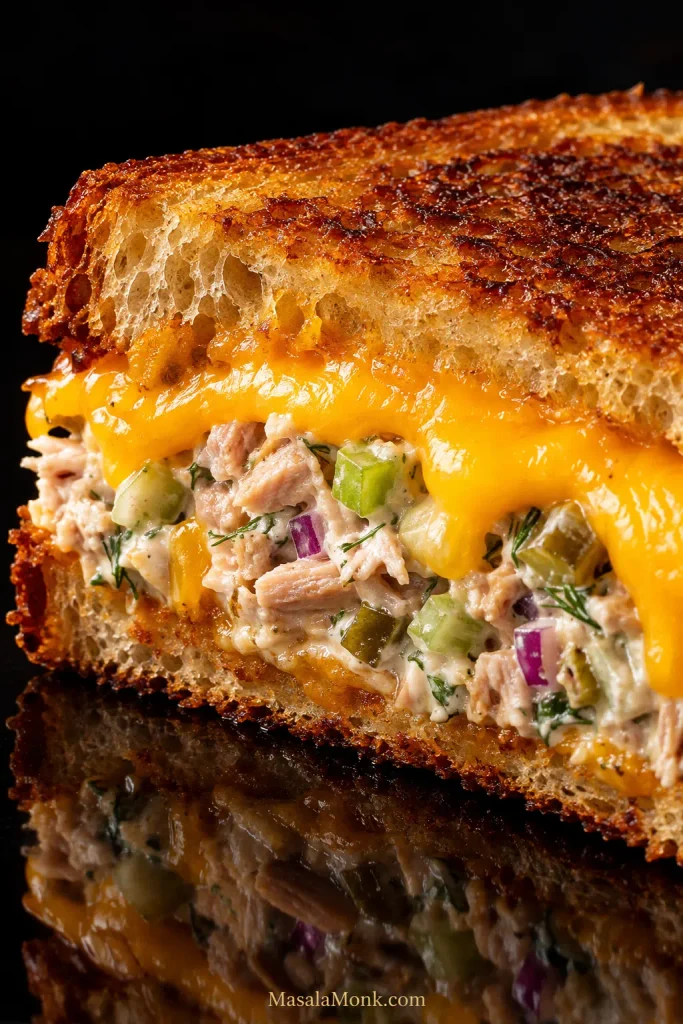
Classic Crispy Tuna Melt Recipe
Expect closer to 20 minutes on a large griddle that holds all four sandwiches, or up to about 30 minutes if you cook them in two skillet batches.
Equipment
- Fine-mesh sieve, small strainer or colander
- Medium mixing bowl
- Large skillet or griddle
- Wide spatula
- Lid large enough to cover the skillet
Tuna Filling
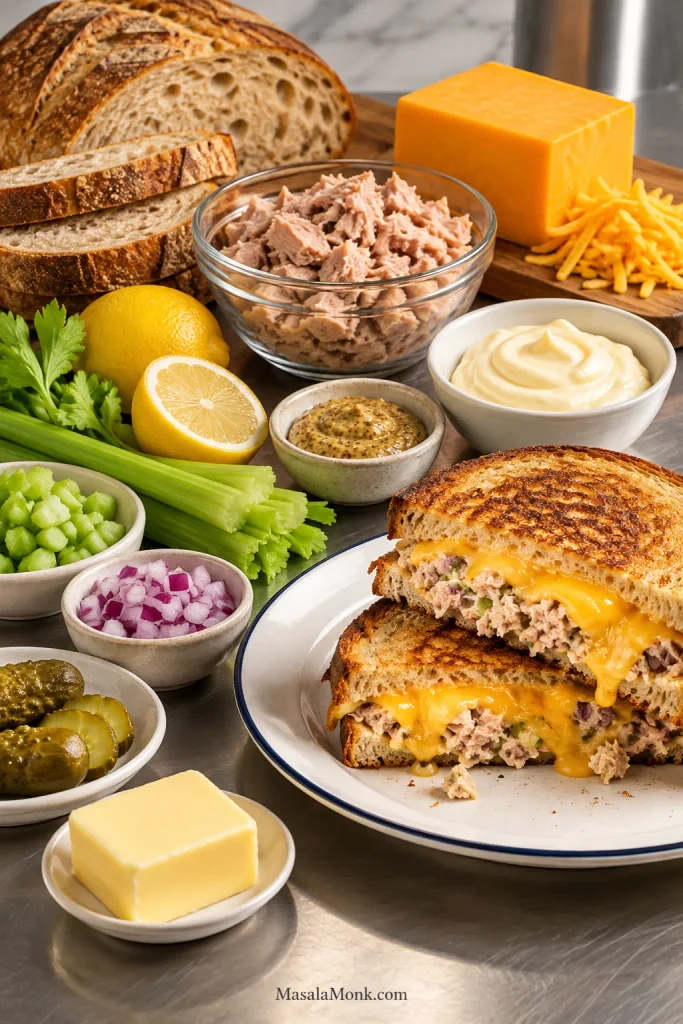
- 2 cans tuna in water, 5 oz / 142 g each, drained and pressed well
- 1/4 cup / 60 ml mayonnaise, plus up to 1 tbsp / 15 ml more if needed
- 2 tbsp / about 15 g celery, very finely diced
- 2 tbsp / about 20 g red onion, very finely diced
- 2 tsp / 10 ml fresh lemon juice, plus more to taste
- 1 tsp / 5 ml Dijon mustard
- 1 tbsp / about 15 g dill pickle, finely chopped and well drained
- 1/4 tsp freshly ground black pepper, plus more to taste
- Kosher salt, only if needed after tasting
For the Sandwiches
- 8 slices sturdy sourdough, about 1/2 inch / 1.3 cm thick
- 4 oz / 113 g medium or sharp cheddar, thinly sliced and divided
- 2–3 tbsp / 28–42 g softened butter, as needed
Instructions
Mix and Build the Tuna Melts
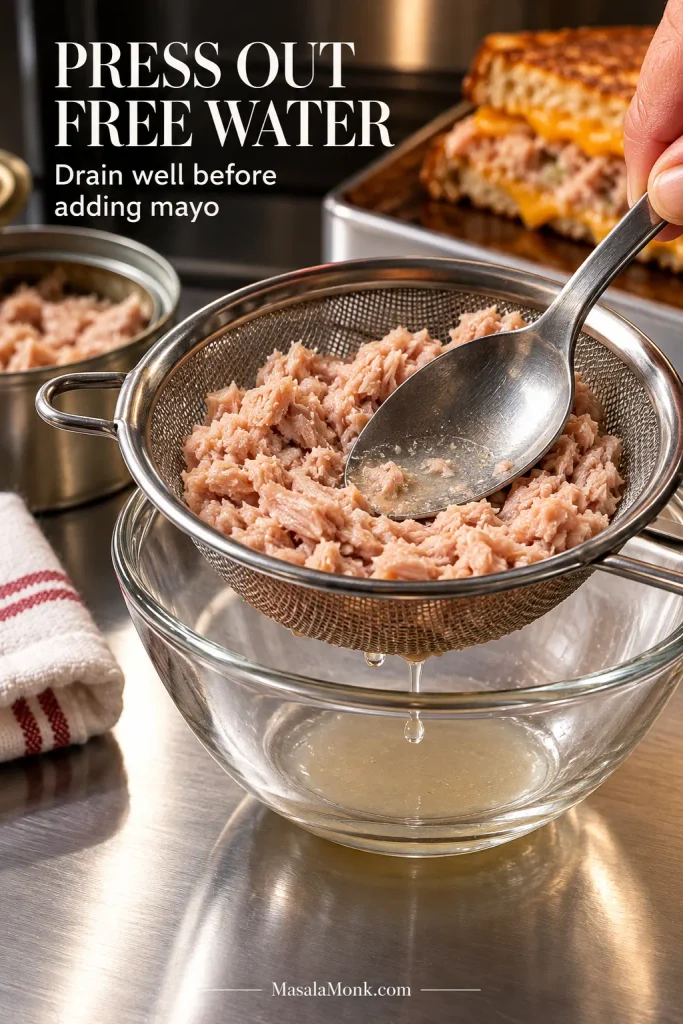
- Mellow the onion and drain the tuna. Put the finely diced onion and lemon juice in the mixing bowl and leave them for about 5 minutes. Meanwhile, drain the tuna into a sieve or strainer and press gently with the back of a spoon until obvious liquid stops coming out. Leave the tuna moist; you’re removing free water, not squeezing it dry.
- Mix the filling. Add the tuna, celery, dill pickle, Dijon, black pepper and 1/4 cup / 60 ml mayonnaise to the onion and lemon. Mix, then taste. The filling should hold a soft mound on a spoon. If it feels dry or crumbly, add more mayonnaise a teaspoon at a time, up to the remaining tablespoon. Salt only after everything else tastes balanced.
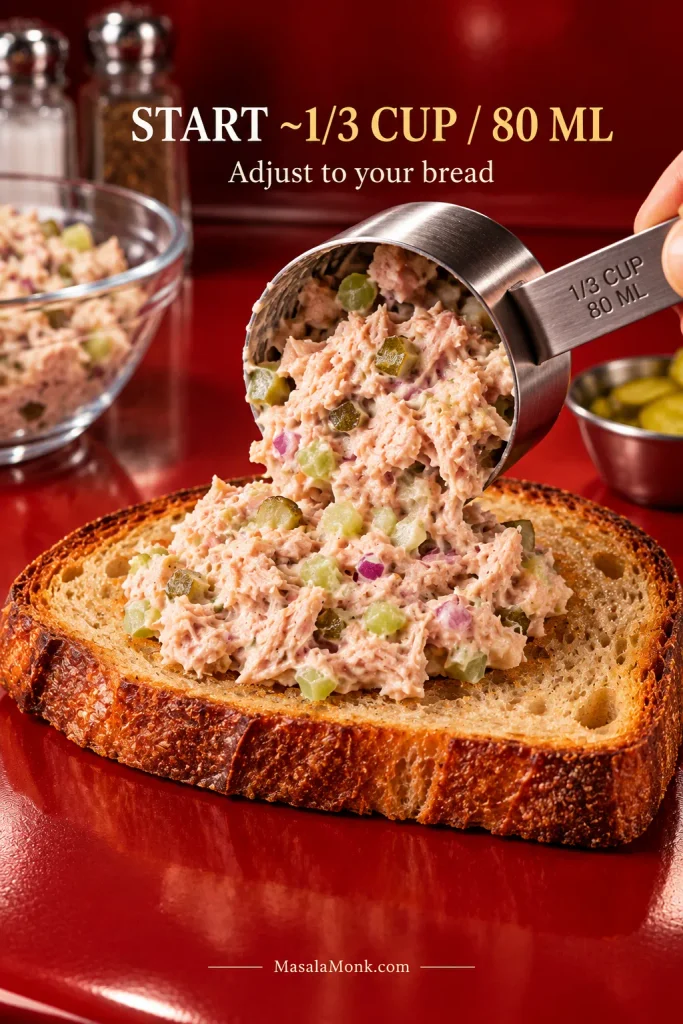
- Layer the sandwiches. Split the cheddar into 8 thin portions. Lay out 4 slices of bread and add one portion of cheese to each. Divide the tuna filling evenly among the four sandwiches—roughly 1/3 cup / 80 ml each, depending on bread size. Add the second cheese layer and close with the remaining bread. Keep the filling modest enough that it stays between the slices.
- Butter the bread. Spread a thin sheen of softened butter over the two outside surfaces of each sandwich. You may not need every bit of the butter.
Cook Until Crisp and Melted
- Cook the first side. Warm the skillet or griddle over medium-low heat. Add as many sandwiches as fit comfortably. Cook for about 3–4 minutes, pressing only lightly with a wide spatula. Flip when the underside is deep golden and the bread smells properly toasted.
- Flip, melt and finish. Cook the second side for another 2–4 minutes, checking sooner because the pan is already hot. The cheddar should look relaxed and glossy at the edges, not like a rigid slice trapped inside the sandwich. If the bread is ready first, turn the heat to low, cover and give the cheese another 30–60 seconds. Cooking a second batch? Start checking the first side a little sooner—the skillet is fully heated now. Rest the finished melts for about 1 minute, then slice and eat while the crust still has that fresh-from-the-skillet crunch.
Recipe Notes
- Oil-packed tuna: makes a richer melt. Drain it especially well and start with slightly less mayonnaise.
- Cheese: cheddar is used here, but another good melting cheese works too.
- Fresh dill: optional, but excellent with the lemon and pickle. Stir in about 1 tablespoon finely chopped dill if you have it.
Tuna Melt Guide
Build the Sandwich
Choose Your Heat
Fix & Change It
The Tuna Should Mound, Not Slump
Once the tuna is dressed, the useful test is what happens on the spoon: it should look creamy and hold a soft mound without leaving liquid behind. The measurements get you close; the spoon tells you the rest.
Drain First, Then Decide How Much Mayo You Need
Tipping the can gets rid of the obvious liquid. A gentle press removes the water still caught between the flakes, which is why tuna can look drained and then loosen again once mayonnaise and the other ingredients go in. Judge the finished filling, not just the can.
Begin with 1/4 cup / 60 ml mayonnaise for two 5-ounce / 142 g cans. Homemade mayonnaise is perfectly good here too. Because homemade batches vary in thickness, add another spoonful only if the mixture still needs it.
Solid white albacore tuna gives you firmer, larger flakes and a milder flavor. Chunk light is softer, usually less expensive and tastes a little more distinctly of tuna. Either is fine. This isn’t a recipe that needs expensive tuna to be good.
The Crunch and Acid Are Doing Real Work
Celery, onion and pickle break up the soft tuna and melted cheese with little pops of crunch. Lemon and Dijon stop the filling from tasting flat or mayonnaise-heavy.
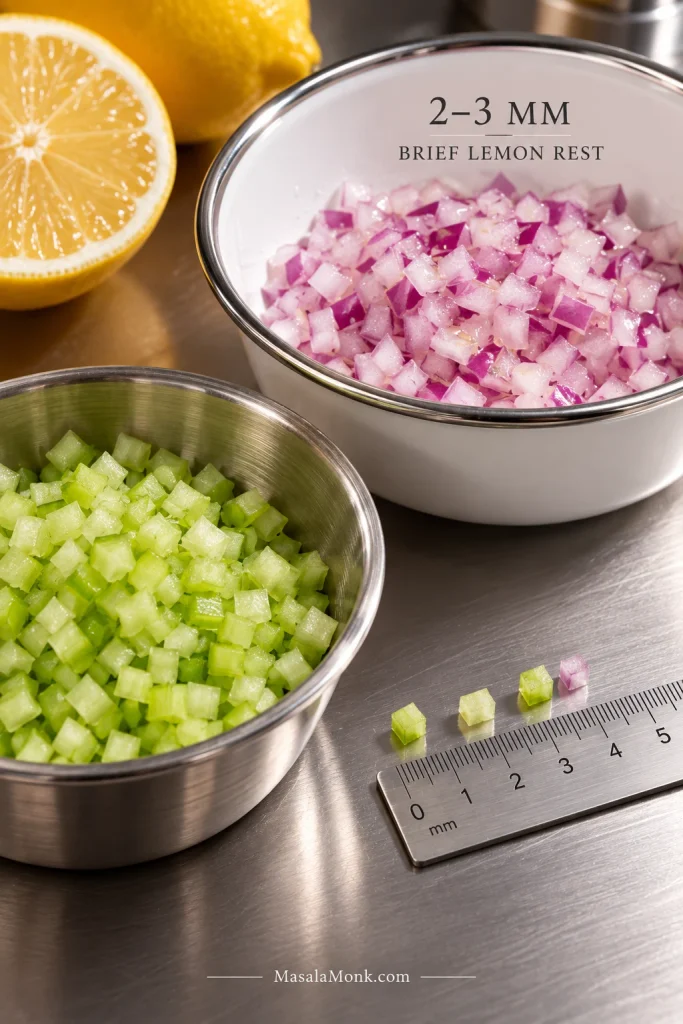
Cut the celery and onion very fine—roughly 2–3 mm pieces. Big chunks tend to shove the filling sideways when you bite into the sandwich. The brief lemon rest takes some of the harshness out of the onion while you deal with the tuna.
Lemon, Dijon and pickle stack quickly. Mix the stated amounts first and taste. Need more brightness? Add another squeeze of lemon. Already sharp enough? Leave it alone.
Salt comes last. Tuna, pickle, mustard and cheddar all bring some of their own. Taste the finished filling before reaching for more.
Best Bread and Cheese for a Tuna Melt
Once the filling can hold itself together, the next job is getting the bread and cheese to finish at the same time. The bread needs enough structure to stay crisp while the cheese melts before the crust gets too dark.
What Is the Best Cheese for a Tuna Melt?
For this tuna melt, medium or sharp cheddar is the all-around pick: flavorful, familiar and still easy to melt.
| Cheese | What it brings |
|---|---|
| Medium or sharp cheddar | Classic flavor with a dependable melt; the choice used here |
| American | The smoothest melt; good alone or combined with cheddar |
| Muenster or Monterey Jack | Mild flavor and excellent meltability |
| Provolone | A smooth deli-style melt with a little tang |
| Swiss | Nutty and particularly good with rye |
Very mature extra-sharp cheddar can be excellent too, but it is less forgiving when the pan gets hot and may release more visible fat.
In the main recipe, the same roughly 1 oz / 28 g cheese per sandwich is split above and below the tuna. That helps hold the filling in place, reduces direct moisture contact with the bread and gets melted cheese against both slices.
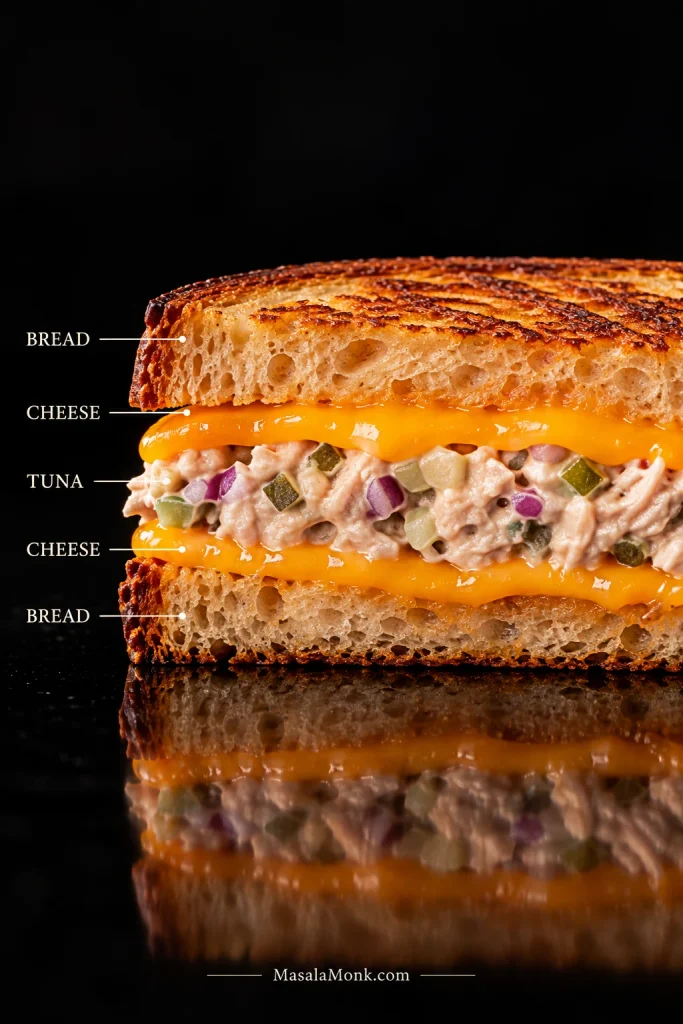
Don’t worry about bringing the cheese to room temperature. Thin slices matter much more. If the filling is fridge-cold, keep the skillet gentle and use the covered finish if needed.
What Is the Best Bread for a Tuna Melt?
For the skillet version here, sourdough is hard to beat. It has enough structure for the filling, enough tang to keep a rich tuna-and-cheddar sandwich lively, and a crust that turns properly crisp in the skillet.
Sturdy white bread makes the classic diner-style melt—softer in the middle, crisp at the surface and especially good with straightforward cheddar or American cheese. Rye brings a nuttier edge, while English muffins are made for open-faced melts and ciabatta stands up well in a panini press.
Whatever loaf you choose, aim for slices around 1/2 inch / 1.3 cm thick. You don’t need artisanal sourdough; you need bread sturdy enough to hold the filling without overwhelming it. If you’re baking your own loaf, the softer sandwich-style options in these sourdough bread recipes work well too at about that thickness.
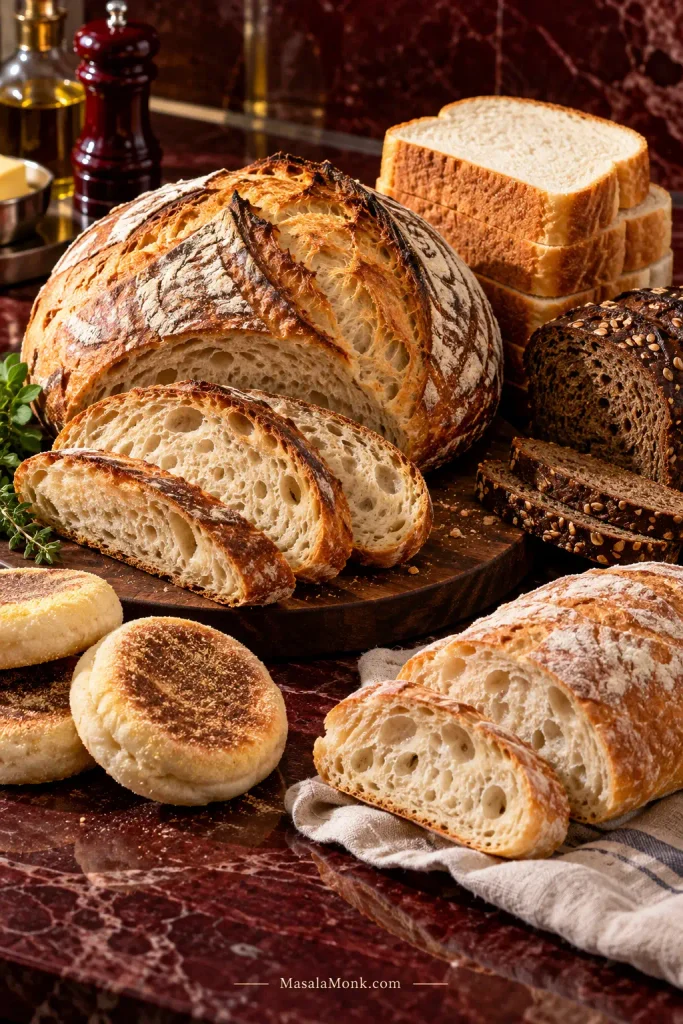
Brioche and milk bread are softer and richer, so they color faster. Drop the heat a little and start checking early.
For the outside, butter gives the most familiar grilled-cheese flavor. Mayonnaise browns evenly too; whichever you use, keep the coating thin.
Closed or Open-Faced Tuna Melts
Once the filling, bread and cheese are sorted, the remaining structural choice is simple: close the sandwich or leave it open-faced. There’s no need to declare one format the only legitimate tuna melt; they solve different problems, and that matters more than winning an argument about sandwich tradition.
Choose a closed melt when you want crisp bread on both sides and a handheld, grilled-cheese-style sandwich. Keep the filling controlled so it stays put when you flip.
Go open-faced when you want a slightly more generous layer of tuna, exposed browned cheese, tomato or no flipping at all. Pre-toast the bread and you have a sturdy base before the filling ever goes on.
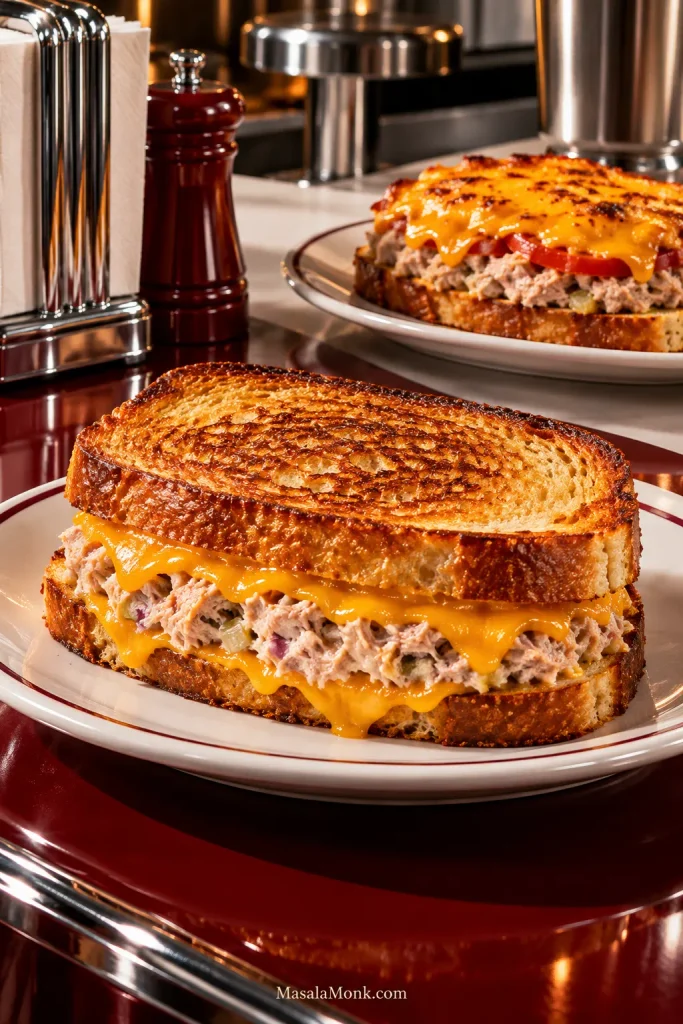
How to Add Tomato Without Making the Bread Wet
Choose a firm tomato and cut it thinly. Blot both sides well. Very juicy slices benefit from a light sprinkle of salt and about 10 minutes of rest. Blot again.
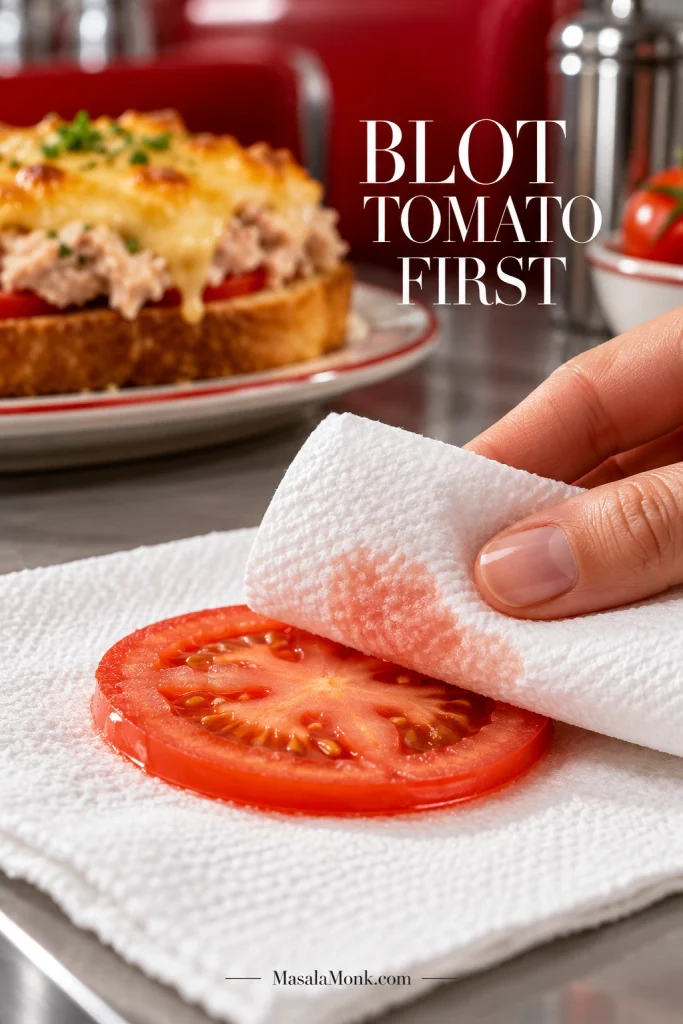
Open-faced melts are especially forgiving here. Put the tomato over the tuna and the cheese above the tomato, where it can bubble and brown directly under the broiler. In a closed melt, stick to one thin layer.
Same Tuna Melt, Different Heat
The skillet is still the default for a closed melt. Use the broiler when the cheese is exposed, the oven for a larger batch, the air fryer when you only need one or two sandwiches, or a panini press when you want a flatter, crunchier result.
Open-Face Tuna Melt Under the Broiler
This is the version to make when you want tomato, a thicker layer of tuna or cheese with browned, bubbling edges. Pre-toast the bread first.
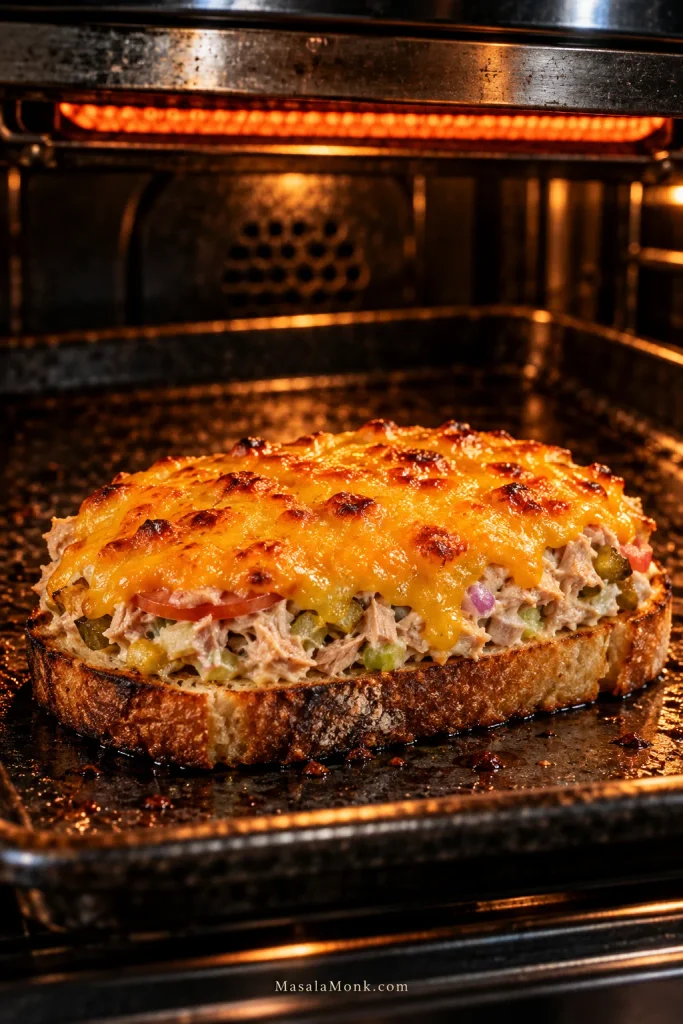
- Toast sturdy bread or split English muffins until the surface feels dry and lightly crisp.
- Add the tuna filling. For an English muffin, about 1/4 cup / 60 ml per half is a useful starting point.
- Add thin, well-blotted tomato if using.
- Cover with cheese so it remains the exposed top layer.
- Set the rack roughly 4–5 inches / 10–13 cm below the broiler, if your oven allows, and broil until the cheese is melted, bubbling and lightly browned. Depending on the broiler, that may take about 2–5 minutes.
Homemade sourdough English muffins are particularly good here because the fork-split surface catches both tuna and melted cheese.
Stay nearby. Once the cheese starts bubbling, the jump from browned to scorched can happen fast.
Baked Tuna Melts in the Oven
For a batch of open-faced tuna melts, pre-toast the bread, add tuna and cheese, then bake at 450°F / 230°C for about 3–5 minutes. The oven earns its keep when several people need lunch; for a closed sandwich crisp on both sides, stick with the skillet. A brief broil at the end gives the cheese extra browning if you want it.
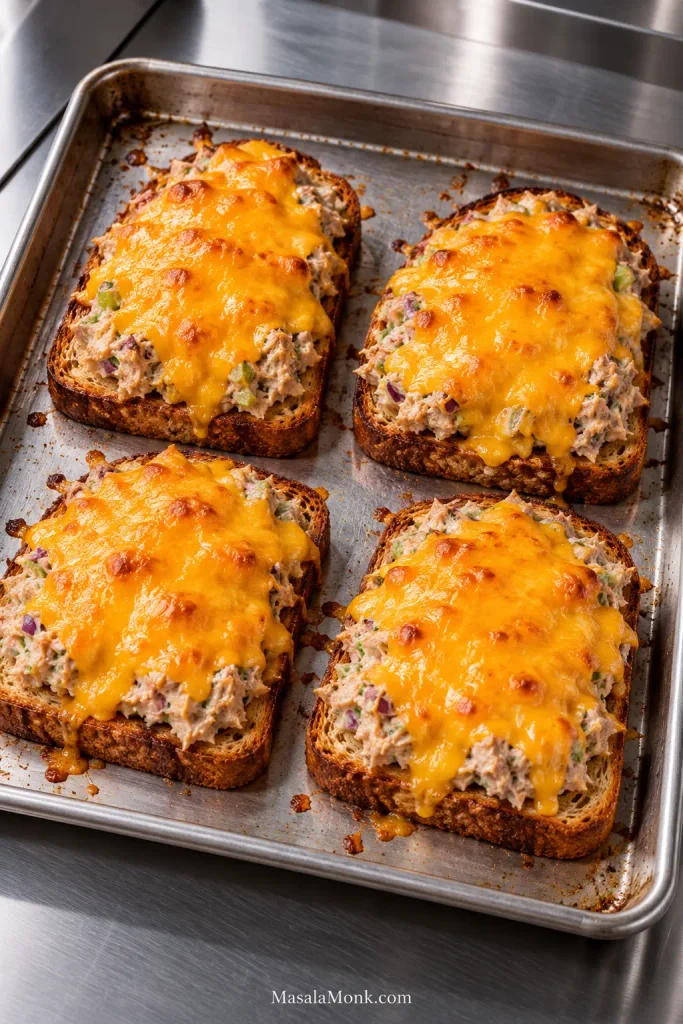
A toaster oven follows the same route on a smaller scale: toast first, add tuna and cheese, then stop once the cheese is bubbling and the bread is crisp.
Air Fryer Tuna Melt
Air fryers vary enough that one universal setting is hard to promise. For a closed tuna melt, 350–375°F / 175–190°C is a sensible working range; begin checking around 6 minutes and expect roughly 6–9 minutes total.
Use the bread and cheese as your guide. Turn the sandwich if your model cooks more evenly that way, and stop once the bread is crisp and the cheese is fully melted.
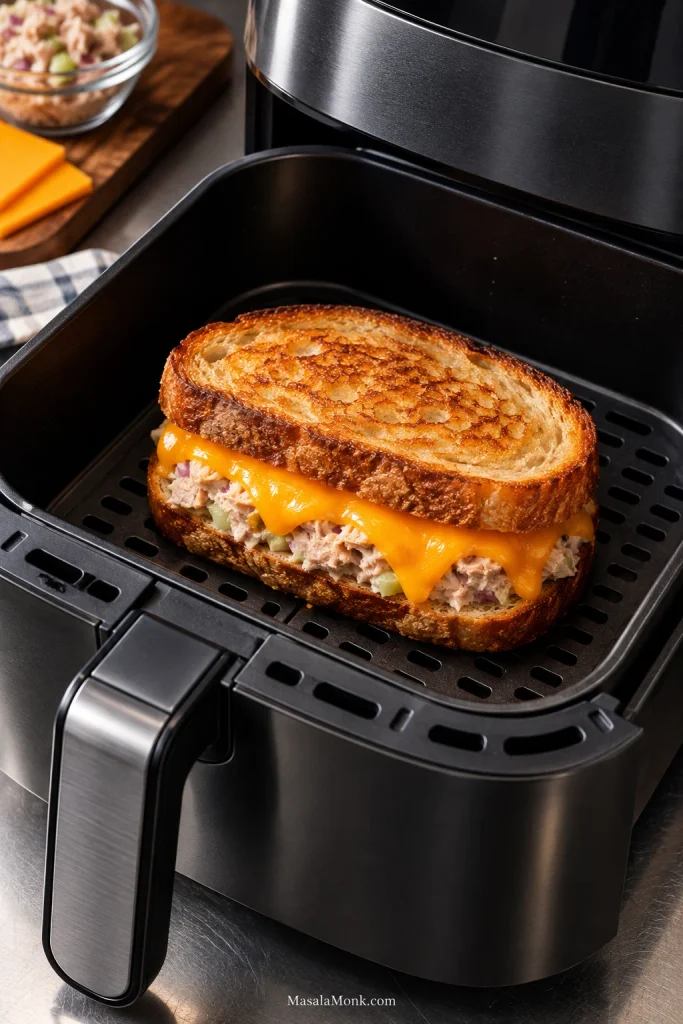
Dark, hard bread with firm cheese in the middle means the temperature is too high. Drop the heat; if that is the problem you are seeing, the troubleshooting guide shows the quickest fix.
Strong air-fryer fan? Lightweight bread and loose shredded cheese can move around. Use the rack or sandwich accessory supplied or approved for your machine when available. For an open-faced melt, sliced cheese or cheese pressed firmly onto the tuna is less likely to lift.
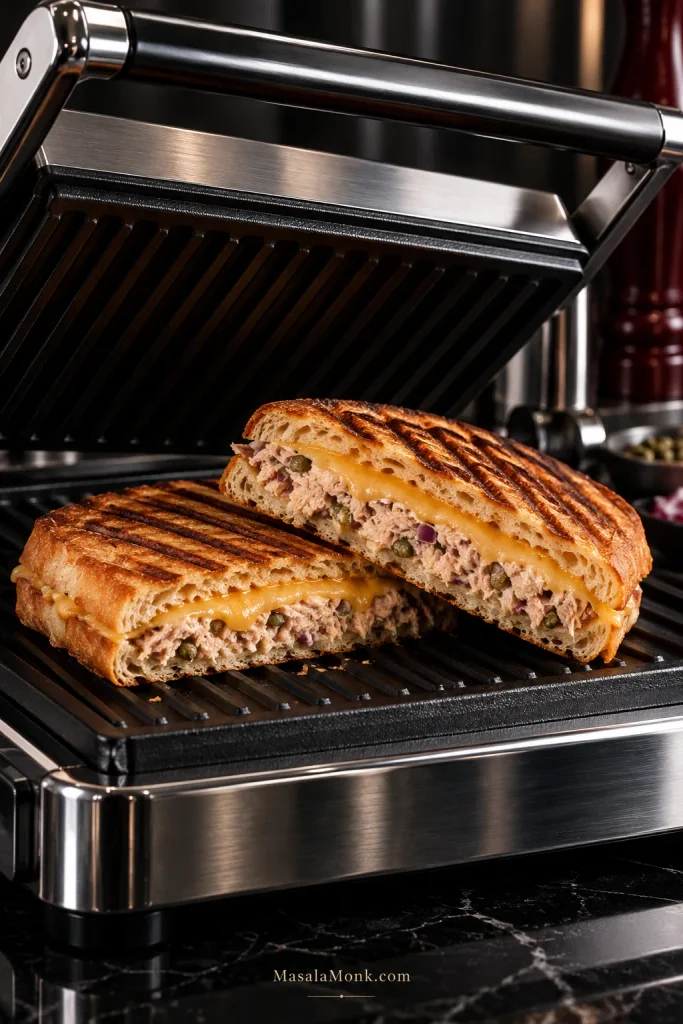
Tuna Melt Panini
A panini press gives you a flatter, crunchier melt and helps keep the tuna tucked inside. Use ciabatta or sturdy sourdough, spread the filling in an even layer, close the press gently and cook until the bread is crisp and the cheese has melted, usually about 4–6 minutes. Give it a minute before cutting.
When a Tuna Melt Goes Wrong
Most bad tuna melts are very fixable. If yours came out soft, greasy, split apart or stubbornly unmelted, the sandwich usually gives you a pretty good clue about what happened.
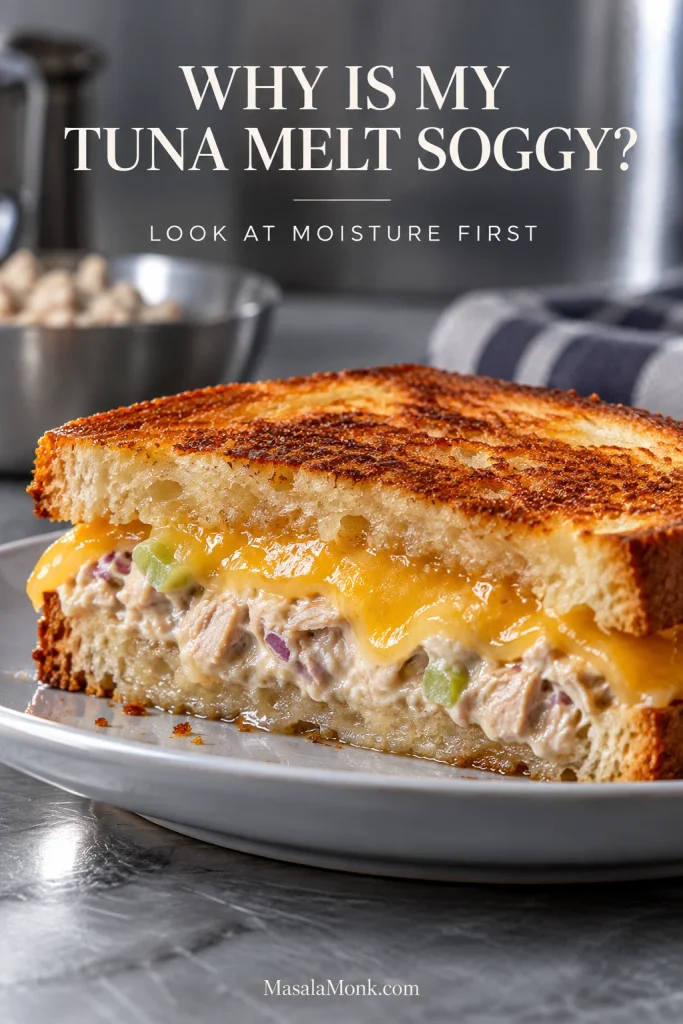
Soft, leaking or collapsing? Look at moisture first. Bread already dark while the cheddar still looks like a slice? Look at heat.
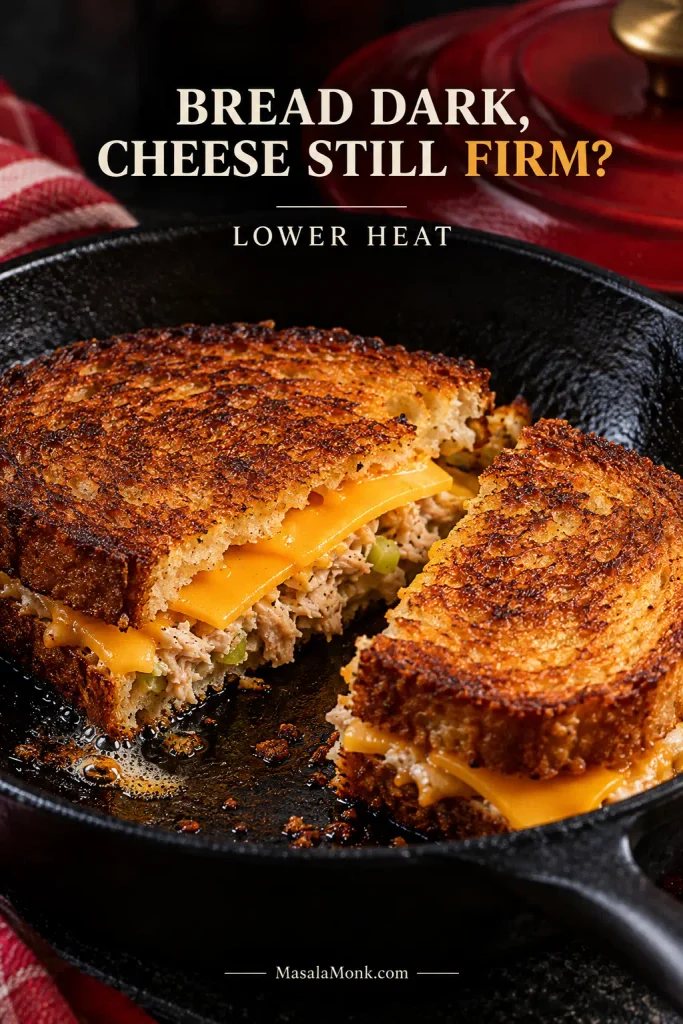
Moisture, Filling and Structure Problems
| What went wrong | Likely reason | What to change |
|---|---|---|
| Bread is soggy | Tuna or add-ins carried too much water | Press the tuna, drain the pickle well, use sturdy bread and keep cheese between the tuna and bread |
| Filling drips | Free liquid or too much mayonnaise | Add mayo gradually; the filling should hold its shape without releasing liquid |
| Sandwich bursts when flipped | Too much filling or bread too soft | Use a modest layer and sturdier bread |
| Tuna tastes heavy | Too much richness and not enough brightness | Add a little lemon, Dijon or finely chopped pickle, then taste again |
| Tuna tastes too sour | Too much lemon, mustard, pickle or brine together | Add acidic ingredients gradually and taste between additions |
| Tuna tastes too salty | Salt added before accounting for tuna, pickle and cheese | Taste the whole filling before salting |
| Raw onion dominates | Pieces are large or harsh | Dice finely and give the onion its brief lemon rest |
| Tomato makes the melt wet | Tomato is thick or juicy | Slice thinly, salt briefly if needed and blot thoroughly |
Heat, Cheese and Reheating Problems
| What went wrong | Likely reason | What to change |
|---|---|---|
| Bread burns before cheese melts | Heat is too high | Use medium-low; finish on low under a lid for 30–60 seconds |
| Cheese stays stiff | Cheese is too thick or aged, or the bread is browning too fast | Use thinner cheese and gentler heat |
| Cheese looks greasy | Very mature cheese or excessive heat | Use medium/sharp cheddar and lower the heat |
| Air fryer dries the bread | Temperature too high or cooking time too long | Lower the temperature and check earlier |
| Air-fryer cheese moves around | Strong airflow catches loose cheese | Use sliced cheese or press it firmly onto the filling |
| Leftover melt is limp | Steam or microwave reheating softened the crust | Reheat with dry heat in a skillet, toaster oven, oven or air fryer |
Easy Ways to Change Your Tuna Melt
No-Mayo Tuna Melt
Thick plain Greek yogurt is the easiest mayonnaise replacement because it still gives the tuna some body. The result is tangier and a little less rich than the mayo version, so start with less lemon and add only as much yogurt as the filling needs. If your yogurt looks loose or watery, drain it first. Lemon juice alone adds acidity but can’t replace the creaminess or binding. If Greek yogurt is the direction you prefer, the Greek-yogurt and no-mayo ideas in these healthy tuna salad recipes give you several other fillings substantial enough for sandwiches and wraps.
Spicy Tuna Melt
Well-drained pickled jalapeño is especially good here: it brings heat and acidity while keeping extra brine out of the filling. Fresh jalapeño works too. If you’d rather use sauce, add a thicker one sparingly; the pepper sauce guide has fresh and smoky homemade options. However you add the heat, it should sharpen the tuna and cheddar rather than wipe them out.
Avocado Tuna Melt
Avocado makes the filling softer and richer, so use it sparingly rather than treating it as a straight swap. Mash a little into the tuna in place of part of the mayonnaise, or add a few thin slices to the sandwich. Drain the tuna especially well.
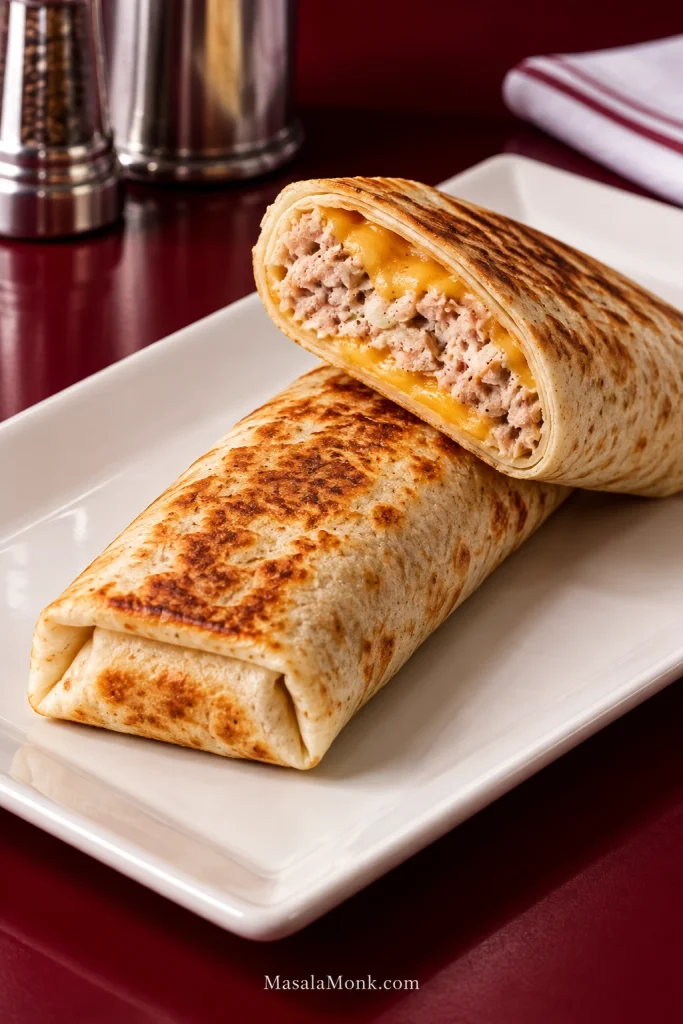
Tuna Melt Wrap
A tuna melt wrap trades the bread for a thin, crisp tortilla shell and is easy to eat one-handed. Add a little cheddar, a narrow layer of tuna filling and another layer of cheese to a large flour tortilla, then fold in the sides and roll tightly.
Cook seam-side down in a lightly buttered skillet over medium to medium-low heat for about 3 minutes, then turn and cook another 2–3 minutes. Don’t overfill it. A slimmer wrap seals better and is far less likely to split in the pan.
Make the Tuna Ahead, Not the Sandwich
For advance prep, make the tuna filling and keep it separate from the bread and cheese. An assembled sandwich sitting in the refrigerator gives the filling plenty of time to soften the bread before it ever sees a skillet.
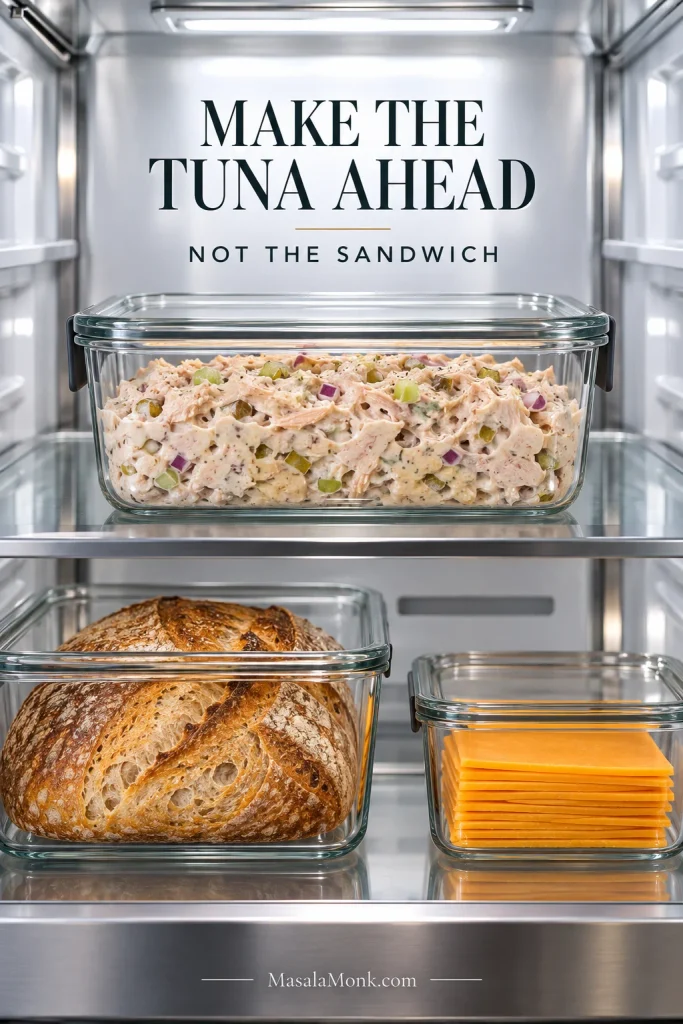
Fridge-cold tuna takes longer to warm, so keep the skillet at medium-low and use the brief covered finish if needed.
FoodSafety.gov’s cold-storage guidance lists homemade tuna salad for 3–4 days in a refrigerator kept at 40°F / 4°C or below. Store it covered and return it to the refrigerator promptly after serving.
Reheating a Cooked Tuna Melt
A skillet, toaster oven, regular oven or air fryer gives the bread a chance to crisp again. The microwave heats the middle quickly, but the steam tends to soften the crust.
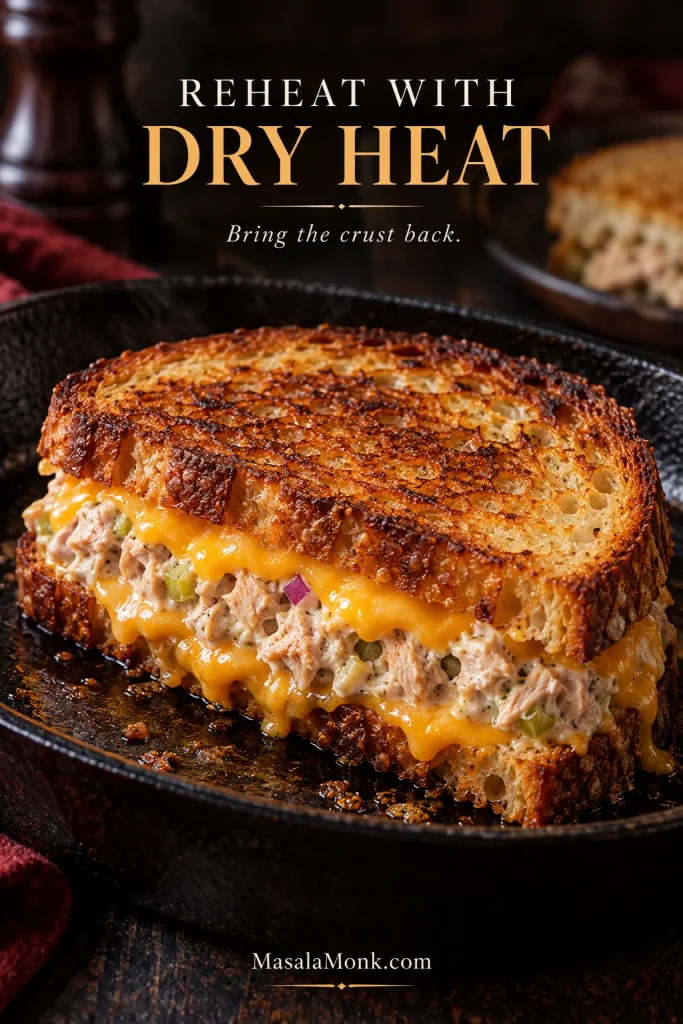
For an oven or toaster oven, start around 350°F / 175°C and heat until the sandwich is hot through and the bread has crisped again. When checking leftovers with a food thermometer, USDA leftover guidance calls for reheating to 165°F / 74°C.
What to Serve with a Tuna Melt
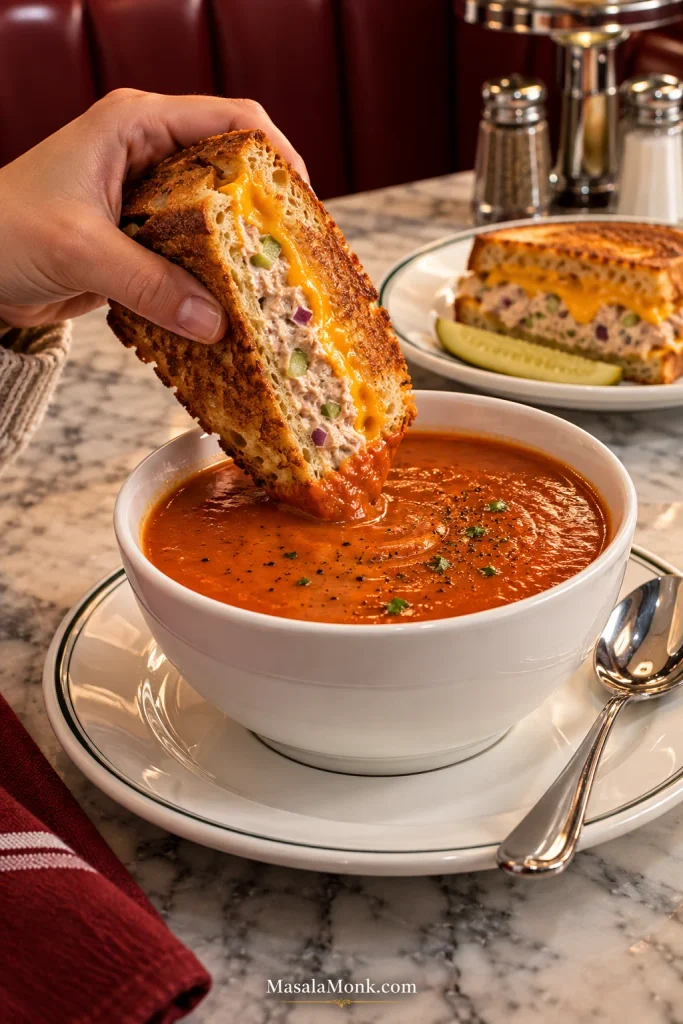
Dip a crisp corner into a bowl of hot tomato soup and you have the full comfort-food lunch. Dill pickles, kettle chips, a crisp green salad or tangy coleslaw all give the hot, cheesy sandwich some welcome contrast.
A better tuna melt doesn’t need more ingredients. Get the moisture under control, keep the skillet gentle, and the rest is simple: crisp bread, warm creamy tuna, and cheddar melted right to the edges. Eat it while the crust is still crackly.








