Hello, spice enthusiasts and culinary adventurers! 🥢 Today, we’re going to delve deep into the aromatic and enchanting world of a timeless spice blend from the Far East – the Chinese Five Spice. 🌏💫 This potent concoction is a mainstay of Chinese cooking, known for its harmonious blend of flavors that promises to add a unique depth to your dishes. Let’s dive right in! 🏊♀️
History & Origin of Chinese Five Spice 📜🏮
The Chinese Five Spice powder, or 五香粉 (wǔxiāng fěn) as it is known in Mandarin, is steeped in the ancient philosophy of balance represented by Yin and Yang. ☯️ It was developed with the intention of incorporating all five fundamental flavors of Chinese cooking – sweet, sour, bitter, pungent, and salty. This blend encapsulates the ethos of Chinese cuisine, offering an aromatic medley that is balanced yet vibrant.
Variants of Chinese 5 Spice 🌶️🌰
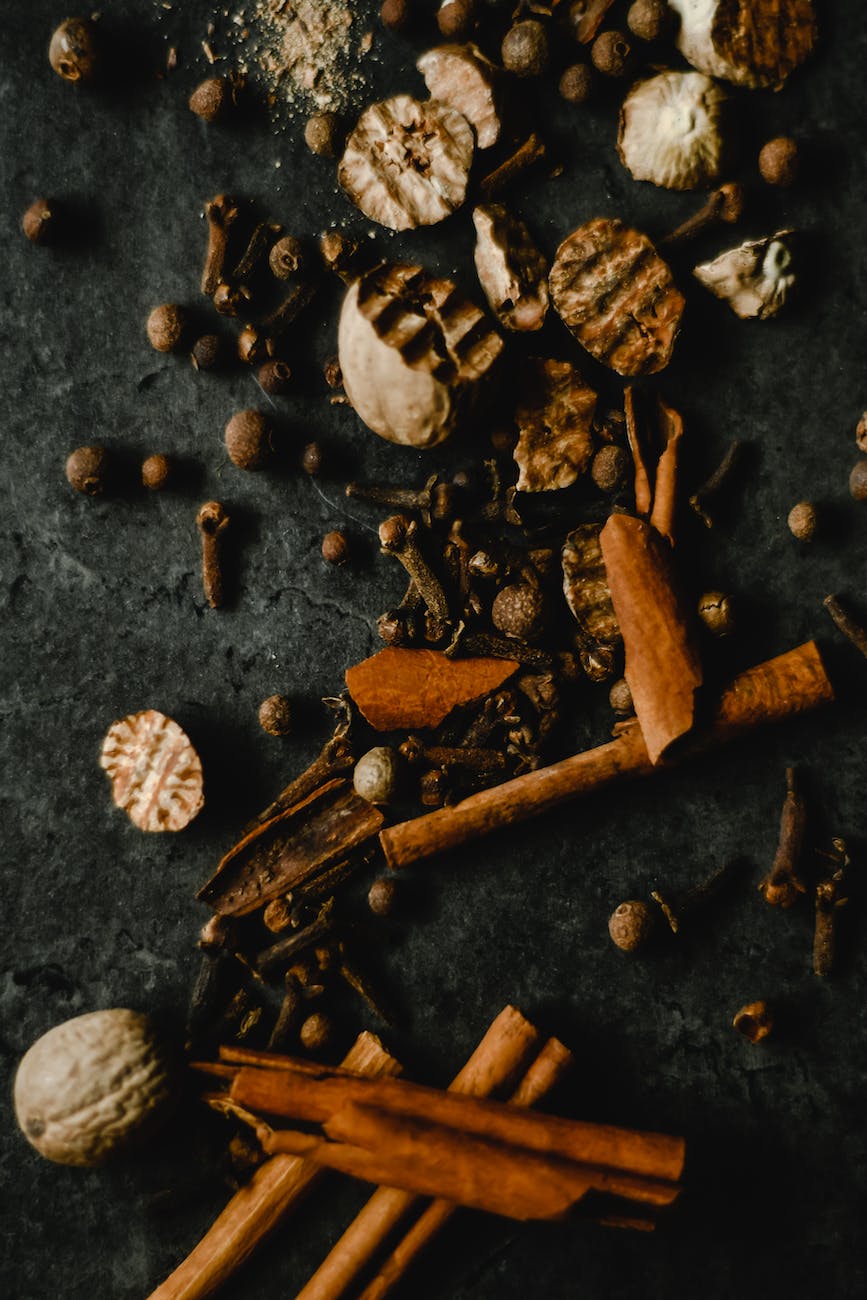
While the traditional Chinese Five Spice blend includes star anise, cloves, Chinese cinnamon (or cassia), Szechuan peppercorns, and fennel seeds, regional and personal preferences often lead to variations in this quintessential mix.
For example, in southern China, dried tangerine peel may replace Szechuan peppercorns, offering a hint of citrus. 🍊 Some versions might also include ginger root, nutmeg, cardamom, or even dried tangerine peel for an extra burst of flavor. There’s a world of variants to explore! 🌍🚀
How to Use Chinese 5 Spice 🥘🍲
The Chinese Five Spice is incredibly versatile and can enhance the flavor profile of an impressive array of dishes.
Marinades and Rubs: Use it as a rub for grilled meats or as a marinade to infuse poultry, pork, or beef with deep, complex flavors. 🥩🍗
Sauces and Glazes: Spice up your stir-fry sauces or add a kick to your glazes for a rich and bold twist. 🥦🍜
Baking and Desserts: Sounds surprising? It’s an adventurous addition to sweet dishes as well, like gingerbread, fruit pies, and chocolate cakes. 🍪🥧
Vegetarian Dishes: Vegetarian or vegan? No problem! Sprinkle it on tofu or veggies to jazz up your plant-based meals. 🥕🥦
Remember, a little goes a long way. The flavors are potent, so start with a small amount, and you can always add more!
Now, doesn’t that make you want to experiment with Chinese Five Spice in your own kitchen? 🏠👩🍳 We’re pretty sure it does!
If you’re looking to connect with fellow food enthusiasts and share your love for spices and all things culinary, we have just the place for you! We warmly invite you to join our community on Facebook at EatLo. Here, you can share your culinary adventures, discover new recipes, and join in lively discussions about food and culture from around the globe. We can’t wait to welcome you! 👋🌍
Stay spicy, keep exploring, and remember, every meal is a new adventure! 🌶️🚀💖