Ghee is termed as Ghrita in Sanskrit, a traditional ayurvedic component used over centuries. In India, it is considered as the purest and the most sacred component. Ghee is a type of clarified butter that is made by heating butter, allowing the liquid portion and milk to separate, leaving behind only the pure butterfat. The milk caramelizes and becomes a solid, and the remaining oil is ghee. It is commonly used for cooking, as a traditional medicine and for Hindu religious rituals. Ghee is traditionally produced from indigenous cow’s milk through Bilona method which is more labour intensive but some also make it from Buffalo milk. You can refer this post- A2 Cow Ghee vs A2 Bilona Ghee for detailed information on it.
What is Cultured Ghee?
Ghee is made from milk or cream but cultured ghee is made from yogurt. Cultured ghee is made by adding live cultures to the milk or cream before it is clarified. It is a traditional method of making ghee which involves culturing or fermenting milk or cream before churning it into butter and then clarifying it into ghee.
Why is this process followed traditionally?
Scientifically when milk or cream is converted into curd then into butter and then ghee, the structure of milk changes. The live cultures break down lactose and casein into lactic acid, making ghee very easy to digest. It also becomes suitable option for those with lactose intolerance or dairy sensitivities. It is this cultured ghee that has been glorified in Vedas and many Ayurvedic remedies. The ancient tradition of Ayurveda considers cultured ghee as important for promoting and strengthening agni, our powerful digestive fire.
Ayurveda says that it is this cultured ghee that helps to promote good cholesterol and reduces bad cholesterol.
It has a positive impact on the central nervous system in the brain. It also lubricates the joints by reducing pain and stiffness and promotes flexibility.
Also, this ghee is tastier and very aromatic with a slight tang of naturally cultured food. The fermentation process adds a depth of flavor that is not present in regular ghee.
Another advantage of cultured ghee is that it has higher concentration of vitamins and minerals than regular ghee. The fermentation process can increase the bioavailability of nutrients.
It is the cultured ghee that is packed with all medicinal values and benefits of ghee that we have been hearing from our childhood. It is the best ghee to cook with.
Many of us have been making ghee with store bought packs of uncultured butter, but this ghee does not have the probiotic enzymes that cultured ghee has so we are actually missing out on the numerous health benefits that ghee has to offer
Regular/Uncultured ghee or the ghee you normally get in the market, is a modern commercial way of making ghee.
How to make cultured ghee at home?
Ingredients
- Milk Cream from raw milk
- Yogurt or Homemade Curd (1 tbsp for every litre of cream)
Instructions
- Once you boil raw milk, you will notice a layer of cream forming on top. When the milk has cooled, refrigerate the milk for 6 to 7 hours or overnight. This will make the cream thicker.
- In the morning, collect the cream from boiled milk in a container. I use a 3 litre container to collect the cream. It roughly takes me 2 weeks to fill the container. Always keep the container in the refrigerator.
- Once your container is full, transfer the cream in a heavy bottom pan. Heat the cream till it becomes lukewarm. Keep stirring in between so that the cream doesn’t stick to the bottom of the pan.
- Remove it from the heat then add yogurt or homemade curd. Mix well, cover and keep the pan at any warm place overnight or for 8 hours. The process is just like how you would make homemade curd with milk.
- Once the cream has fermented, cool it in the refrigerator for 3 to 4 hours. When it has become cold, take it all out in a big bowl (stainless steel or earthen pot), add several ice cubes and churn the cream using a wooden churner or a whisker. You can do it with an electric beater as well if you don’t want to go through the hassle of doing it by hand. Traditionally though the butter is churned by hand or bilona and not by any electrical device.
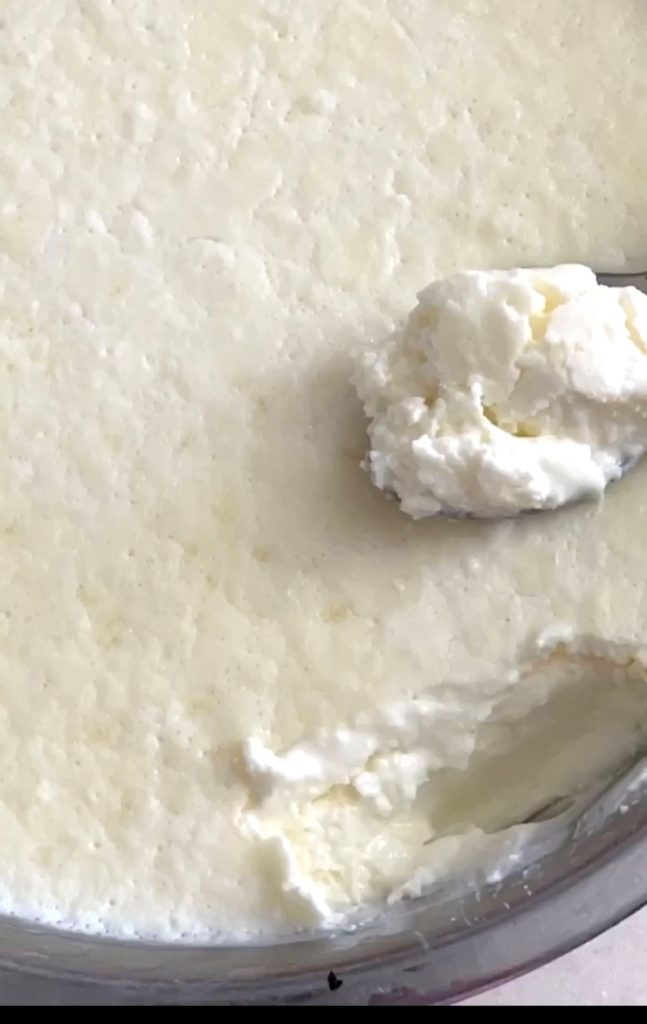
- After 10 minutes you will notice that the cream has reached whipped cream consistency.
- Continue whisking it for another 7-8 minutes. Once you start seeing the butter separating from buttermilk, add some more ice cubes. The colder it is the quicker the butter will come out.
- As you keep churning, butter will completely separate and the liquid will float on top. Separate the butter from buttermilk using your hands.
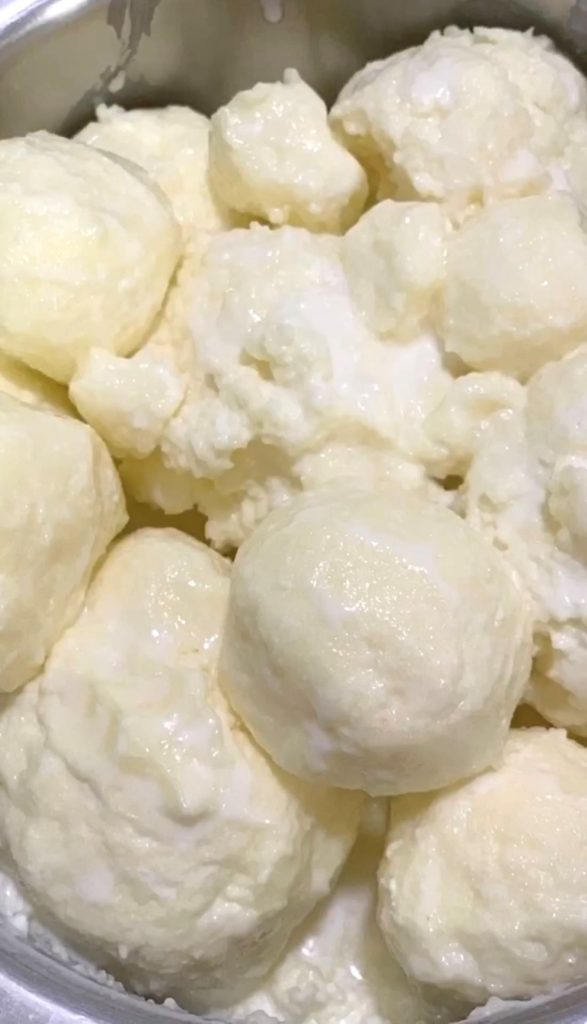
- Collect all the butter in a wok in which you will cook the butter. The wok should be heavy bottom stainless steel or brass wok. No aluminum.
- Melt the butter on a medium heat.
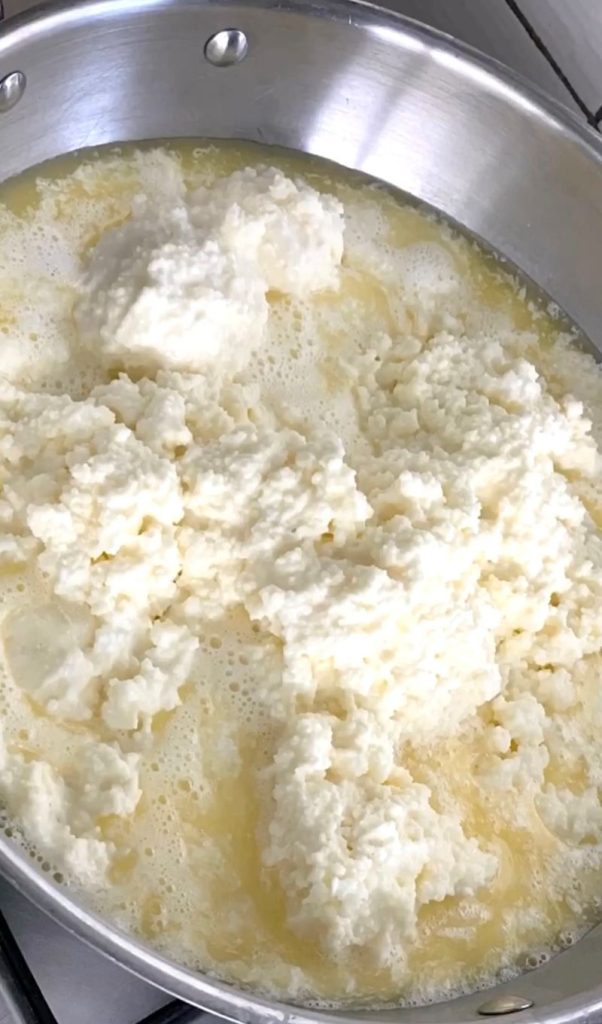
- Once the butter has melted, lower the flame to the lowest. Allow the butter to cook on the lowest flame. Keep scrapping the sides and stirring occasionally so that it doesn’t stick to the bottom.
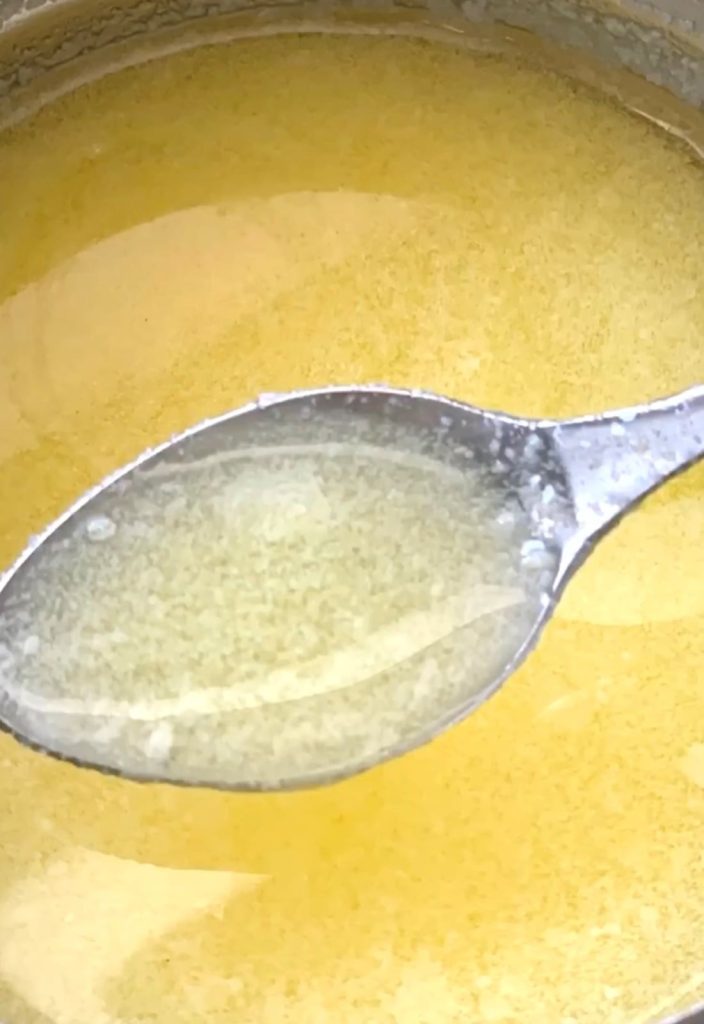
- Once the milk solids separate & the ghee turns dark, almost honey coloured, you will notice that the ghee starts frothing again and milk solids will settle at the bottom. This is the time to turn off the heat.
- Allow it to cool. Then use a strainer to separate milk solids from ghee.
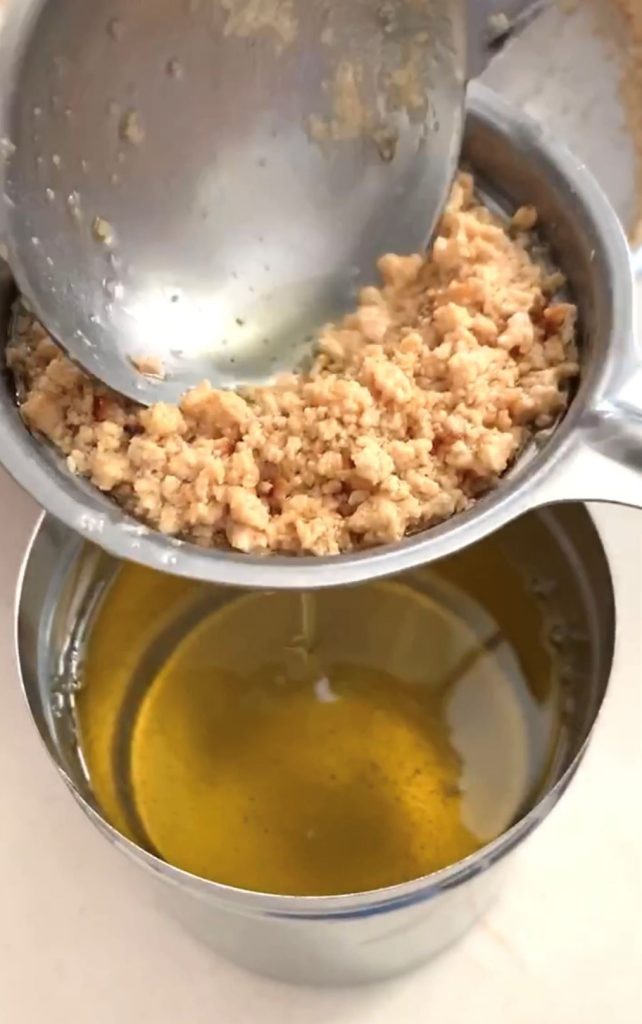
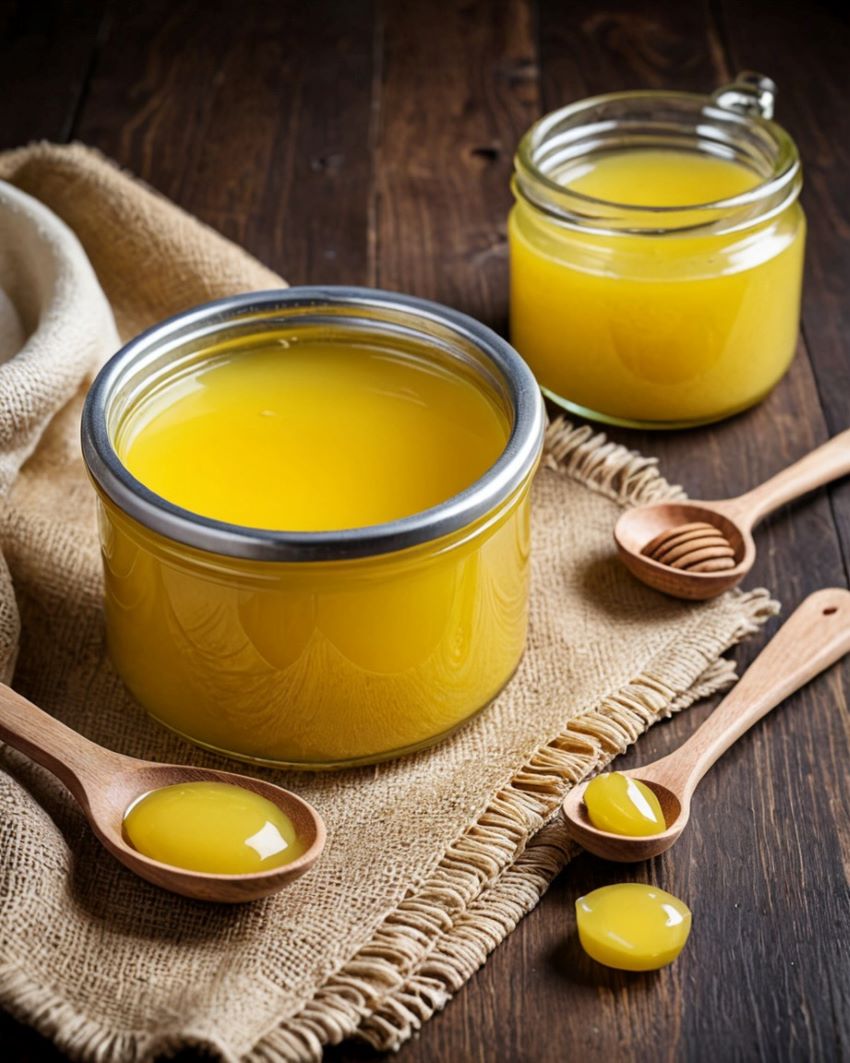
Your liquid gold is ready! Enjoy! 😊
Notes:
- The leftover liquid from butter is your amazing home-made buttermilk . Strain it and refrigerate it. Use it in cooking or consume it by adding salt and other spices. It’s a protein rich natural probiotic and great for digestion.
- If the collected cream is too old, the buttermilk or butter will taste slightly bitter but don’t worry, the ghee will still be perfect.
- Most importantly, make cultured ghee with raw A2 milk that is ethically sourced from a dairy farm and not from commercial milk that comes in a packet or a carton