
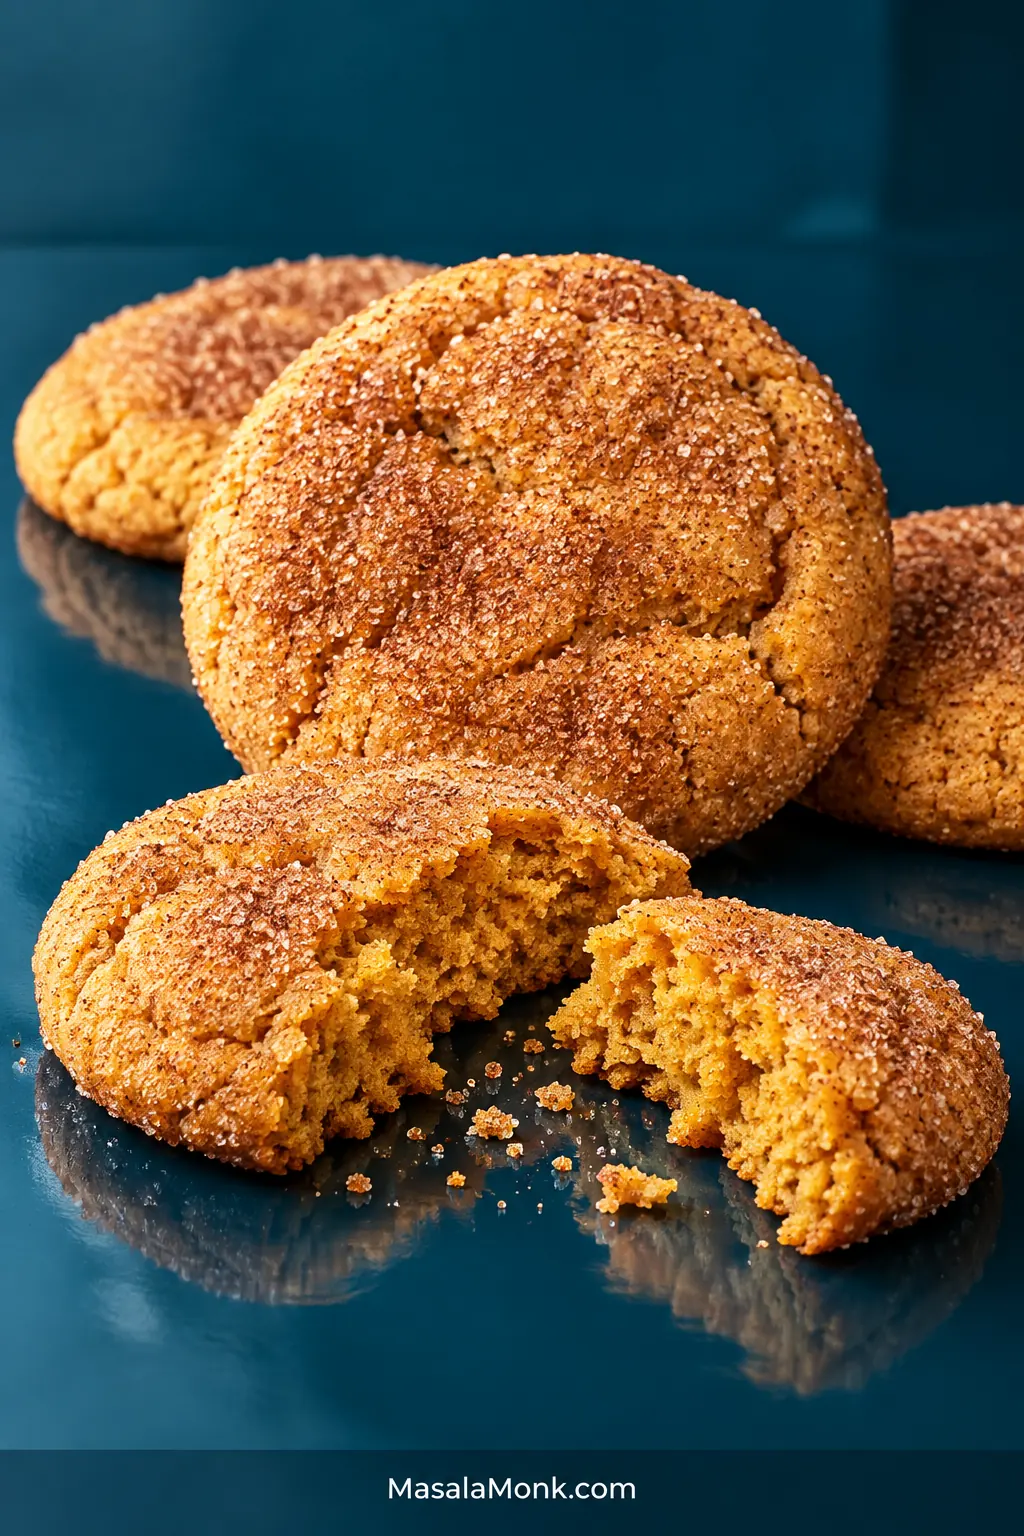
Pumpkin snickerdoodles can have all the right flavors and still come out more like cake than cookies. You want the pumpkin and warm spice, but you also want that cinnamon-sugar coating and the little tang that makes a snickerdoodle a snickerdoodle.
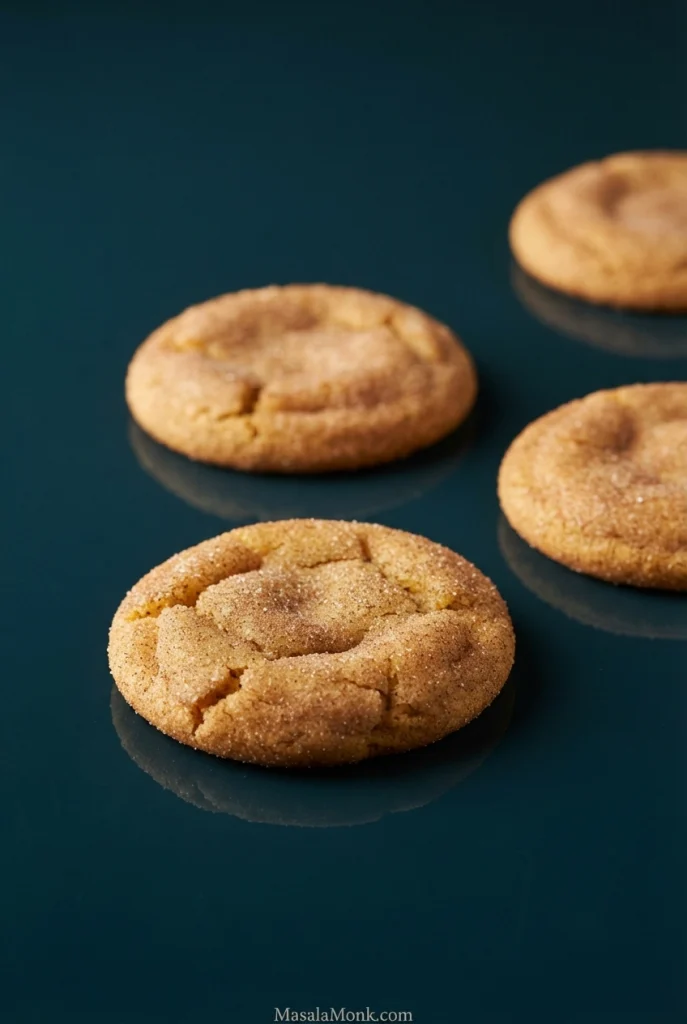
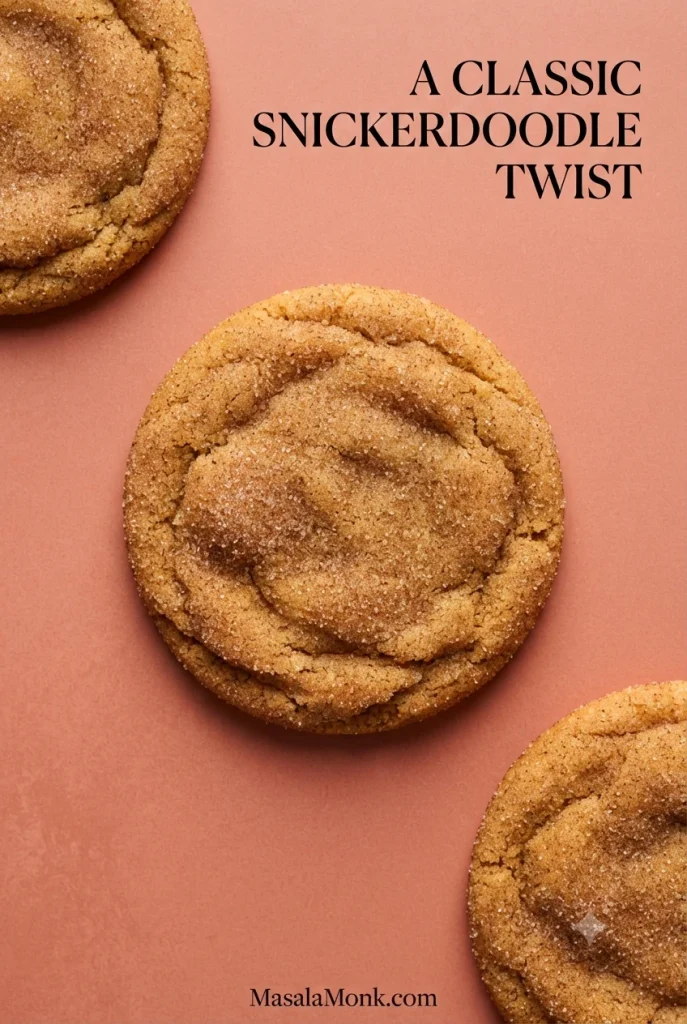
These cookies have a generous cinnamon-sugar coating, lightly set edges and soft, chewy middles. Cinnamon and butter lead, followed by that familiar snickerdoodle tang, with pumpkin and warm spice underneath. Blotting the pumpkin first is the small extra step that helps keep the middle cookie-like rather than fluffy and cakey.
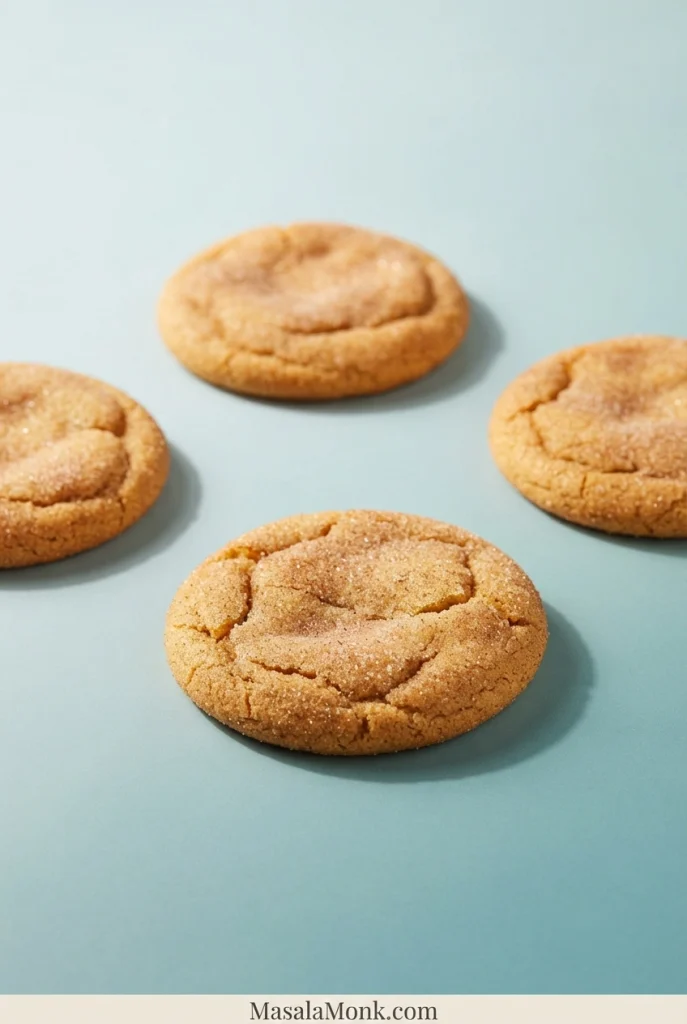
Pumpkin Snickerdoodle Cookies Recipe
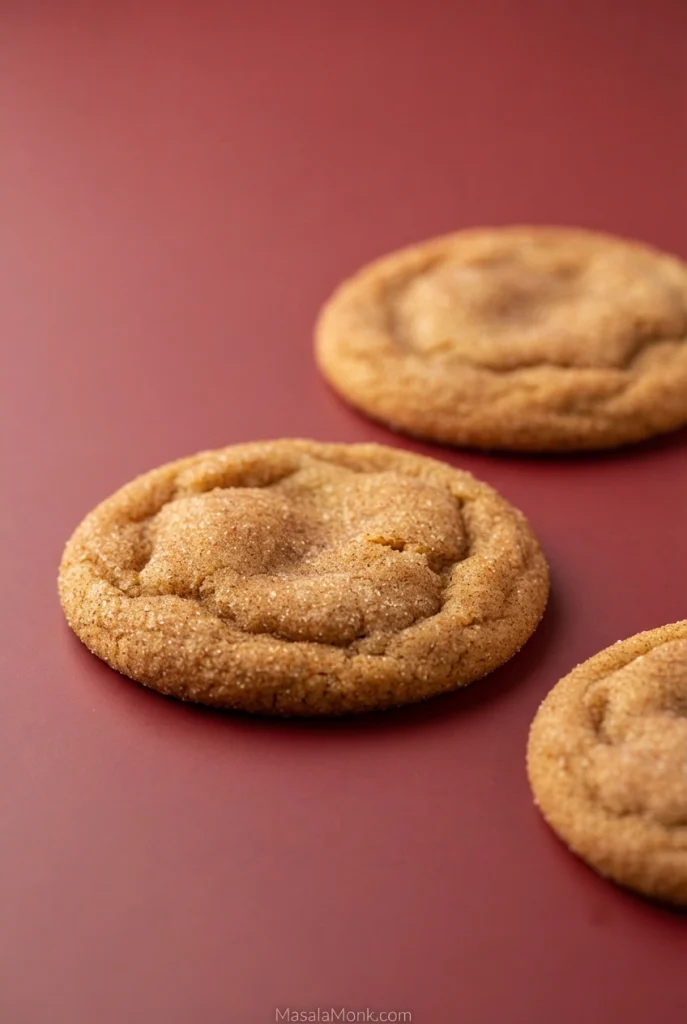
Pumpkin snickerdoodles rolled generously in cinnamon sugar, with warm spice and the classic cream-of-tartar tang.
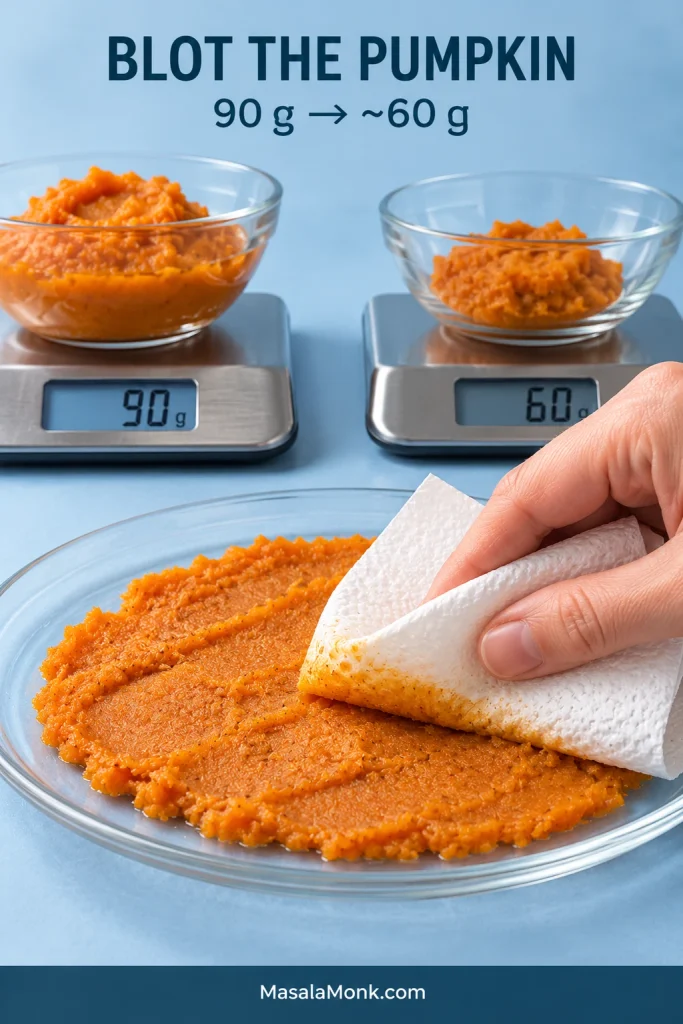
The four numbers to know: 90 g pumpkin → about 60 g after blotting · 45-minute chill · 35 g per cookie · 375°F / 190°C.
Ingredients
For the cookies
- 2¾ cups (330 g) all-purpose flour, preferably weighed
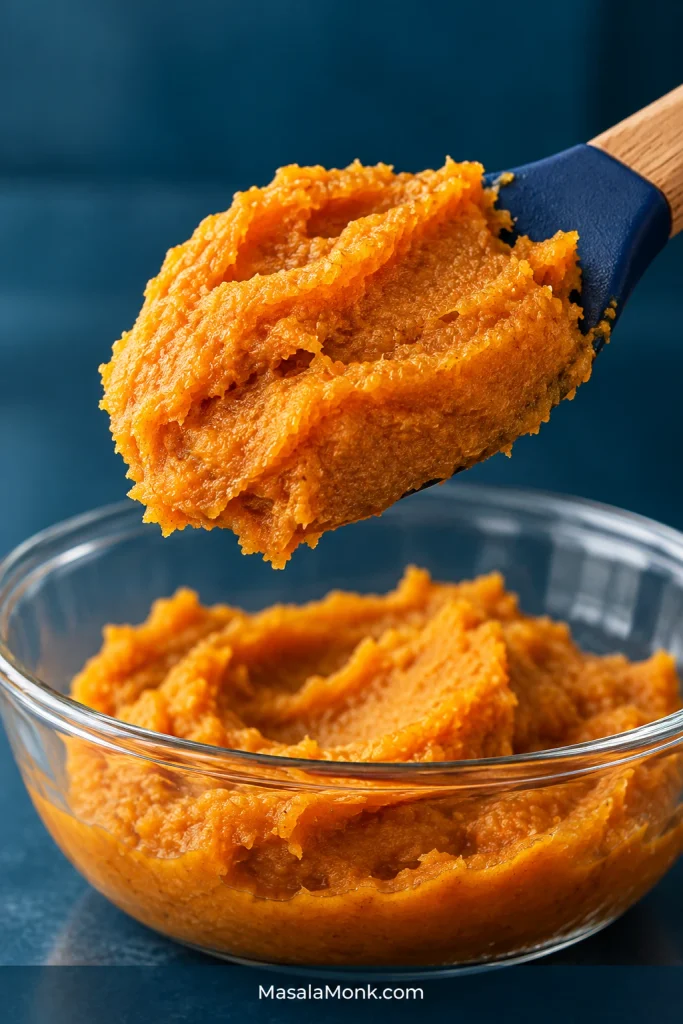
- 90 g canned pure pumpkin purée, blotted to about 60 g
- 1 cup (226 g) unsalted butter, softened but still cool
- 1¼ cups (250 g) granulated sugar
- 1 large egg yolk
- 1 teaspoon (5 ml) vanilla extract
- 2 teaspoons cream of tartar
- 1 teaspoon baking soda
- ½ teaspoon fine salt
- 1½ teaspoons pumpkin pie spice
- ½ teaspoon ground cinnamon
For the cinnamon-sugar coating
- ⅓ cup (67 g) granulated sugar
- 2 teaspoons ground cinnamon
Instructions
Make the Dough
- Blot the pumpkin. Set a clean, dry plate on a kitchen scale and tare it to zero. Add 90 g pumpkin and spread it thinly. Press with paper towels, lifting rather than wiping so you don’t remove the purée itself. Reweigh, then repeat with fresh towels until the pumpkin is down to about 60 g. You’re looking for pumpkin that is noticeably thicker but still soft enough to stir.
- Mix the dry ingredients. Whisk together the flour, cream of tartar, baking soda, salt, pumpkin pie spice and cinnamon.
- Cream the butter and sugar. Beat the butter and granulated sugar for about 2 minutes, until creamy and slightly lighter. The butter should yield when pressed while still holding its shape.
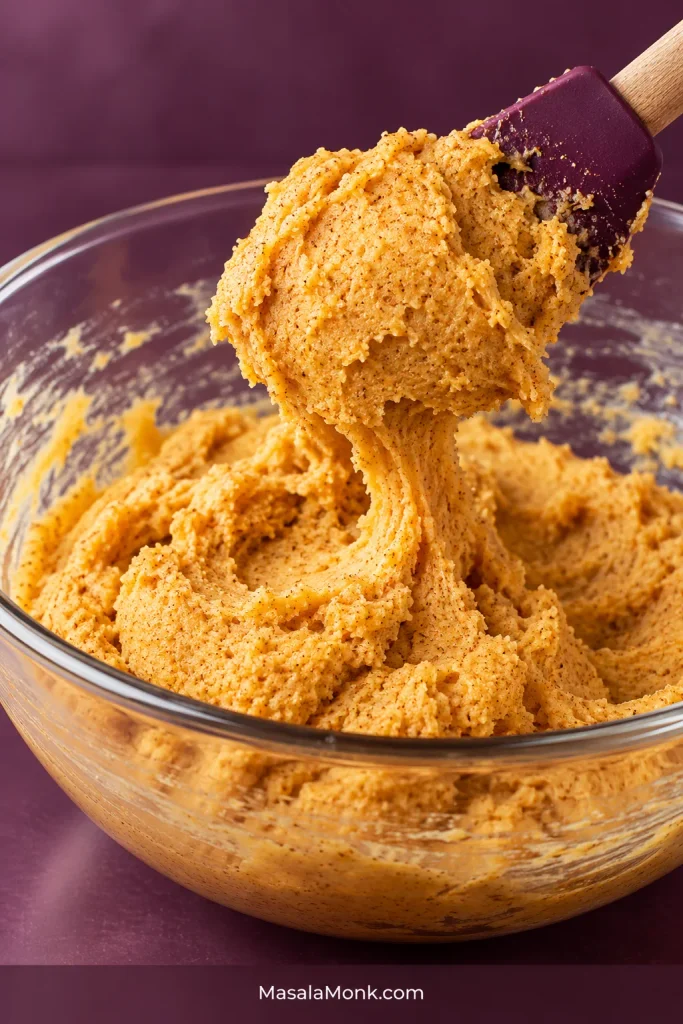
- Add the yolk, vanilla and pumpkin. Beat in the egg yolk and vanilla, then mix in the prepared pumpkin. Scrape the sides and bottom of the bowl so everything is evenly combined.
Chill, Coat and Portion
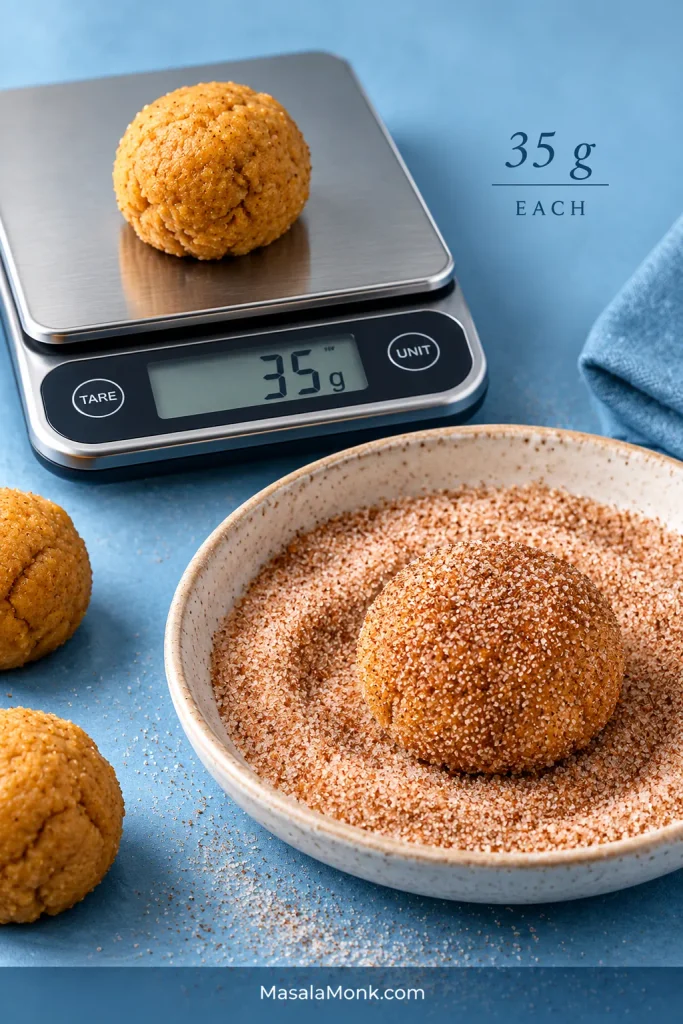
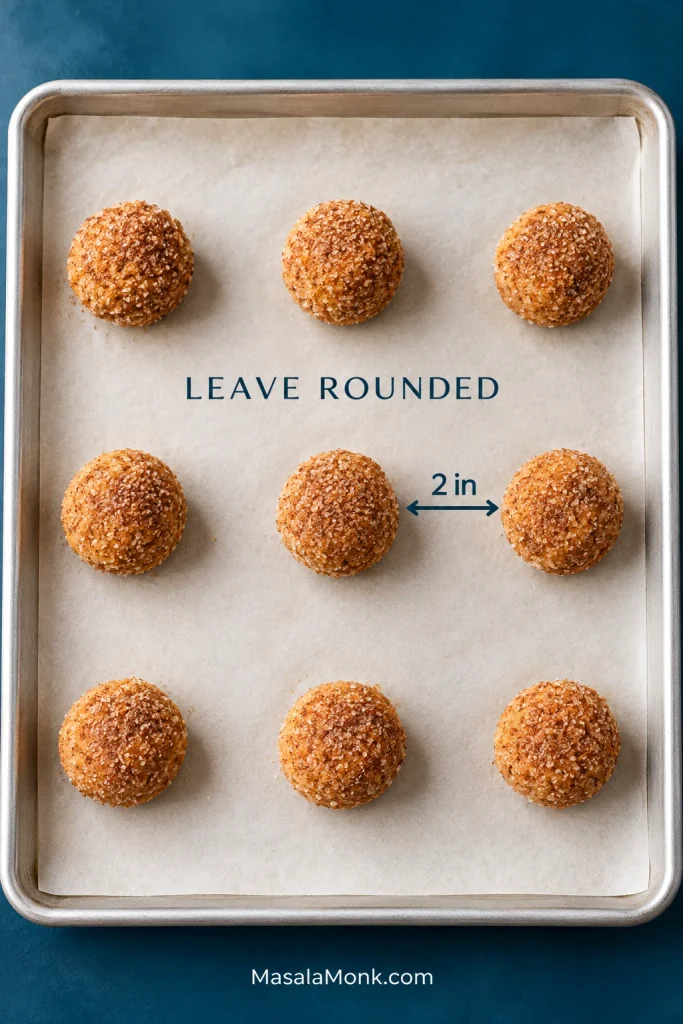
Keep the portions close to 35 g. Larger cookies can brown around the outside before their centers are ready, while smaller ones will bake more quickly.
Bake and Cool
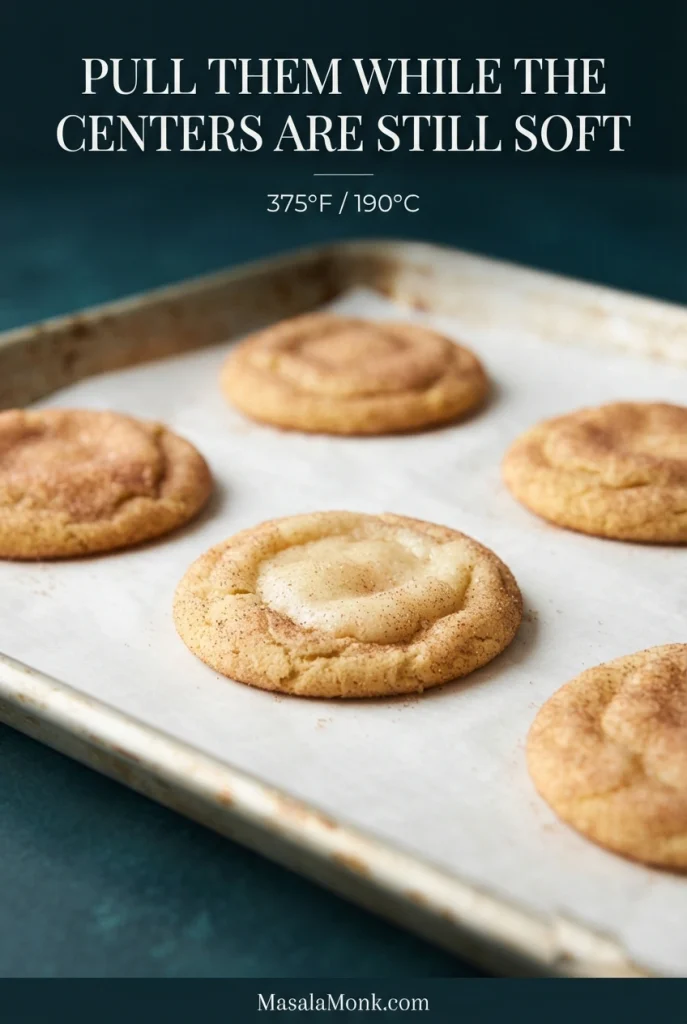
- Bake one tray at a time. Bake for 8–11 minutes. The edges should look set while the centers remain pale and soft but no longer wet or glossy. Don’t wait for the whole cookie to become firm or deeply golden; the centers continue setting on the hot sheet.
- Repeat with the remaining dough. Keep the waiting dough chilled and let the baking sheet cool before loading it again. Give the cinnamon sugar a stir between batches if it starts looking uneven.
Pumpkin, Texture & Storage
Before Baking
After Baking
Preparing the Pumpkin
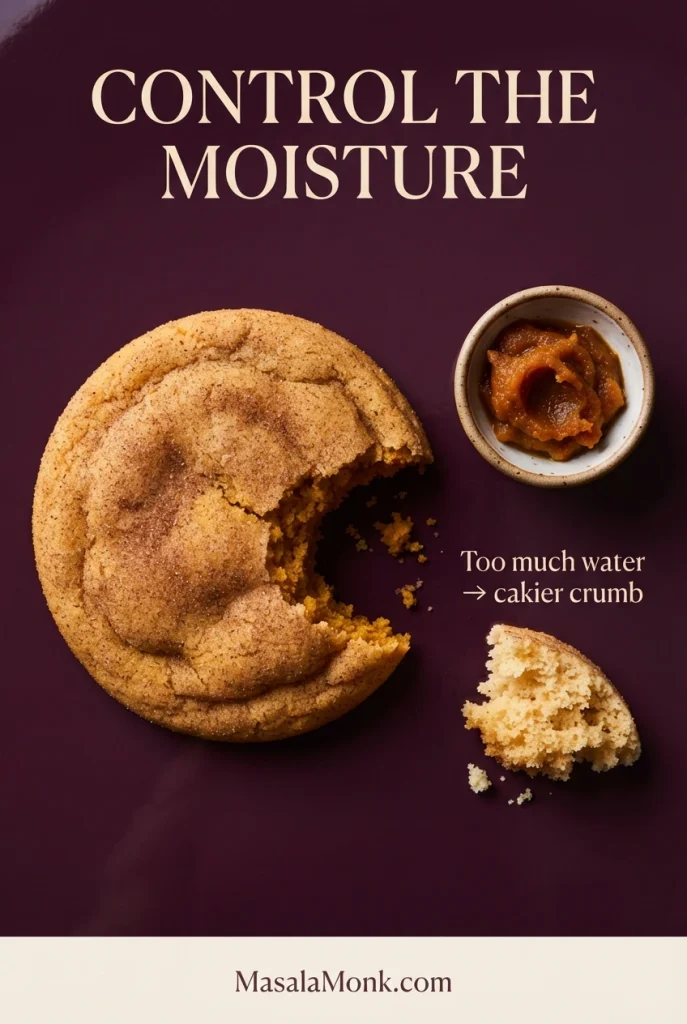
Pumpkin brings extra water into a dough that starts from a classic butter-based snickerdoodle. Blotting away some of that moisture helps the dough stay manageable without piling in extra flour, which can leave the cookies heavier and drier.
Use 100% pure pumpkin purée, not pumpkin pie filling. Pie filling already contains sugar and spices, so it changes both the balance and flavor of the cookie.
Using just the yolk keeps the egg contribution smaller while still adding richness and binding. A whole egg would change both the moisture and structure of the dough, which matters in a cookie already carrying pumpkin.
Homemade pumpkin purée can work too, but its water content varies more from batch to batch. Go by the prepared weight and the texture: about 60 g, thick but still soft enough to stir.
What the Dough Should Feel Like
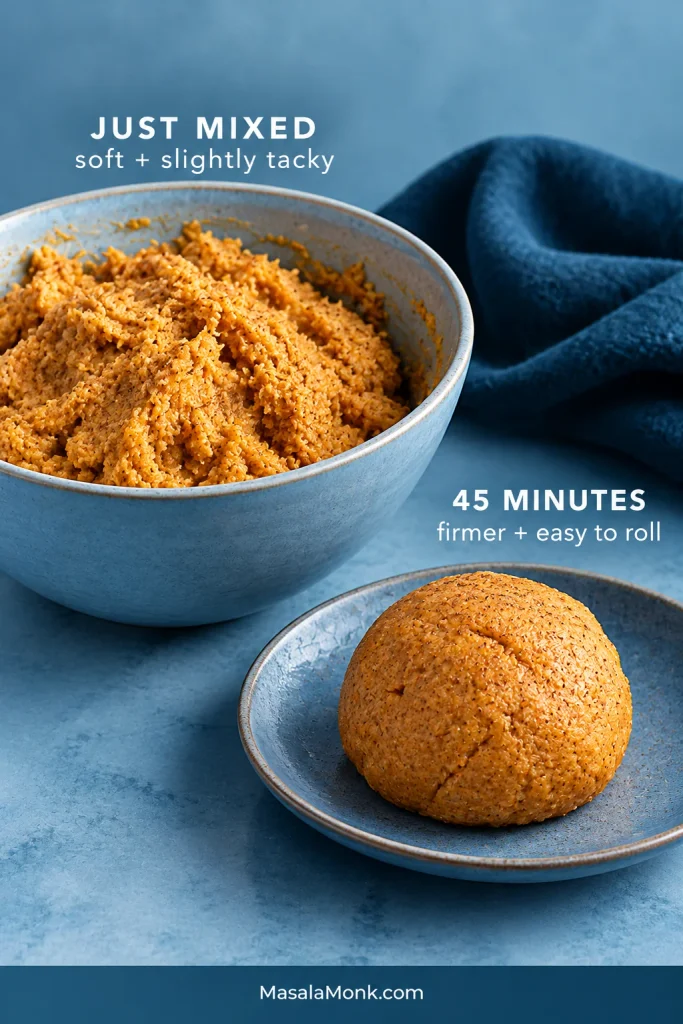
Once mixed, the dough should hold together when scooped, even if it feels a little tacky. After 45 minutes in the refrigerator, it will be noticeably firmer and easy to roll. That’s the texture you want before portioning.
Measuring flour by volume? Loosen it first, spoon it into the cup and level the top rather than scooping directly from the bag. Packed flour can leave the cookies thicker and drier than intended.
If the dough becomes progressively stickier while you’re portioning, it may simply be getting warm. Give it a few minutes back in the refrigerator before reaching for more flour.
Read the First Tray Before Changing the Dough
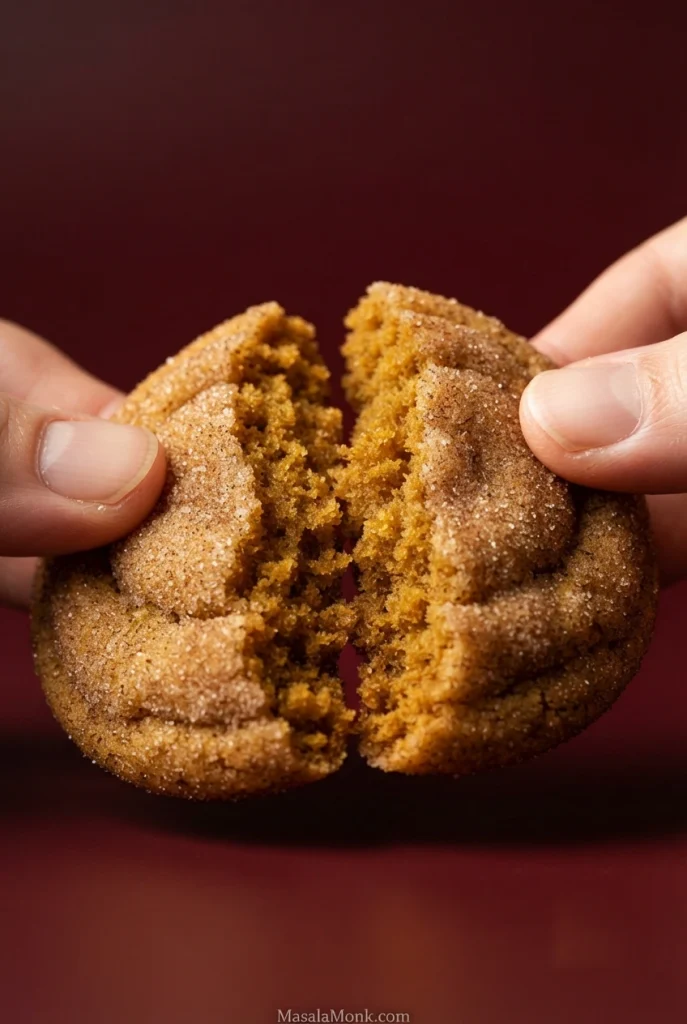
Let one cookie cool enough for its center to settle, then break it open. A good pumpkin snickerdoodle can be fairly thick: lightly set around the edge, soft and cohesive through the middle, and tender enough to bend a little before it breaks. What matters is the crumb inside, not height alone.
| Cooled cookie | What it tells you |
|---|---|
| Thick, tender and chewy | That’s the texture you’re looking for. Leave the dough alone. |
| Thick, fluffy and cakey | Start with the pumpkin and flour amounts. |
| Brown outside, gummy inside | The cookies may be too large, or the oven may be running hot. |
| Dry or crumbly | Too much flour or too long in the oven are the first suspects. |
If that first cooled cookie looks and feels right, keep going. If it doesn’t, change one thing at a time rather than tinkering with several parts of the dough at once.
Why are my pumpkin snickerdoodles cakey?
Pumpkin snickerdoodles can turn cakey when the dough carries too much moisture or the balance of flour, egg or leavening changes. But don’t diagnose them by height alone.
A tender cookie has a close, cohesive middle; a genuinely cakey one has a lighter, airier, sponge-like crumb. If that’s what you see after cooling, start with the prepared pumpkin and flour: was the pumpkin blotted to about 60 g, and was the flour measured accurately? Then make sure the egg and leaveners were used as written.
Fix the Batch in Front of You
| Problem | What to do next |
|---|---|
| Dough is still very sticky after chilling | Make sure the pumpkin was blotted to about 60 g and the flour was measured accurately. If both are right, give the dough more refrigerator time rather than adding flour. |
| Cookies spread too far | Keep the remaining dough cold. If the butter was very soft when mixed, or you’re reusing a hot baking sheet, either can encourage extra spread. |
Added way too much pumpkin? Don’t keep adding flour until the dough looks normal. A large measuring mistake changes more than the thickness of the dough. Starting again is more predictable than trying to rescue it by eye.
Keep the Snickerdoodle Flavor Front and Center
Pumpkin spice shouldn’t have to do all the work. The dough is warmly spiced, but the coating stays deliberately cinnamon-forward. On the first bite, it should still say snickerdoodle; pumpkin and warm spice come in behind it.
No pumpkin pie spice in the cupboard? Our homemade pumpkin pie spice blend gives you a way to mix what you need from individual spices.
Do pumpkin snickerdoodles need cream of tartar?
Cream of tartar gives snickerdoodles their characteristic slight tang and works with the baking soda in this dough. Leaving it out changes both the flavor and the leavening, so don’t simply omit it here. Without that classic cream-of-tartar system, you’re moving toward a pumpkin cinnamon-sugar cookie rather than the same snickerdoodle. For the traditional version without pumpkin, try our classic Snickerdoodle recipe.
Make Ahead and Freeze
The mixed dough can be covered and refrigerated for up to 24 hours. After a longer chill it may be too firm to scoop comfortably, so let it soften briefly at room temperature before portioning.
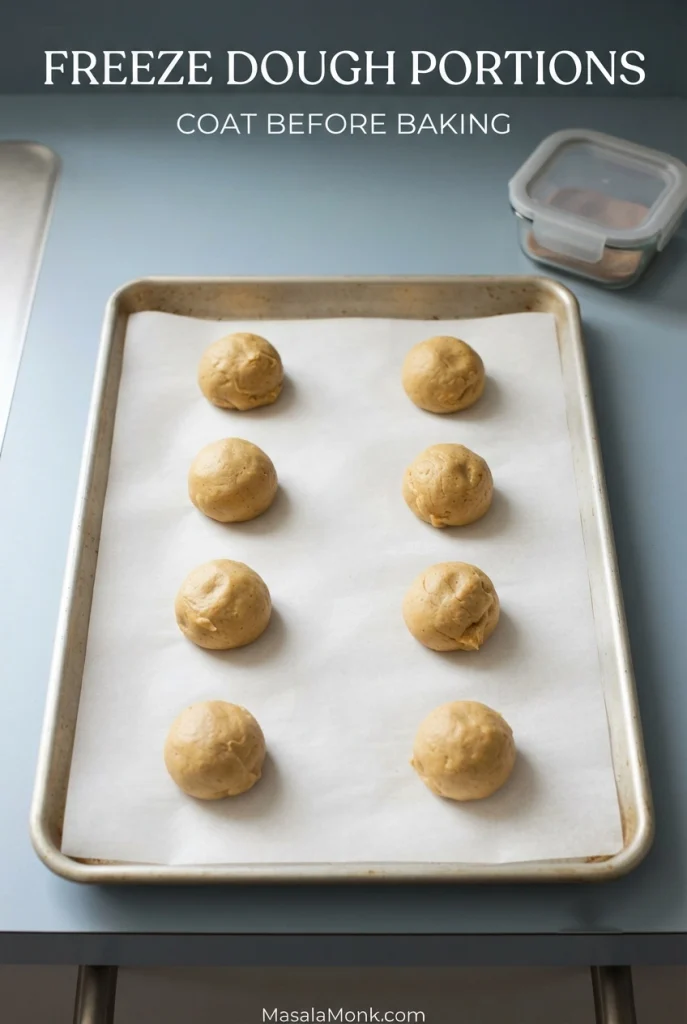
For longer storage, portion the dough into balls and freeze until firm, then pack them airtight. Thaw in the refrigerator until they’re pliable enough to roll in cinnamon sugar, then bake using the visual doneness cues above rather than relying only on the clock. Fully cooled baked cookies can also be frozen airtight and thawed at room temperature.
How to Store Pumpkin Snickerdoodles
Let the cookies cool completely before sealing them in an airtight container. Warm cookies release steam inside a closed container, which can soften the cinnamon-sugar coating and leave the surface damp.
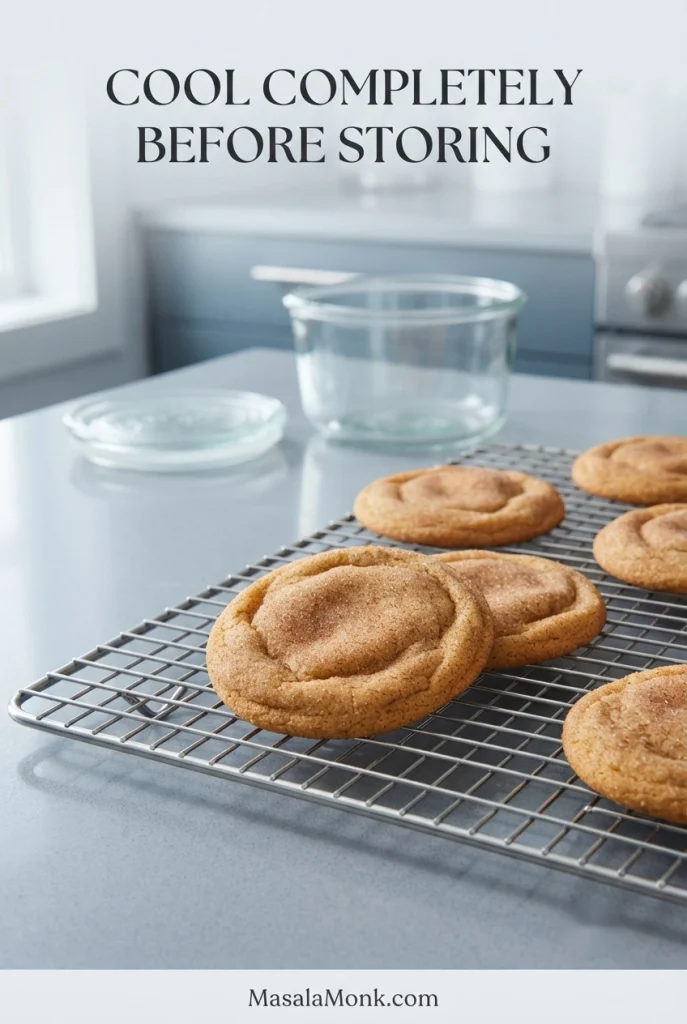
Store them airtight at room temperature for several days. The centers are meant to stay soft, so the goal is to avoid trapped moisture rather than keep the coating crisp indefinitely.








