When you’re pregnant, seafood can be a confusing topic. You hear about its amazing benefits for your baby’s brain development, but you also hear about mercury and food safety risks. Scallops, however, are one of those seafood options that tick nearly all the boxes — low in mercury, high in nutrition, and absolutely delicious.
Here’s everything you need to know about enjoying scallops safely and confidently during pregnancy.
Why Scallops Are a Smart Pregnancy Pick
Scallops are a lean protein powerhouse with plenty of pregnancy-friendly nutrients:
- Protein for tissue repair and growth
- Vitamin B12 for nerve health and red blood cell formation
- Iron for oxygen transport and preventing anemia
- Zinc and magnesium for immune and muscle health
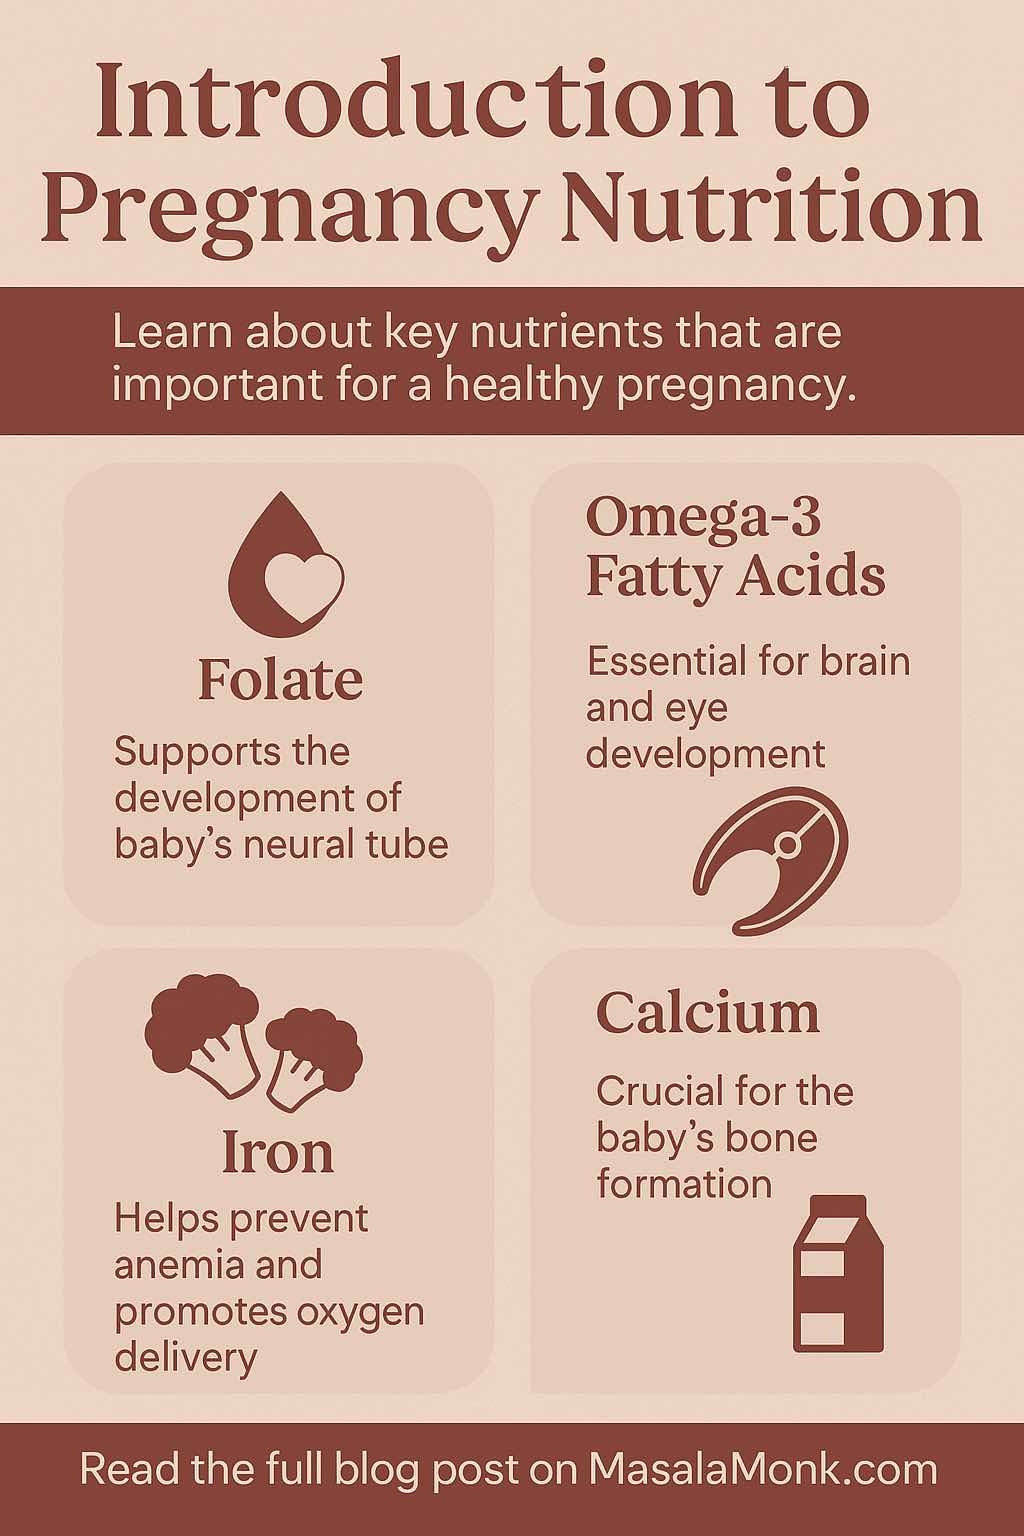
- Omega-3 fatty acids for brain and eye development
- Taurine, an amino acid that supports healthy heart and brain function
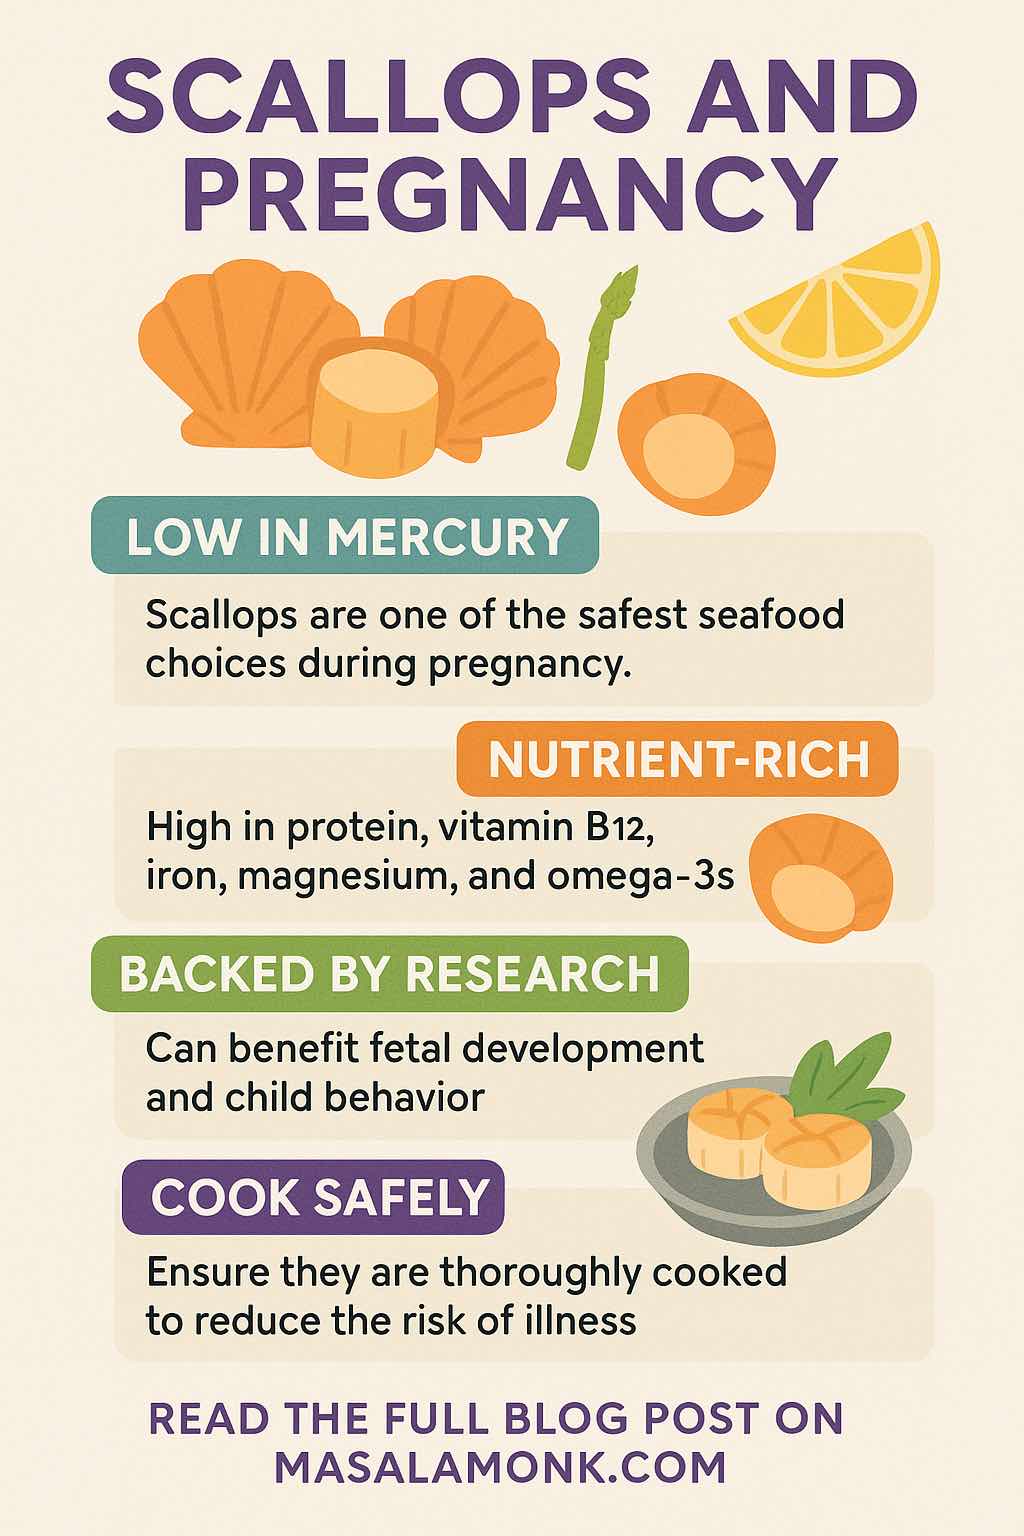
Even better? Scallops are naturally low in mercury, putting them in the FDA’s “Best Choices” list for pregnancy-safe seafood. If you want a broader view of low-mercury seafood options, check out our Guide to Seafood and Pregnancy.
Latest Research on Scallops & Pregnancy
Recent studies (2023–2025) are clear: regular, moderate seafood consumption during pregnancy is linked to better growth, neurodevelopment, and even improved behavioral outcomes in children.
A 2025 systematic review found that 4–16 oz of seafood per week during pregnancy can lead to better social-emotional and behavioral development in children under four years old. Whole seafood — like scallops — provides more benefits than supplements alone, offering a full spectrum of nutrients.
For comparison, see how scallops stack up against other healthy options in our Shellfish and Pregnancy guide.
How Much Scallop is Safe?
The FDA and EPA recommend 8–12 ounces of low-mercury seafood per week during pregnancy. This could mean:
- One serving of scallops plus other seafood like shrimp or salmon, or
- Two smaller scallop meals in your weekly menu
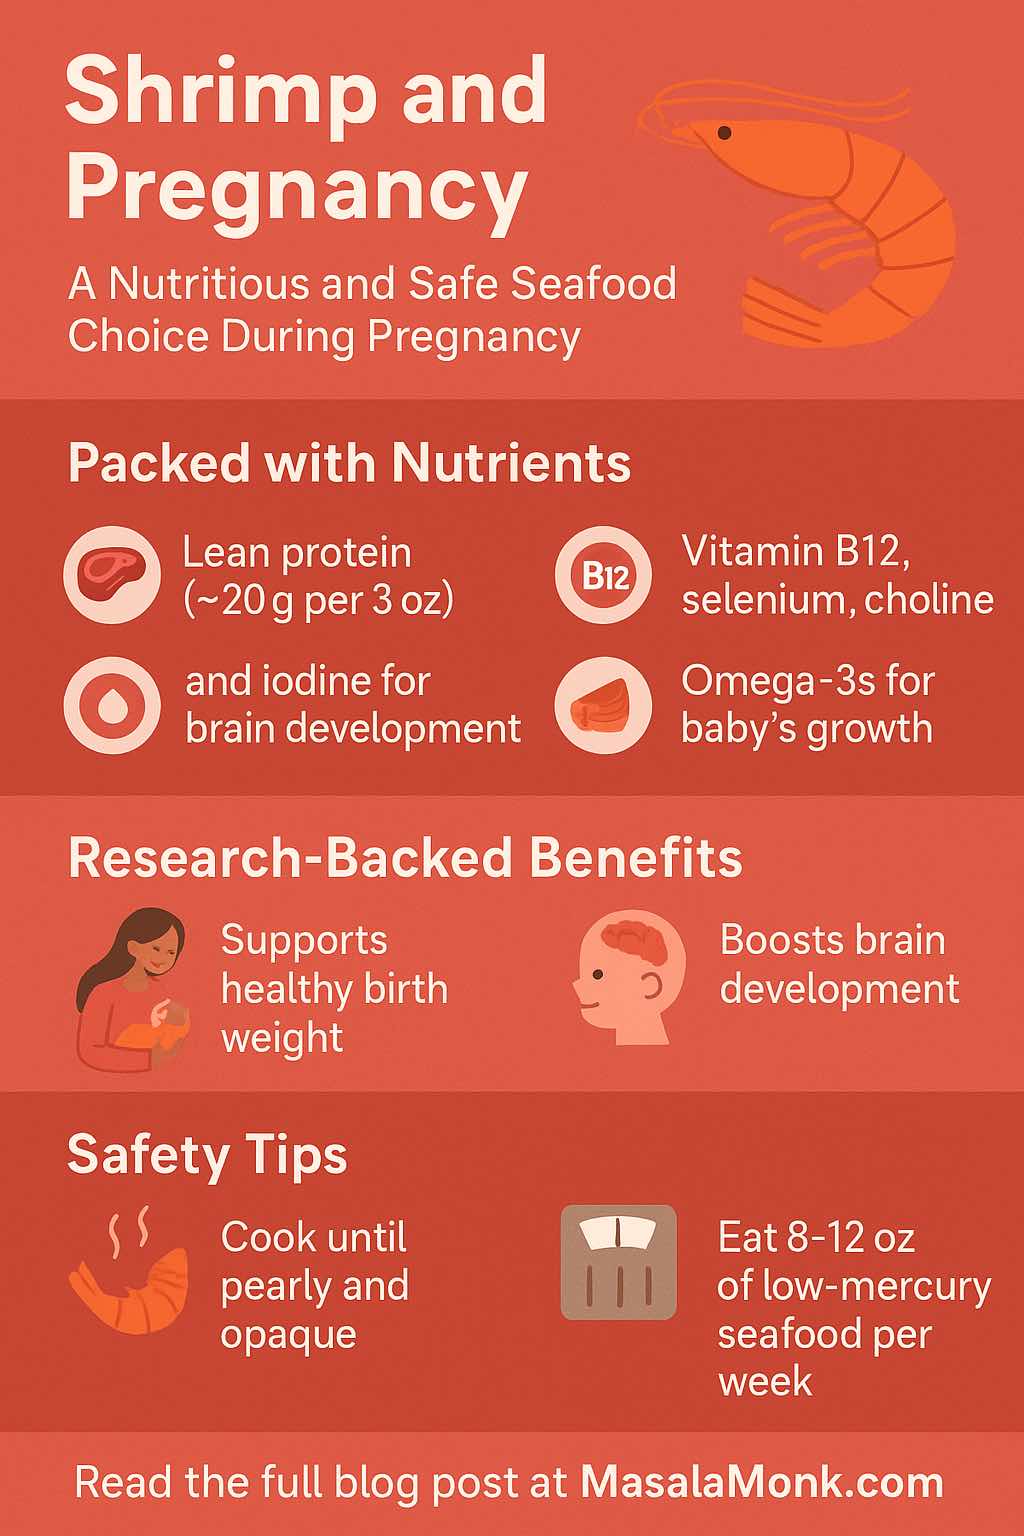
If you enjoy scallops, you might also love the sweet, low-mercury taste of shrimp — see our Shrimp and Pregnancy article for details and recipe ideas.
Cooking Scallops Safely
Because pregnancy makes you more vulnerable to foodborne illness, it’s important to cook scallops fully:
- Look for an opaque, pearly white color and firm texture
- Internal temperature should reach 145°F (63°C)
- Avoid raw scallops, such as in ceviche or sushi
If you’re looking for easy, tasty ways to prepare scallops, try adapting ideas from our Motherhood and Meals: 5 Omega-3 Rich Seafood Recipes — swap in scallops for shrimp in the stir-fry recipe for a gourmet twist.
How to Enjoy Scallops During Pregnancy
Here are a few simple, nutrient-rich ideas:
- Pan-seared scallops with lemon and asparagus
- Whole grain pasta with scallops, spinach, and olive oil
- Scallop and quinoa bowls with roasted vegetables
- Miso-broth scallops with soba noodles and greens
And for days you want more omega-3 variety, try pairing scallops with other healthy options like salmon — read our Salmon and Pregnancy post for why it’s another pregnancy superfood.
Final Takeaway
Scallops are one of the best seafood choices for pregnant women:
- Low in mercury ✅
- High in protein and essential nutrients ✅
- Easy to cook and versatile ✅
By keeping your portions moderate, cooking them thoroughly, and mixing them with other safe seafood options, you can enjoy scallops guilt-free and benefit from their impressive nutritional profile.
Pregnancy is about nourishing your baby and yourself — and with scallops, you can do both deliciously.
FAQs: Scallops and Pregnancy
1. Are scallops safe to eat during pregnancy?
Yes. Scallops are low in mercury and considered one of the FDA’s “Best Choice” seafood options for pregnant women when cooked thoroughly.
2. How often can I eat scallops while pregnant?
You can safely enjoy scallops as part of your 8–12 ounces of low-mercury seafood per week, as recommended by the FDA and EPA.
3. What nutrients do scallops provide for pregnancy?
They’re rich in lean protein, vitamin B12, iron, zinc, magnesium, omega-3 fatty acids, and taurine — all important for your baby’s growth and brain development.
4. Can eating scallops help my baby’s brain development?
Yes. Omega-3 fatty acids and B12 in scallops support cognitive and neural development, while iodine helps with thyroid and brain function.
5. Should I avoid raw scallops when pregnant?
Absolutely. Raw or undercooked scallops may contain bacteria or parasites. Always cook them to an internal temperature of 145°F (63°C).
6. Are frozen scallops safe during pregnancy?
Yes, if they’re properly stored and cooked. Freezing doesn’t eliminate bacteria, so full cooking is still necessary.
7. Are scallops high in mercury?
No. Scallops are naturally low in mercury, making them a safer seafood choice during pregnancy.
8. How do scallops compare to shrimp for pregnancy nutrition?
Both are low-mercury, high-protein shellfish. Scallops have slightly more B12 and magnesium, while shrimp offer more iodine.
9. Can I eat scallops from restaurants while pregnant?
Yes, if you trust the source and the scallops are fully cooked. Avoid raw preparations like ceviche or sushi.
10. What are some healthy ways to cook scallops while pregnant?
Pan-searing, baking, steaming, or grilling with vegetables and whole grains are great ways to enjoy scallops while maximizing nutrition.