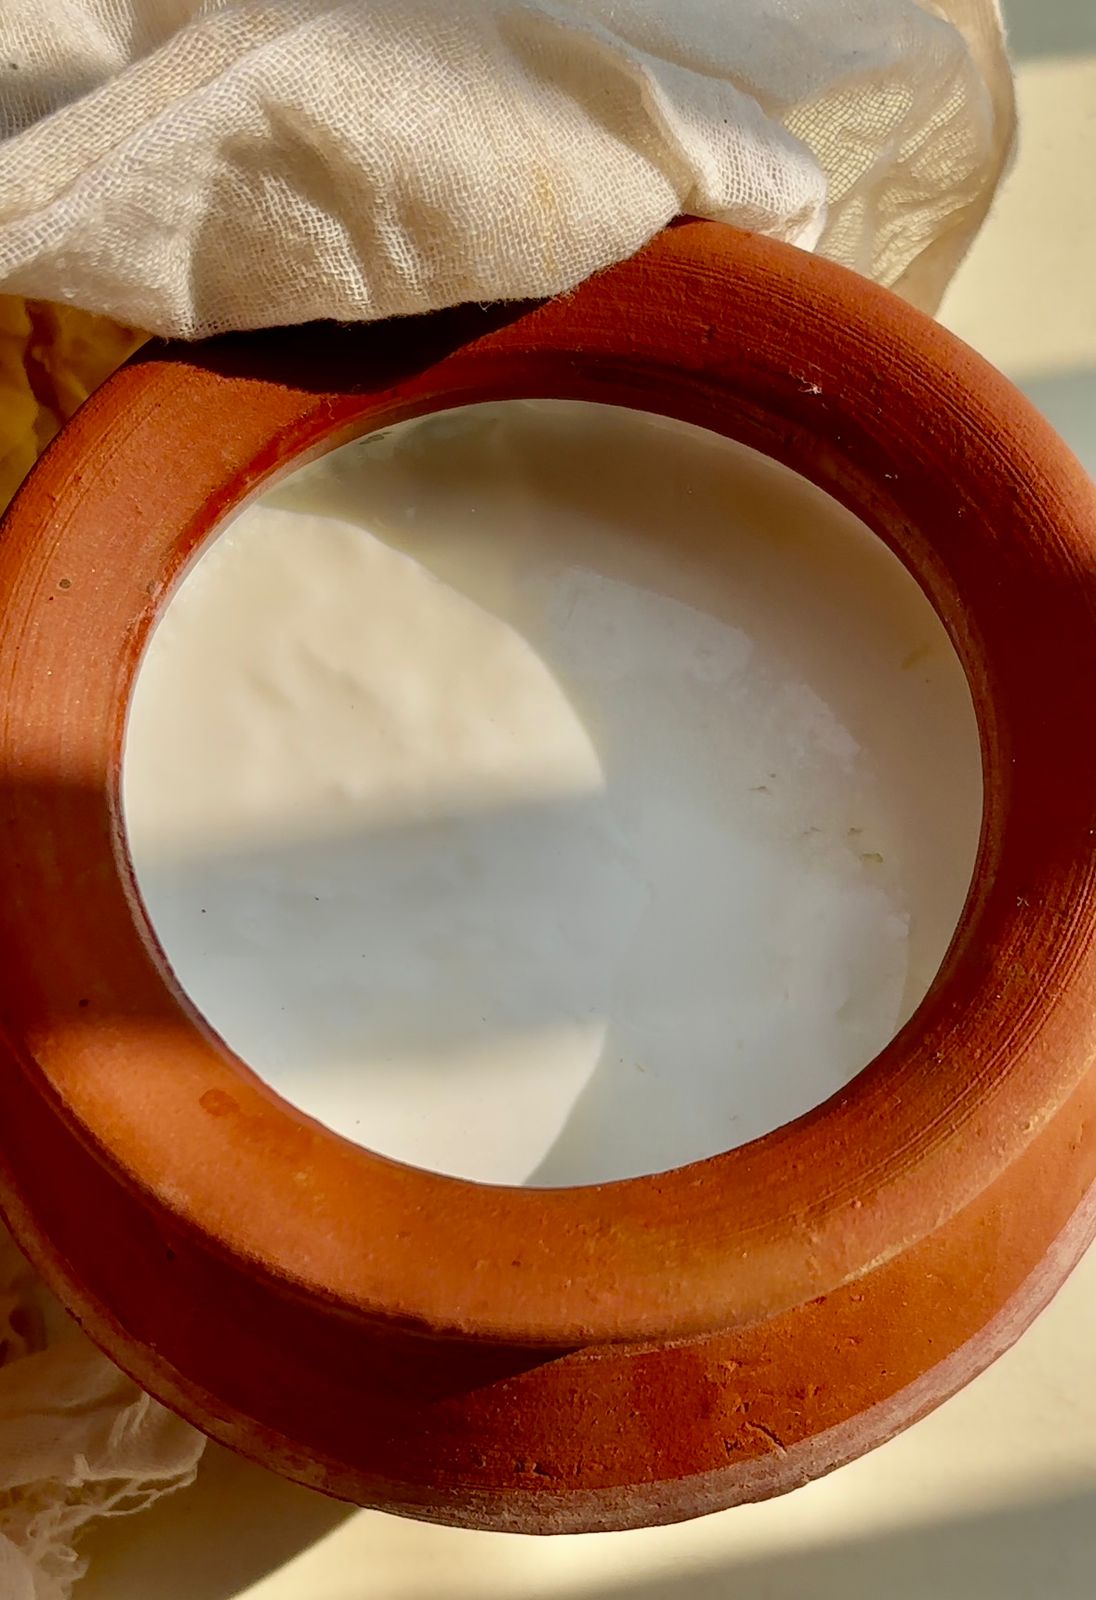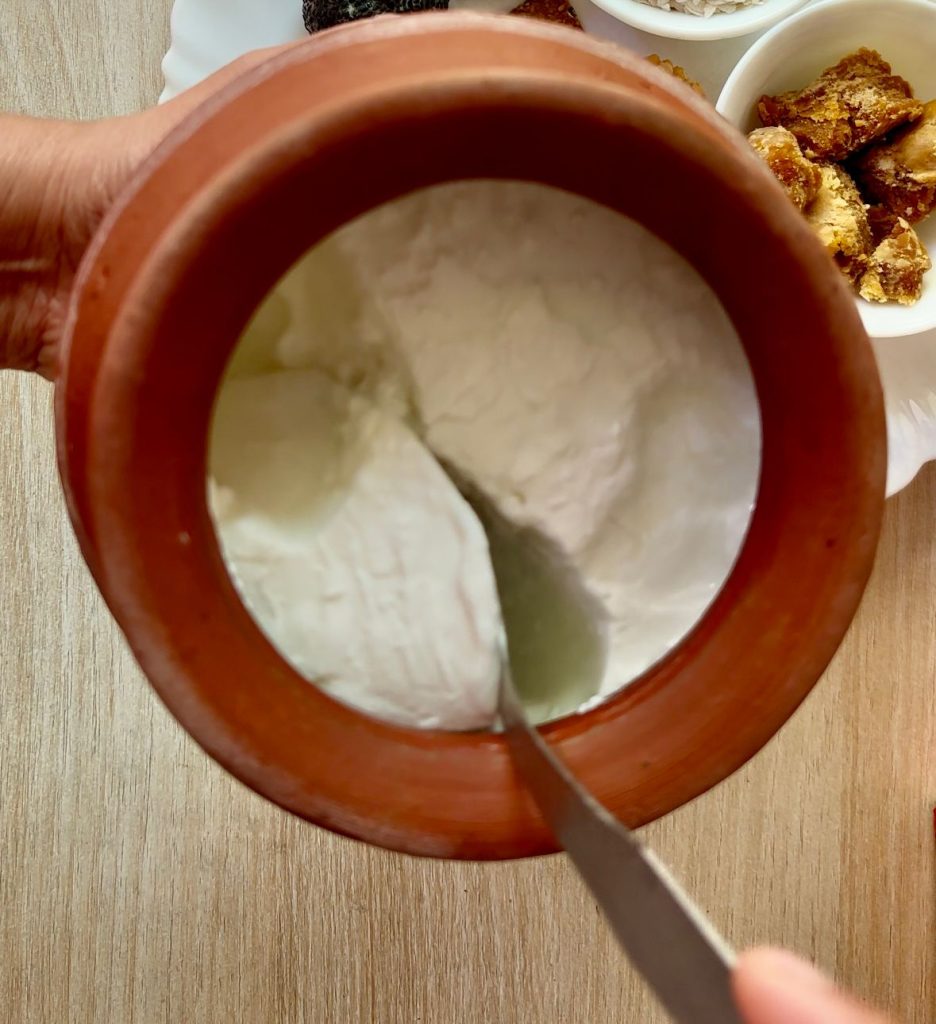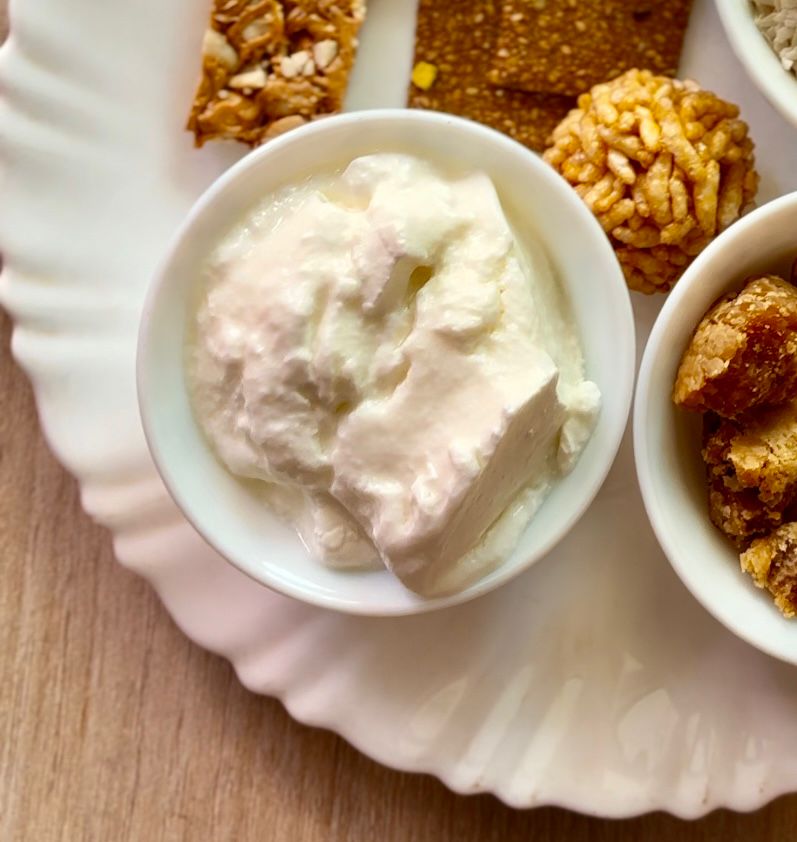
Setting curd in winter can be a challenge, especially in the colder regions of India where temperatures drop significantly. But fear not! With a few tips and tricks, you can enjoy homemade curd that’s creamy, thick, and perfect for your meals, even during the chilliest months.
Why Is It Difficult to Set Curd in Winter?
Curd requires a warm environment for fermentation. The bacteria in the starter culture thrive at temperatures between 30°C to 40°C. In winters, the ambient temperature often falls below this range, slowing down or halting the fermentation process.

Tips to Set Curd Successfully in Winter
1. Choose the Right Container
Use a ceramic, clay, glass, or stainless steel container as these retain heat better than plastic.
Pre-warm the container by rinsing it with hot water before adding the milk and starter.
2. Heat the Milk Properly
Heat the milk until it starts to simmer (do not boil). This ensures the milk is warm enough for fermentation.
Let the milk cool down to a lukewarm temperature (about 35°C-40°C) before adding the starter. A simple test: it should feel warm but not hot when you touch it.
3. Use a Good Starter
Always use fresh and active curd as a starter. Older or less active curd may not yield good results.
Add about 1-2 teaspoons of starter to 500 ml of milk. Whisk it well to mix evenly.
4. Keep It Warm
Maintaining a warm environment is the key to setting curd in winter. Here are a few tricks:
Wrap It Up: Cover the container with a thick towel or woolen cloth to retain warmth.
Use a Casserole: Place the curd container inside an insulated casserole to keep it warm for longer.
Oven Method: Preheat your oven for 5 minutes at the lowest temperature, turn it off, and place the container inside.
Hot Water Bath: Place the curd container in a larger bowl filled with warm water (not boiling) to create a warm environment.
5. Add a Warm Touch
If the milk is slightly colder than needed, add a pinch of sugar to the starter to activate the fermentation process.
You can also add a green chili stalk or a dried red chili to the milk. This traditional Indian trick boosts fermentation due to the bacteria present on the chili surface.
6. Time It Right
In winter, curd takes longer to set compared to summer. Leave the container undisturbed for 8-10 hours, preferably overnight. Check after this period, and if needed, give it a bit more time.
How to Store the Set Curd
Once the curd is set, refrigerate it immediately to stop further fermentation and prevent sourness. Always use a clean spoon to scoop out curd to maintain its freshness.
Nothing beats the satisfaction of enjoying creamy, homemade curd, even in the chilliest Indian winters. From pairing it with parathas to turning it into raita or adding it to curries, curd is a staple in Indian cuisine and an essential part of a healthy diet.

So, next time the temperature drops, don’t let the cold stop you from enjoying your homemade curd. Use these tips and relish the joy of perfectly set curd, no matter how cold it gets!
Try these tricks and let us know how they worked for you!


