Baking gives me so much joy. I don’t consider myself as an exceptionally good baker but whenever I chance upon a good baking recipe, I would often bookmark it and bake it at home. So, when I saw this amazing recipe on Pinterest, I immediately bookmarked it.
My interest in bread baking started during Covid time. It was when there was a lockdown in my city and procuring everyday things became such a hassle. I think that was the time when many people tried baking recipes at home. Before bread baking, I was used to making a lot of tea cakes and cookies at home but 2020 was the first time I tried my hands in bread baking. After a couple of trials, I started baking decent bread at home. Taking confidence from that, I started baking buns, dinner rolls, focaccia and many more kind of breads at home. Now 3 years down the line, I can say I am pretty good at it. You can try my Braided Coconut Banana Bread which is mildly sweet and delicious.
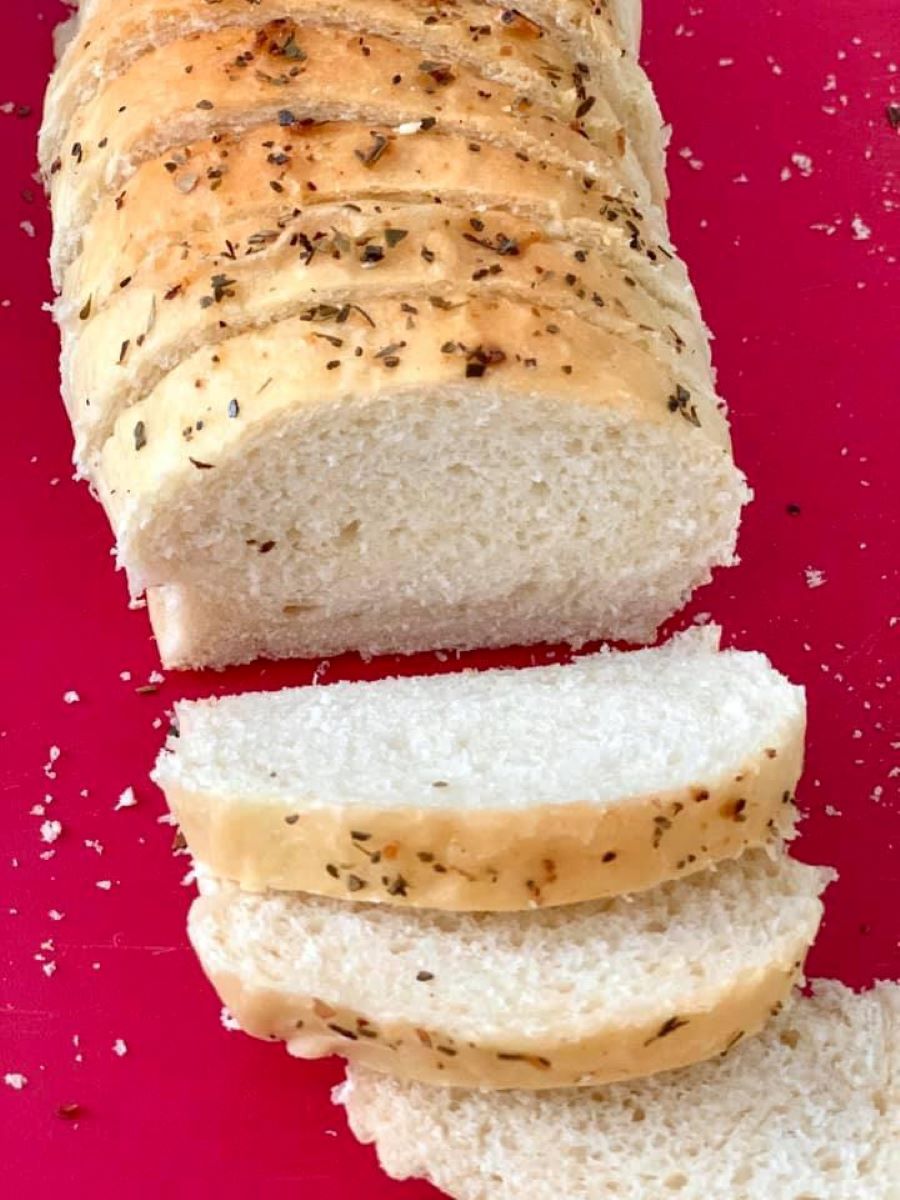
I absolutely love garlic bread- that buttery aromatic garlicky flavoured bread that I can just munch away. This recipe is exactly that. I don’t like making those dishes that involve too many ingredients and have too many complicated steps. I often go for recipes which are fuss free, has easy to follow steps and tastes absolutely delicious. The moment I saw this recipe, I was excited to bake it. The next day I gathered all the ingredients and spend some time in the kitchen baking this wonderful garlic bread. The recipe is adapted from a blog Magic from Indian Rasoi.
This an easy recipe and if you are a beginner you can definitely try this. Let’s see how you can make this
Recipe: Bakes 2 loaves
Ingredients: cup measurement 250 ml
- All Purpose Flour: 2.5 cups
- Sugar: 1 tbsp
- Extra Virgin Olive oil: 3 tbsp
- Instant Dry Yeast: 1.25 tsp tsp
- Salt: 1.5 tsp
- Lukewarm Milk: 1/2 cup
- Milk Powder: 2 tbsps
- Minced Garlic: 2 tbsp
- Melted Salted Butter: 2 tbsps, for brushing
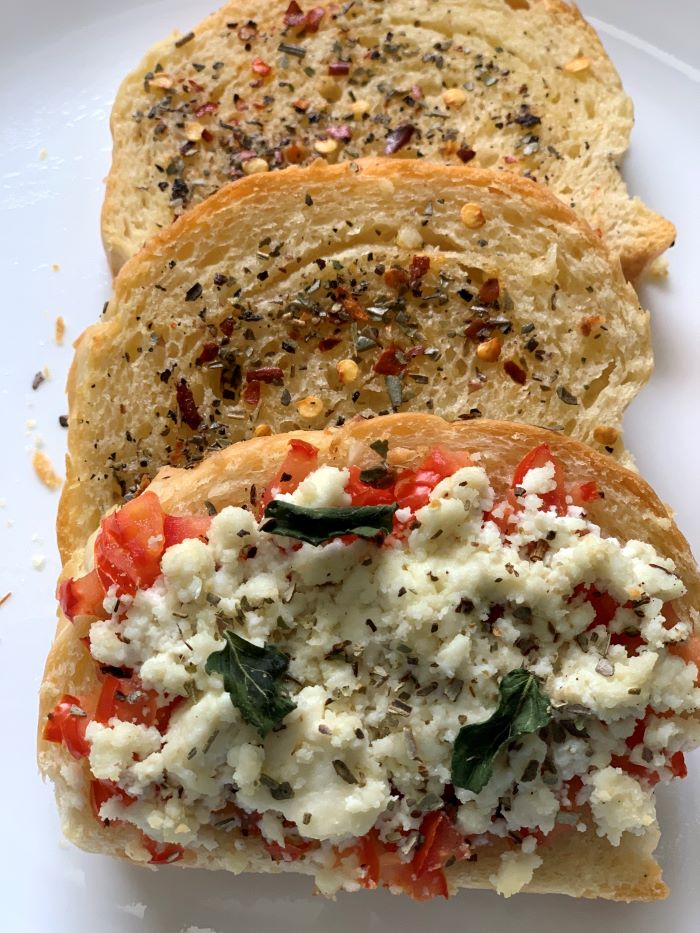
- Mixed Italian Herbs for garnish (optional)
Instructions
- In a bowl add minced garlic, mixed Italian herbs and melted salted butter. Keep aside.
- In another bowl add yeast, sugar & lukewarm water & milk. Mix it. Keep aside for 7-10 minutes for yeast to proof. You know the yeast has proofed if it becomes foamy. You can use instant yeast directly, but I like to proof it just to be sure.
- In another large bowl, add flour, milk powder & salt. After proofing, mix the mixture to form a soft & sticky dough. The dough will be very sticky at this point, and you will get tempted to add more flour but strictly avoid it.
- Sprinkle very little flour on the kitchen counter or your work surface. Take the dough out on kitchen counter and add olive oil. Knead in forward and backward motion for 10 minutes or till the dough becomes smooth and non-sticky. I kneaded it for 15 minutes.
- To be sure if you have kneaded enough, poke the dough. If it bounces back, it’s done. If not and the indentation remains, knead for some more time.
- Grease a big bowl with oil. Place the dough in it, apply oil on top and even out the dough with your hands.
- Cover with a cling wrap or a kitchen towel to avoid dough from drying and proof it at a warm place for 1 to 1.5 hours or till the dough doubles in size. It might take more time depending on the temperature in your area.
- After the dough has doubled, punch it down and knead again for 1-2 mins.
- Divide the dough into two equal portions (approx. 260 gm each).
- Using a rolling pin, roll each portion into a rectangle and generously apply garlic butter on the inside covering all the corners with a brush.
- Now tightly roll the rectangle into a log shape and place both the loafs on two different 6 by 3-inch loaf pans.
- Cover the pans loosely with a cloth and keep it in dark place for second proofing. It’ll take 35-40 minutes. Just gently poke on the side. If the indentation remains, your bread has proofed and is ready to bake.
- In the meantime, pre-heat the oven at 180C/350F for 10-12 mins.
- After the second proof, apply remaining garlic oil on the top of the loaf & sprinkle some mixed herbs.
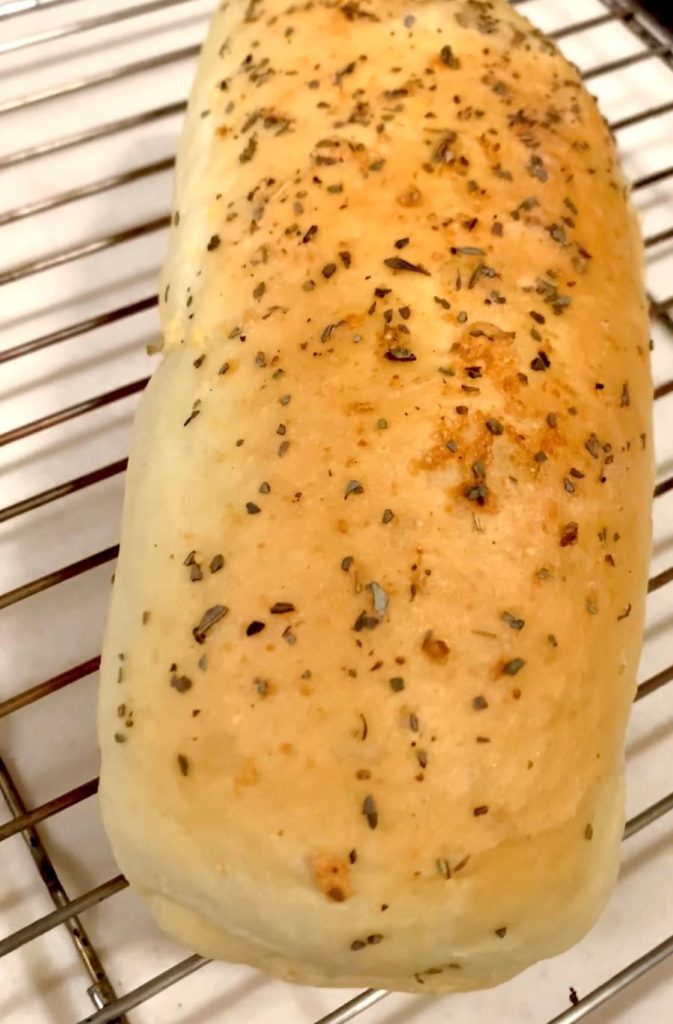
- Place the pans on a baking tray at the centre rack (both rods on) & bake at 180C for 30 mins or until a golden crust form on top. Once done, tap the bread, if it makes a hollow sound, it’s done.
- Once baked, remove the Garlic Bread Loaves from the oven & brush it generously with melted butter.
- Transfer the bread to a cooling rack & allow it to cool completely for 1-2 hours before slicing it.
Notes:
- How do you know the first rise is done: This can take one to three hours, depending on the temperature and moisture in the dough. Check your dough. If it has doubled in size, it’s good for second proofing. Generally speaking, a warm, humid environment is best for rising bread.
- How do you know your bread is ready for baking? To check that your dough has risen to its full capacity, gently press a fingertip into the surface – if the dough springs back, it means the gluten hasn’t developed fully, so you can leave it for a little longer. If the indentation left by your finger remain, it means the gluten has stretched as much as it can, and the dough is ready to bake. Don’t leave it any longer or the air bubbles will start to collapse, and your bread will be dense.
- Dough will feel sticky at the starting but do not add more flour to it. It will become smooth after kneading for 10 mins.
- While rolling the dough into a log, make sure you tuck in all the edges. Leave no gaps.
You can half the recipe if you want to make only 1 loaf. You can also keep the dough in the refrigerator after putting it in the loaf tin after the first proofing and bake it the next day. The dough will proof slowly in the refrigerator. In fact, it will develop more flavour.
I hope you enjoyed reading this recipe. Do give this recipe a shot. I am sure this recipe will bring you a lot of joy. If you try this recipe, do give us a shout out. Just click a picture and tag us on @masala.monk or use the hashtag #MasalaMonkRecipe and share on Instagram and Facebook. We would love to hear from you. Happy Baking! 🙂