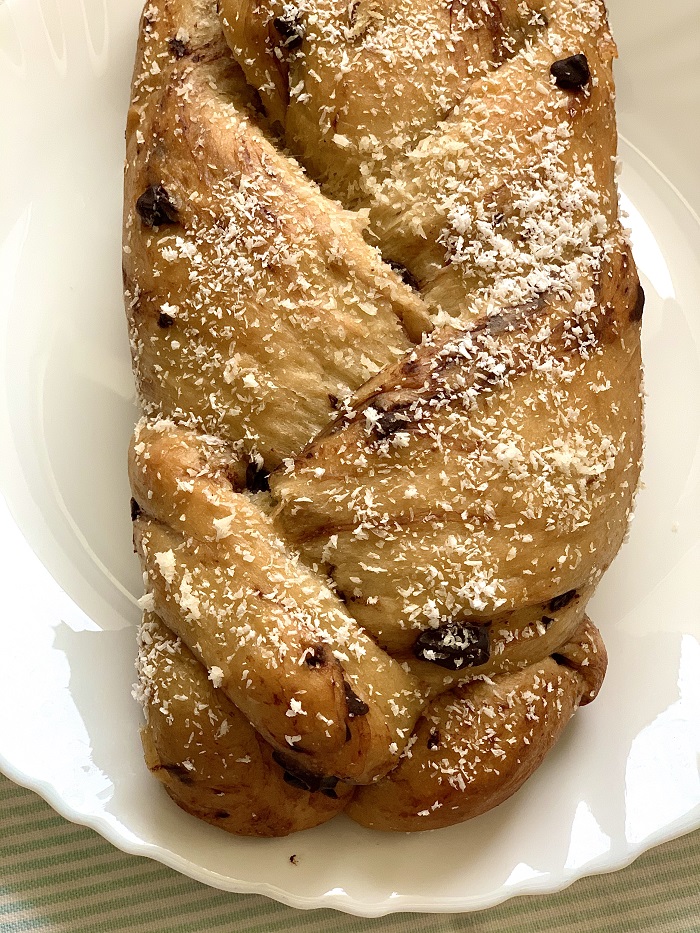
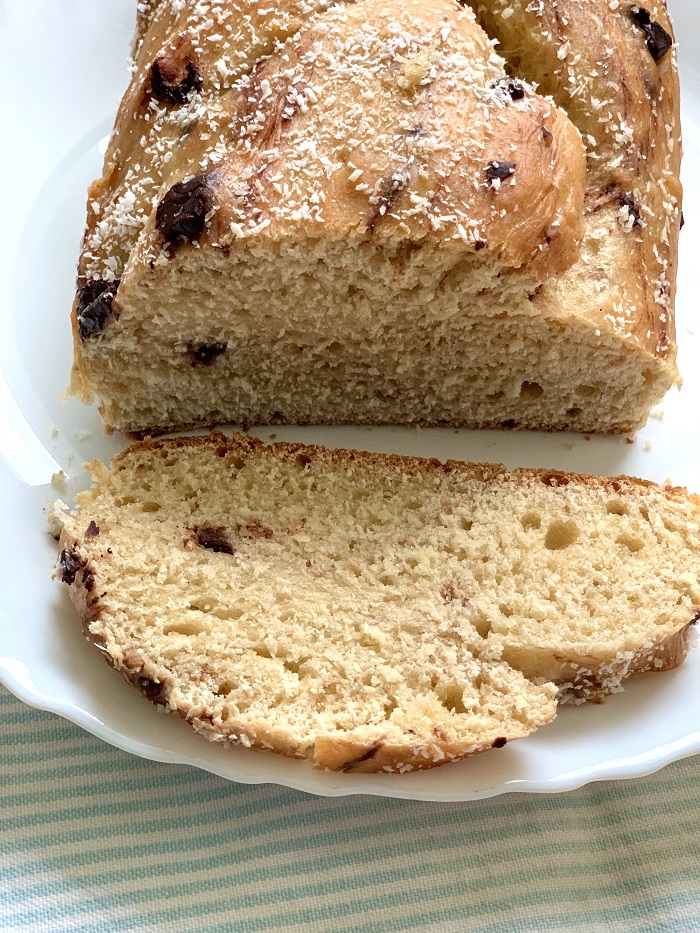
This Braided Bread Recipe will help you make beautiful bread with golden brown crust and soft, moist and delicious crumb. The flavor of this bread is mildly sweet. The sweetness comes from banana and coconut milk.
Even if you’ve never made homemade bread or worked with yeast before, this homemade bread is for you. It’s the perfect beginner recipe. This recipe makes one loaf, no bread machine and no mixer required!
There’s something so warm and comforting about homemade freshly baked breads. If you haven’t tried bread baking before, I insist that you do. It becomes a culinary experience that is worth the effort! Freshly baked bread, made with pure ingredients, straight out of the oven is one of life’s greatest pleasures. There is something special about kneading the bread with your own hands and watching in anticipation as the dough rises into a perfectly baked loaf.
I baked this bread for the first time in 2021 after taking a month long break from social media. The time was highly stressful for me so I didn’t feel like making anything out of the routine. This was the time when both my parents had Covid and I was extremely worried. It was when they completed their 14 days of quarantine and were absolutely fine then, I immediately got the urge to bake something nice, comforting and something that gives me absolute joy.
So now, without further delay, let’s jump to the recipe.
| Prep time: 3 hours | Yields: 1 9-inch loaf |
| Cook time: 25 minutes |
Ingredients
- 350 grams Wheat Flour (I used 200 grams Wholewheat and 150 grams All purpose flour)
- 2 tbsps Castor Sugar/Honey
- 1 tsp Salt
- 2 tbsps Milk powder (optional)
- 2 small or approx 150 grams overripe Bananas, fork mashed or blended
- 1/2 tbsp Instant yeast
- 40 grams Unsalted butter (softened)
- 1 large egg, lightly beaten
- 70 ml Warm Coconut milk (depends on the flour. Some brands of flour need extra liquid)
- 2 tbsps Shredded coconut
- 2 tsps Vanilla extract
- Dark Chocolate Chunks (optional): as much as you like
For egg wash
- 1 small egg
- 1 tsp cream
Method:
- In a bowl mix yeast and sugar/honey. Add half warm coconut milk. Cover and let it sit for 10 minutes or till it gets foamy. I like to do this step even if the yeast is instant, just to be sure that the yeast is still active. Make sure the coconut milk is warm and not hot.
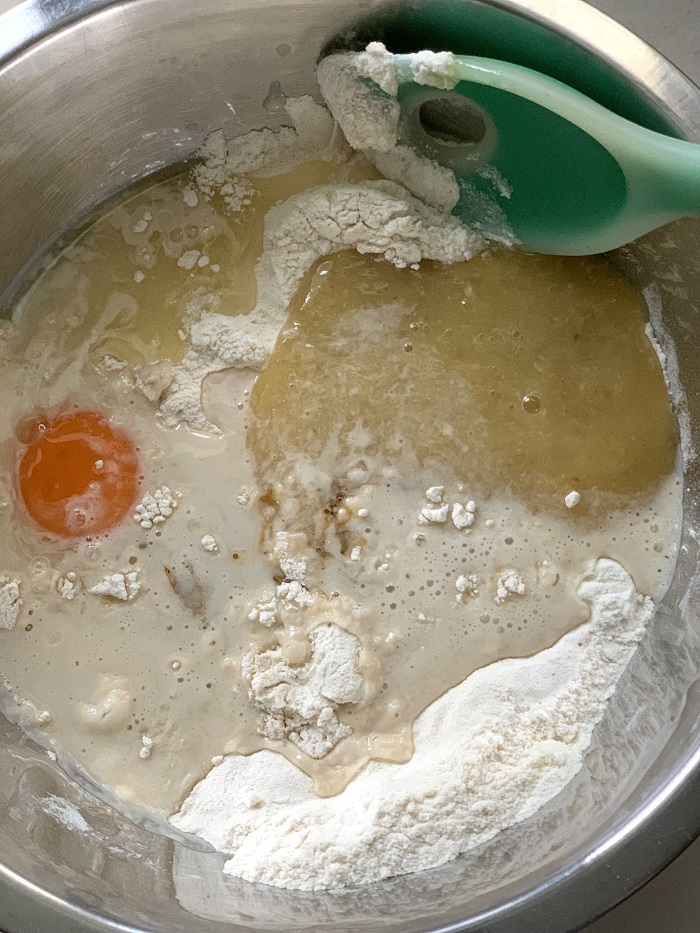
- In another large mixing bowl, add flour, salt, egg, milk powder, banana & vanilla extract.
- Once the yeast is foamy, add it to the flour. Bring it all together with a silicon spatula or wooden spatula. Gradually add rest of the coconut milk and bring everything together. The dough will be sticky at this point.
- Dust some flour if required (otherwise avoid) and knead the dough well for 10-15 minutes. Keep adding butter in batches while kneading the dough. The temptation to add more flour will be quite strong at this step but you must resist adding more flour. Keep working with the dough. It will come together and eventually will not be sticky. Be patient!
- Once done kneading, grease the dough and bowl with some butter. This will prevent the dough from drying out while proofing. Cover and allow it to rise for 1.30 to 2 hours or till it the dough doubles in size. The dough will just about double in size, stick to the sides of the bowl, and have a lot of air bubbles.
- After the first proof, punch the dough down. Add & mix chocolate chunks. Knead for 1 or 2 more minutes. Divide the dough into 3 equal parts.

- Roll each piece into a long rope of about 13 to 15 inches. Place the 3 ropes parallel to one another.
- Pinch the top of the ends together. Braid the dough loosely tucking all the edges under the braid.
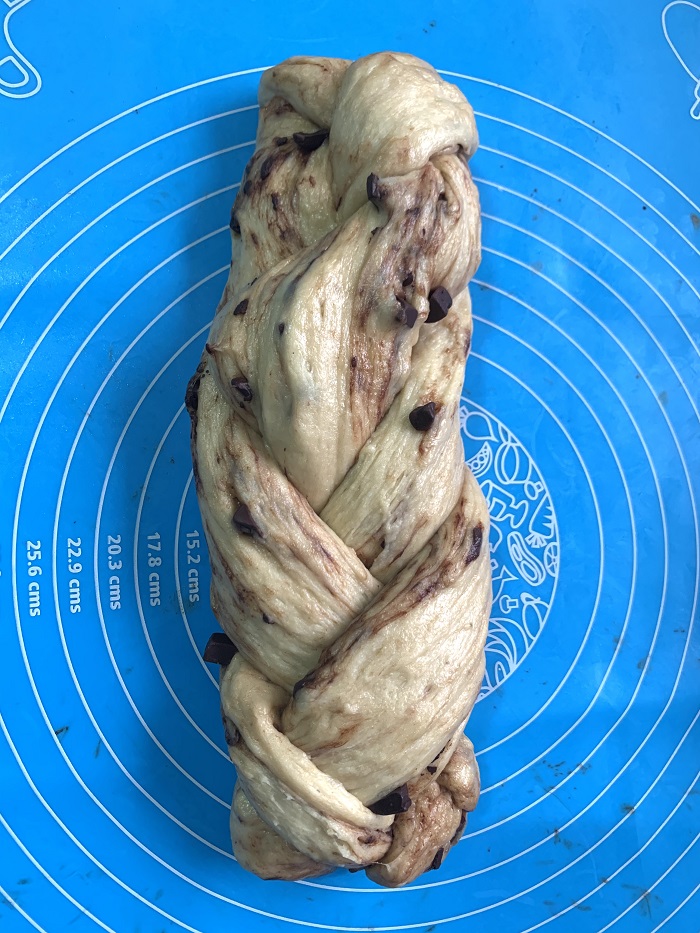
- Lift the bread gently and place it on a well greased 9×5 rectangular loaf pan.
- Cover and allow it to proof for another hour. Once ready to bake, prepare the egg wash. Just stir together the egg and the cream. Brush the egg wash over the dough. Refer notes.
- Add shredded coconut on top. This is optional but toasted coconut tastes great and adds to the nuttiness.
- Heat the oven 10 minutes prior to baking at 180C. Bake for 25 minutes or till the top has browned.
- Let the bread cool on the baking pan for 5-10 minutes. Remove to a wire baking rack to cool to room temperature.
Notes:
- How do you know the first rise is done: This can take one to three hours, depending on the temperature and moisture in the dough. Check your dough. If it has doubled in size, it’s good for second proofing. Generally speaking, a warm, humid environment is best for rising bread.
- How do you know your bread is ready for baking? To check that your dough has risen to its full capacity, gently press a fingertip into the surface – if the dough springs back, it means the gluten hasn’t developed fully, so you can leave it for a little longer. If the indentation left by your finger remain, it means the gluten has stretched as much as it can and the dough is ready to bake. Don’t leave it any longer or the air bubbles will start to collapse and your bread will be dense.
- You can bake this bread with All purpose flour alone but I do not recommend baking it with just whole wheat flour. The bread will come out very dense.
- You can also refrigerate the dough after first proofing for 12 to 18 hours. It will slowly proof in the refrigerator. This will intensify the flavors further.


